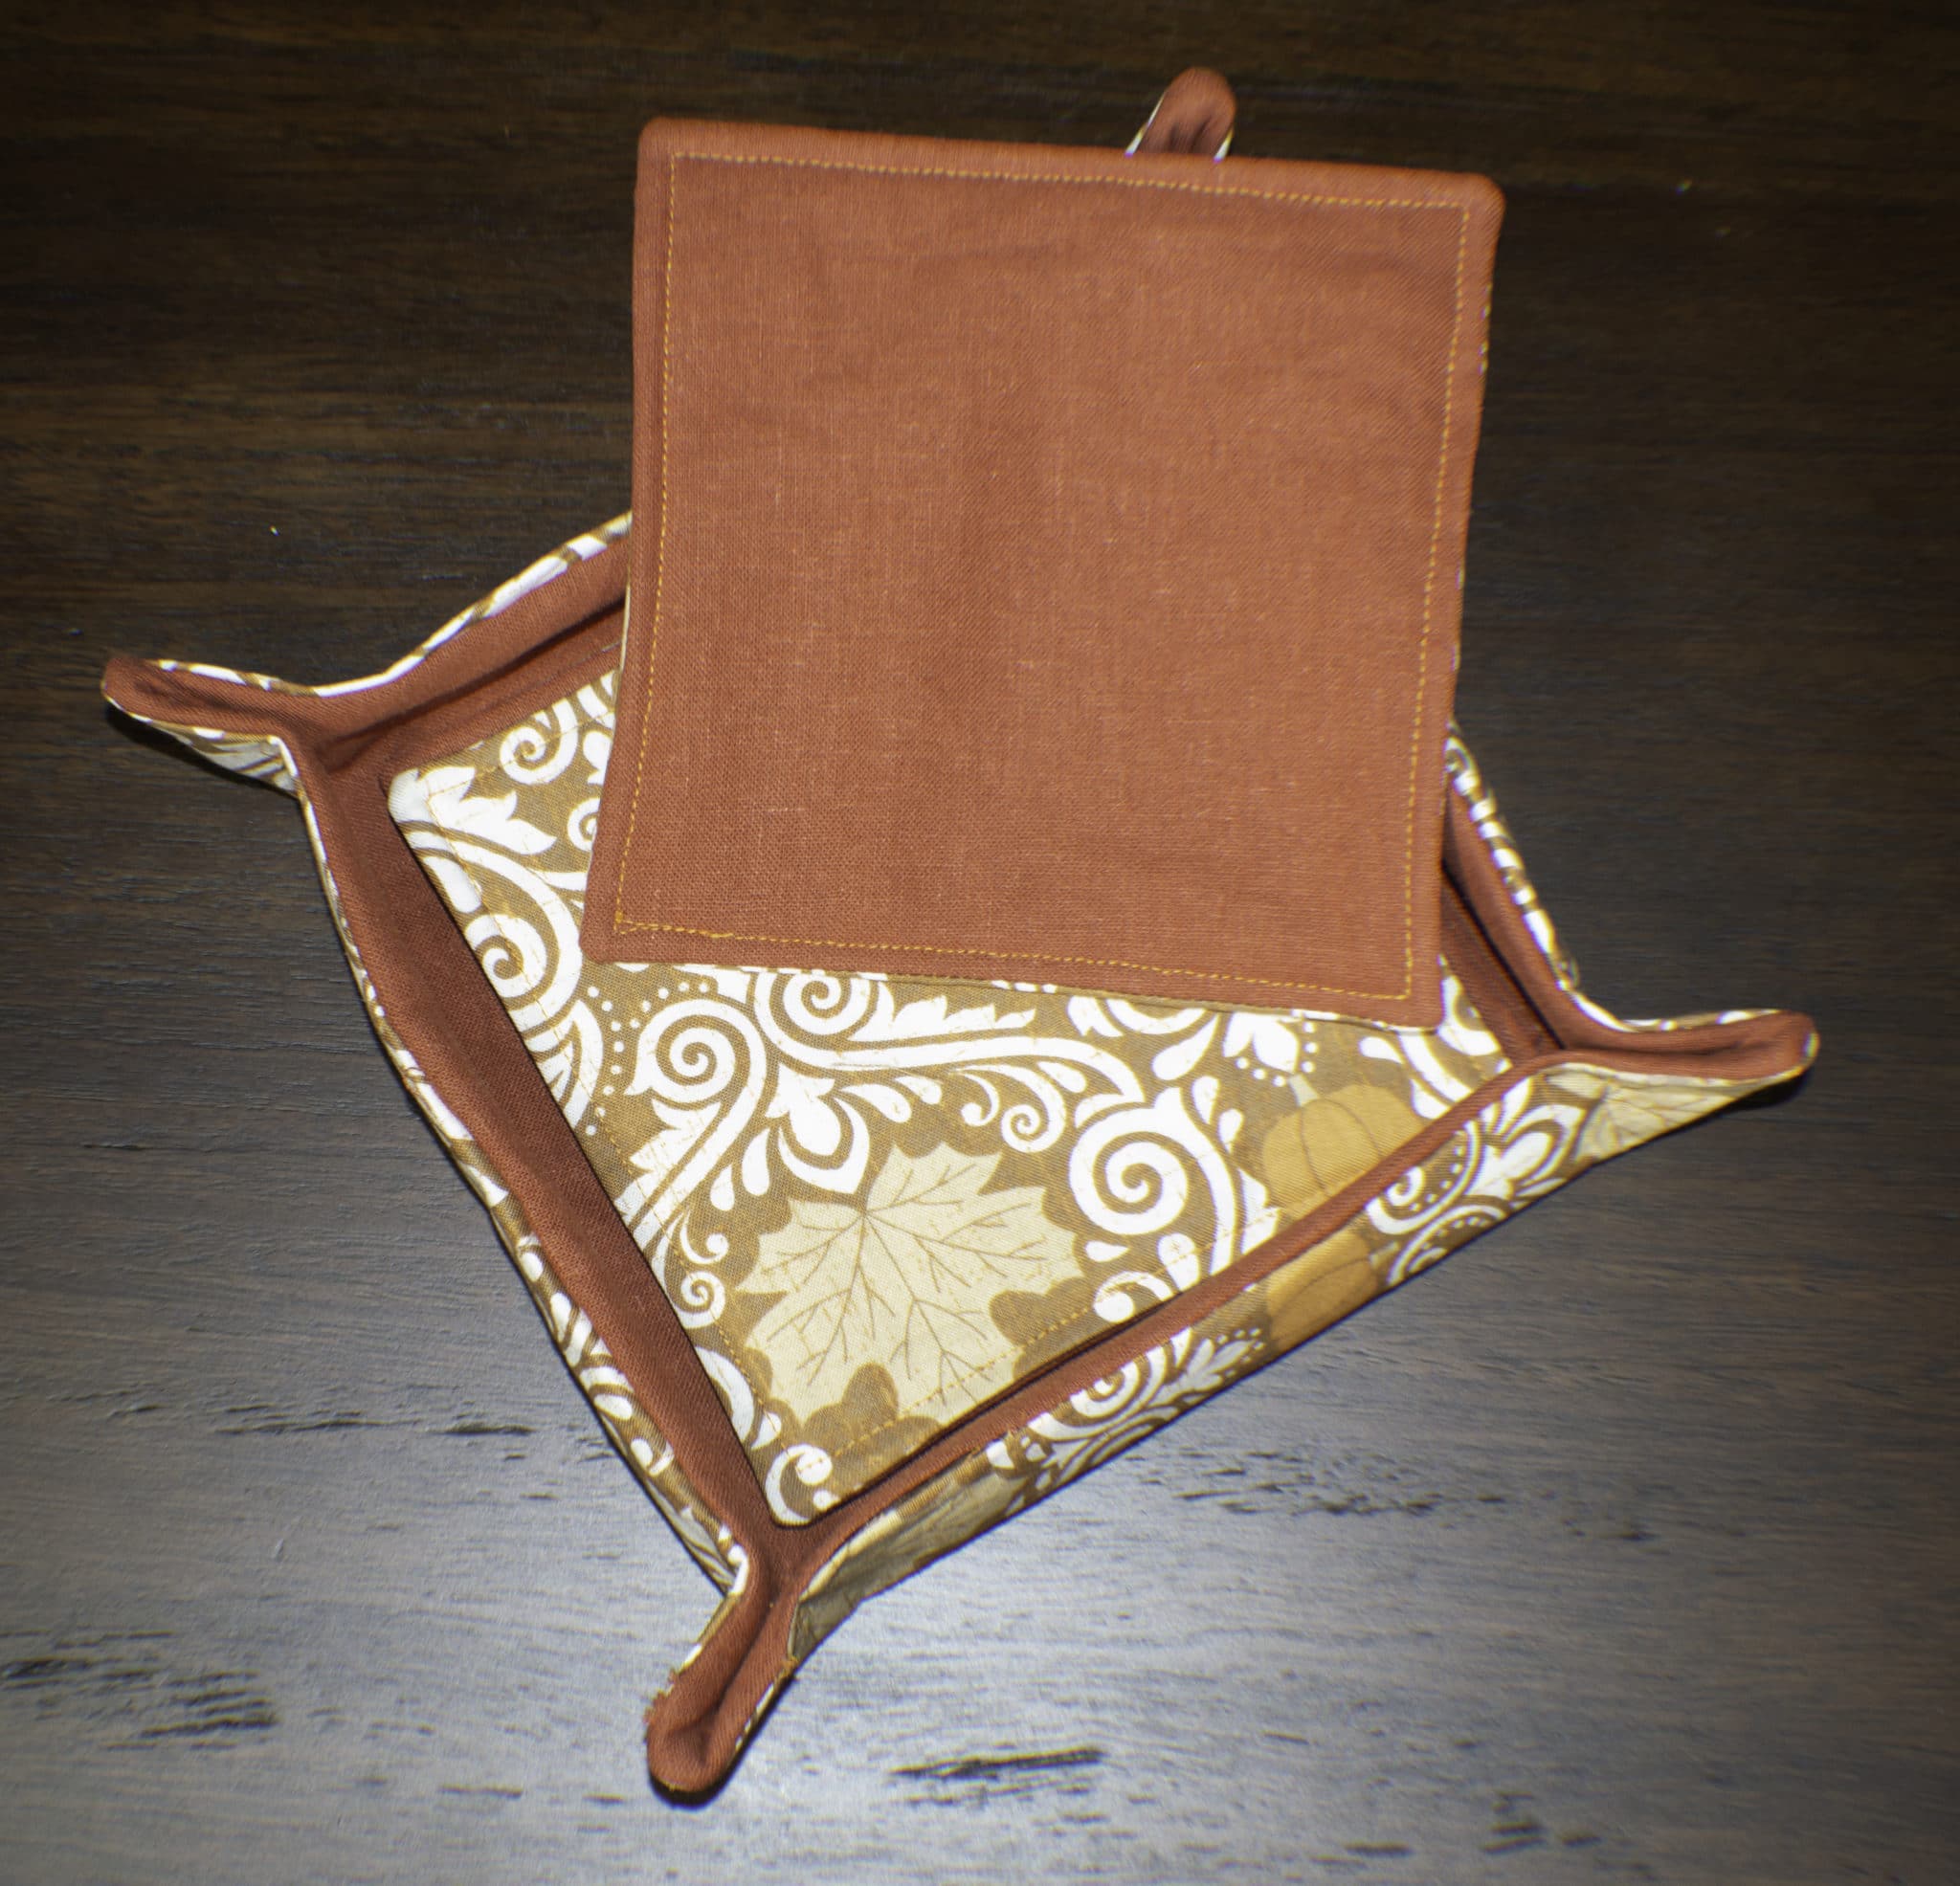
How to Make DIY Reversible Fabric Coasters
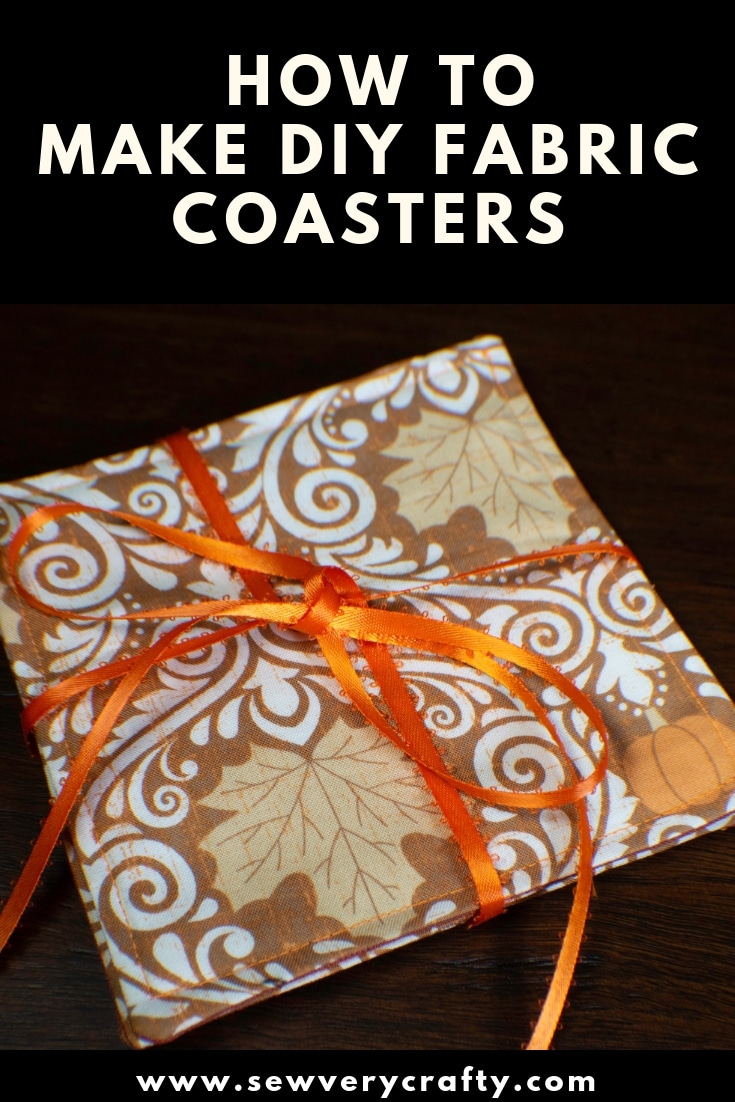
Once again I was looking for projects that I could make using my fabric remnant stash and decided that these DIY reversible fabric coasters were the perfect solution. These coasters are so easy to make that anyone with beginner sewing skills can make them in about 30 minutes. The beauty of this project is that you can choose fabrics that match your decor or go with a holiday theme. Today I am making autumn themed coasters for the upcoming Thanksgiving season. They are so easy to make you can make them for seasons and holidays year round. It is completely up to you.
I was inspired to make this project by a blogger friend of mine that made some beautiful crochet coasters for her blog. Not being much of a crocheter I thought I would sew some coasters out of fabrics in my stash instead. If you are a crocheter check out Laura's coasters at Little Yellow Wheelbarrow.
What You will Need:
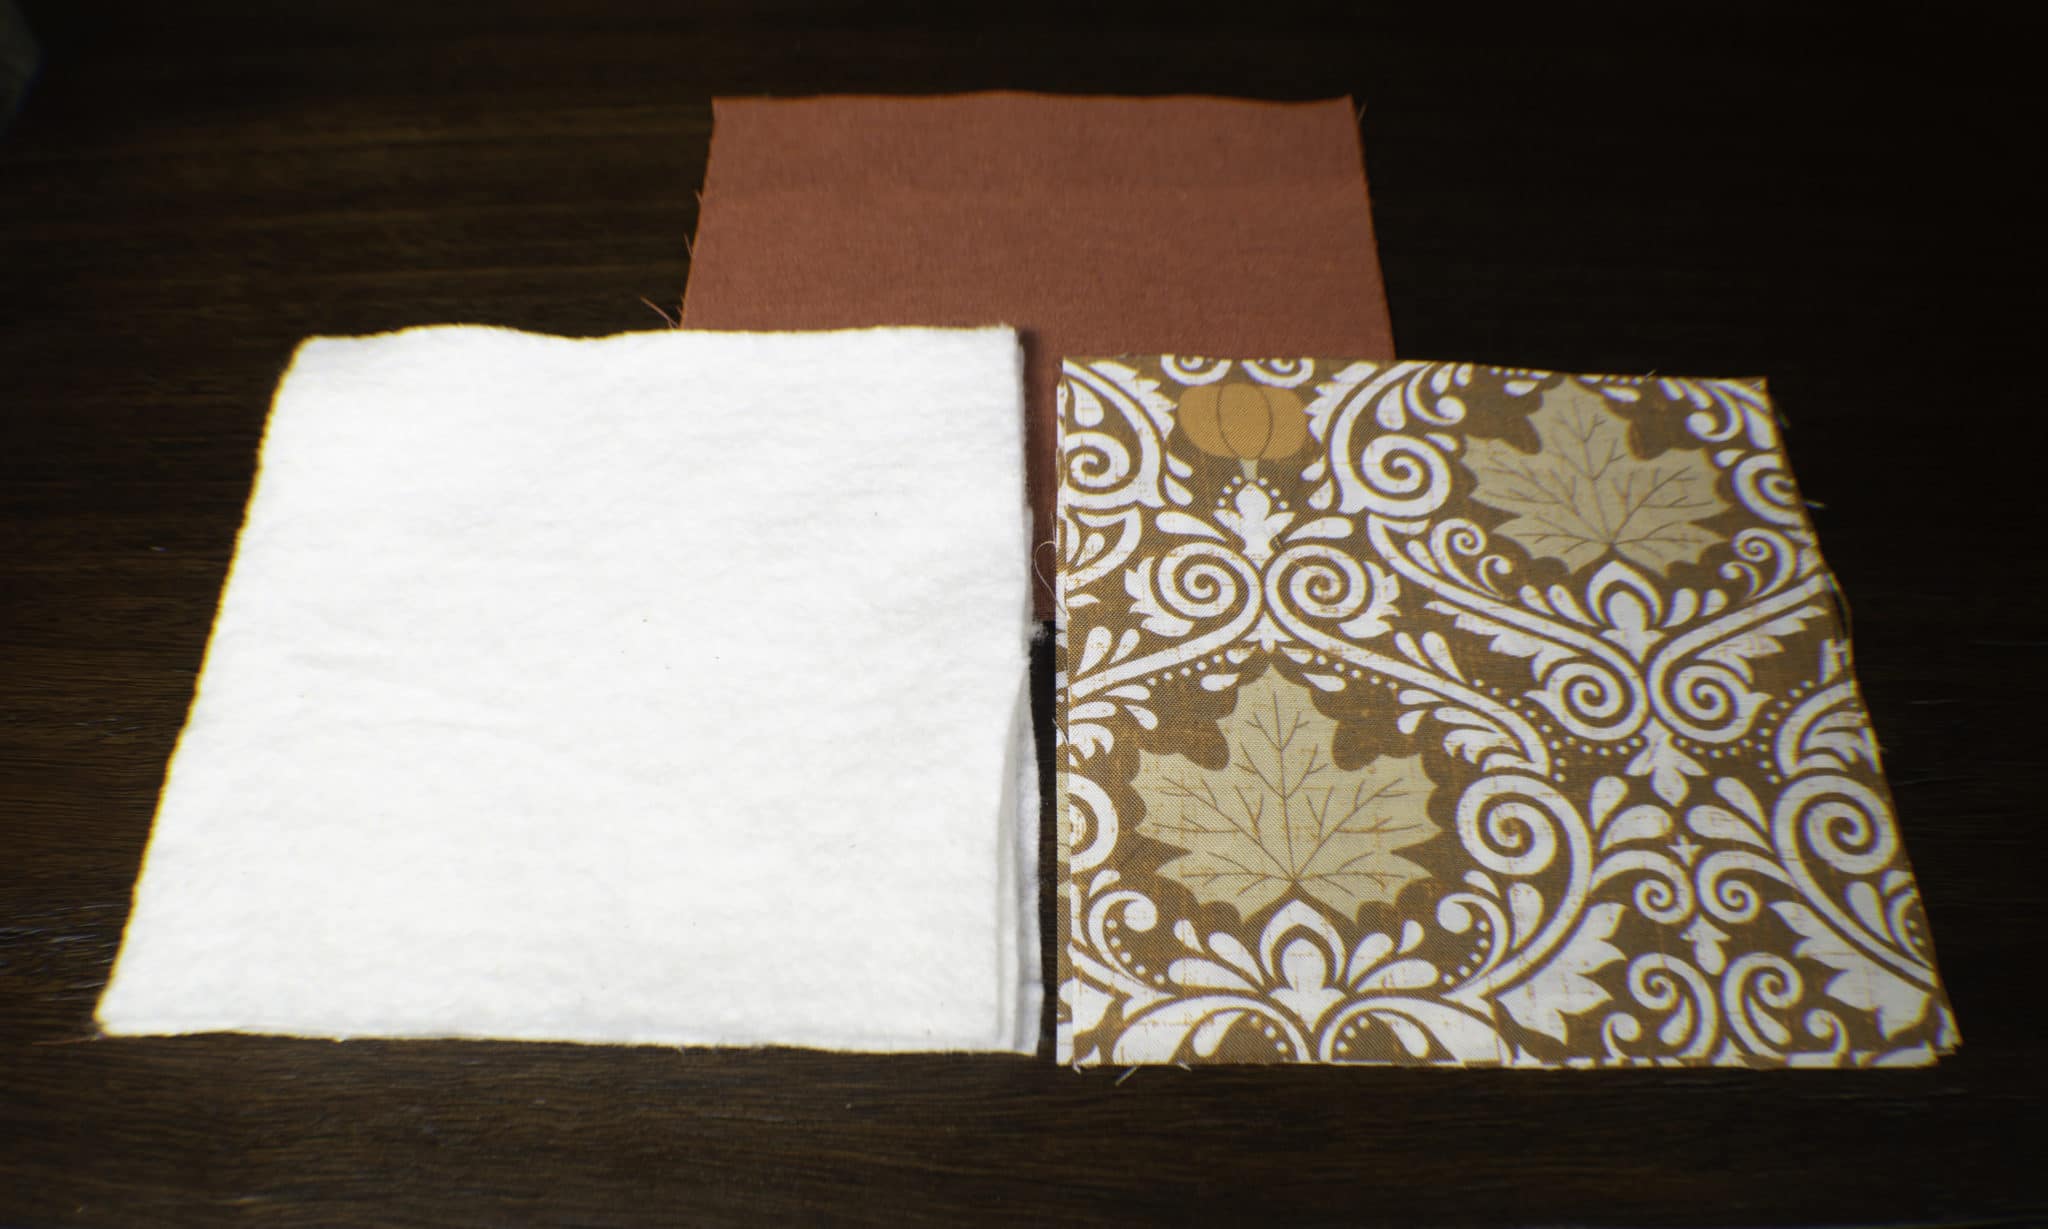
- 1/3 yd of 2 different fabrics
- 1/3 yd of quilt batting or fleece
- Standard sewing supplies
Step 1: How to Make DIY Reversible Fabric Coasters
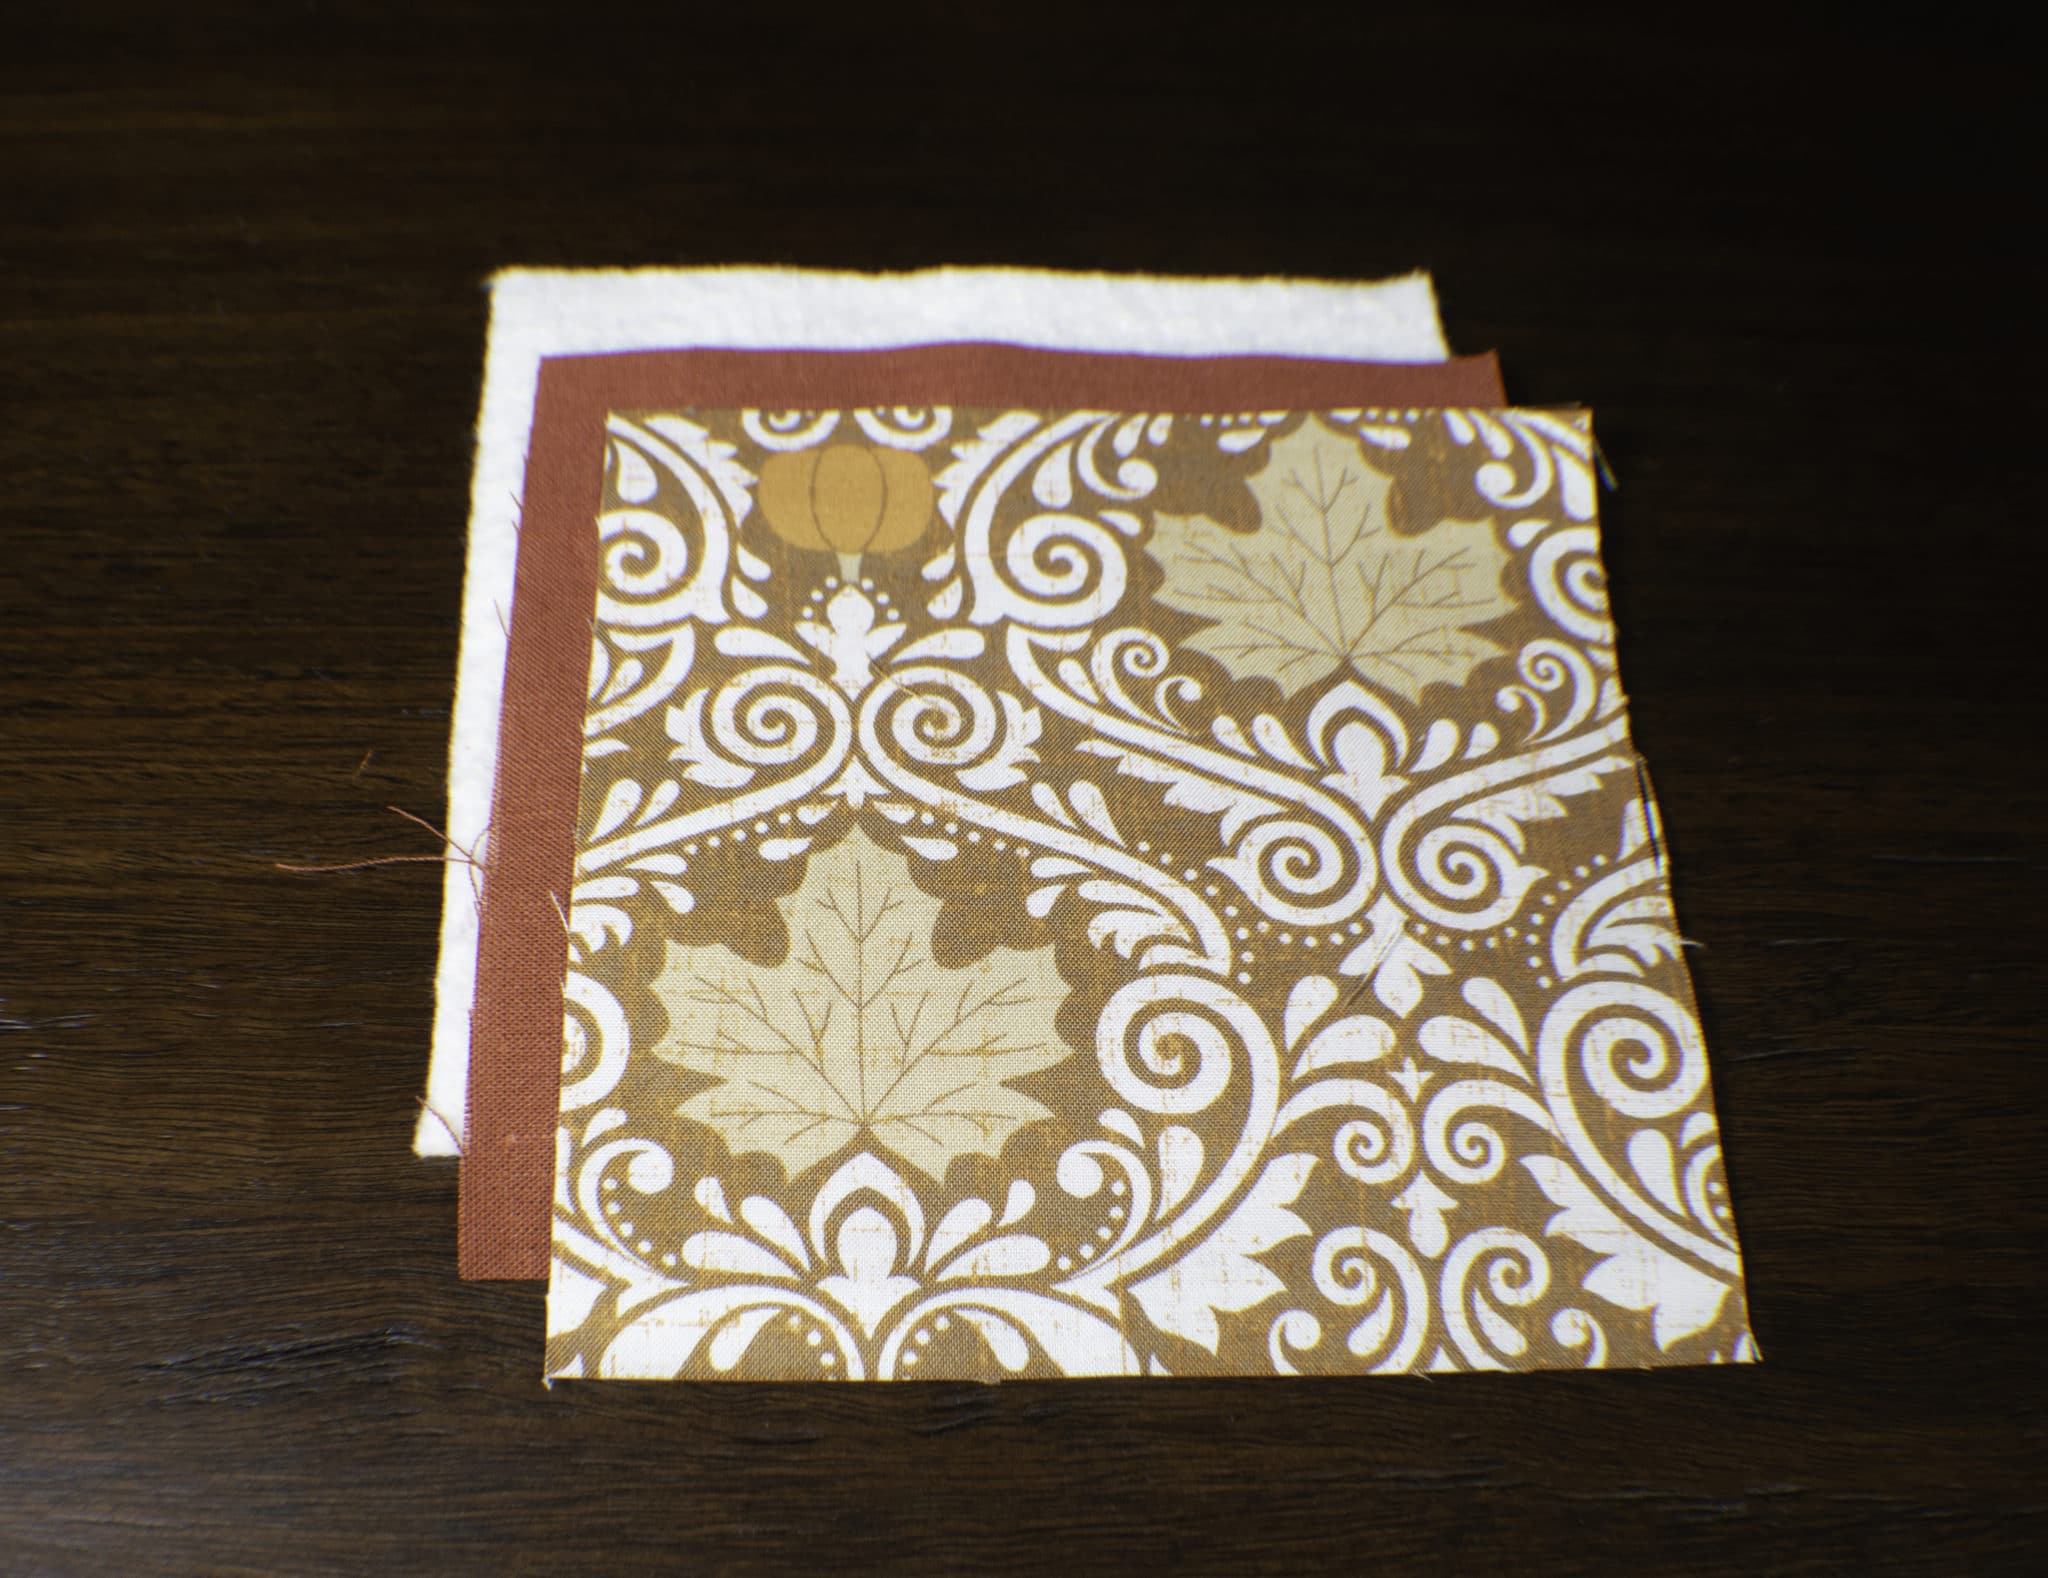
Cut the fabrics and the batting/fleece into 6″ x 6″ squares. Because these are reversible you will use one piece of each fabric and a piece of batting/fleece for each coaster. Cut as many squares as you want to make coasters. I decided to make 4 coasters so I have 4 squares of each fabric and 4 squares of batting.
Step 2: How to Make DIY Reversible Fabric Coasters
Stack the pieces so that the batting is on the bottom and the fabric pieces are on top right sides together.
Step 3: How to Make DIY Reversible Fabric Coasters
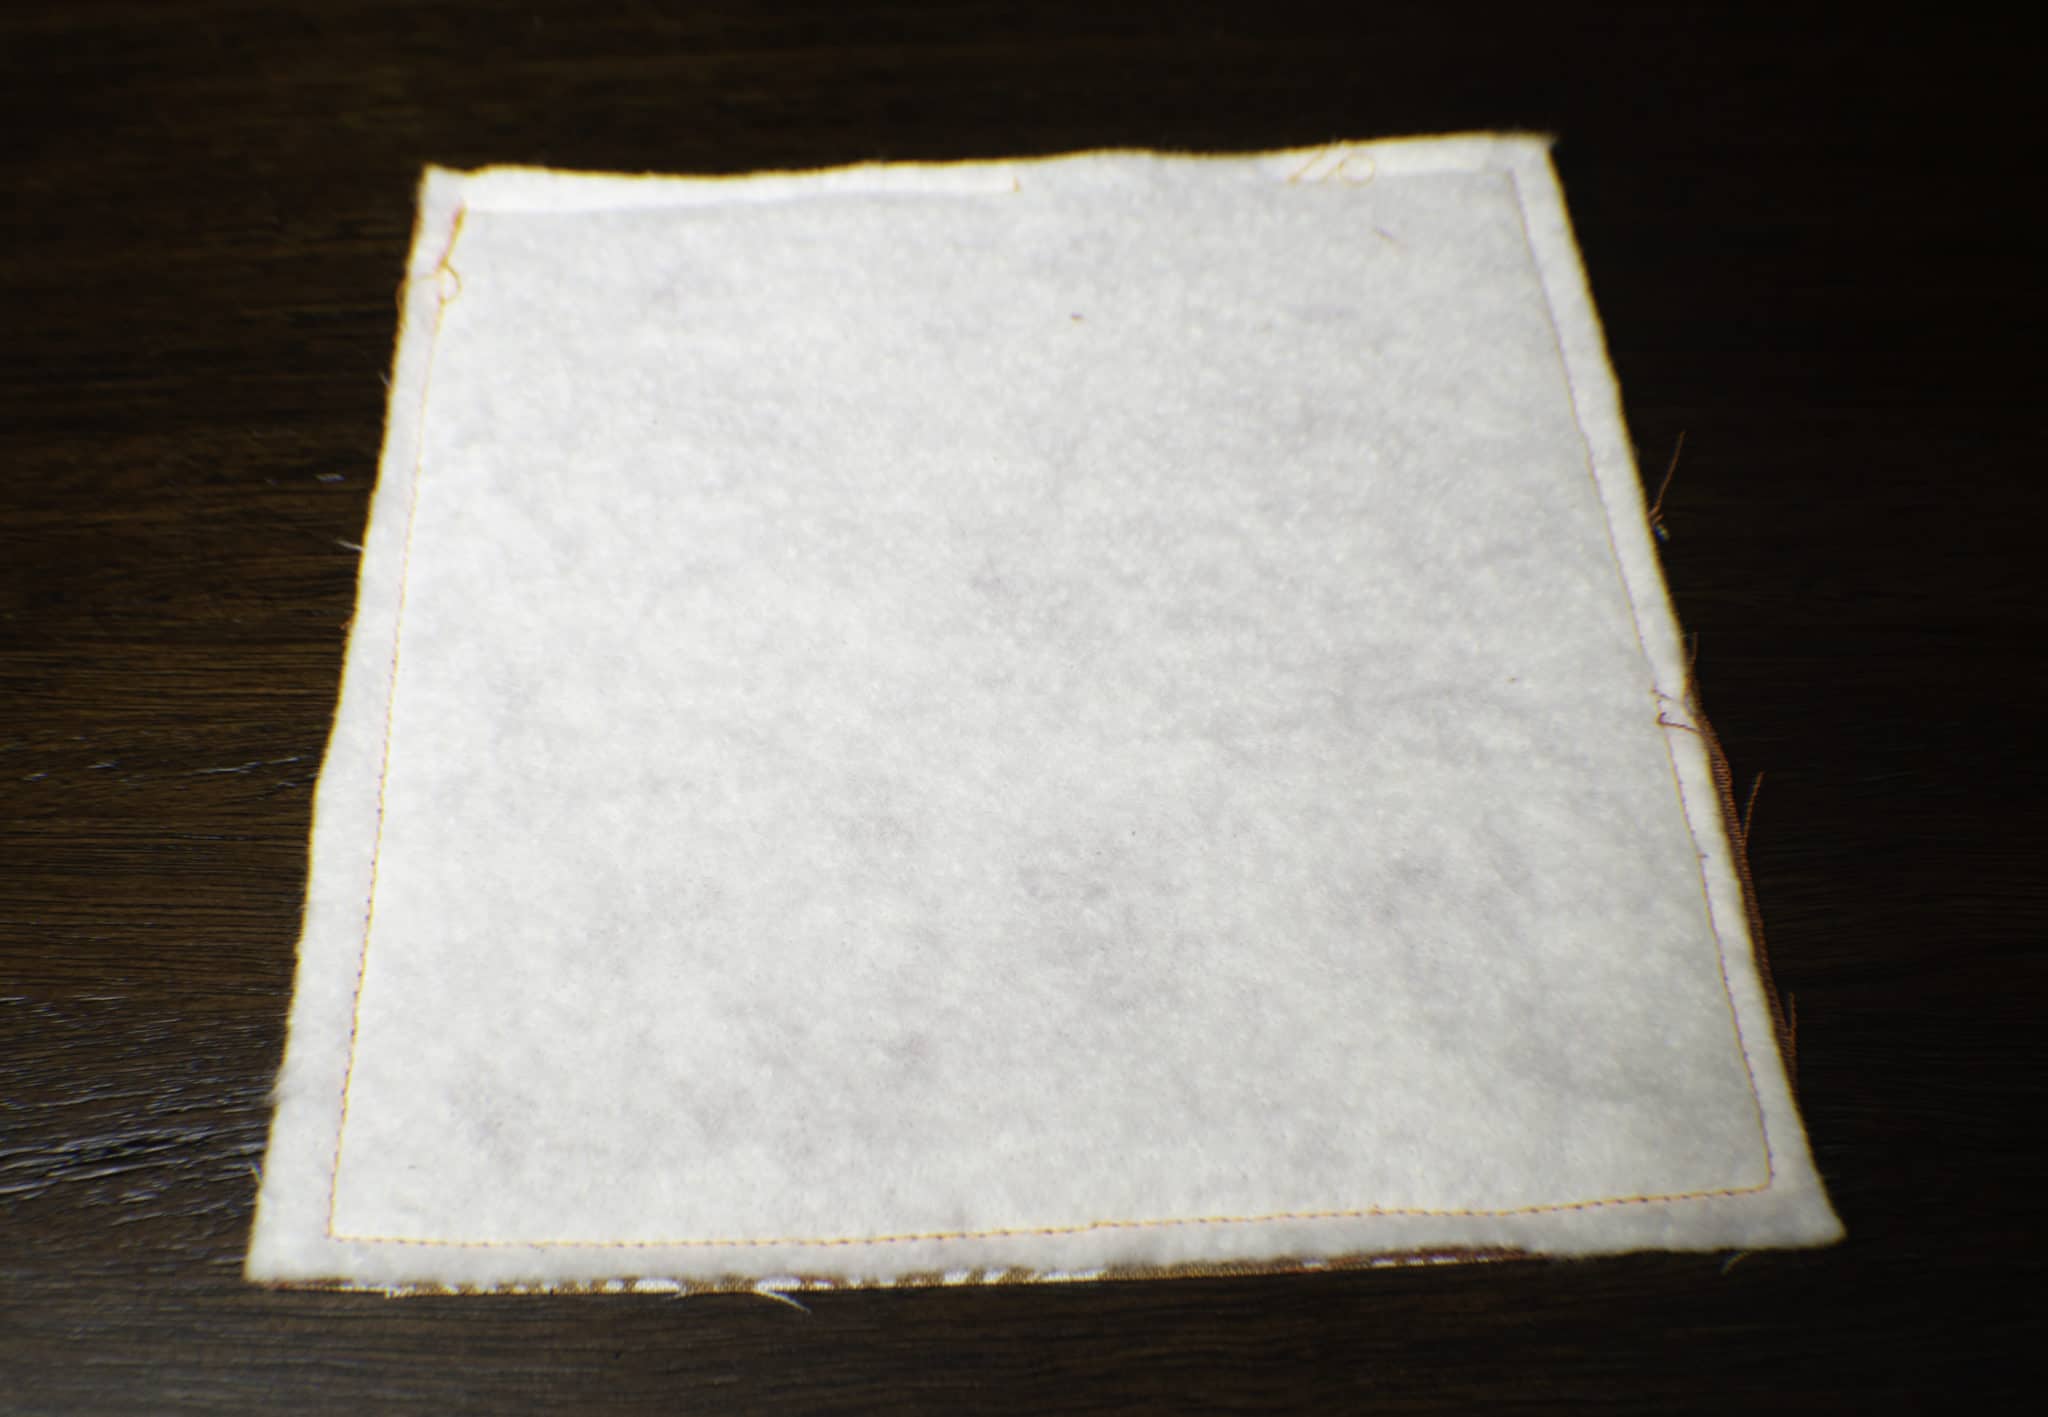
Using a 1/4″ seam allowance sew around the perimeter of the coasters through all layers leaving a 2″ opening for turning. Trim the seam allowances and clip the corners making sure not to clip the threads.
Step 4: How to Make DIY Reversible Fabric Coasters
Turn the coasters right side out so that the batting is in the center and the fabrics are on the outside. Use a pointing tool to poke out the corners. Press making sure that the seam allowance at the opening is turned inside.
Step 5: How to Make DIY Reversible Fabric Coasters
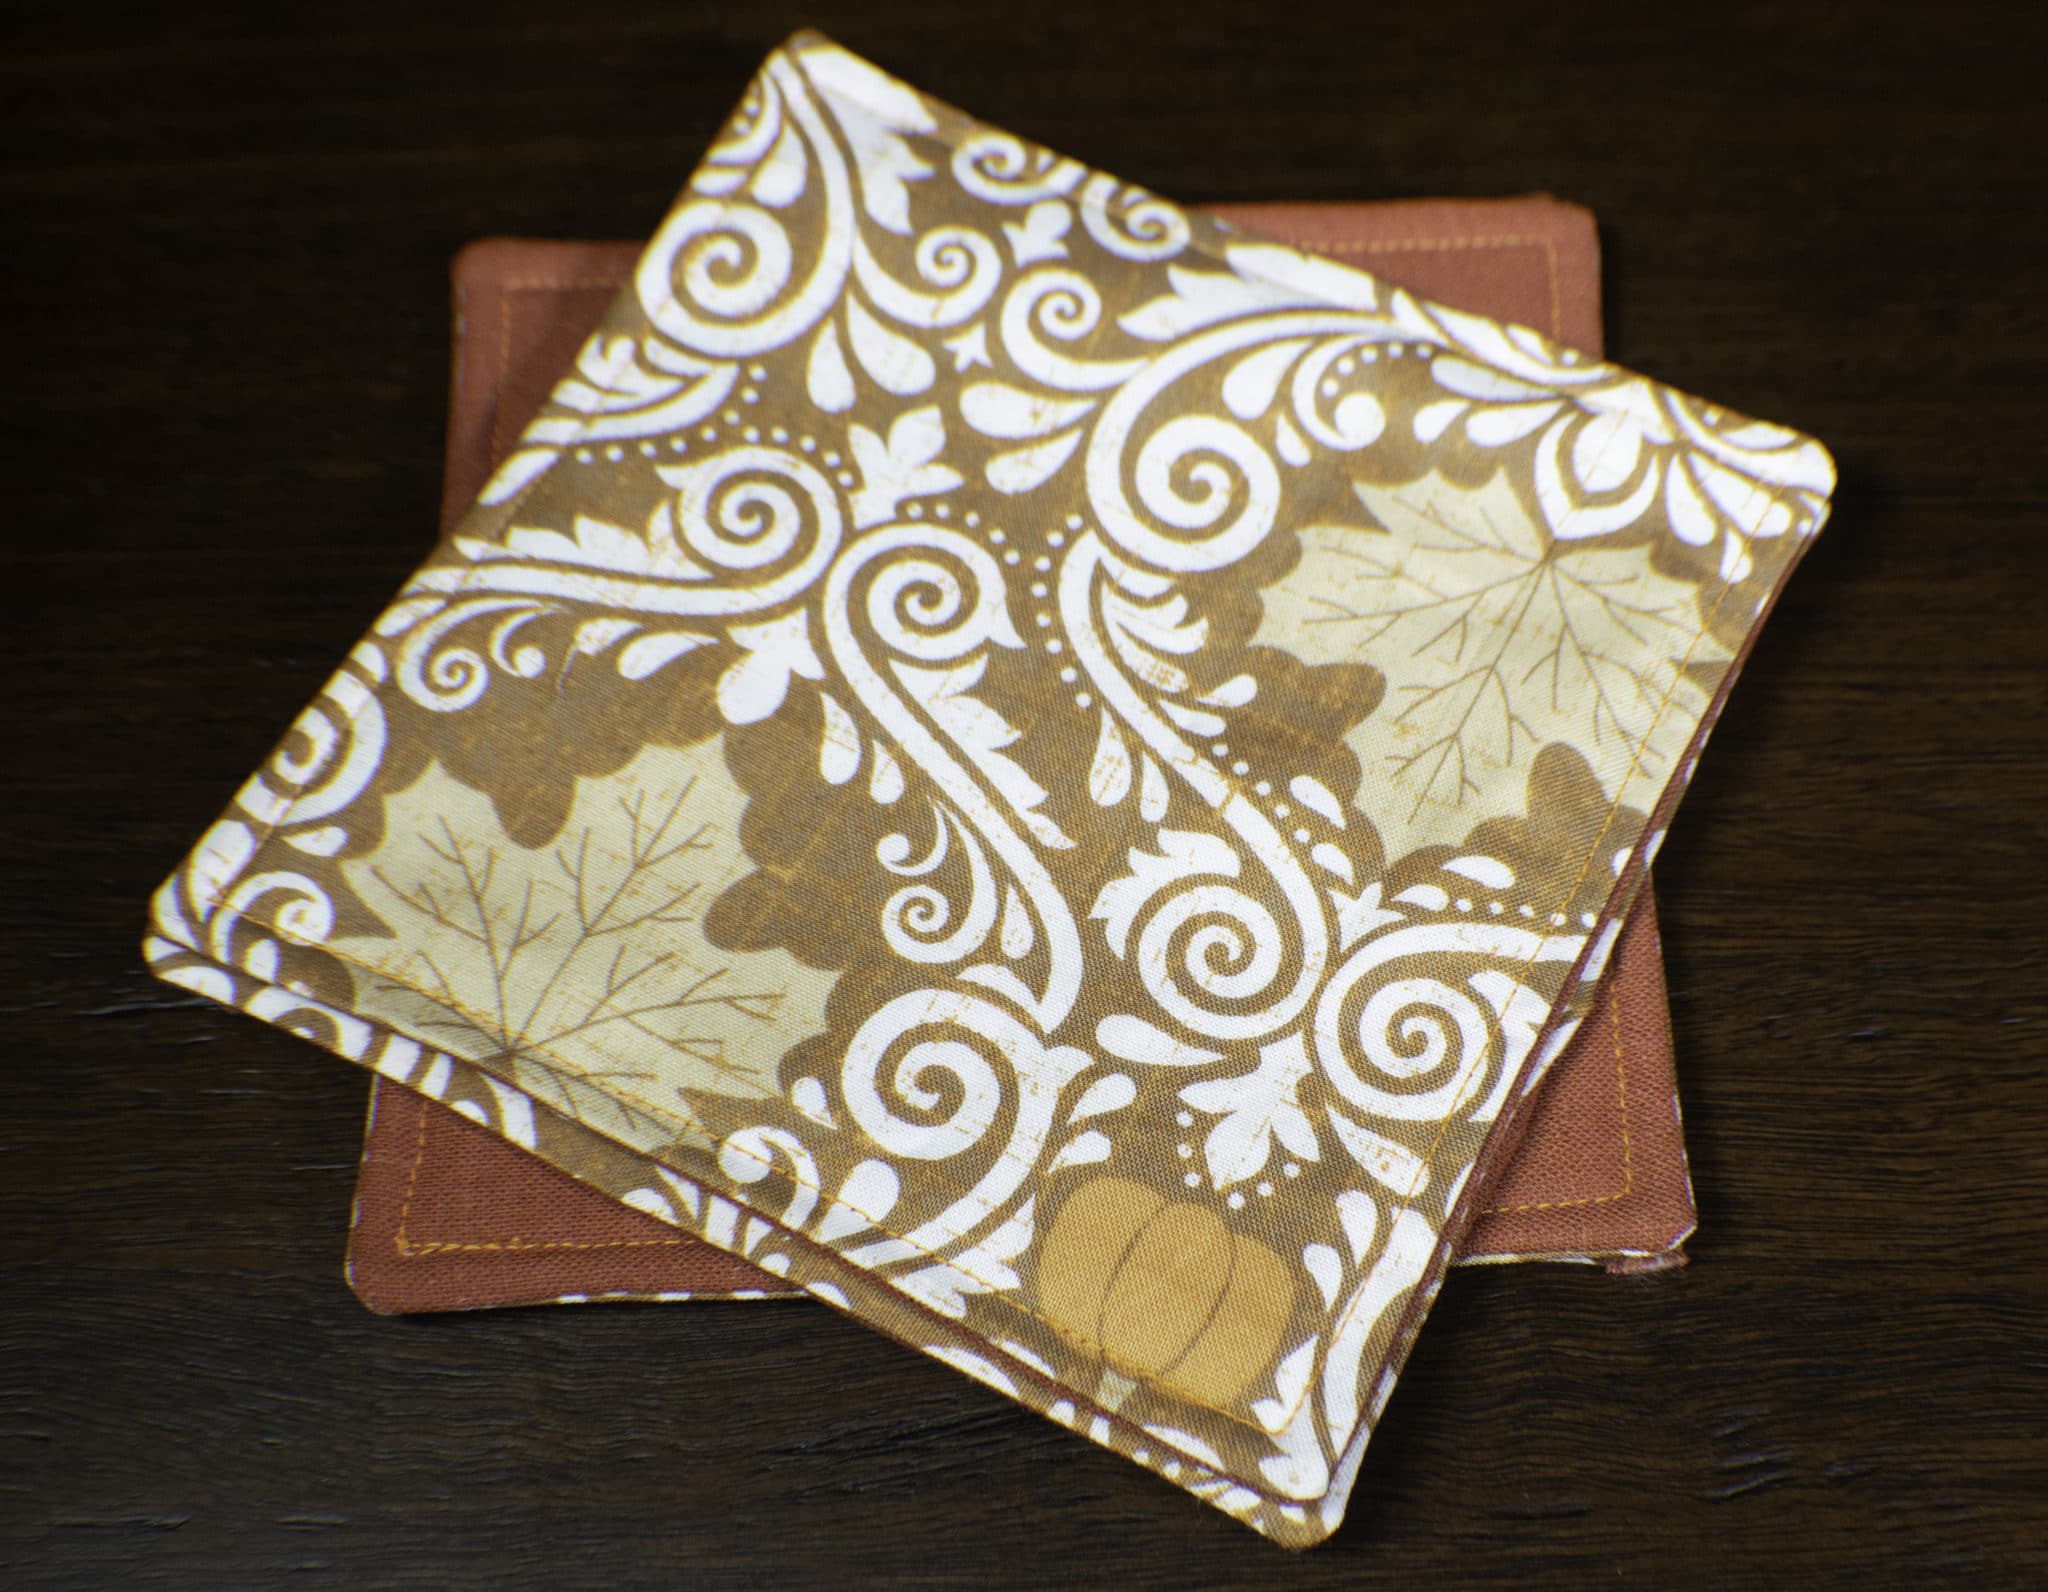
Top stitch all the way around the perimeter of the coasters using a 1/8″ seam allowance and making sure that you close up the opening. Press again and you have completed your beautiful DIY reversible fabric coasters.
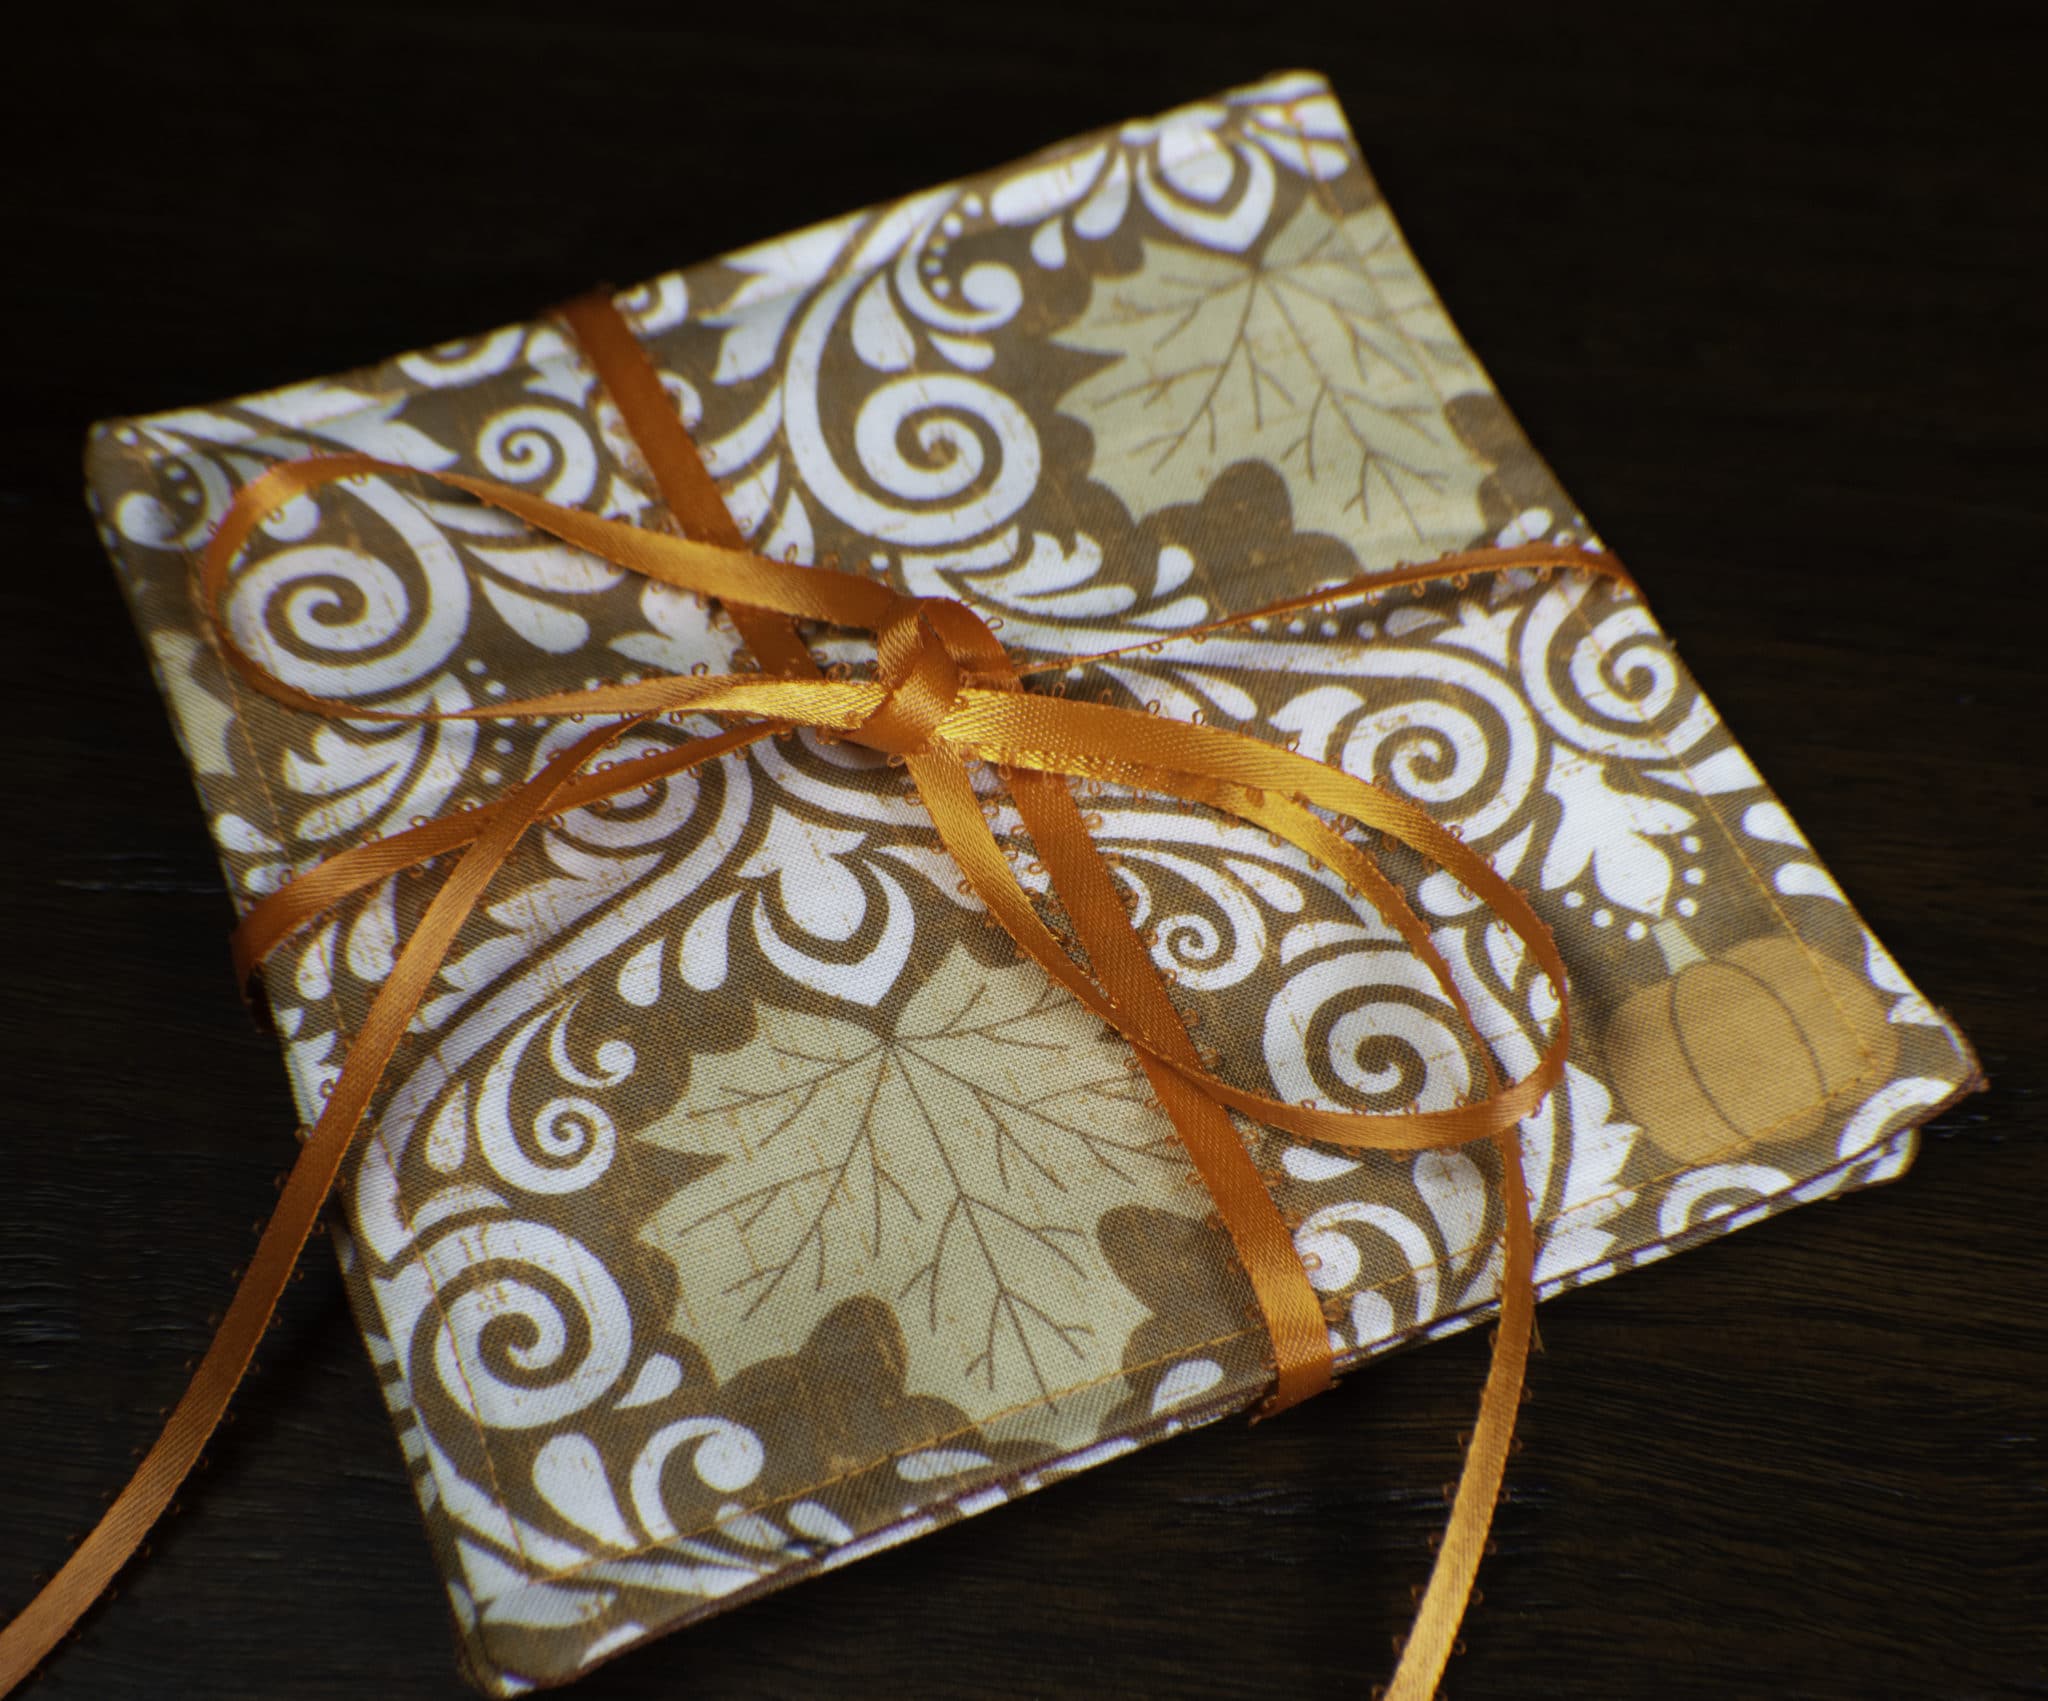

I hope you enjoyed this simple beginner sewing project. If you would like more sewing and crafting projects sign up for our newsletter and receive your free list of sewing room must haves.