 How to Make a Farmhouse Picture Frame
Farmhouse style is all the rage right now so I decided to create this terrific farmhouse picture frame. I had a picture frame on hand that I had gotten free at a buy one get one free sale at Michael's so I thought I would use it in my Laundry room which is in a retro 1950's style but the color was not quite right so it has been sitting around for ages until now. I decided to turn it into something that I would actually use. This is a perfect project to upcycle an old frame or to decorate a craft frame in that farmhouse style. It is a simple project to create and the results are perfect for that farmhouse or shabby chic look.
<div class”content-box-blue”>You can get everything you need for this project at Michael's with the exception of the fabric which you can get at your local fabric store, Hobby Lobby or Fabric.com. </div>
This post contains affiliate links that if you click on them and make a purchase I may receive a small commission at no extra cost to you.
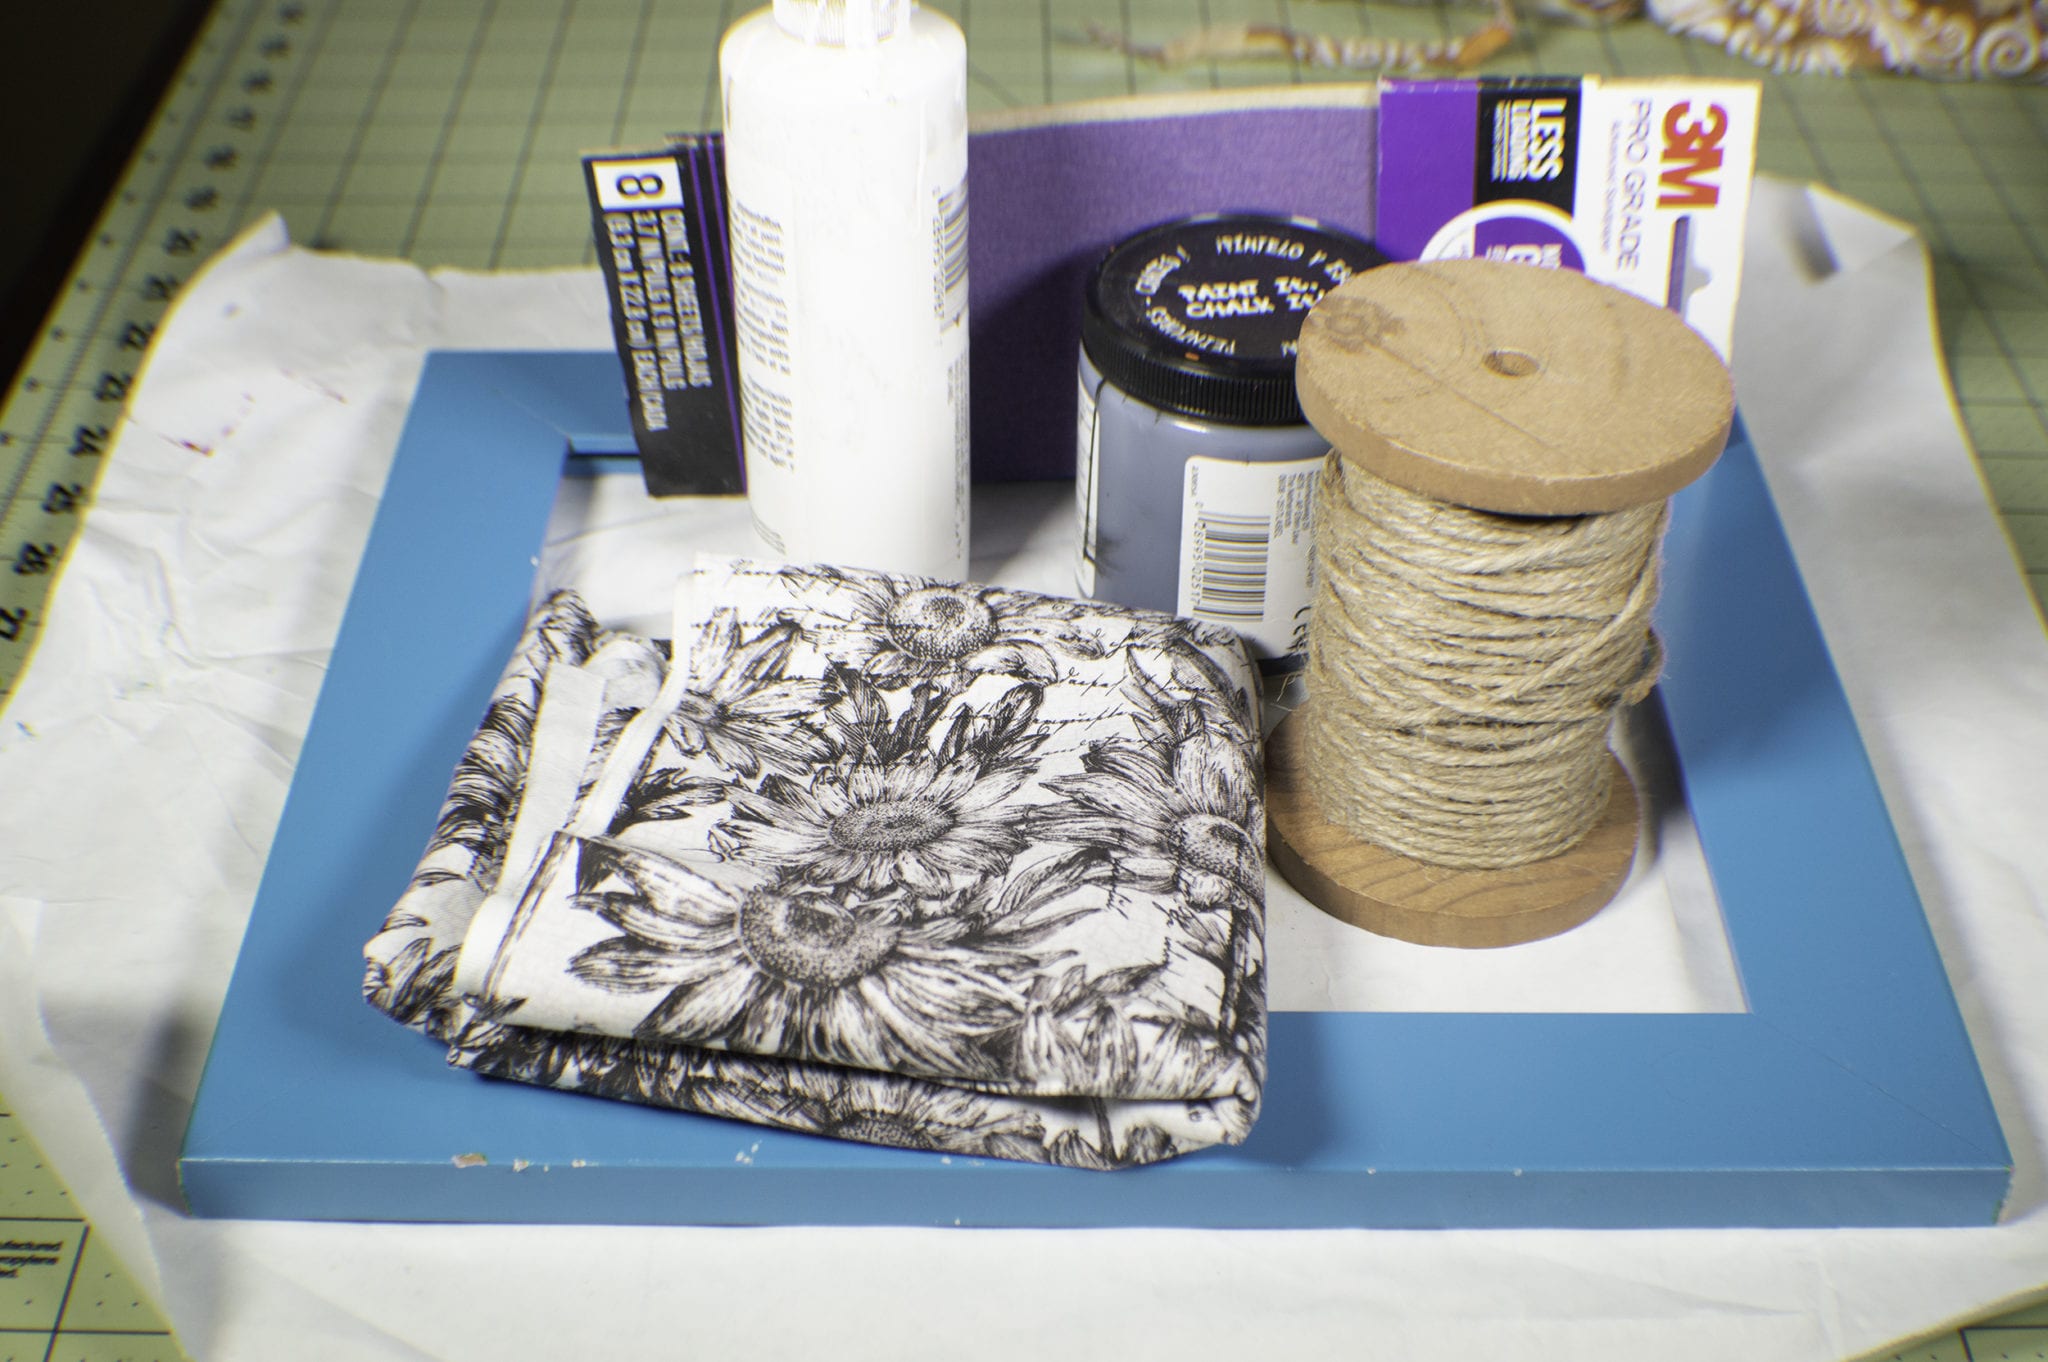
What you will Need:
- Picture frame – any size
- Chalkboard Paint Black
 (optional)
 - black acrylic paint
- Twine
- Fabric or burlap for flowers
- Sandpaper
- Hot glue or craft glue
- Paintbrush
Step 1: How to Make a Farmhouse Picture Frame
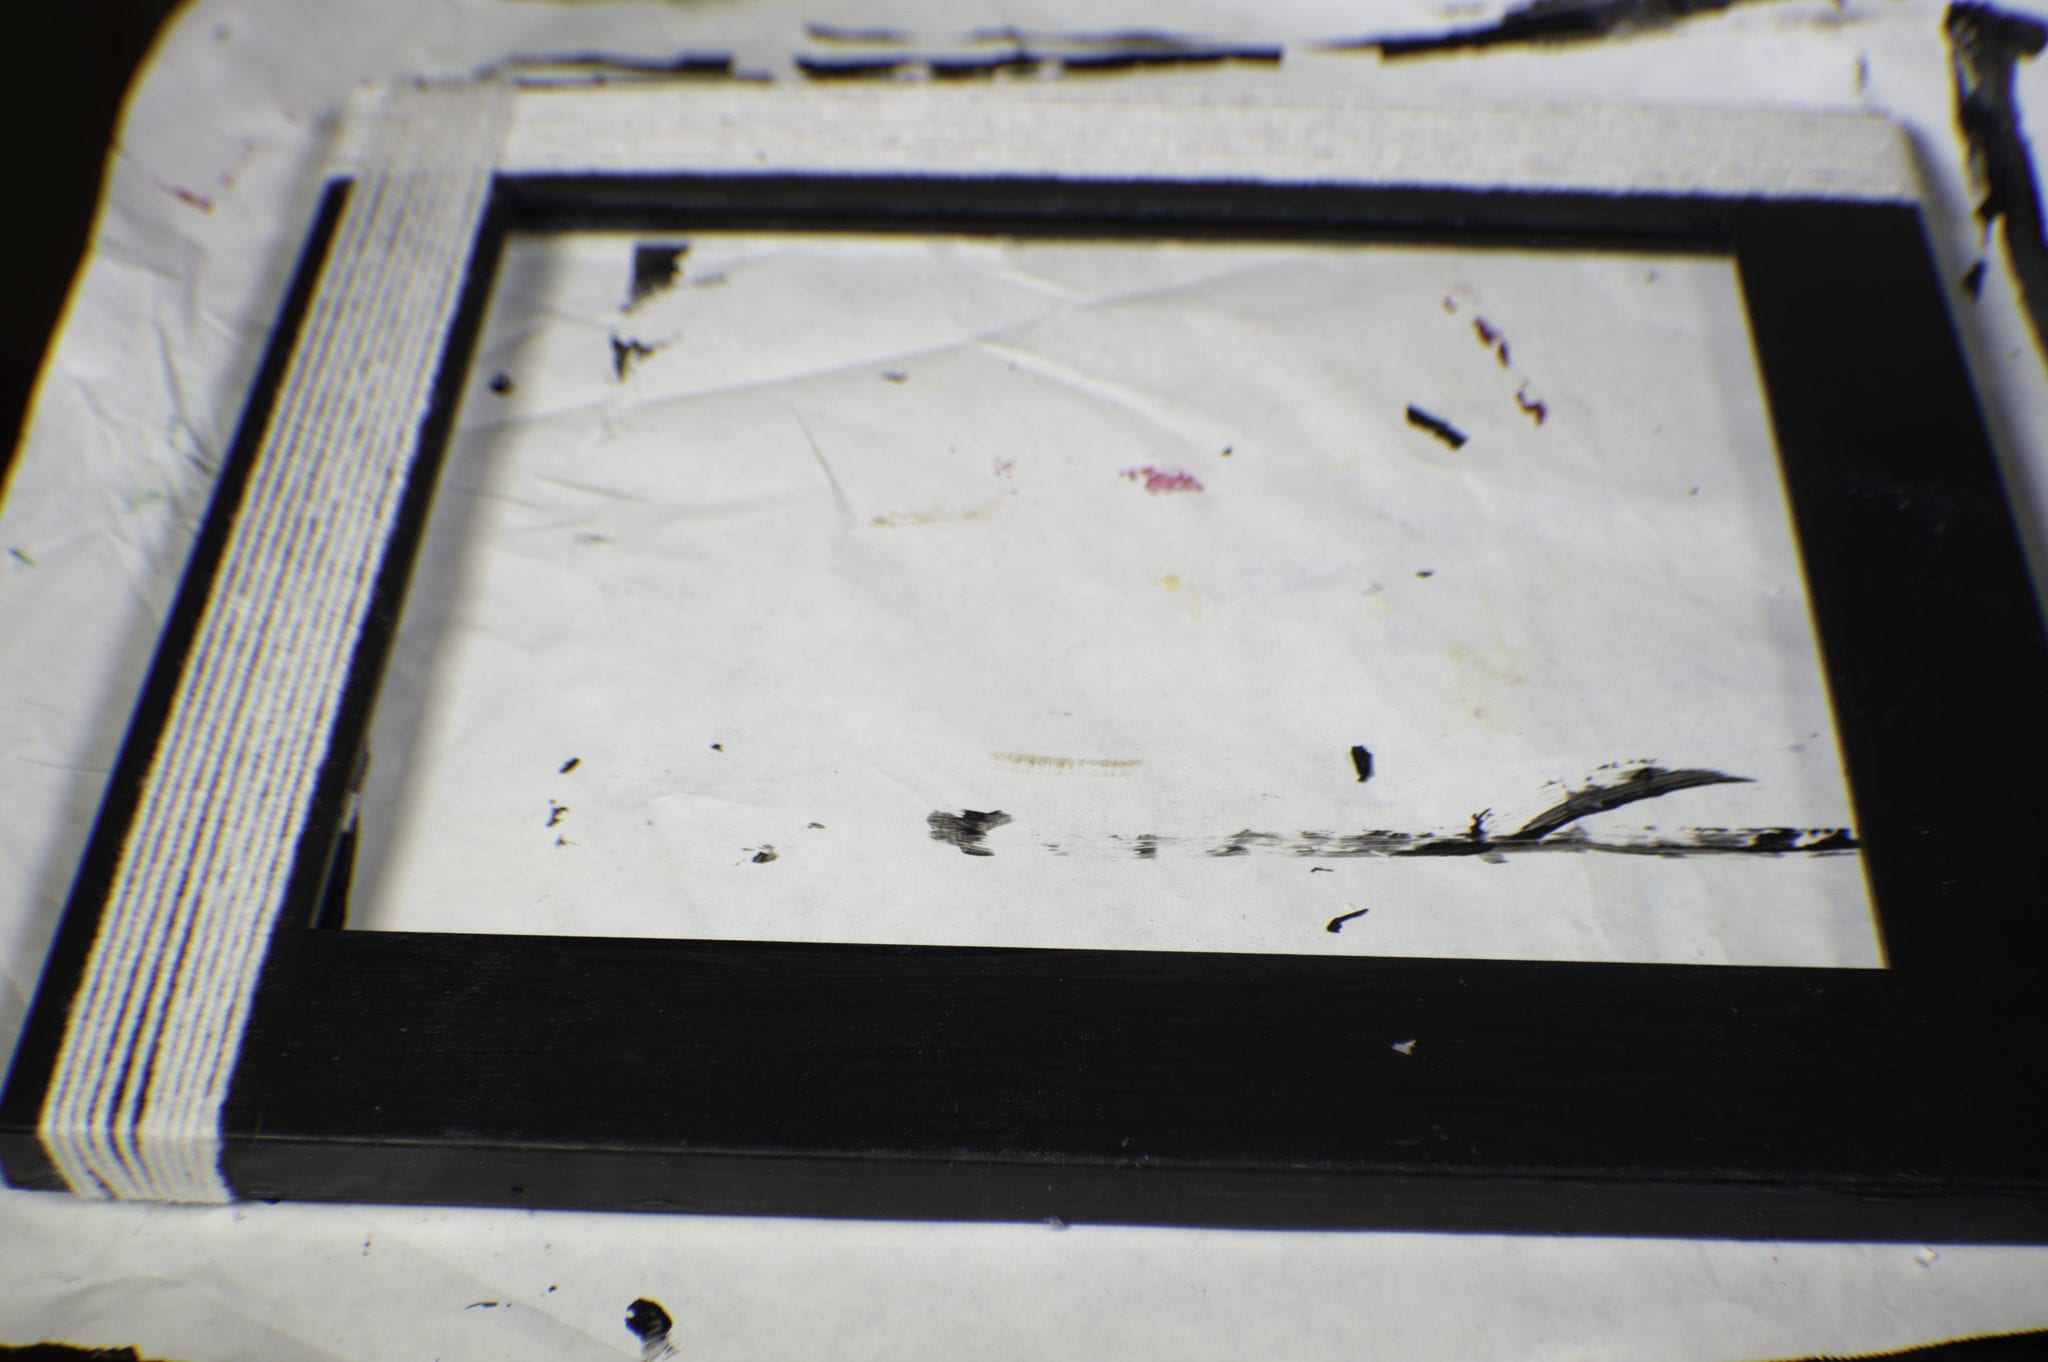
Lightly sand your picture frame so that the surface is smooth and the paint will stick. Paint your picture frame using the black chalkboard or black acrylic paint let dry then paint the other side. Let dry thoroughly. I like chalkboard paint for this project but it is not necessary.
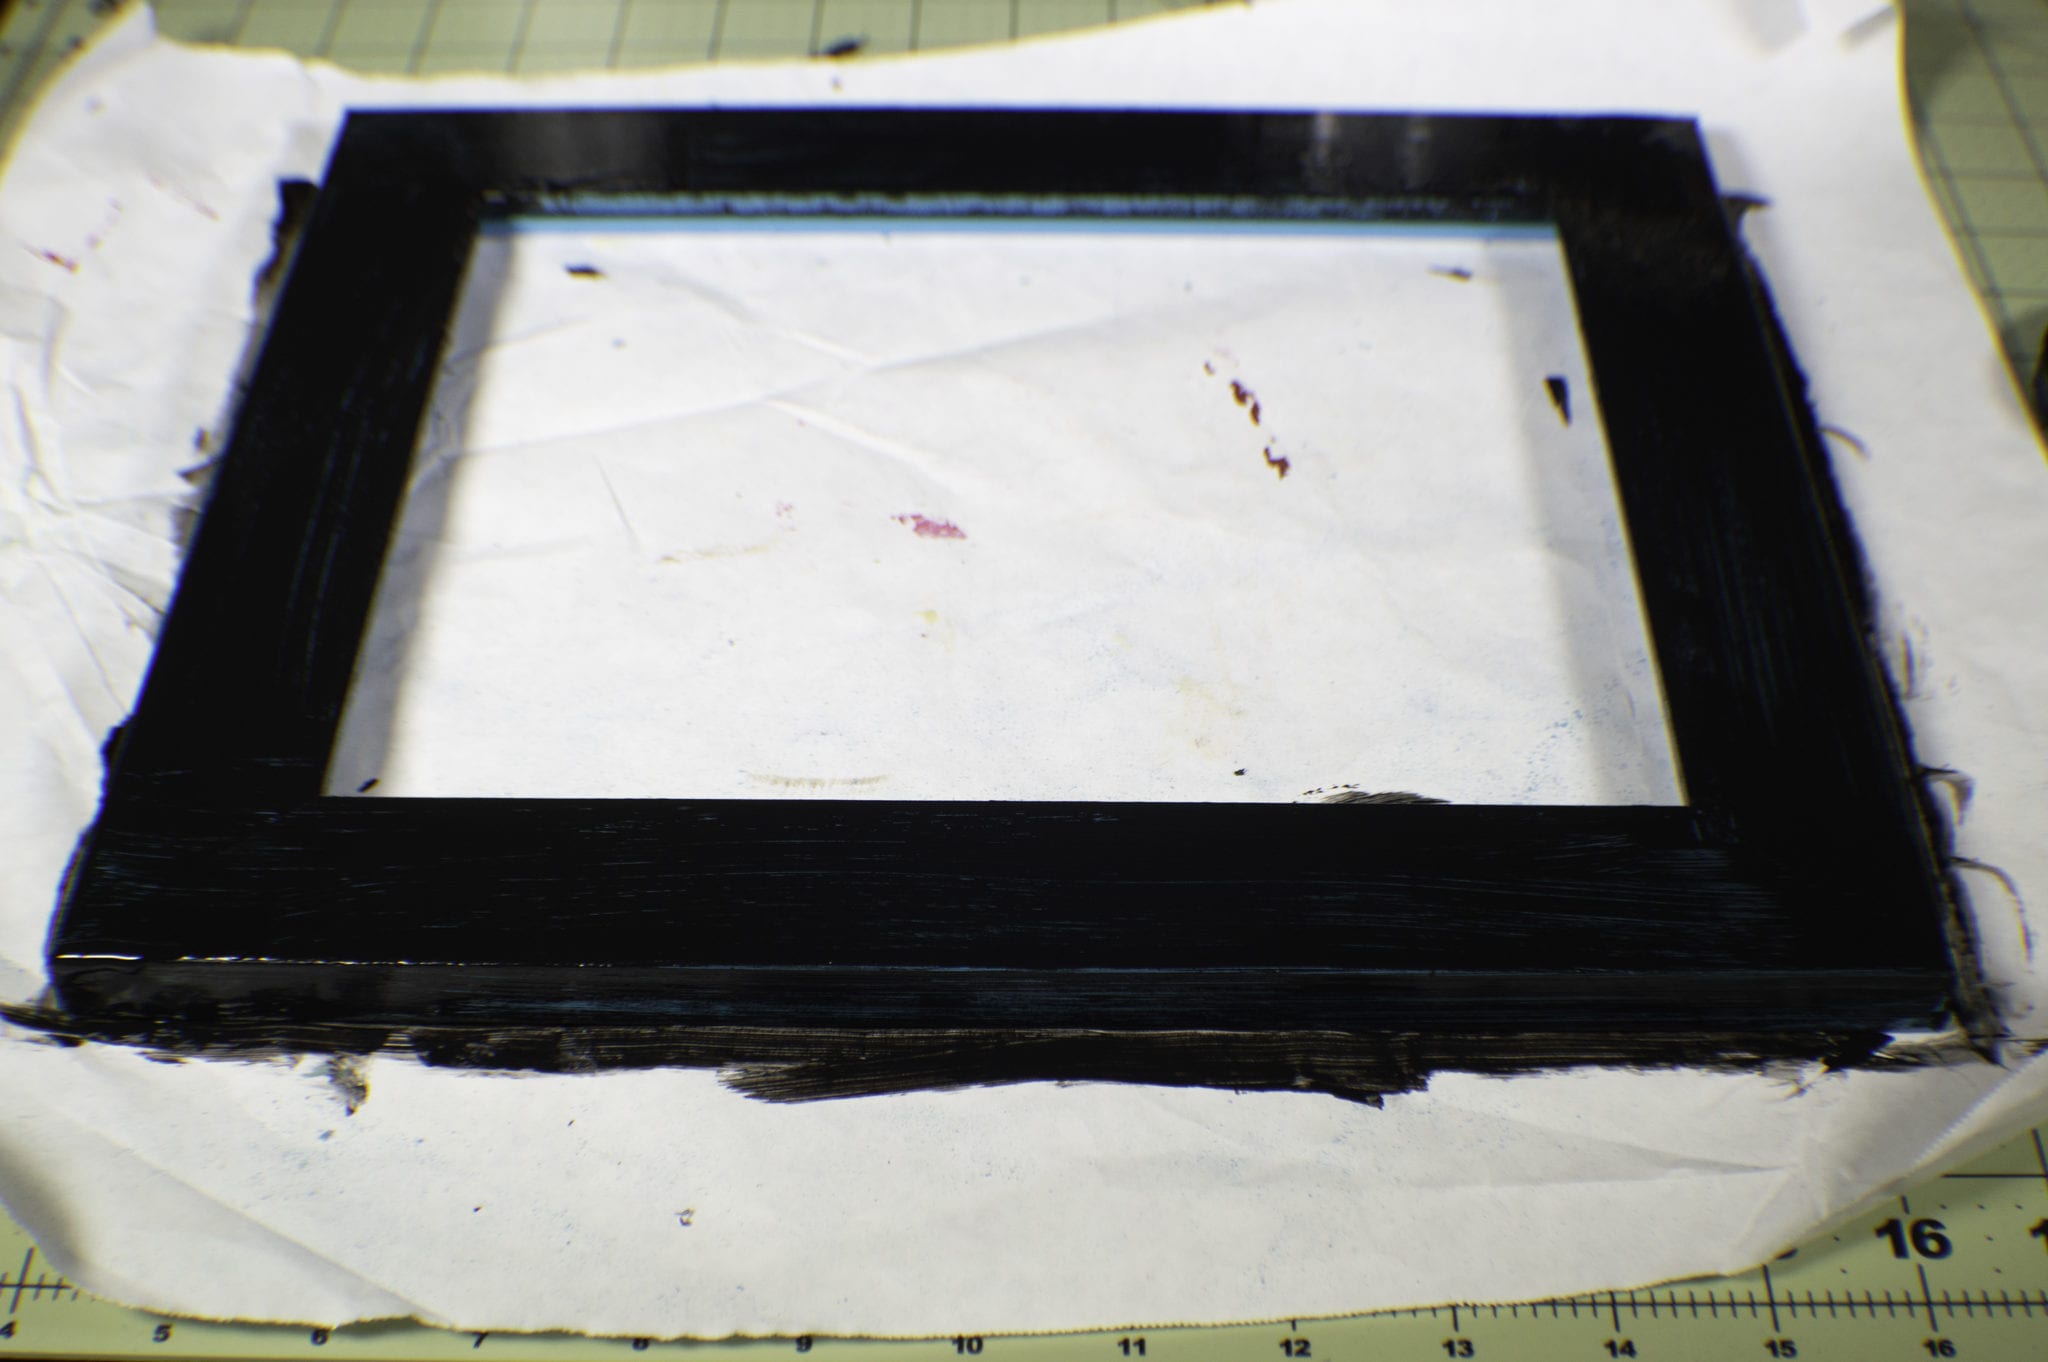
Step 2: How to Make a Farmhouse Picture Frame
Paint over the chalkboard paint with the black acrylic paint and make sure that it is completely dry on both sides.
Step 3: How to Make a Farmhouse Picture Frame
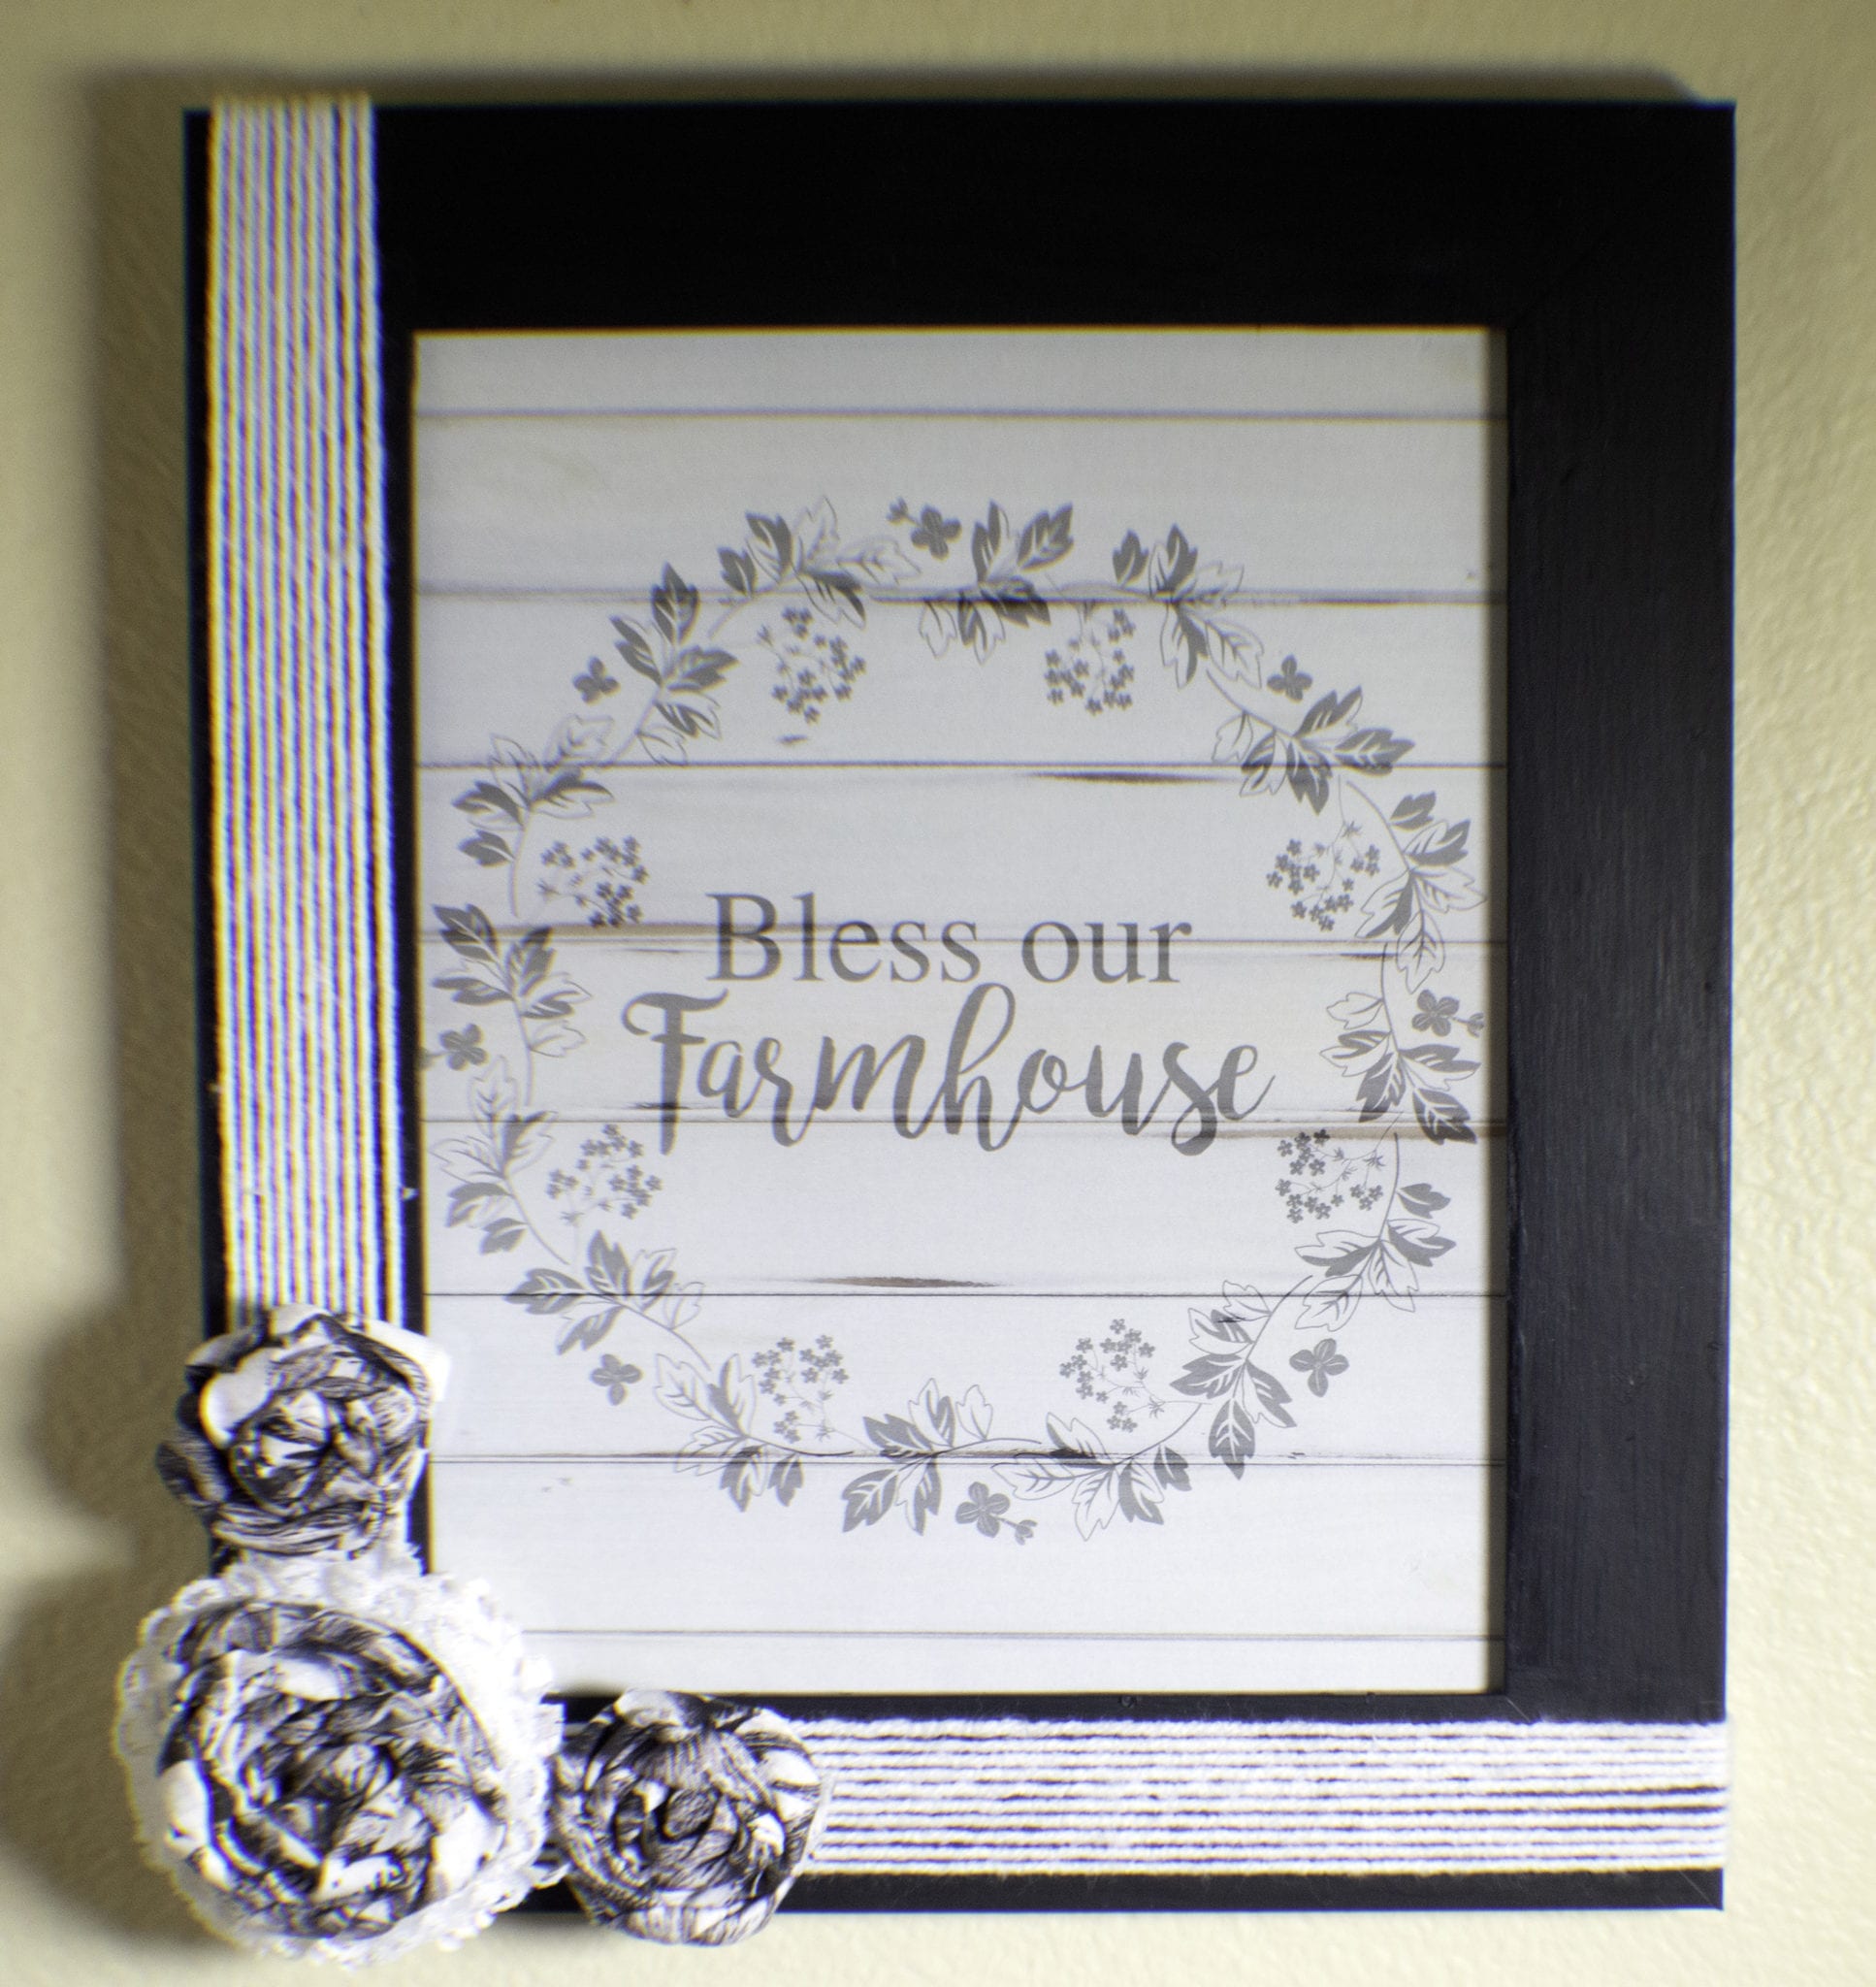
Wrap the twine along the left side and the bottom of the frame adding to the rustic appearance of the frame. You will want to glue the twine to the frame at the beginning and end.
Step 4: How to Make a Farmhouse Picture Frame
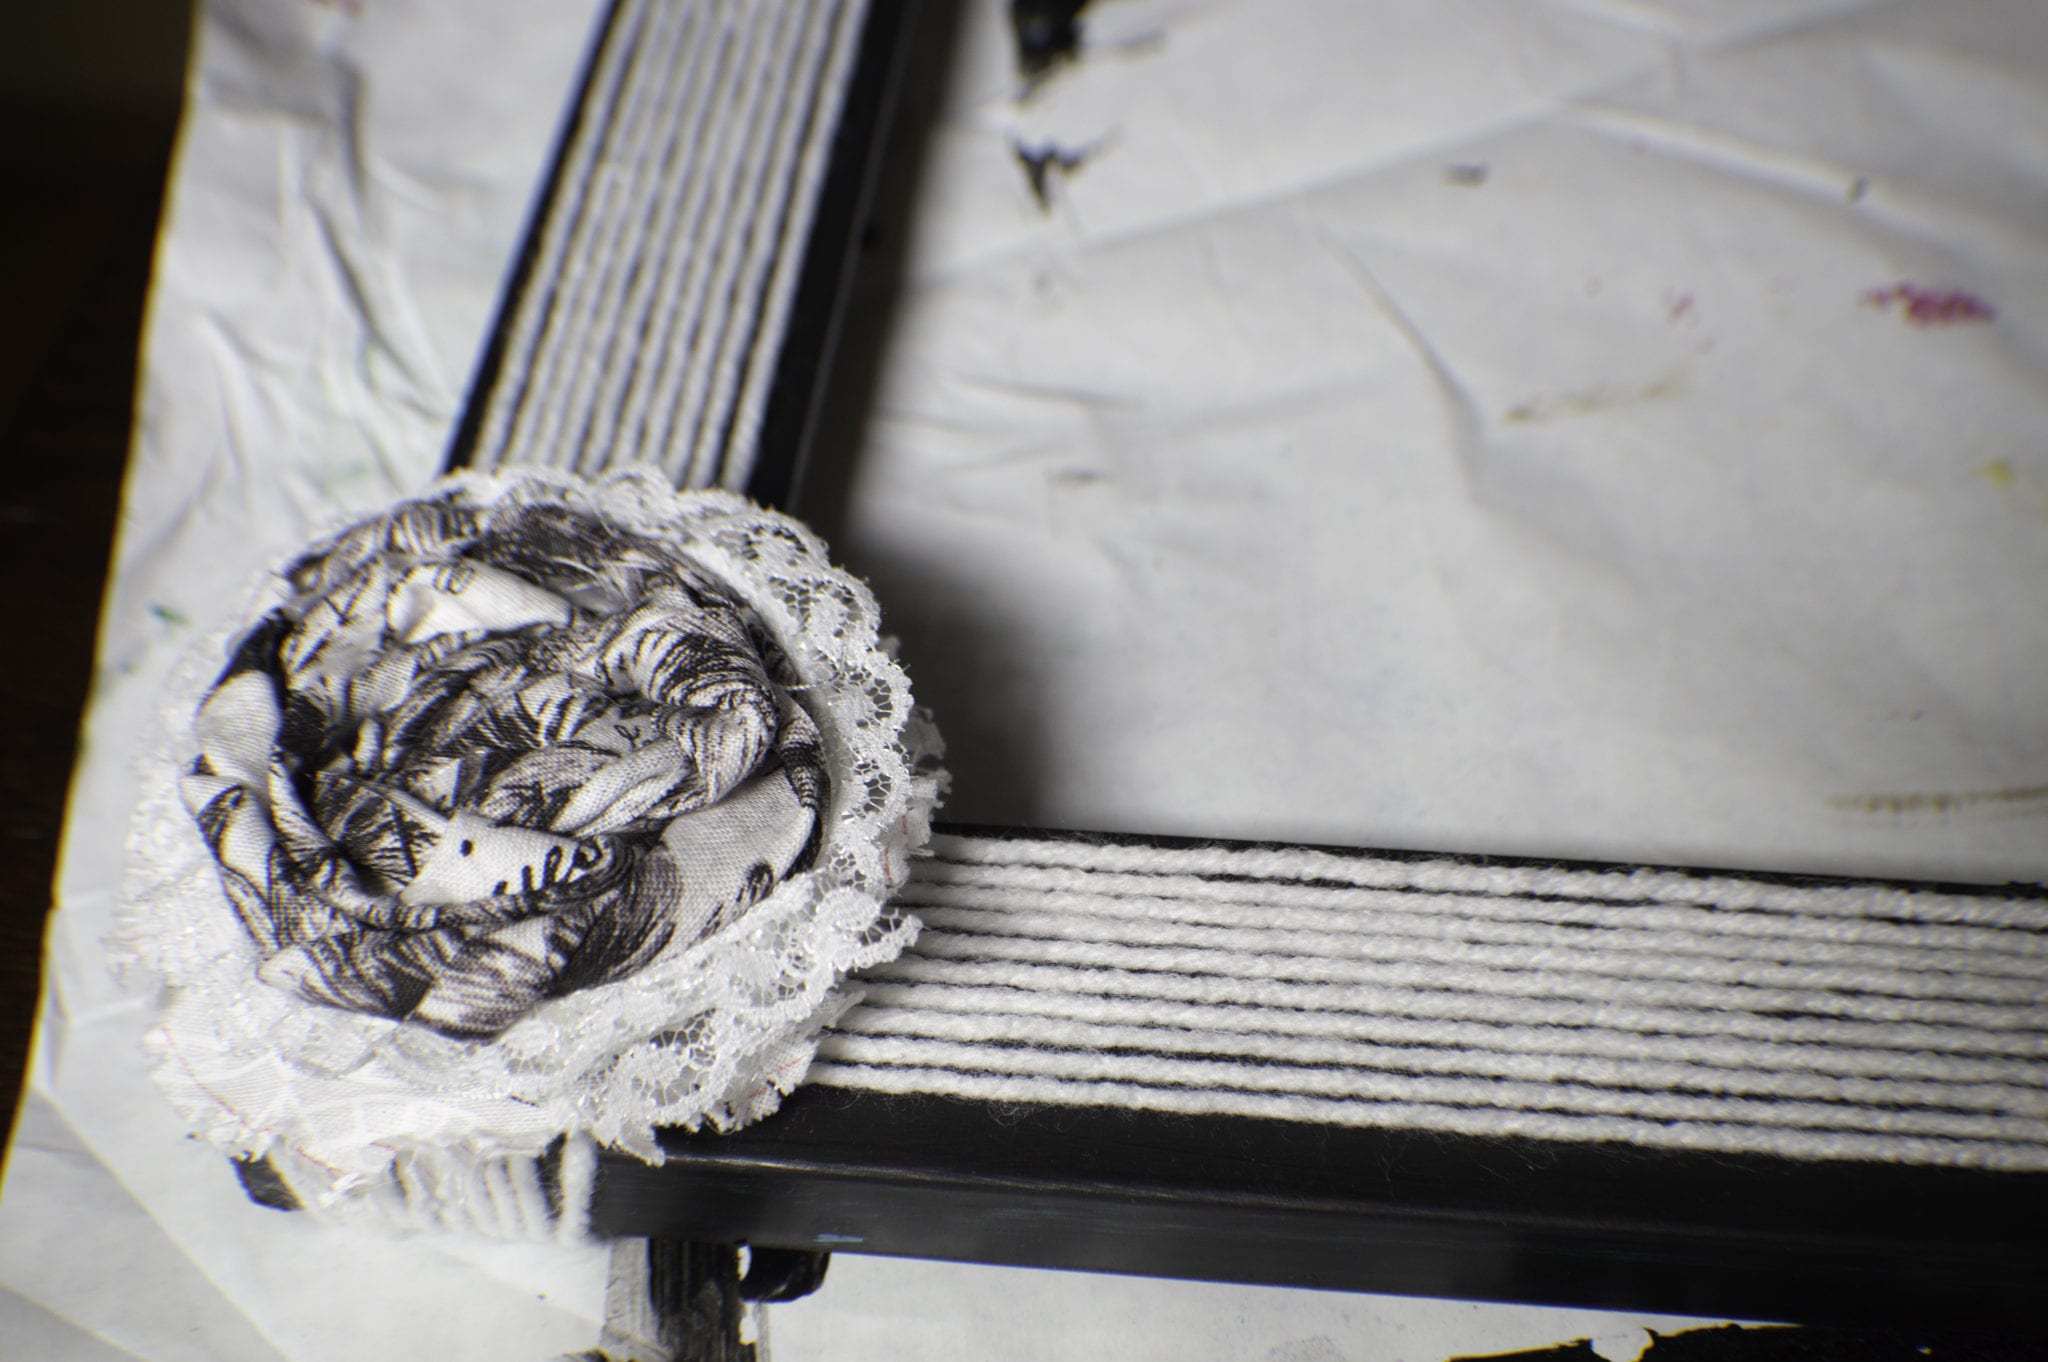
Create the fabric flowers. I used a rustic black and white sunflower fabric for my flowers but you could use another fabric or burlap for yours. I used three flowers for my frame. If you don't know how to make rustic fabric flowers head over to my tutorial on how to make burlap flowers. I used this technique to make my flowers for this project except that I glued the fabric as I went along rather than putting a felt backing on them.
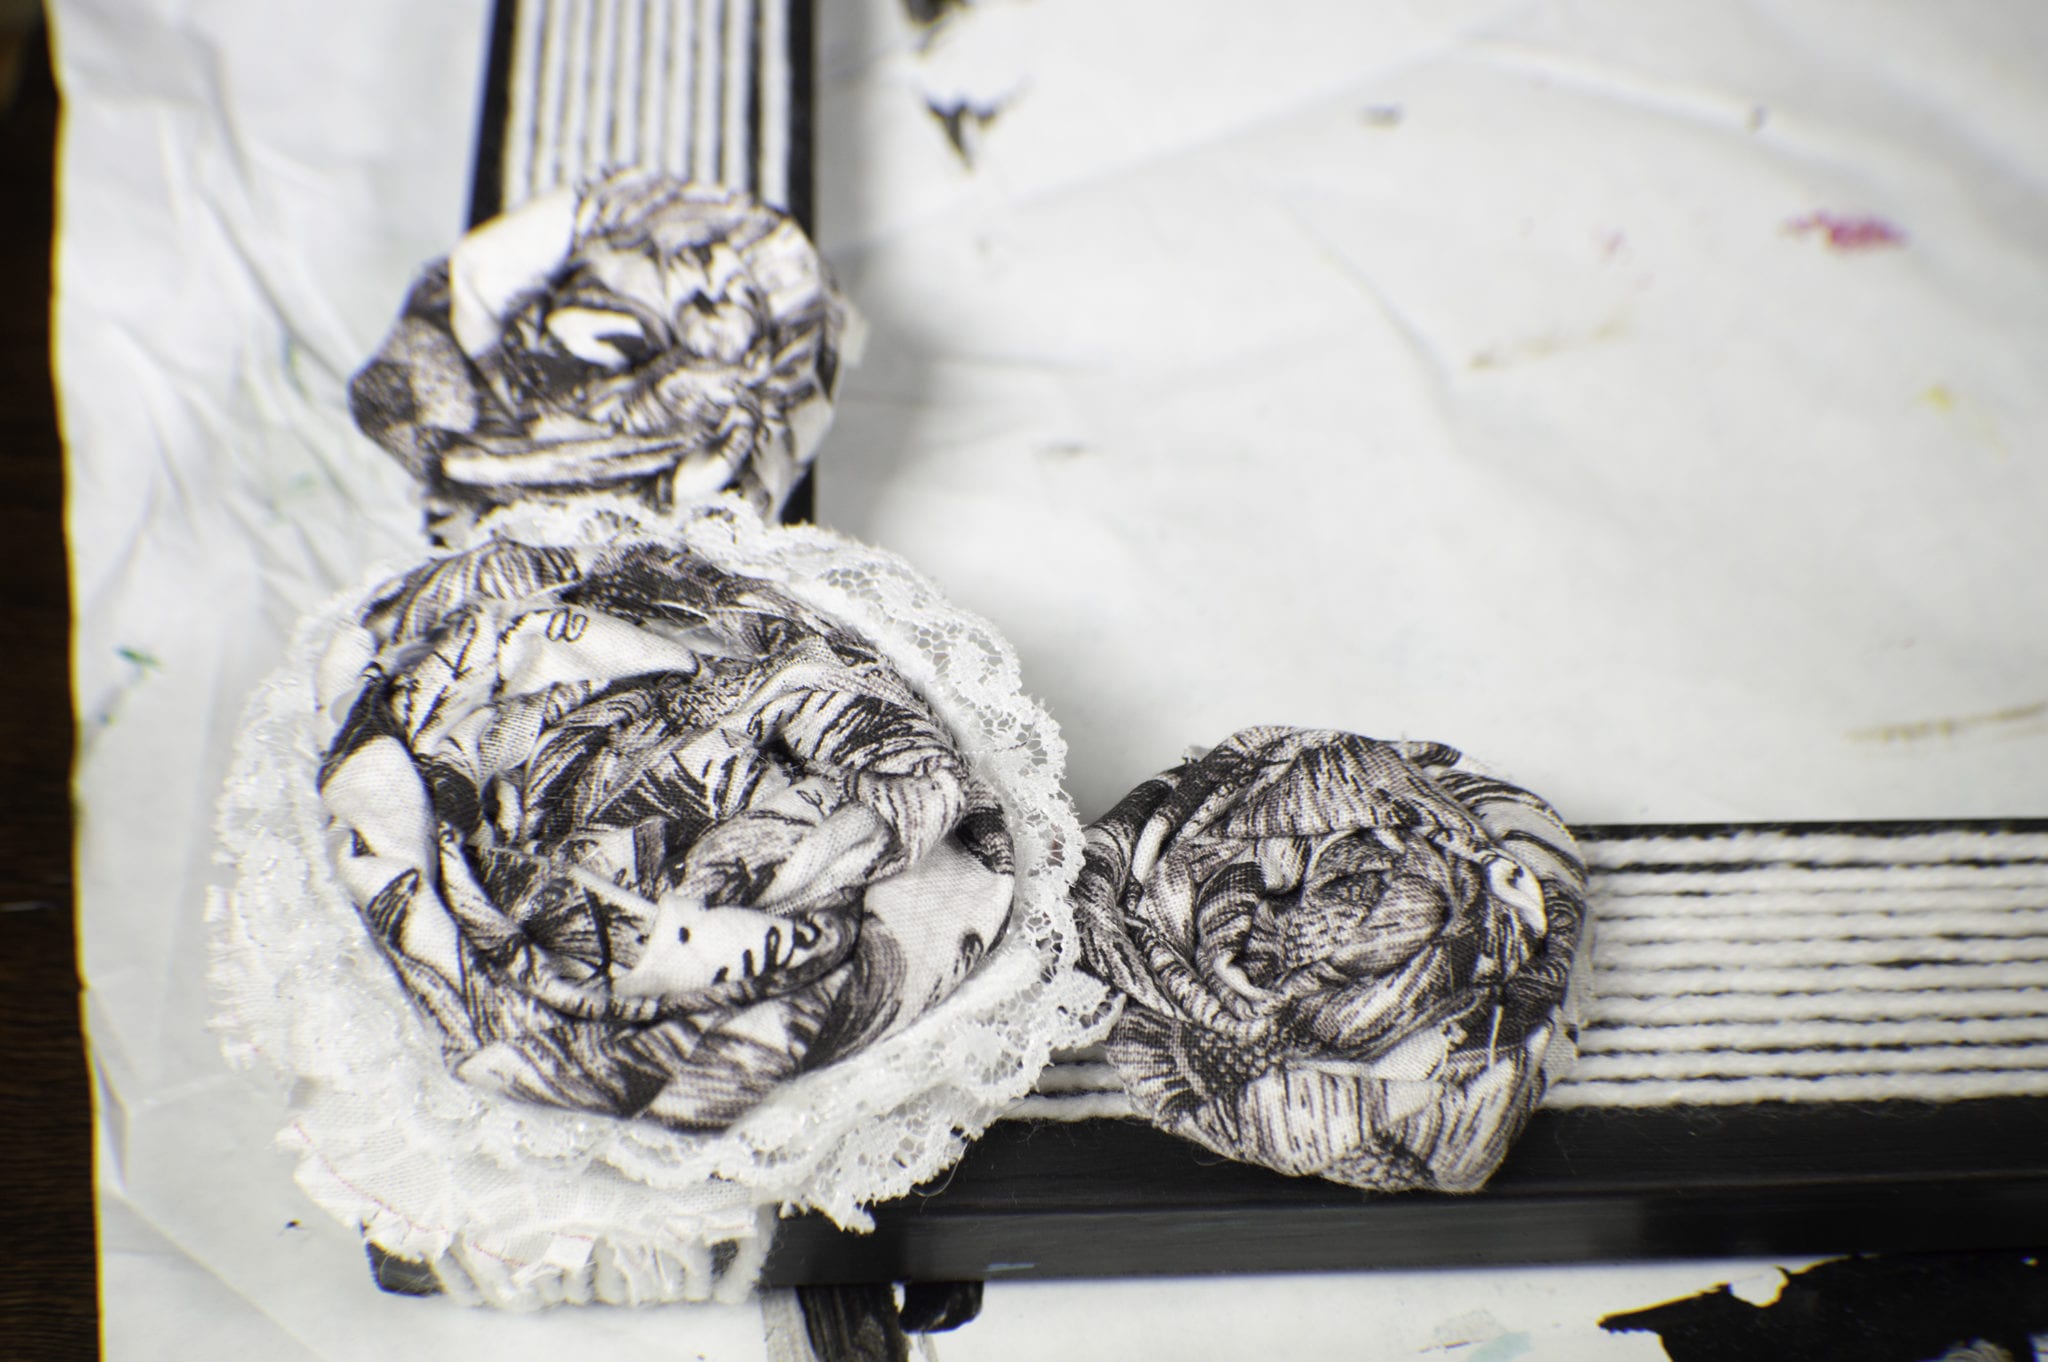
In order to get the size I needed I made two flowers using strips of fabric 2″ x 1/2 width of fabric and one flower 2″ by width of fabric. Your flowers may be larger or smaller depending on the size of your frame. My frame was 11″ x 14″. I then cut a circle of fabric slightly larger than my big flower and cut slits into it all the way around. After cutting the slits, I rolled the fabric around in my hand to make it more worn. I used this piece underneath the large flower to anchor it. I then added a small piece of lace.
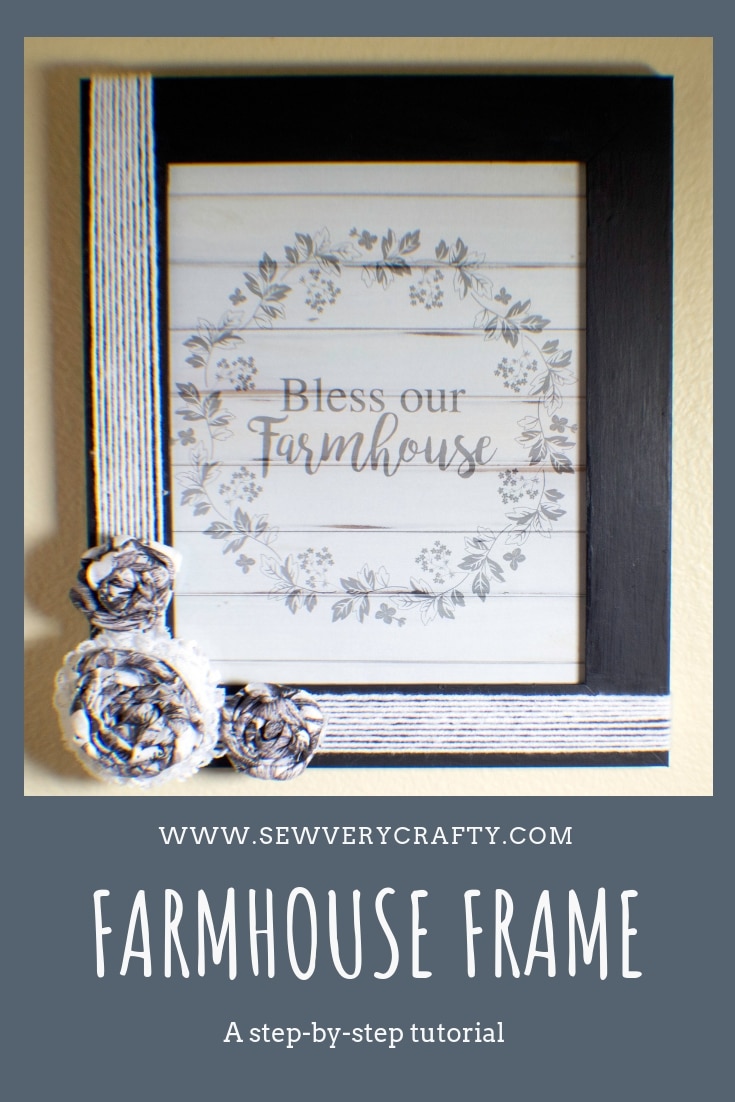
Step 5: How to Make a Farmhouse Picture Frame
Glue the fabric flowers to the bottom left corner of the picture frame. Add your picture or saying to the frame and you have completed your farmhouse picture frame.