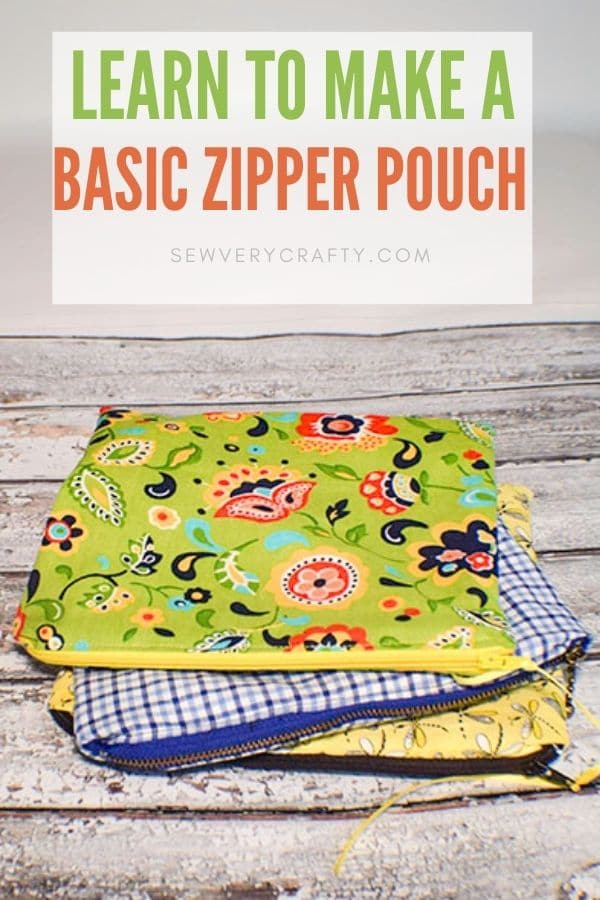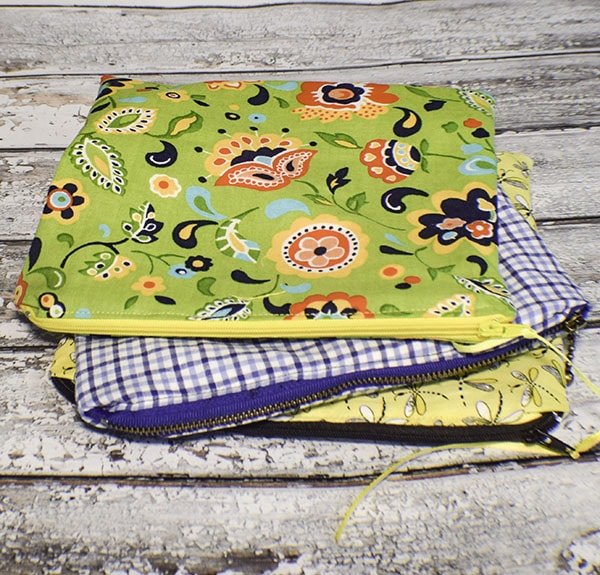
I love zippered pouches. They are fun to make and useful. I have a stash full of zippers that were either given to me or that I have purchased over the years. So I thought I would take this opportunity to show you how to make a basic zipper pouch. This pouch is lined with all the raw edges concealed. This pouch only takes about 10 minutes to make so you can make a lot of them. Give them as gifts. Use your stash. Even quilt them if you like. Anyone with a sewing machine and zipper foot can make this little pouch. So give this beginner sewing project a try.
I used fabrics from my stash that either came from JOANN Fabric & Craft Stores![]() Fabric.com or Hobby Lobby to create these pouches. They are fairly small so you can delve into your own stashes to create your pouches or head to anyone of those sites and purchases exactly what you need. This post contains affiliate links that if you click on them and make a purchase I may receive a small commission at no extra cost to you.
Fabric.com or Hobby Lobby to create these pouches. They are fairly small so you can delve into your own stashes to create your pouches or head to anyone of those sites and purchases exactly what you need. This post contains affiliate links that if you click on them and make a purchase I may receive a small commission at no extra cost to you.
If you would like a video tutorial of this project just head over to YouTube and check out my video and while you are there subscribe to my free YouTube channel.

What you will Need: How to Make a Basic Zipper Pouch
- 1/4 yd outer fabric
- 1/4 yd lining fabric
- 8″ zipper
- Standard sewing supplies
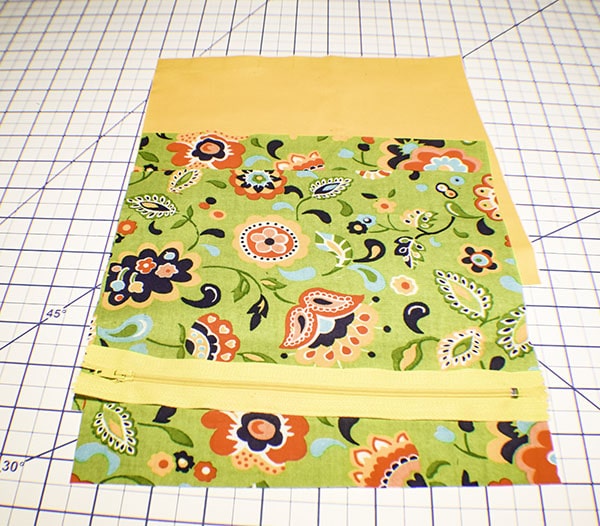
Step 1: Cut Your fabrics
Cut two outer and two lining fabrics that measure 9″ x 8″
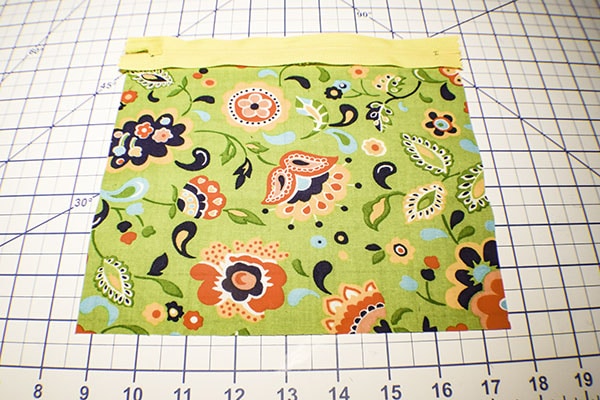
Step 2: Add Half of the Zipper
Place the outer fabric right side up on your work surface. Lay your zipper right side down on the fabric lining up the edges. Place the lining fabric right sides down on the zipper making a zipper sandwich. Clip or pin the three layers together.
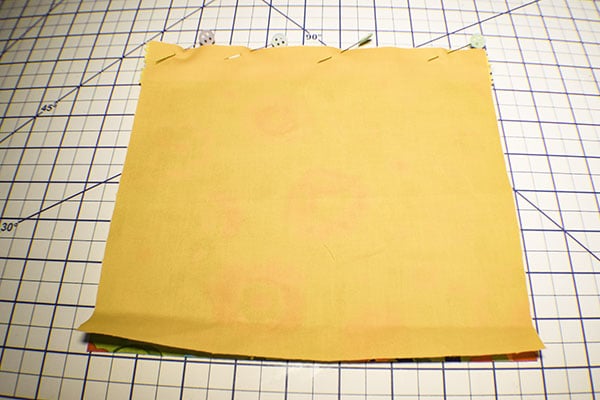
Step 3: Stitch the Zipper
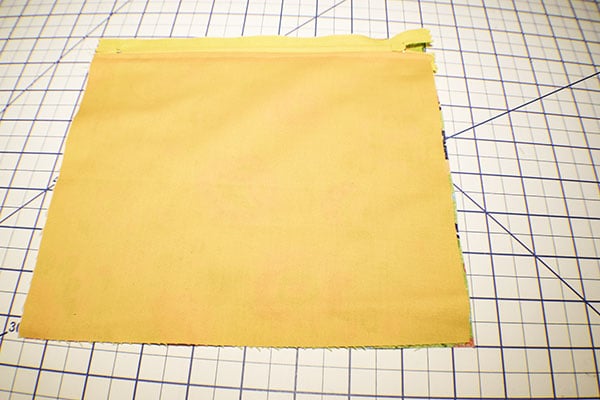
Install your zipper foot onto your machine. I like to move my needle over a little to the left to get closer to the teeth but you don't have to. Stitch down the zipper through all three layers. Turn the fabrics right sides out and press. Top stitch along the zipper.
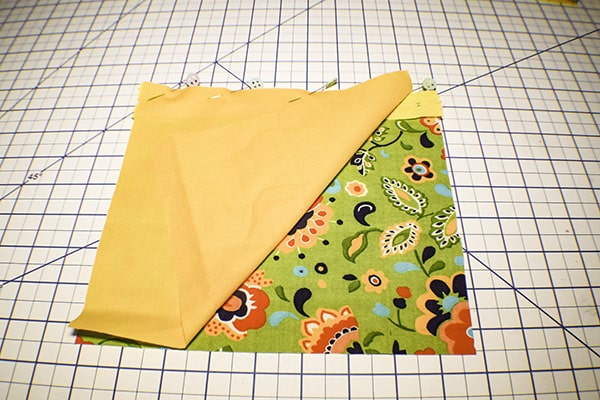
Step 4: Add the other Half of the Zipper
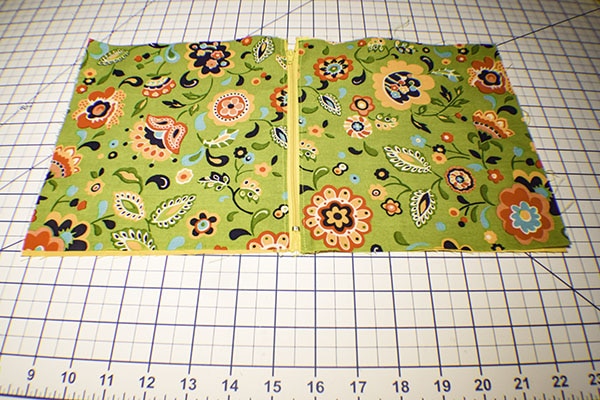
Place the other outer piece right sides up on your work surface. Place the other half of the zipper right sides down on the outer fabric and the lining fabric right sides down on the zipper.

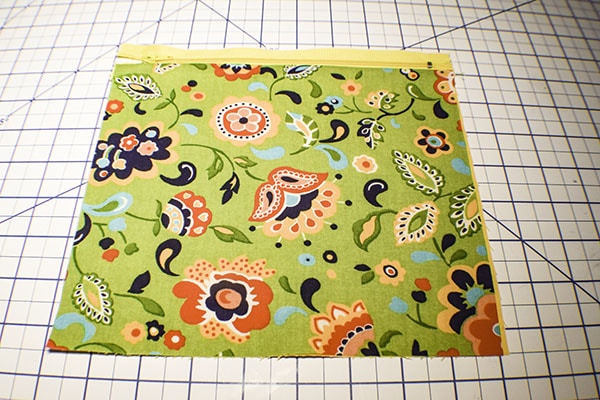
Step 5: Stitch the Other Side of the Zipper
Stitch the other side of the zipper the same way that you stitched the first side. Press and topstitch as well.
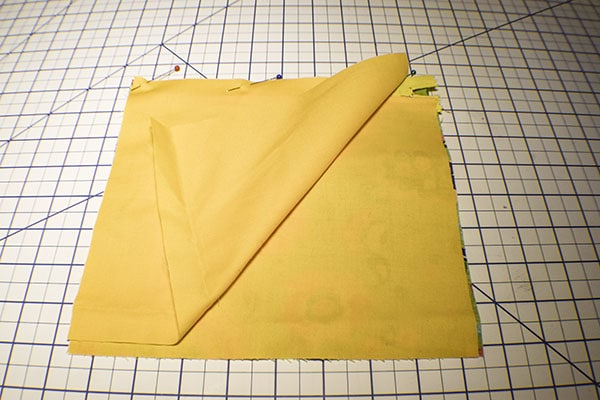
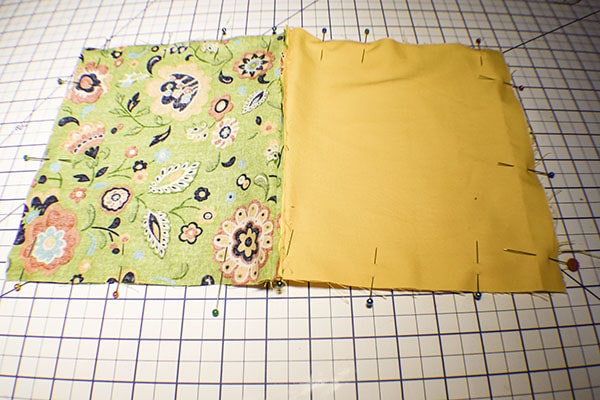
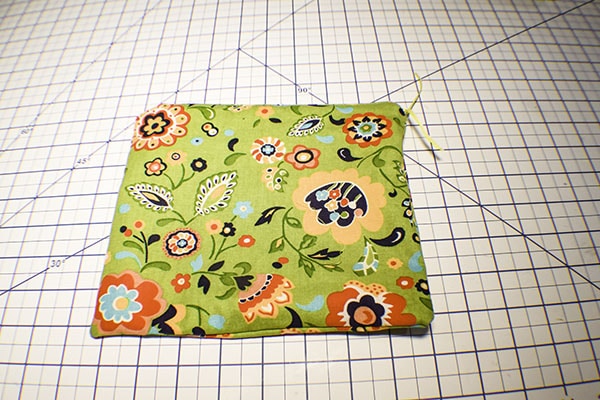
Step 6: Sew the Bag
Unzip the zipper. Place the lining pieces right sides together and the outer pieces right sides together. Stitch along one side, the bottom and partially up the next side. Leave an opening then finish sewing the rest of the side. You will need the opening to turn the zipper right sides out. Clip the bottom corners.
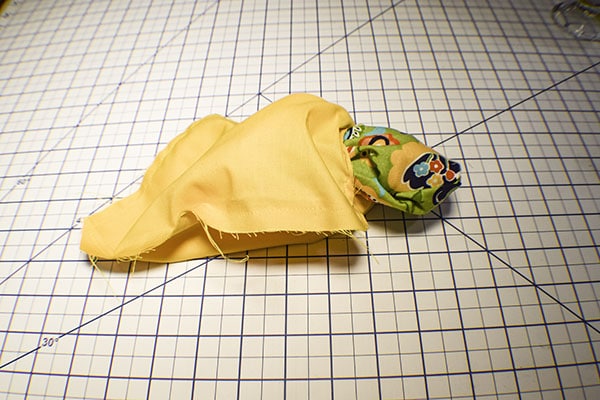
Step 7: Turn the Bag
Reach into the opening and pull the fabric through the opening and through the zipper opening to turn the bag right sides out. Press the bag. Close the opening using ladder stitch. If you are unfamiliar with Ladder stitch check out the below video.
I hope you enjoyed this simple zipper pouch. If you would like more sewing and crafting projects sign up for our newsletter and receive your free eBook of 15 handbag patterns and tutorials taken from the blog.
If you would like video tutorials of some of Se Very Crafty's most popular posts subscribe to our free YouTube channel here.