Make Pajama Bottoms Without a Pattern
I love making my own pajama bottoms. There are so many fun fabrics out there to choose from that you can't get in ready to wear from children's fabrics to adult. So I decided to show you how you can make your own pajama bottoms without using a paper pattern. You will simply use an old pair of pajama bottoms as your pattern. Believe me that this project is so simple that anyone with basic sewing skills can make these pajama bottoms.
I found this terrific butterfly fleece fabric that I thought would be perfect for my latest pajama bottoms project. But if you head over to Hobby Lobby and Fabric.com you will find dozens of fun fleece fabrics that you can use for your pajama bottoms. You can order them from the privacy of your own home and get them in just a short time so that you get exactly what you want for your bottoms. This post contains affiliate links that if you click on them and make a purchase I may receive a small commission at no extra cost to you.
What you will Need:
- Fleece depending on the size of your bottoms – I used 3 yds for mine.
- 3/4″ Elastic depending on your waist measurement
- Standard sewing supplies
Step 1: Make Pajama Bottoms Without a Pattern
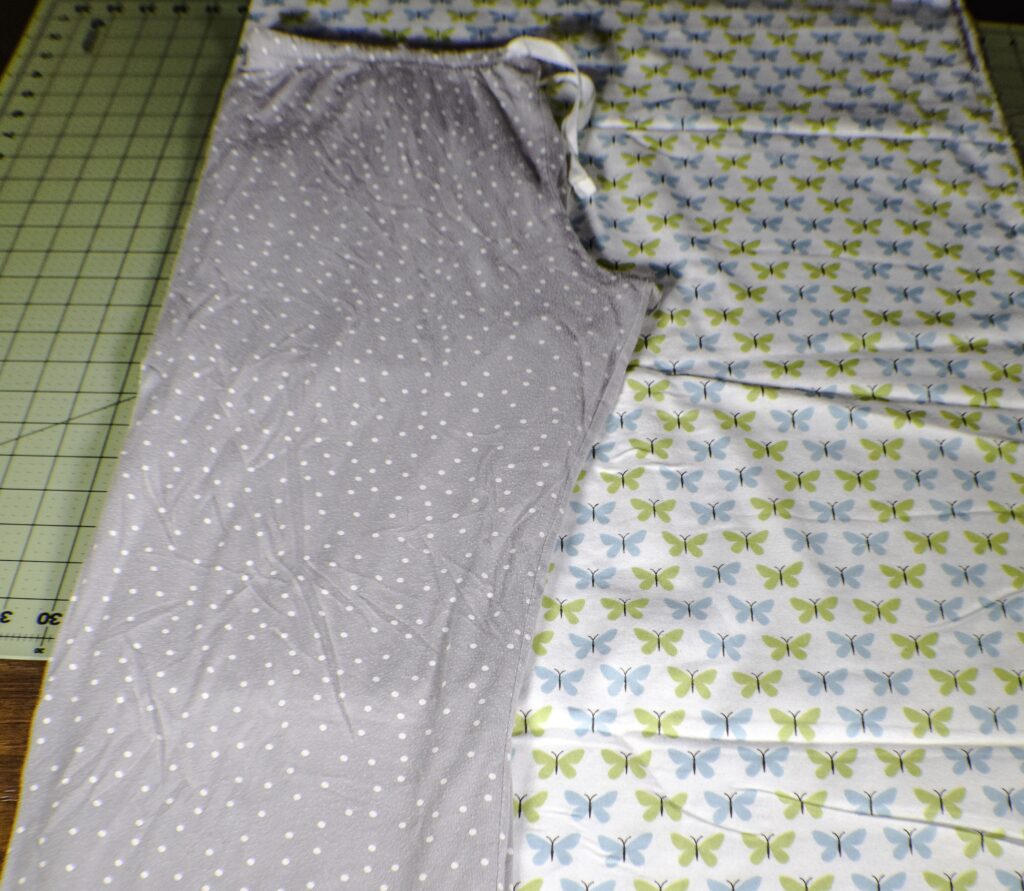
Find a pair of nice fitting pajama bottoms to use as a template. Fold them in half lengthwise and lay them on the fold of your fleece fabric. Make sure that the crotch has been pulled out.
Step 2: Make Pajama Bottoms Without a Pattern
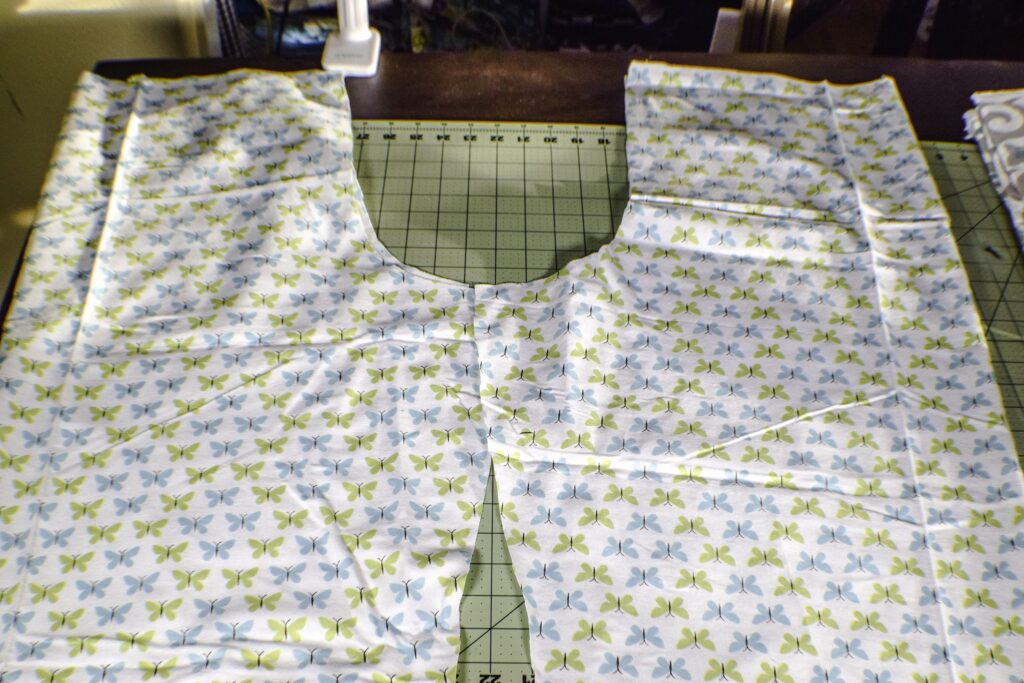
Cut around the old pajama bottoms leaving a 1/2″ seam allowance and 3″ on the top for the elastic casing and 1″ on the bottom for the hem. So your finished cut piece will be larger than the pajama bottoms you used as a pattern. Also add an additional inch or two around the waist measurement to accommodate for the elasticized waist. Repeat so that you have two pieces that are identical.
Step 3: Make Pajama Bottoms Without a Pattern
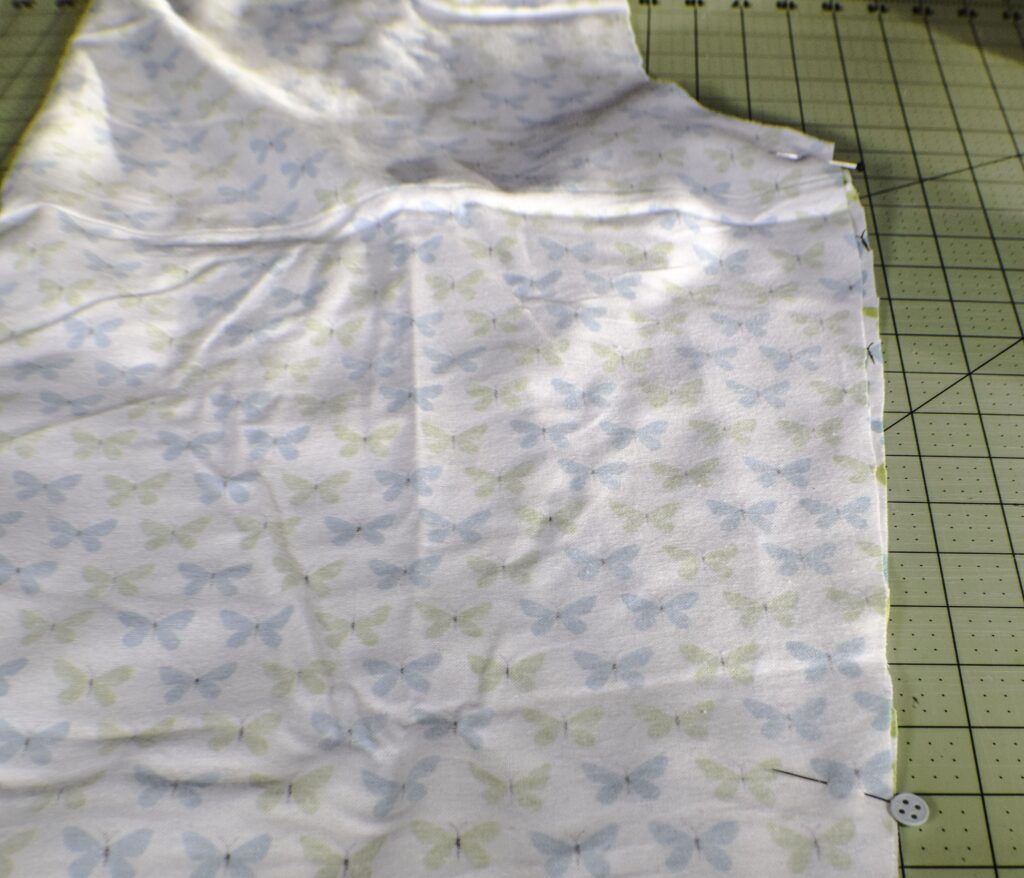
With right sides together sew the bottom of the leg seams. Sew from the bottom to where the crotch begins to curve on both pieces. This is the inseam.
Step 4: Make Pajama Bottoms Without a Pattern
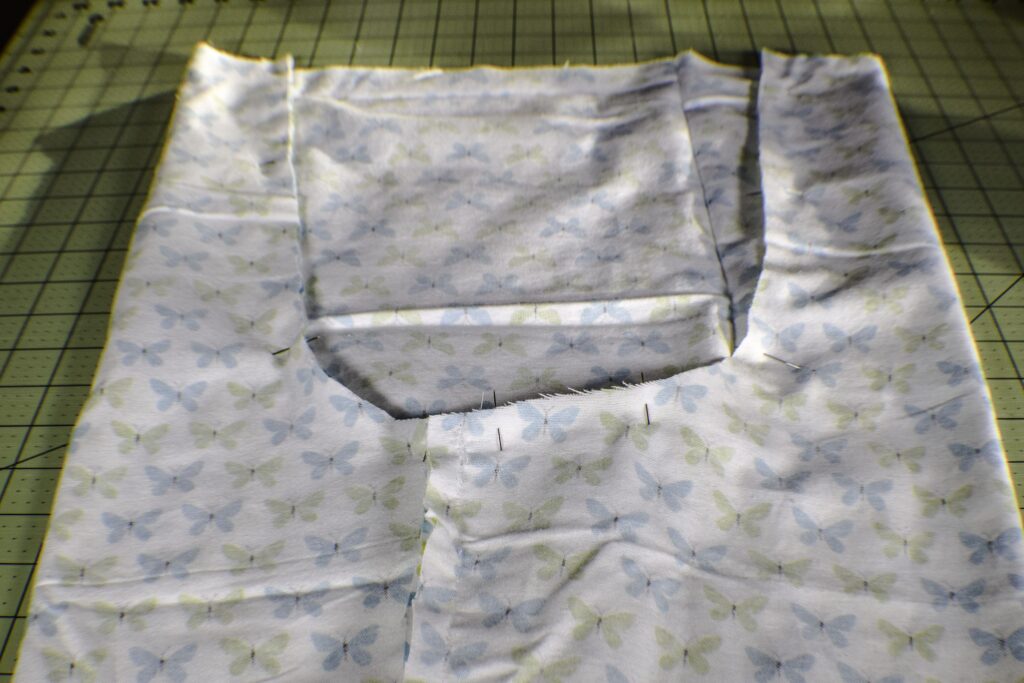
Turn one of the pieces right sides out. Place it inside the other piece so that the two pieces are right sides together. Sew the crotch. You will see that it is a big “U” shape. Sew it from one waist side to the other using a 1/2″ seam allowance. The Bottoms are together at this point.
Step 5: Make Pajama Bottoms Without a Pattern
Measure your waist and add 1″. Cut a piece of 3/4″ elastic the measurement of your waist plus 1″.
Step 6: Make Pajama Bottoms Without a Pattern
Create the casing. Fold down the waist 1/4″ inch and press. Fold it another 1 1/4 inch and sew the casing all the way around using a 1/4″ seam allowance. Leave about a 2′ gap to insert the elastic.
Step 7: Make Pajama Bottoms Without a Pattern
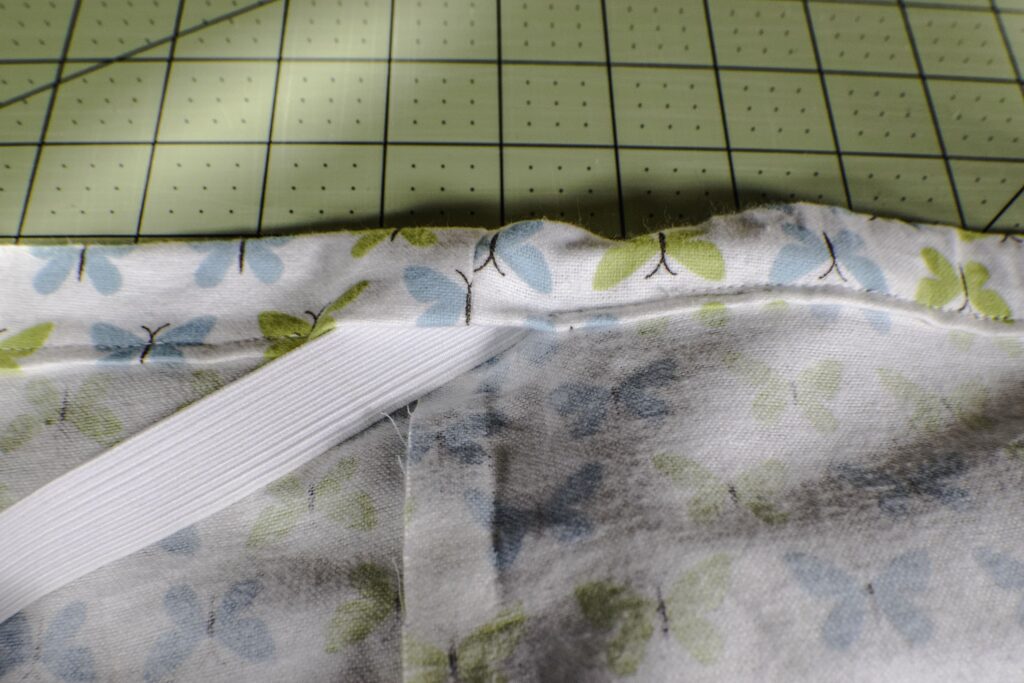
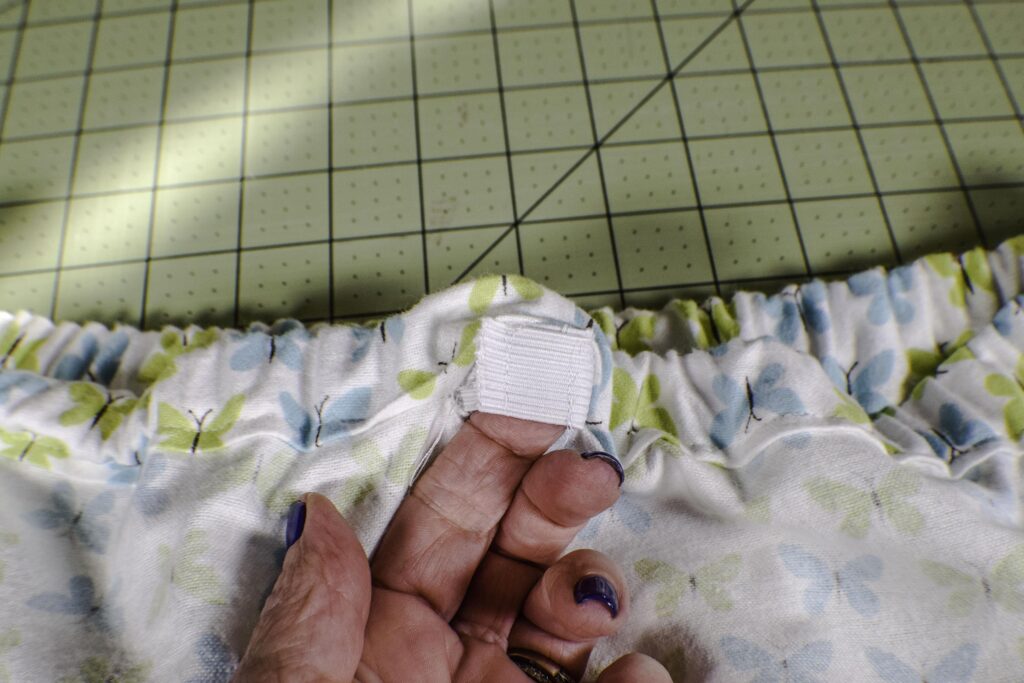
Add the elastic into the waistband using a safety pin. Attach the safety pin to the end of the elastic and feed it through the casing. When the ends meet, pull the elastic so that the ends overlap. Sew the ends together making sure not to twist the elastic. Slip stitch the opening closed.
Step 8: Make Pajama Bottoms Without a Pattern
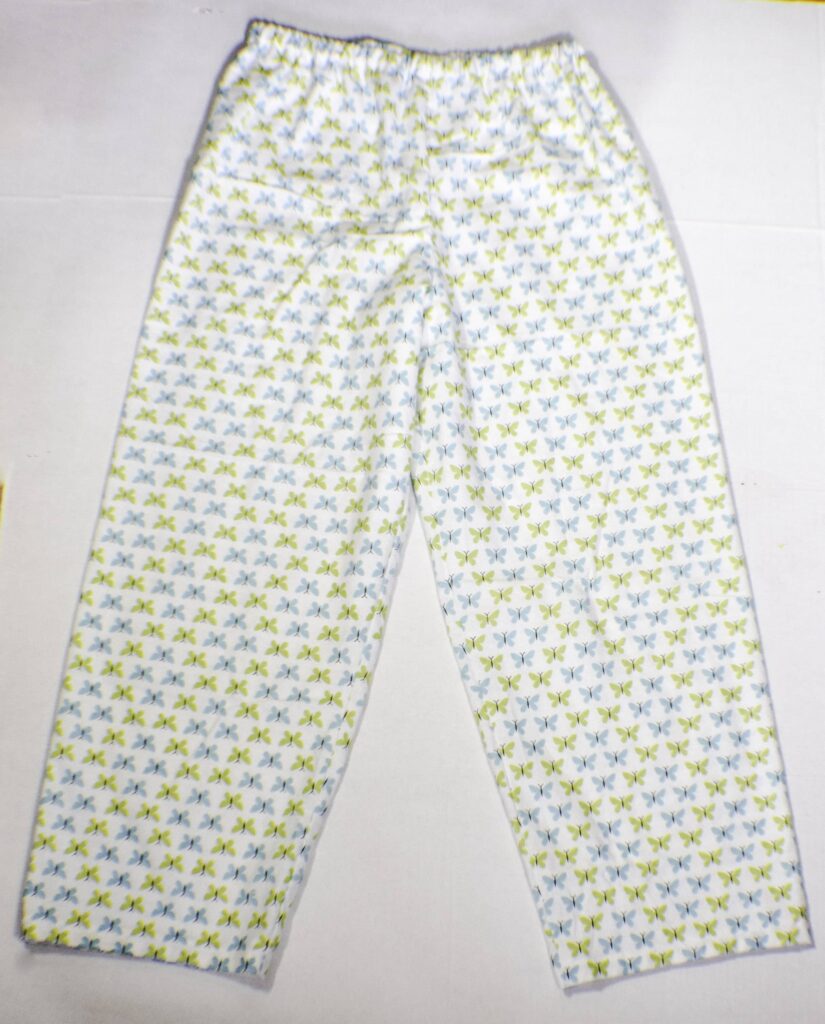
Hem the bottoms. Fold up the bottoms by 1/2′ and by 1/2″ again and press and sew along the bottoms to create the hem. You have now finished your pajama bottoms.




When I cut out this pattern I found the waist to be too small. I made allowance for the elastic and stretch in the waistband and cut the fabric wider. I am using flannelette for this project. Do you have any suggestions for me to make this larger now? I thought about inserting a piece of the fabric in the crotch to waist area.
I am sorry that the 3″ extra was not enough ease for your pajamas. I do think that your solution is a good one. How much too small would you estimate the pajama waist to be? Perhaps you could simply place a wedge of fabric from the waist band along the side seam as in this example. https://www.pinterest.com/pin/126452702014958727/ It would probably be a bit easier to do and take less time and fabric. If you placed the wedges on both sides you would not even notice. I hope this helps.
If you only used two yards of fabric, you must be short. I’m average, and I bought two yards. Now I’ll have to back and buy another 1 1/2 yards because there wasn’t enough fold left to place a 2nd cutting on. A little disappointed, but not too far back to the fabric store.
I realized as you wrote this that I did use 3 yards of Fabric. That was totally my fault. I apologize for the mistake.
I used an old and really comfy pair of PJ’s for the pattern and the new ones won’t even fit over my hips. Using PJ’s with elastic already in them doesn’t account for the elastic tightening up the waist. My elastic wouldn’t even fit inside the waist band because it was too long. I’m glad this worked for you, but sadly I just wasted several hours and 3 yards of super cute fabric. Going to see if I can save them and rework them for my daughter.
I am sorry this did not work for you. Did you remember to add the three additional inches to the top to accommodate the elastic? That is what I did and it worked like a charm.
Good grief, Sewverycrafty ! Great idea on PJ Pants … I’ve done this trick for years to make my own scrub pants, too. All those comments above that are complaining obviously did not THINK about what they were doing when they did this project.
Thank you for sharing your idea !
Thank you.
My daughters pair are done now and she loves them (I’m sad about losing my fabric). I’m making adjustments in a second pair now and it seems to be working. Essentially, I stretched out the waist band as far as it would go and then gave myself another 1 1/2 inches. I’m getting ready to add the elastic now, but so far so good.
Glad it is finally working for you.
I should add that this is my first attempt at making any kind of clothing. Feeling like a success even if they were too small for me. Thanks for posting the idea!
You’re welcome. You have to start somewhere and this is a great project to start with. Sorry for the problems in the beginning.
Fun, but the waist was too small. I’m a novice, maybe I’ll be able to better judge the waist measurement next time.
Sorry to hear about the waist. Perhaps I should change the tutorial to add a few more inches to the waist measurement.
I love to sew as long as it’s FAST!!! I made these from a plush fleece pj bottom and the top of the pant was a draw string. I stretched out the draw string as far as it would go and then cut them. Also, after I cut the first piece, I used the first piece as a template to cut around instead of using my pj pant. This way I was sure they would be cut exactly the same (or close). They turned out super cute! And in 45 minutes! With $4 worth of on sale fleece!! I’m getting my other knee replaced in a few days and I will make another pair, but leave the seam open to just above my knee. This will keep me warm, I can sew up the seam when I’m healed, and most of all, I will look ADORABLE!! HA!! Thank you so much for this. Looking forward to more projects from you, Cindi Lamb Wiley
Thank you. I am so glad you enjoyed the project. I have had a knee replacement too so I wish you the best of luck.