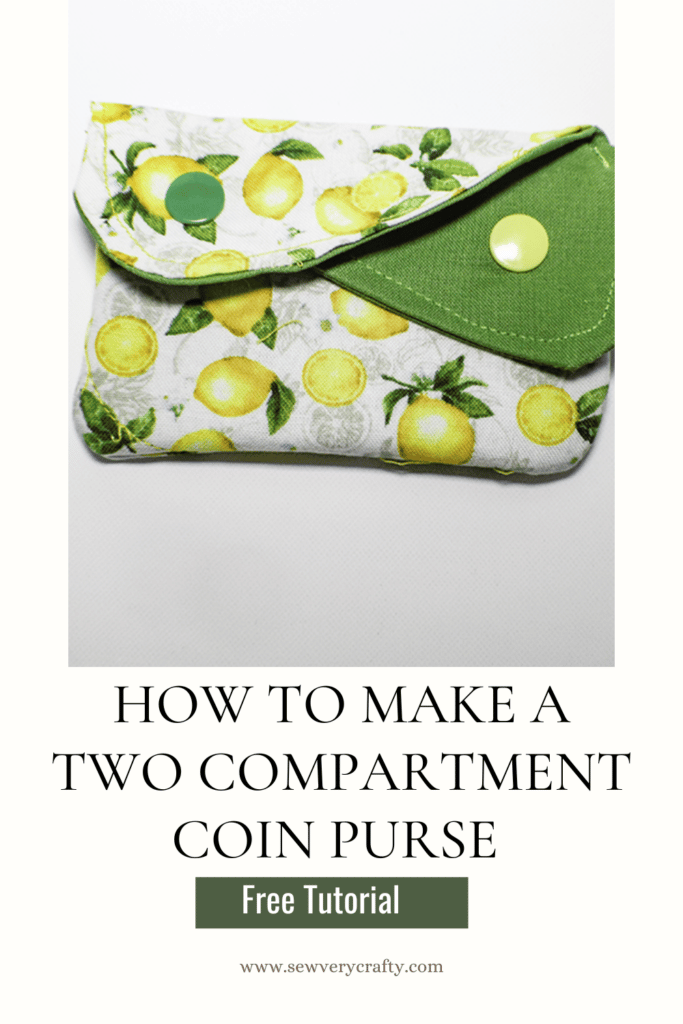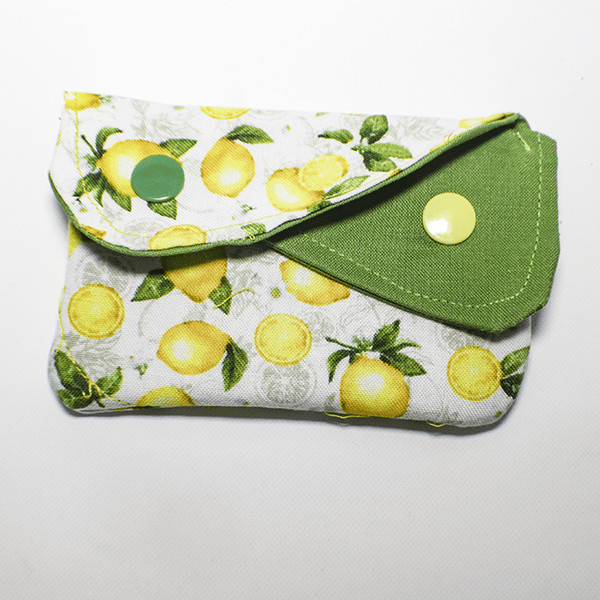
Coin purses are always useful to have. I found this two compartment coin purse on Sewing Times on Youtube and thought to share it with you. it is a fun little coin purse to make. You can fit both coins and cards in it. Plus, it is really cute. This project comes with a free pattern to make things super simple. If you would like to learn how to make a purse frame coin purse check out my post here.
I used standard cotton fabrics for this project and some Pellon SF 101 interfacing. I purchased my fabrics at joann's but you could head to fabric.com or onlinefabricstore.net to get exactly what you need for your project. This post contains affiliate links that if you click on them and make a purchase I may receive a small commission at no extra cost to you. As an Amazon Associate I earn from qualifying purchases.
What you will need: How to Make a Two Compartment Coin Purse
- Pattern you can get by clicking on this link
- 1/8 yd outer and lining fabric
- 1/8 yd Pellon SF 101 interfacing
- Two Kam Snaps
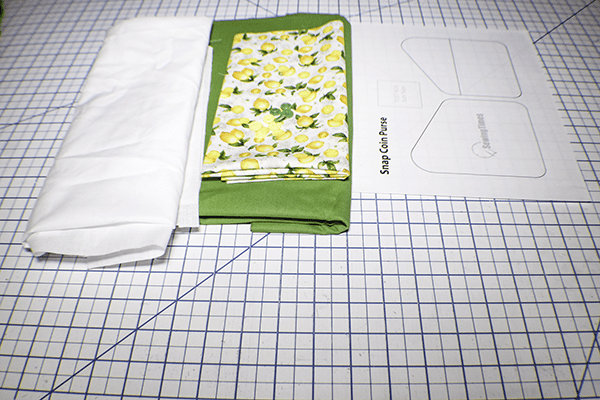
Step 1: Cut your Fabrics
From the Outer Fabric:
- 1 piece that measures 5 3/4″ x 6 1/8″
- 1 piece that measures 5 3/4″ x 3 3/4″
From the Lining Fabric
- 3 pieces that measure 5 3/4″ x 6 1/8″
- 1 Piece that measures 5 3/4″ x 3 3/4″
Pellon SF 101
- 2 pieces that measure 5″ x 5 5/8″
- 1 Piece that measures 5″ x 3″
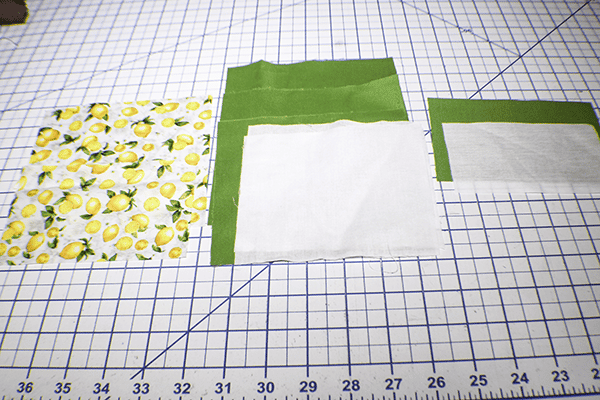
Step 1: Cut the Interfacing
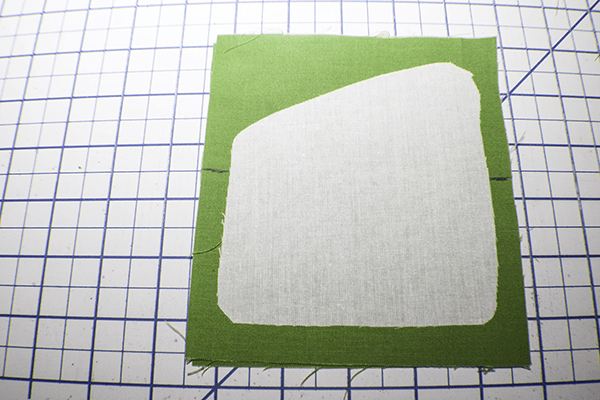
Using the pattern pieces cut two pieces of interfacing from the main shapes and one from the bottom of one of the shapes where the line is. Make sure that you have interfacing pieces with one flap part that is opposite the other.
Step 2: Fuse the Interfacing
Fuse the main shapes of the interfacing to one outer and one lining piece that measure 5 3/4″ x 6 1/8″. Then, fuse the half piece to the smaller outer piece following the manufacturer's instructions.
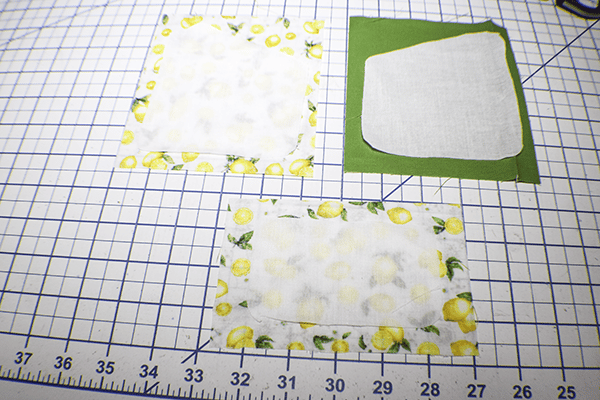
Step 3: Stitch the Small Pieces
Place the two small pieces right sides together and stitch along the top using a 3/8″ seam allowance. Round the bottom corners to match the interfacing keeping the 3/8″ seam allowance. Turn right sides out and press. Top stitch along the seam. Set aside.
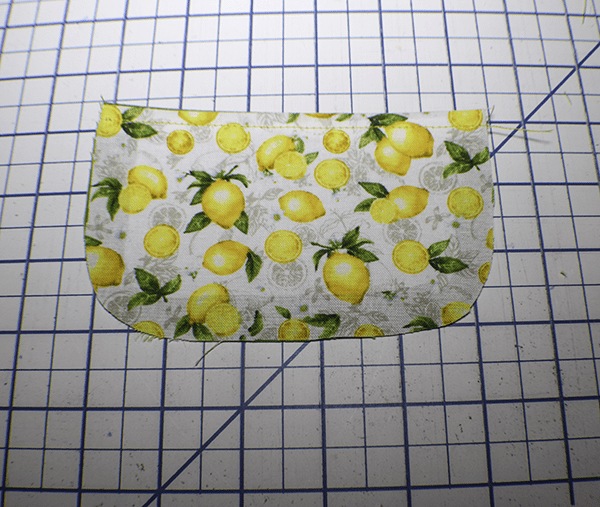
Step 4: Stitch the Large Lining Pieces
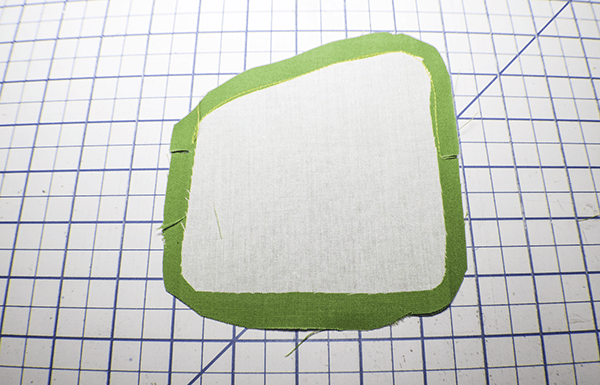
Take the lining piece that has the interfacing on it and measure up 3″ on each side and make a mark. Place the piece right sides together with the other large lining piece. Pin. Snip the sides at the two marks just to the beginning of the interfacing going through both layers. Stitch the two pieces together from one clipped mark to the other along the curved edge using a 3/8″ seam allowance. Trim the top of the curves keeping the 3/8″ seam allowance and round the bottoms. Notch the curves. Turn right sides out and topstitch along the curve.
Step 5: Add the Small Pieces
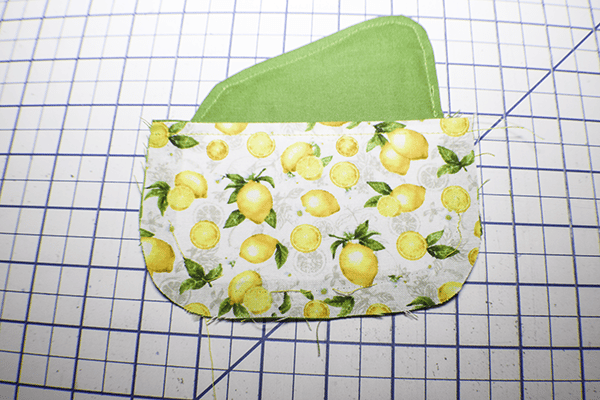
Place the small pieces that you previously made and place them lining sides together with the large lining piece. Stitch along the sides and bottom using a 3/8″ seam allowance.
Step 6: Add the Remaining Lining and Outer Piece
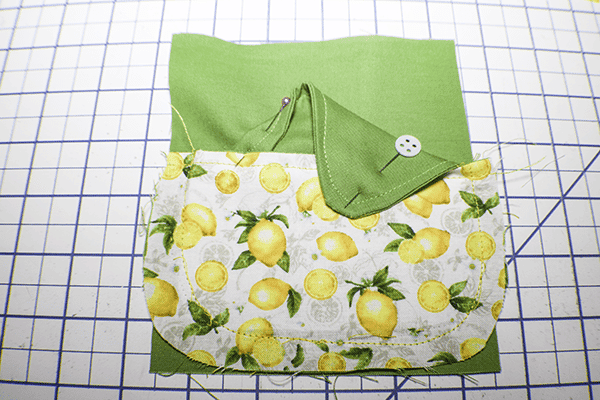
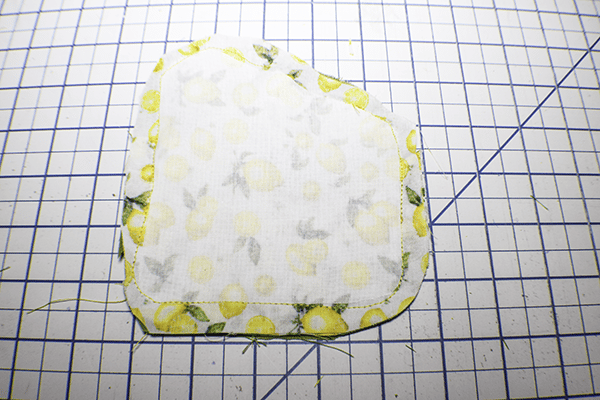
Fold down the first lining piece and pin. Fold down the curved edge and pin. Place the large outer piece right sides together. Stitch all the way around the piece using a 3/8″ seam allowance and following the shape of the interfacing but leaving an opening for turning on the top side of the flap. Trim off the excess. Notch the curves. Trim the seams. Remove the pins and turn right sides out. Topstitch around the flaps
Step 7: Add the Kam Snaps
Measure in 1″ from the side of each flap and in the center and place one half of the Kam Snap. Fold the flap down to determine where to place the other half of the Kam Snap and place it there on both sides. Once you have added the cam Snaps you are finished with your two compartment coin purse.
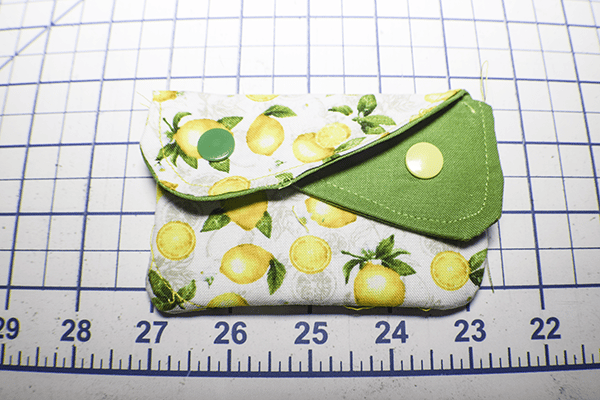
If you are unfamiliar with how to add cam Snaps check out my video on how to do it.
I hope you enjoyed this coin purse project. If you would like more sewing and crafting projects subscribe to our newsletter and receive your free eBook of 15 handbag patterns and tutorials taken from the blog.
If you would like video tutorials of some of Sew Very Crafty's most popular posts subscribe to our free YouTube channel here.
