
How to Make a Bubble Basket

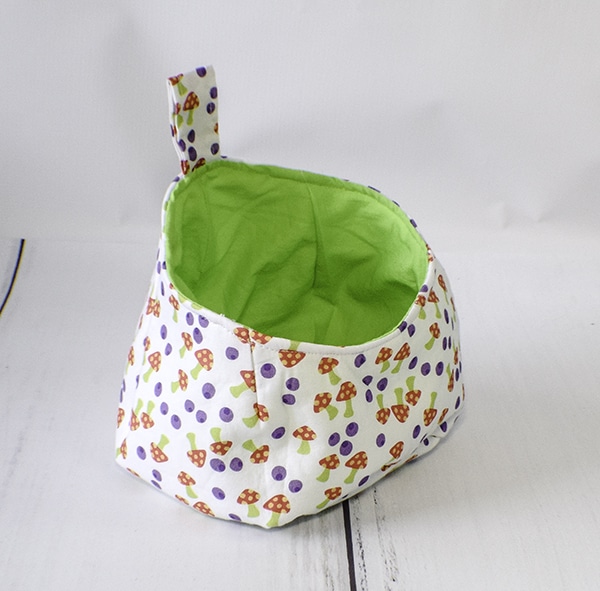
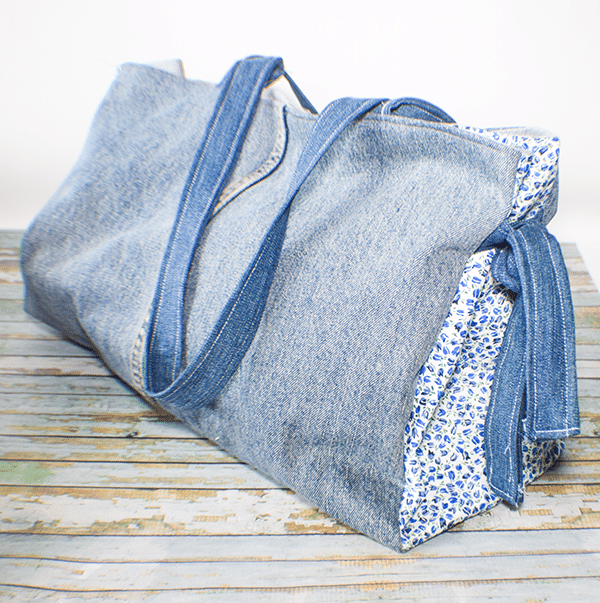
How cute are these little bubble baskets? I absolutely love them and they are not that hard to make. They are a fun and functional sewing project that any confident beginner can make in no time. These bubble baskets are perfect for storing a lot of different things but are particularly nice in the sewing room. The nice wide mouth makes seeing and getting to items simple and easy. These bubble baskets are not large but pack a powerful punch. I urge you to give them a try even if you are just now honing your sewing skills.
I chose some fun vibrant fabrics for my bubble baskets that I got at Fabric Frenzy and JOANN Fabric & Craft Stores![]() but you could head to Fabric.com or Hobby Lobby to get exactly what you need for your bubble basket project. Fusible fleece was also used in this project for structure. Other than some thread that is all you need for these fun bubble baskets. This post contains affiliate links that If you click on them and make a purchase I will receive a small commission at no extra cost to you.
but you could head to Fabric.com or Hobby Lobby to get exactly what you need for your bubble basket project. Fusible fleece was also used in this project for structure. Other than some thread that is all you need for these fun bubble baskets. This post contains affiliate links that If you click on them and make a purchase I will receive a small commission at no extra cost to you.
If you would like a a video tutorial of this project done in a slightly different way head over to YouTube and check out my video and while you are there subscribe to my free YouTube channel.

What you will Need: How to Make Bubble Baskets
- Pattern you can get by clicking on this link
- 1/2 yd outer and lining fabric
- 1/2 yd fusible fleece
- Standard sewing supplies
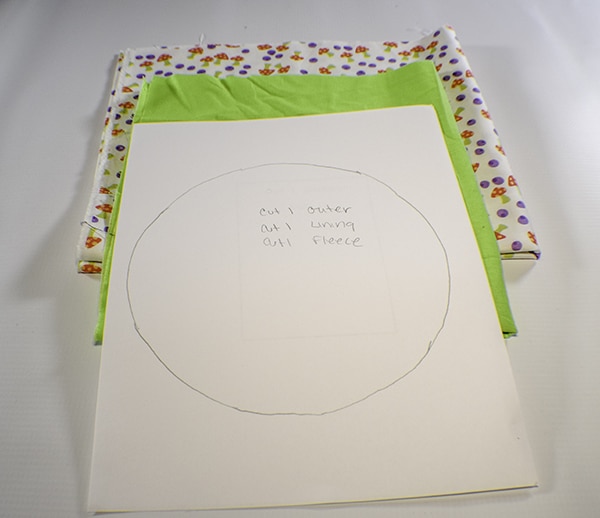
Step 1: Print and Tape the Pattern
There are four pattern pieces. Two pattern pieces that contain the main body of the bubble basket and two that contain the hanging tab and the bottom. Print them out and tape the two main body pieces together and the bottom pieces together.
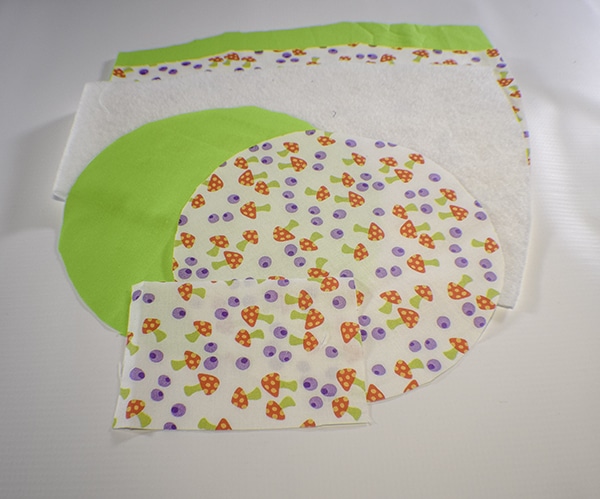
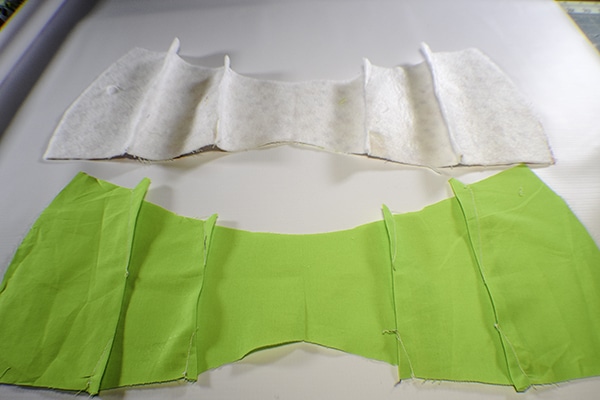
Step 2: Cut the fabrics
First cut one outer, one lining and one fleece piece of the main pattern on the fold of the fabric and one outer, one lining and one fleece pattern of the bottom. Cut one tab piece from the outer fabric.
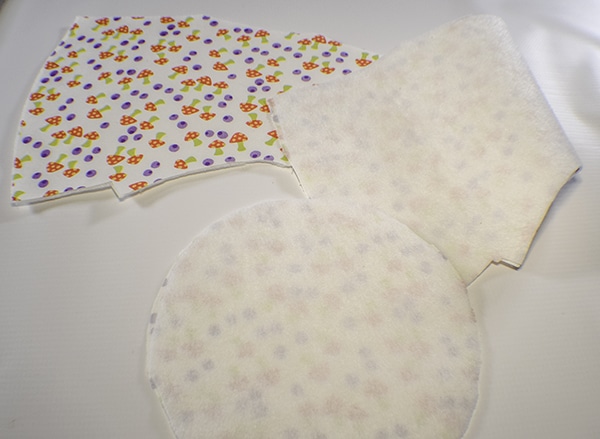
Step 3: Fuse the Fleece
Fuse the fleece to the outer main body piece and bottom piece only according the manufacturers instructions.
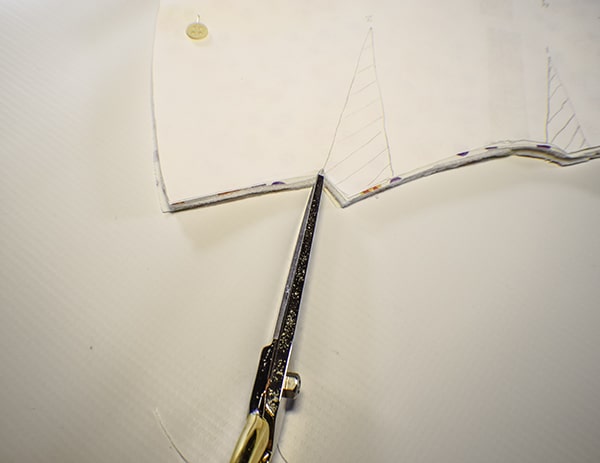
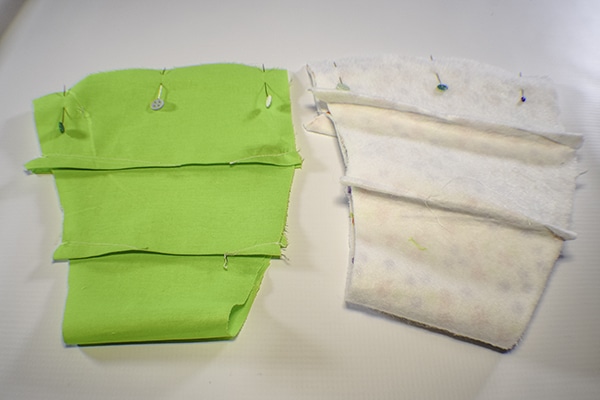
Step 4: Mark the Darts
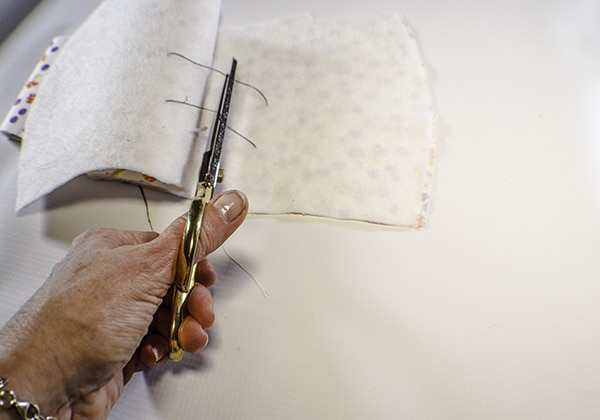
You will notice that your bubble bag is round. To achieve this look there are eight darts that must be sewn. First you must mark them. The best way to mark them for this project is to thread a needle and knot it on the end. Take the outer fabric and keep it folded with the pattern piece still on top. Insert your needle through the point of the dart and pull the needle through. Leave a long tail and knot it on the other end. Repeat for all four darts. Repeat this process for the lining. Make a small clip using your scissors at the tip of the dart. Open up the fabric and cut the thread but leave it in the fabric so you have all of the darts marked by a thread at the bottom and a clip at the top.
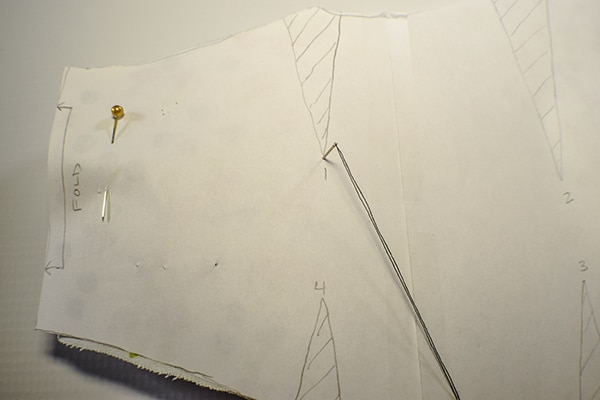
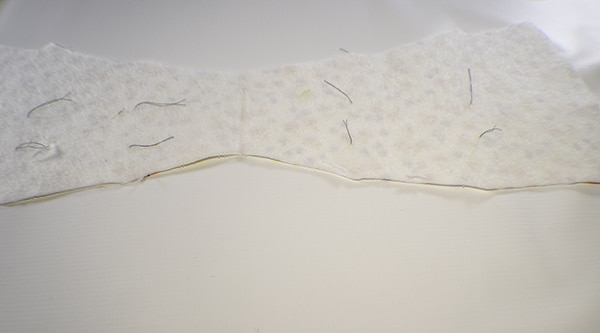
Open the Fabric one layer at a time and clip the center of the thread. You will see the thread has marked the bottom of the dart and the clips have marked the tops. Draw the darts onto the fleece.

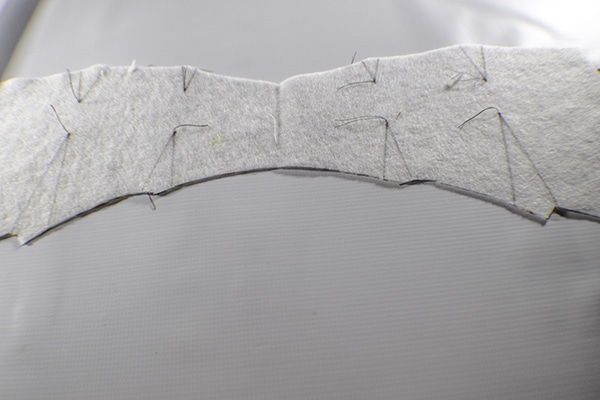
Step 5: Stitch the darts
With right sides together match corresponding lines on each dart and stitch a diagonal line following the line starting and the top and finishing at the point. Repeat this process for all of the darts on both the lining and outer piece.
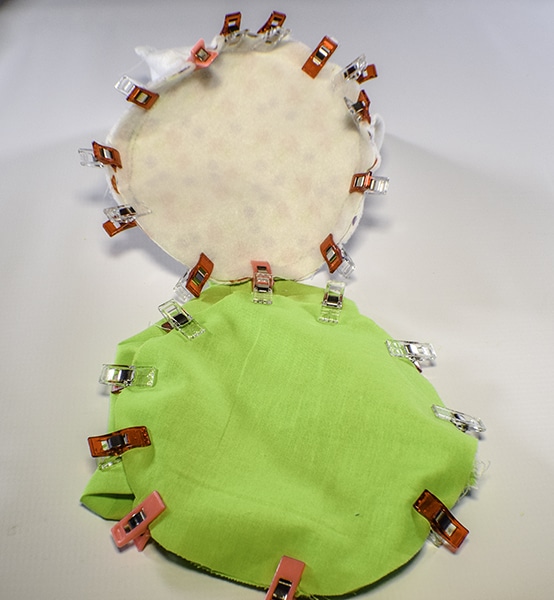
Step 6: Stitch the sides and bottom
With right sides together stitch the sides of the outer bag together using a 1/4″ seam allowance. Repeat for the lining but leave an opening in the lining for turning the bubble basket. Add the bottom to the outer bubble basket and the lining and clip. Stitch the bottom to the outer and lining using a 1/4″ seam allowance. Turn the outer basket right sides out.
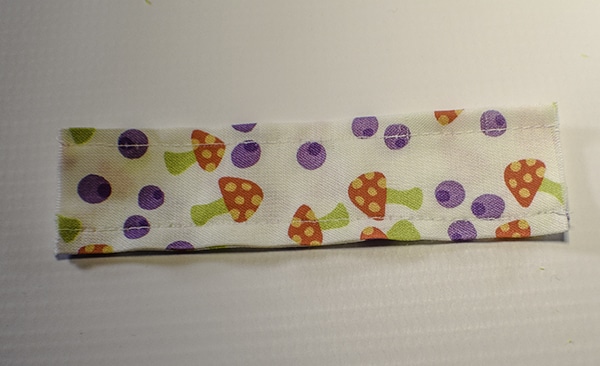
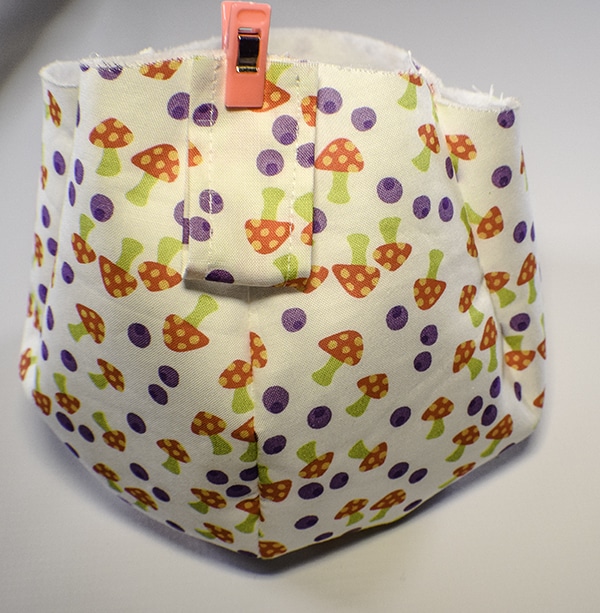
Step 7: Create the tab
Place the tab right sides down on your ironing surface. Fold the long raw edges toward the center by 1/4″ and press. Fold the tab in half and press. Top stitch along both sides of the tab. Place the tab on the back seam of the main outer piece of the bubble basket with the raw edges together and the tab facing down and clip.
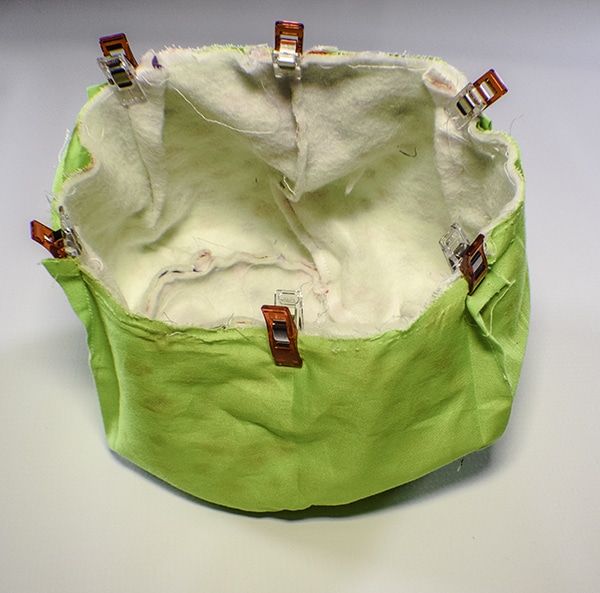
Step 8: Finish the BUbble Basket
Place the outer basket inside the lining basket so they are right sides together matching the back seams and clip. Stitch around the top of the bubble basket using a 1/4″ seam allowance. Turn the basket right sides out and press. Topstitch around the top of the basket and you have completed your bubble basket. If you would like to make a standard fabric basket check out my fabric basket post here.
I hope you enjoyed this project. If you would like more sewing and crafting projects sign up for our newsletter and receive access to our free printables library.
If you would like video tutorial s of many of Sew Very Crafty's most popular posts subscribe to our free YouTube channel here.


Really cute and useful idea….however the pattern is so light that I could not see it when I went to view the download…I printed at the darkest setting and lost most of it.
I will trace over the pattern and send it to you via email. I will also repost it as well.
So cute! What are the finished dimensions?
The finished dimensions are: The back part is 6″ tall. the front is 4″ tall. It is 6″ wide at the top and the bottom circle is 5 1/2″ across. I hope this helps.
I’m in the middle of making this basket. I printed the pattern out & my bottom is almost 7″ across. It is to large. So you say a 5&1/2″ circle?
5 1/2″ would be too small with seam allowance. If yours is too big I would make it 6″ or so to allow for seam allowance.
My bottom was too big too
I’m sorry about that. Perhaps I need to remeasure the bottom.
Thanks for the pattern and YouTube video. I just made your bubble basket and it is adorable. Based on comments, I trimmed the bottom circle pattern piece from 7″ to 6″. I made it work, but for the next one, I think 6.25 would be perfect fit. Definitely making 2 more to make a set! Super cute and friendly to make!!
Thank you so much for trying out the project. I love those little baskets.