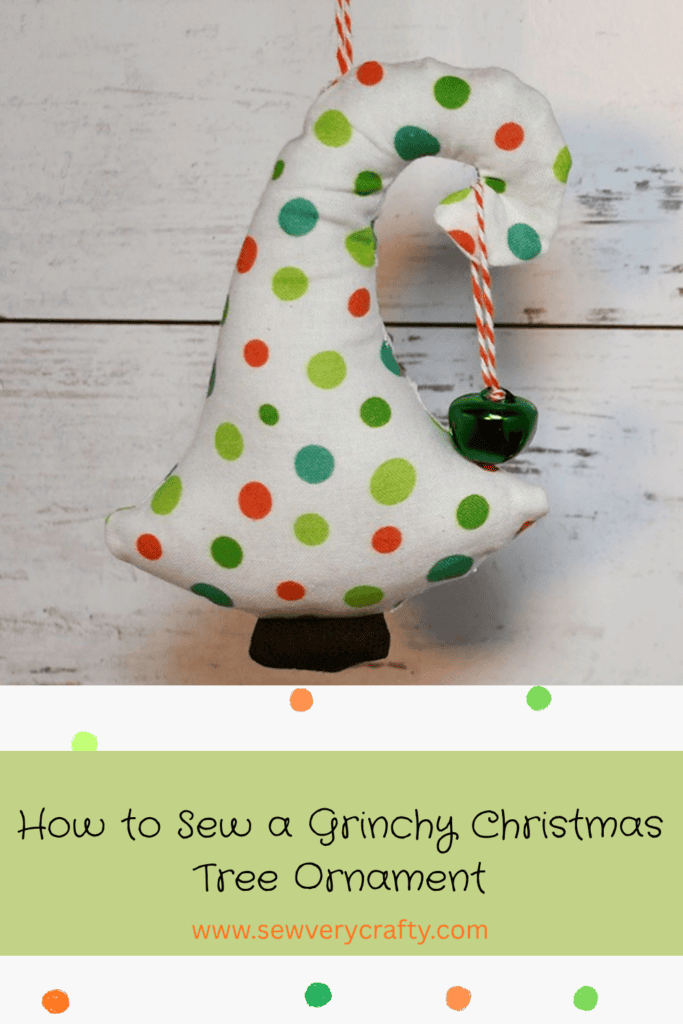
I cannot believe that I am making Christmas projects at this time of year but I suppose I need to get started. I decided to make this very simple Grinch Christmas tree ornament. This is a very simple sewing project with adorable results. Anyone with basic sewing skills can stitch this project in no time. You can have a grinch Christmas this year. You can pair this up with my Grinch quilt if you like. If you would like more holiday projects head over to my Holiday Project Vault for many more.

Note: This post contains affiliate links that if you click on them and make a purchase I will receive a small commission at no extra cost to you. As an Amazon Associate I earn from qualifying purchases.
What you will Need: How to Make a Grinch Christmas Tree Ornament
Step 1: Cut the Fabrics
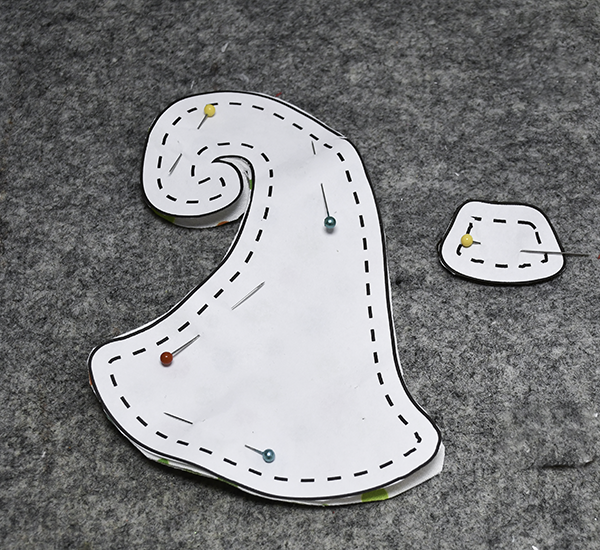
Using the pattern cut out each of the pieces. I had some Grinch colored fabric for my tree but you can pick whatever you like.
Step 2: Add the Twine
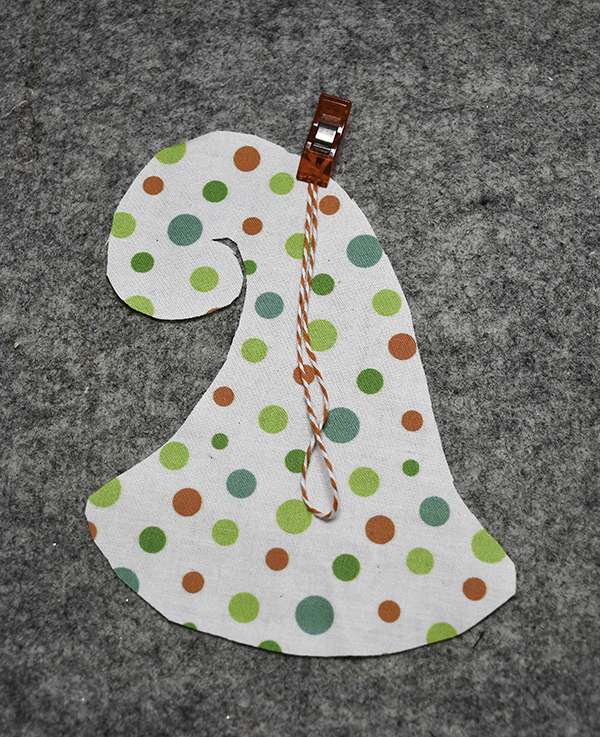
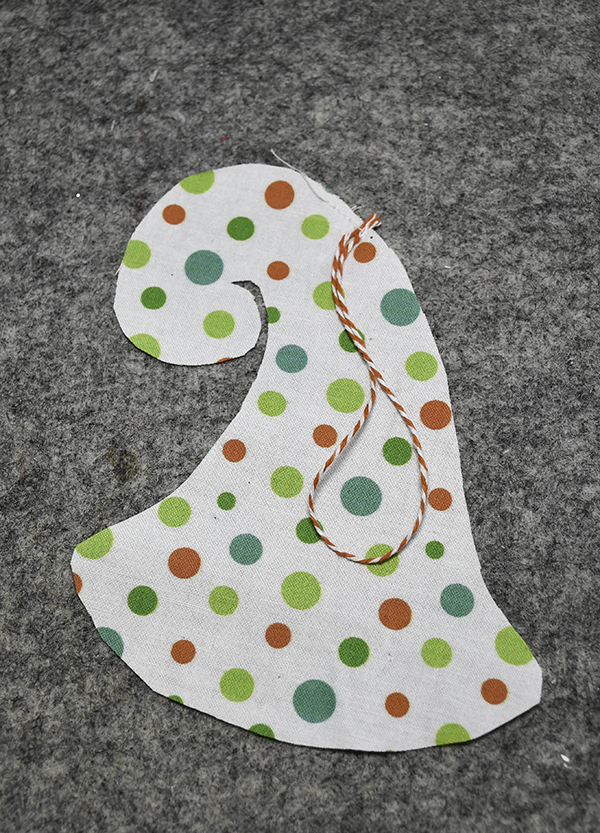
I used some orange and white bakers twine. Place one of the tree pieces right sides up on your work surface. Cut a piece of twine that measures 9″ Fold the twine in half and place it loop side down so that the cut edges are even with the top curve of the tree. Stitch the twin to the tree using a 1/8″ seam allowance.
Step 3: Stitch the Stem
Place the stem pieces right sides together. Stitch from one corner all the may around to the opposite corner using a 1/4″ seam allowance leaving the top open. Turn right sides out and stuff.
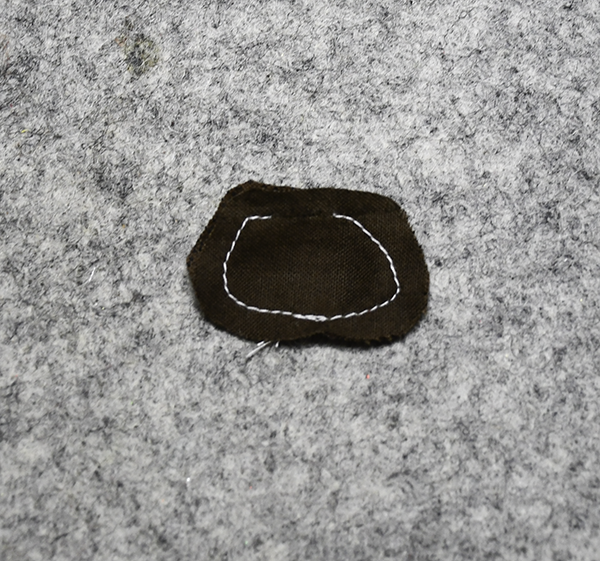
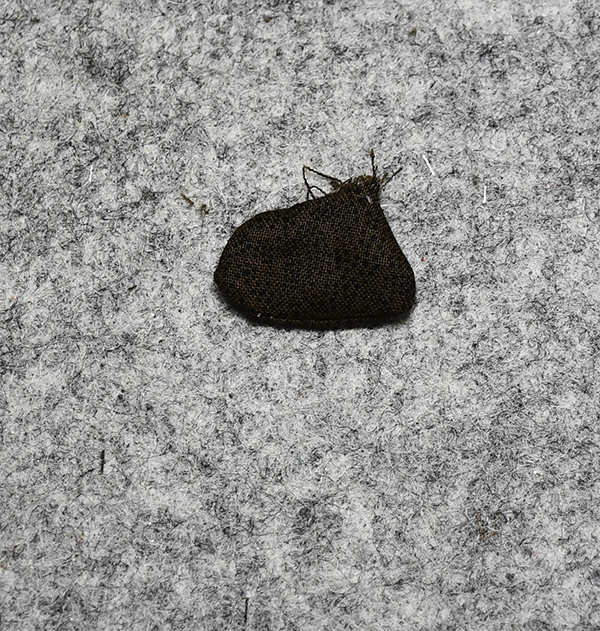
Step 4: Add the Stem
Place the stem in the middle, right side of the bottom of the tree piece with the twine. Stitch the stem to the tree piece with raw edges matching and the stuffed part of the stem in the center of the tree piece. Stitch the stem to the tree piece using a 1/8″ seam allowance.
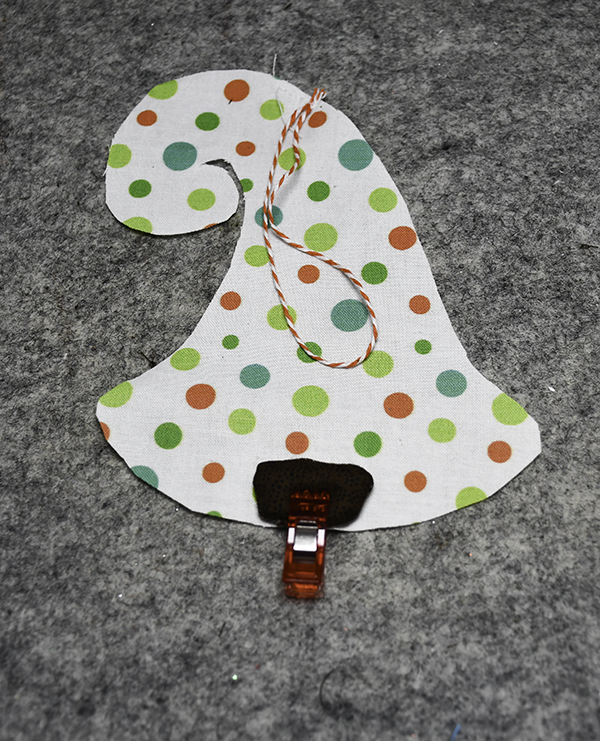

Step 6: Stitch the Tree
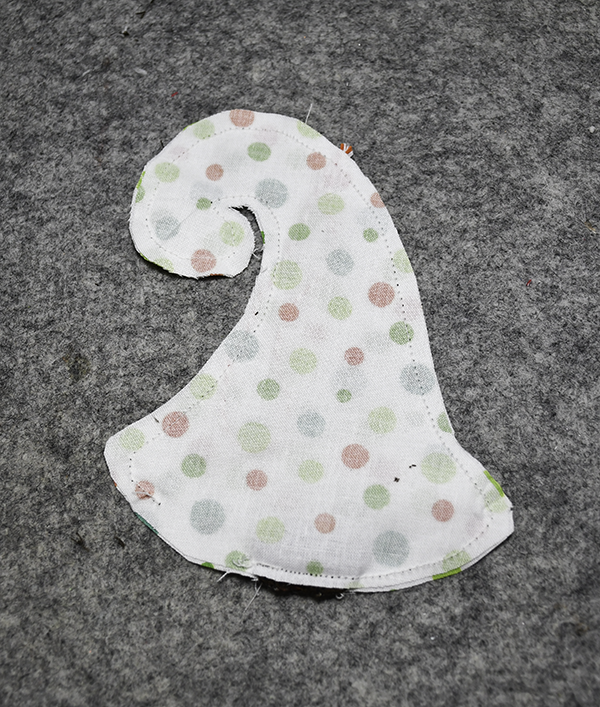
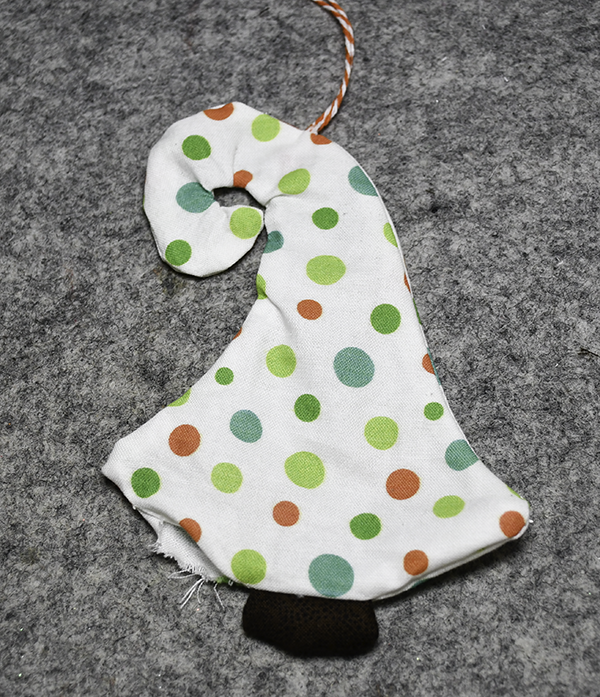
Place the second tree piece on top of the first so that it is right sides together and the stem and twine are sandwiched in between. Stitch from the far corner of the stem around the top of the tree to just past the bottom corner. Turn the tree right sides out through the opening.
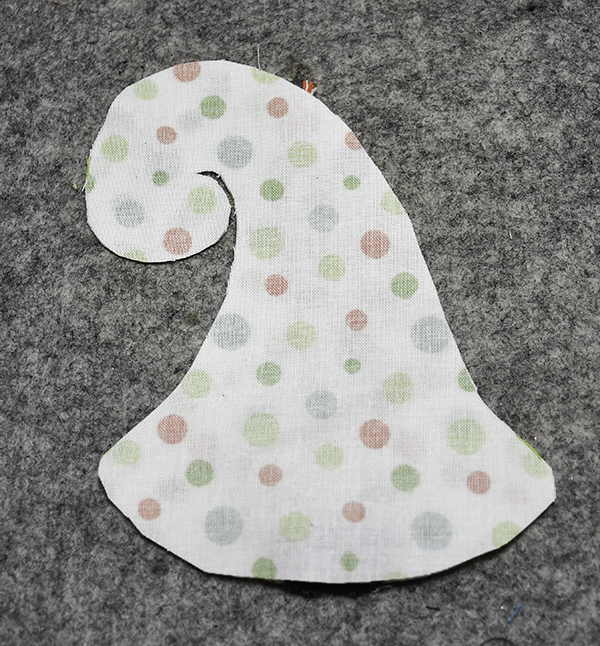
Step 7: Stuff the tree
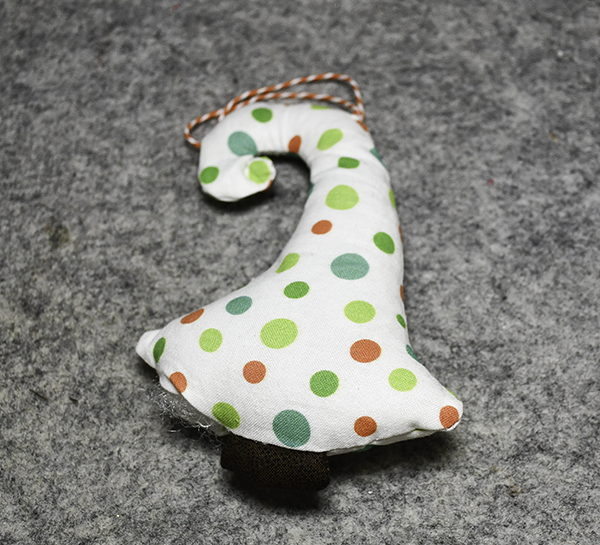
Add some fiberfill to the center of the tree until it is filled.
Step 8: Close the bottom of the Tree
Using ladder stitch close the bottom of tree.
Step 9: Create the Hanging ornament
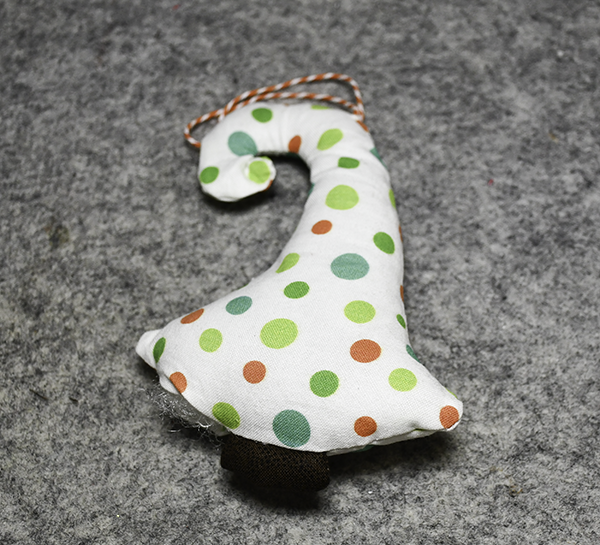
Cut a piece of twine that measures 4 1/2″ long. Thread it through the top of the jingle belland tie a knot at the end. Turn the twine so that the knot is underneath the top of the jingle bell.
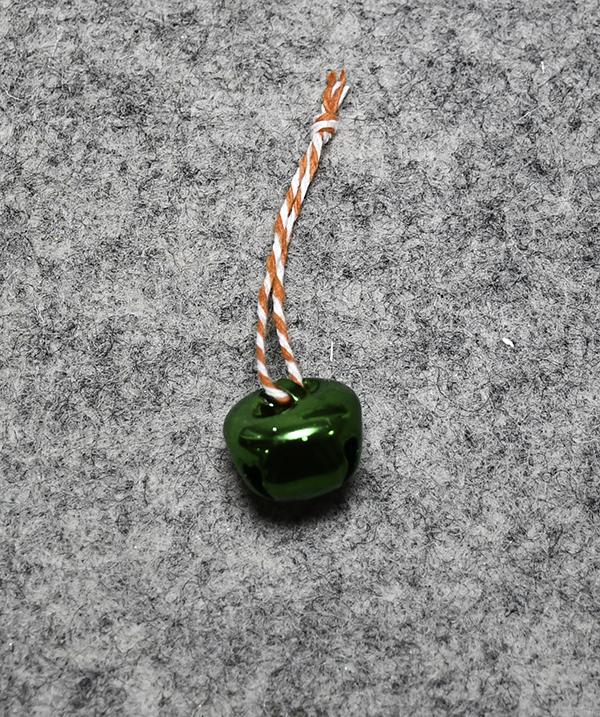
Step 10: Add the hanging Ornament
Place the twine on top of the curled tip of the tree. Hand stitch the twine to the tree along the seam so that the ornament is hanging down. Once you have added the ornament your ornament is finished. Add it to your tree and enjoy.
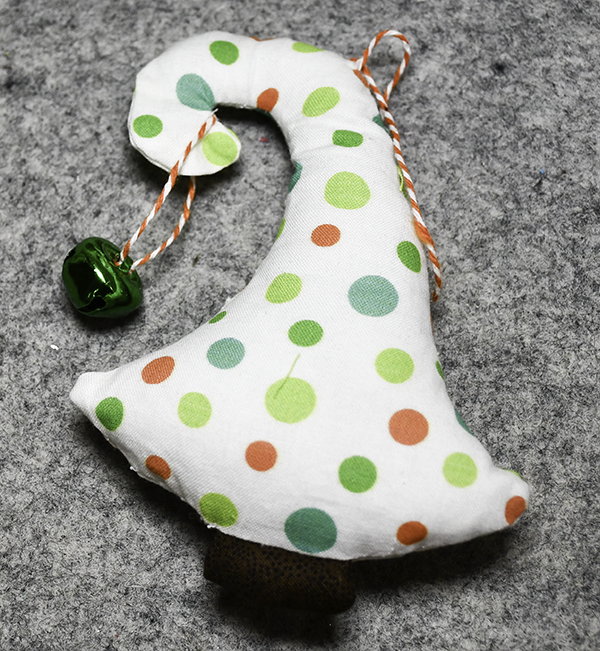

I hope you enjoyed this simple Christmas ornament project. For more sewing and crafting projects subscribe to our free newsletter and receive access to our free printable library.
Join our Sew Very Crafty Fans Facebook group
If you want to ask questions and share your projects join our Facebook group here. The community will help to achieve your sewing and crafting dreams.

Subscribe to our Free YouTube Channel!