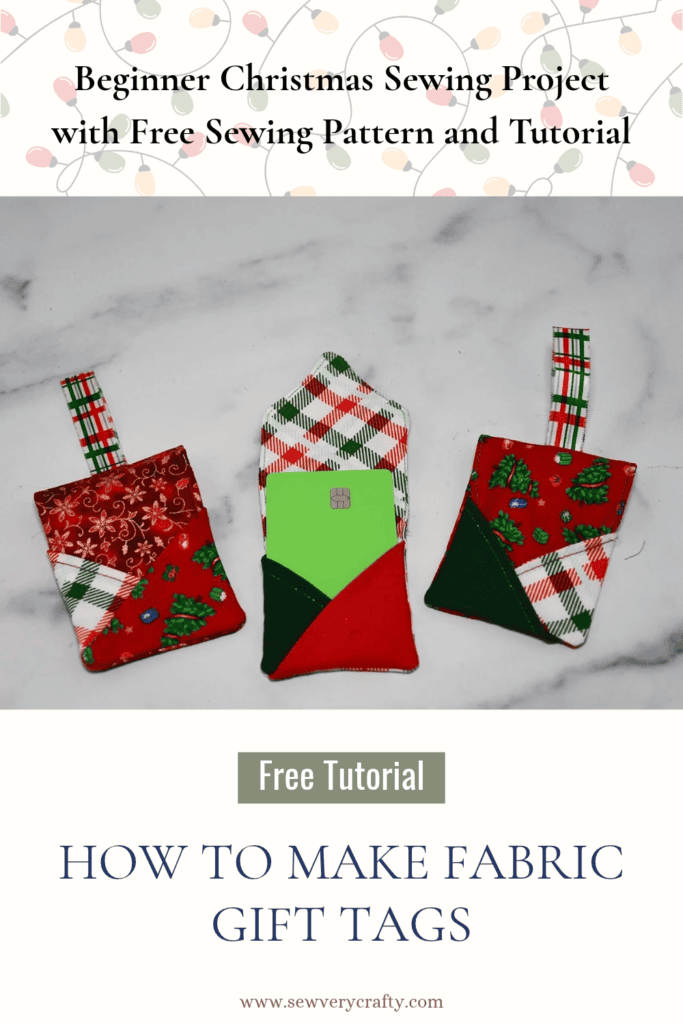
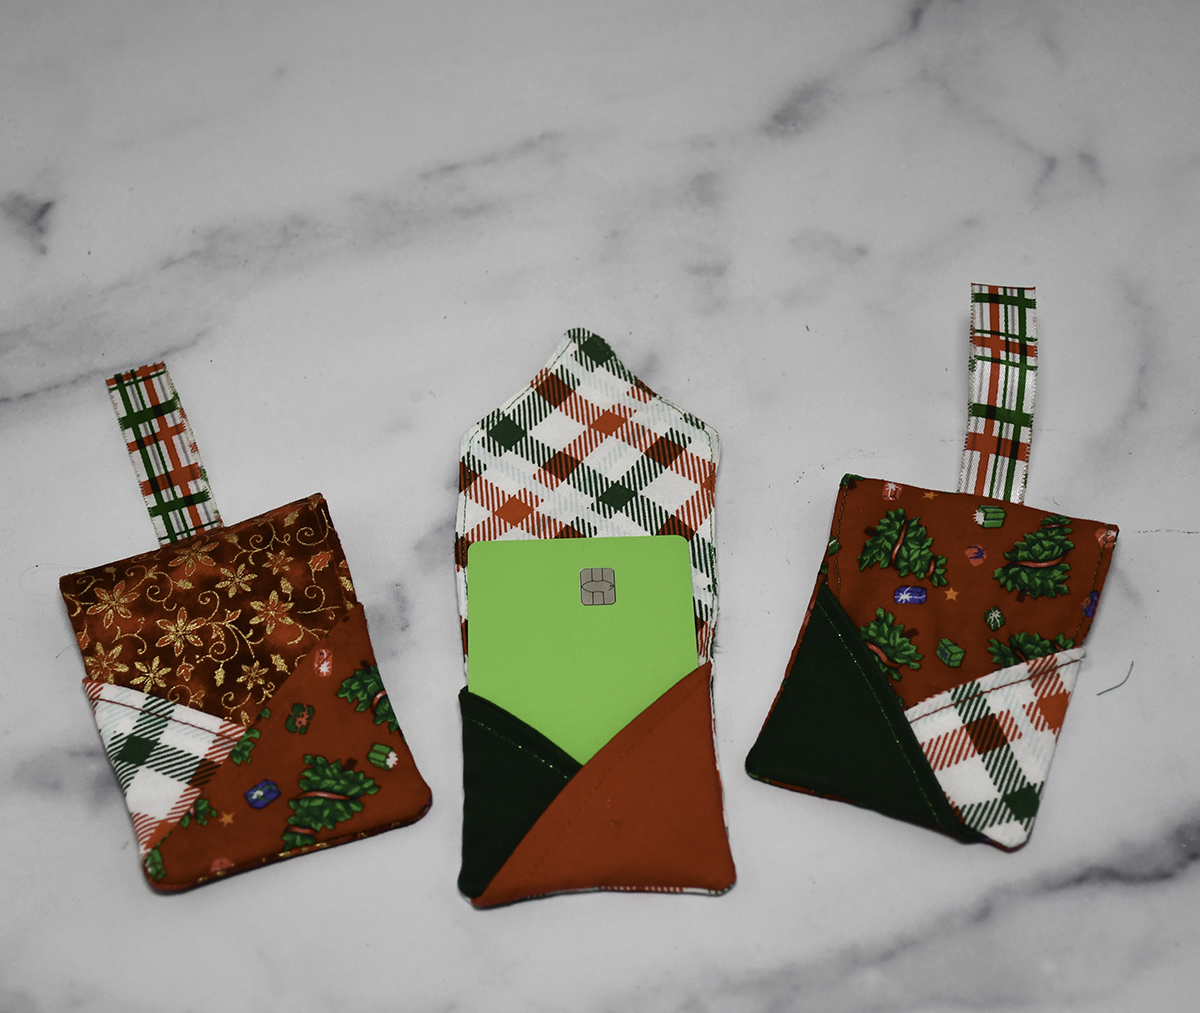
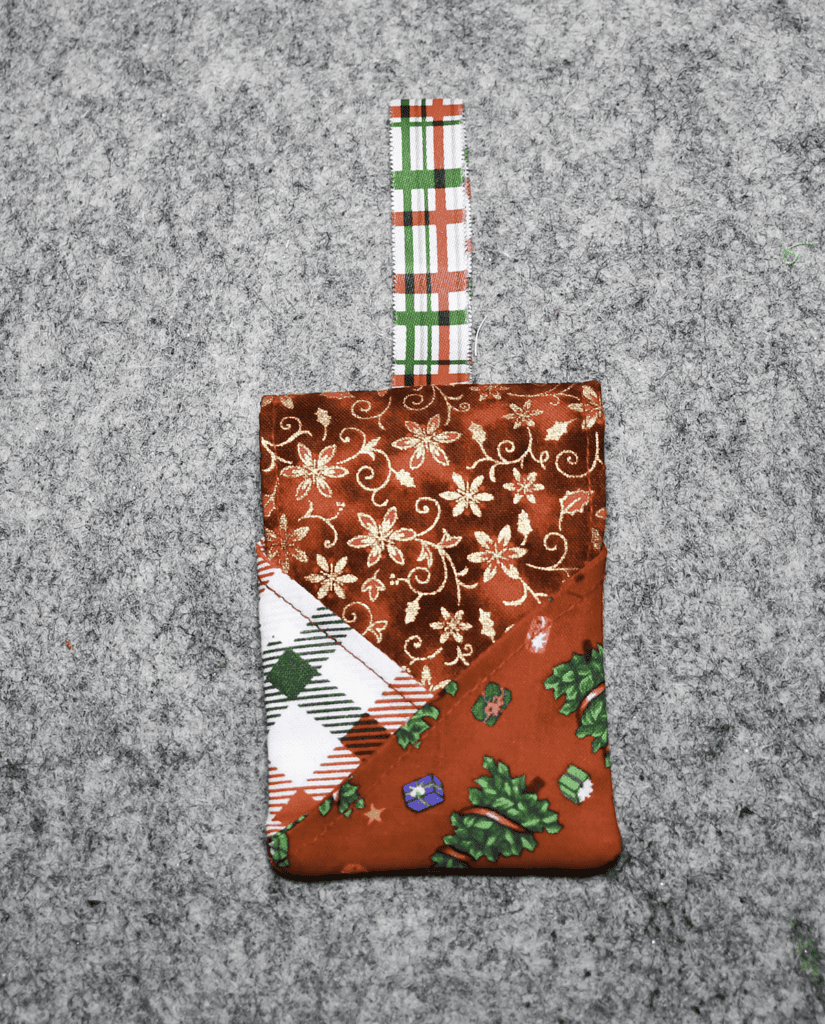
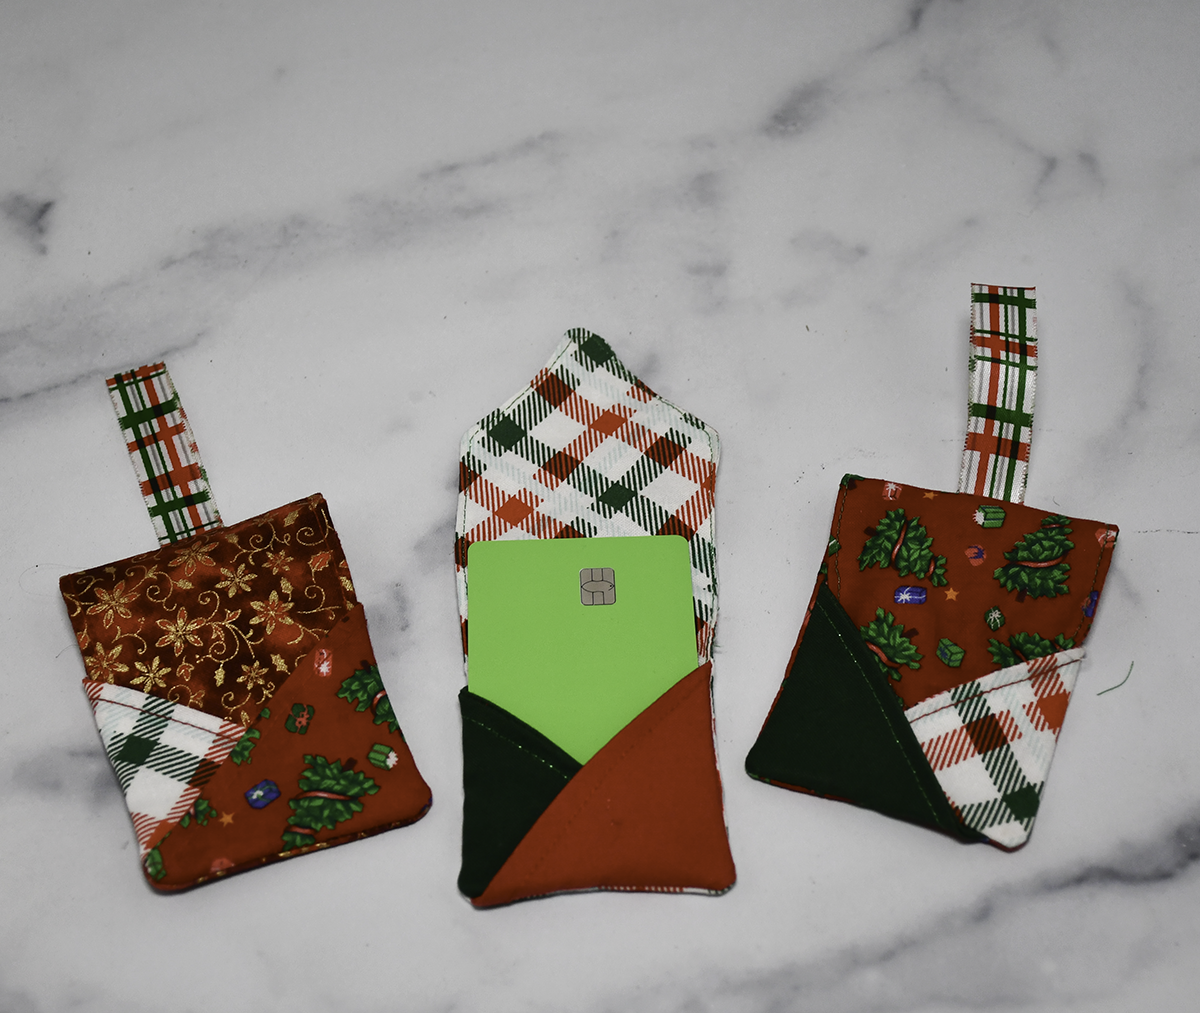
I saw this project on Pinterest and decided to make my own pattern which is modified from the photo I saw by adding a hanger. I thought this was the perfect little gift card holder, scrap buster and beginner sewing project. Use your scraps to create this simple sewing project. It really only takes minutes to make and as always, the pattern is free. Gift cards fit perfectly in this holder. You can use Christmas fabric as I did or any other fabric depending on the purpose of the gift. Either way, take a few minutes to stick your version of this simple project. If you would like more holiday sewing and crafting projects check out our Holiday Project Vault.

Note: This post contains affiliate links that if you click on them and make a purchase I will receive a small commission at no extra cost to you. As an Amazon Associate I earn from qualifying purchases.
What you will Need: How to make a Fabric Gift Card Holder
- Pattern you can get my clicking on this link
- Scraps of fabric
- Scrap piece of Pellon SF 101 interfacing
- 6″ Piece of Ribbon (optional)
- Sewing machine
- Standard sewing supplies
Step 1: Print the Pattern
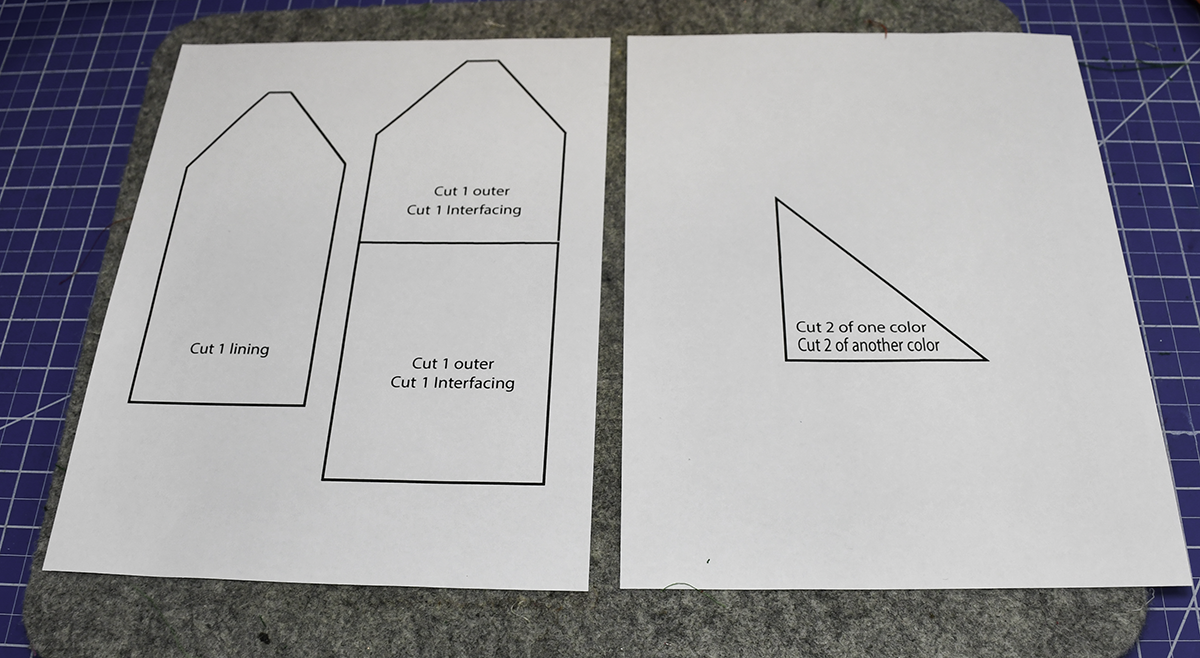
Print out the pattern. There are three pieces to this pattern.
Step 2: Cut the fabrics
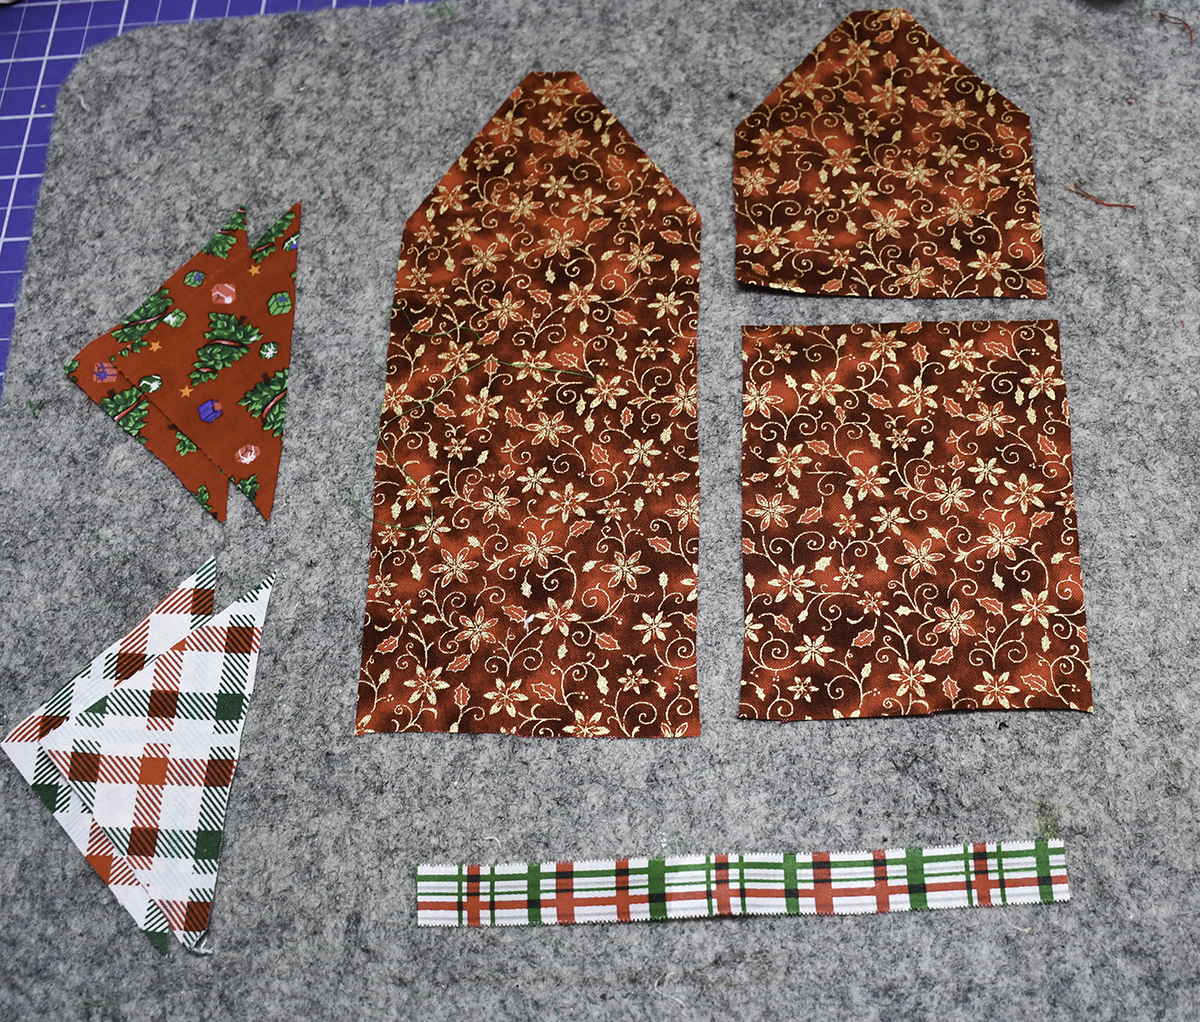
If you would like to add the hanger to this project cut one outer and lining piece and four triangles using any fabrics that you like. If you do not want to add the hanger, cut two of the smaller lining pieces and four triangles.
Step 3: Cut the larger outer piece
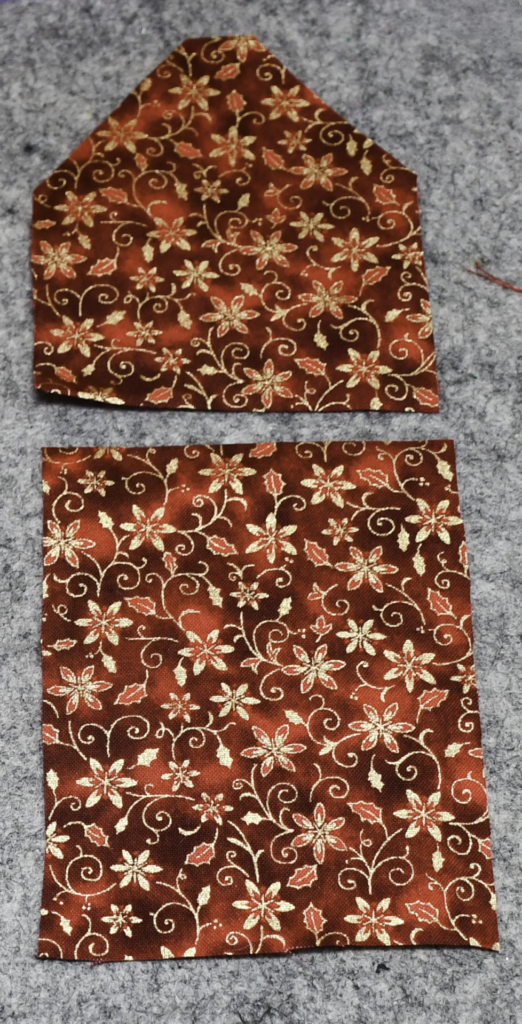
If you are going to add the hanger, cut the outer fabric piece on the dotted cut line.
Step 4: Add the Ribbon
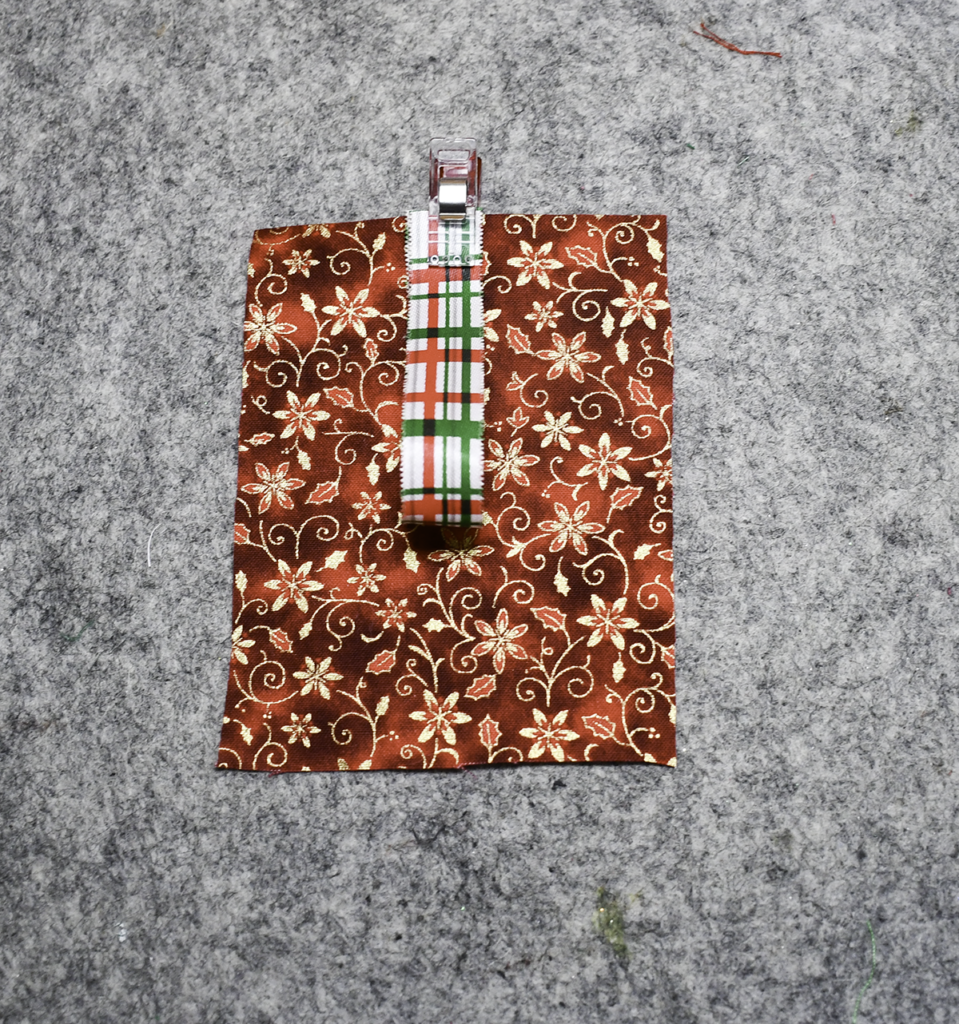
Take the 6″ piece of ribbon and fold it in half. Place the raw edges in the center top raw edge of the bottom of the larger outer piece. and clip. Place the top piece on the top straight edge right sides together sandwiching the ribbon. Stitch using a 1/4″ seam allowance. Press the seam open and press the entire piece. Set aside.
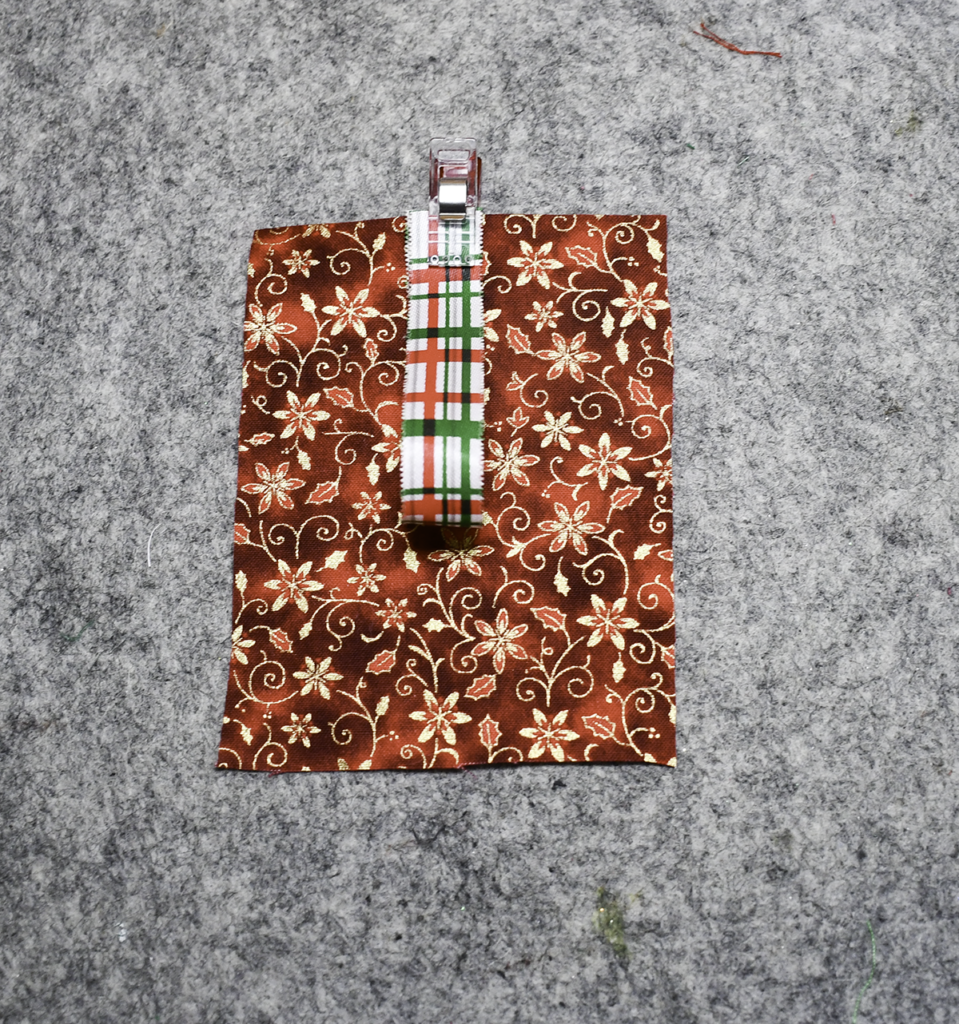
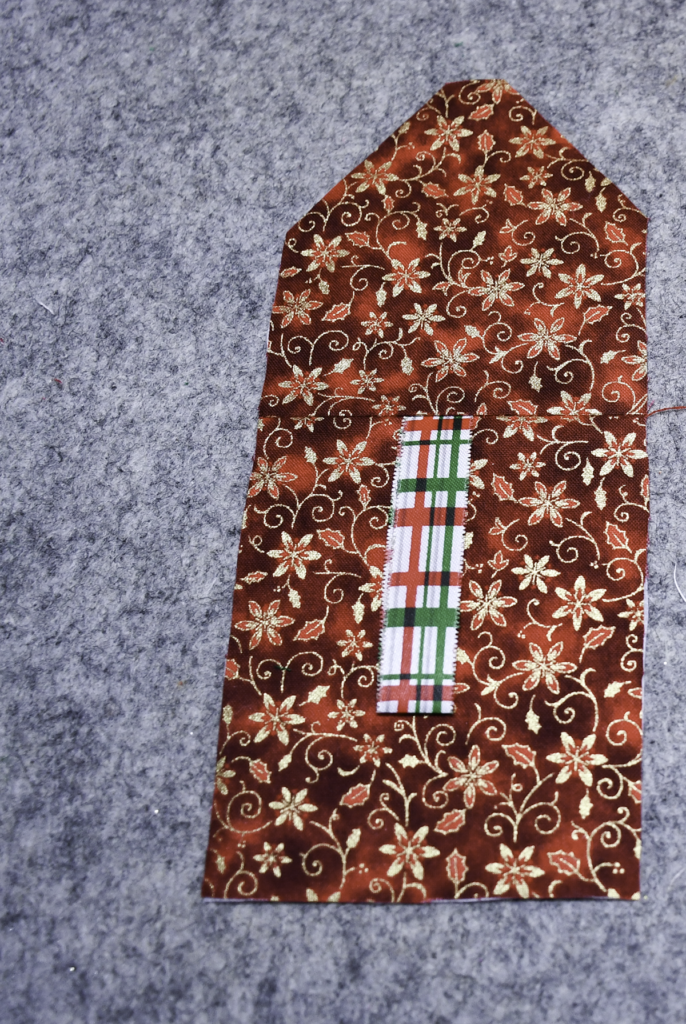
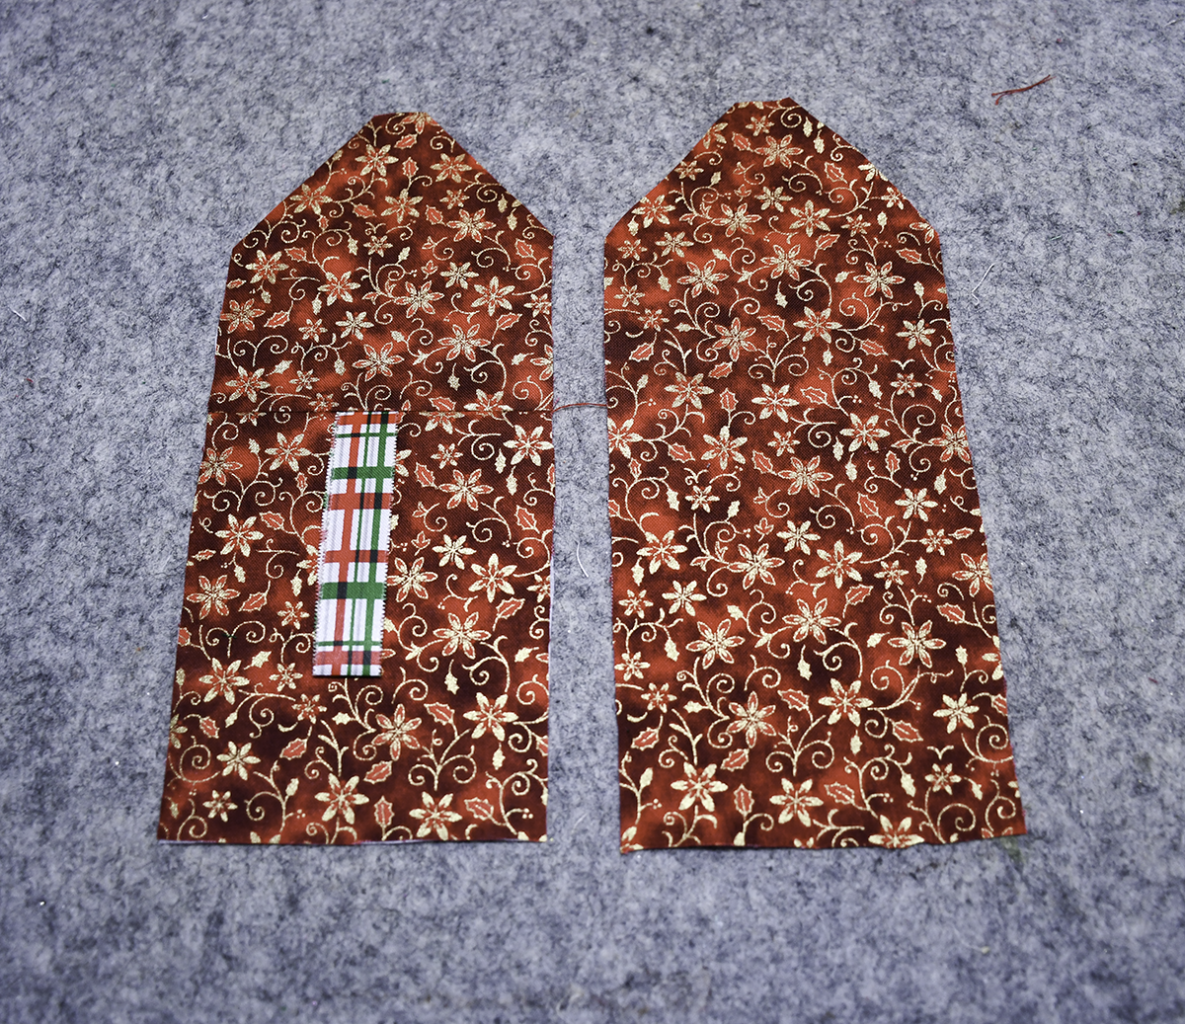
Step 5: Create the Triangle pieces
Place two triangle pieces right sides together. Stitch along the diagonal straight edge using a 1/4″ seam allowance. Press the seam open. Fold over so that the wrong sides are facing. Press. Topstitch along the diagonal. Repeat for the other pair of triangles.
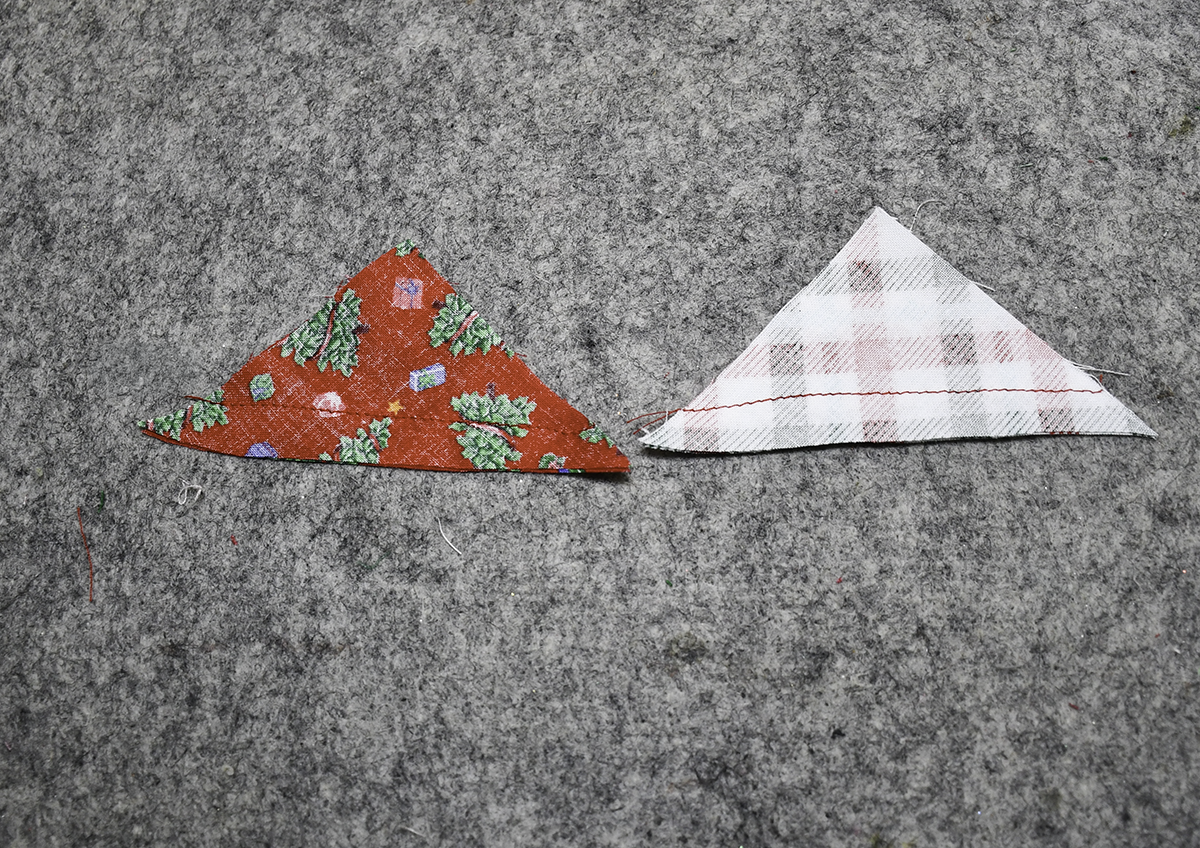
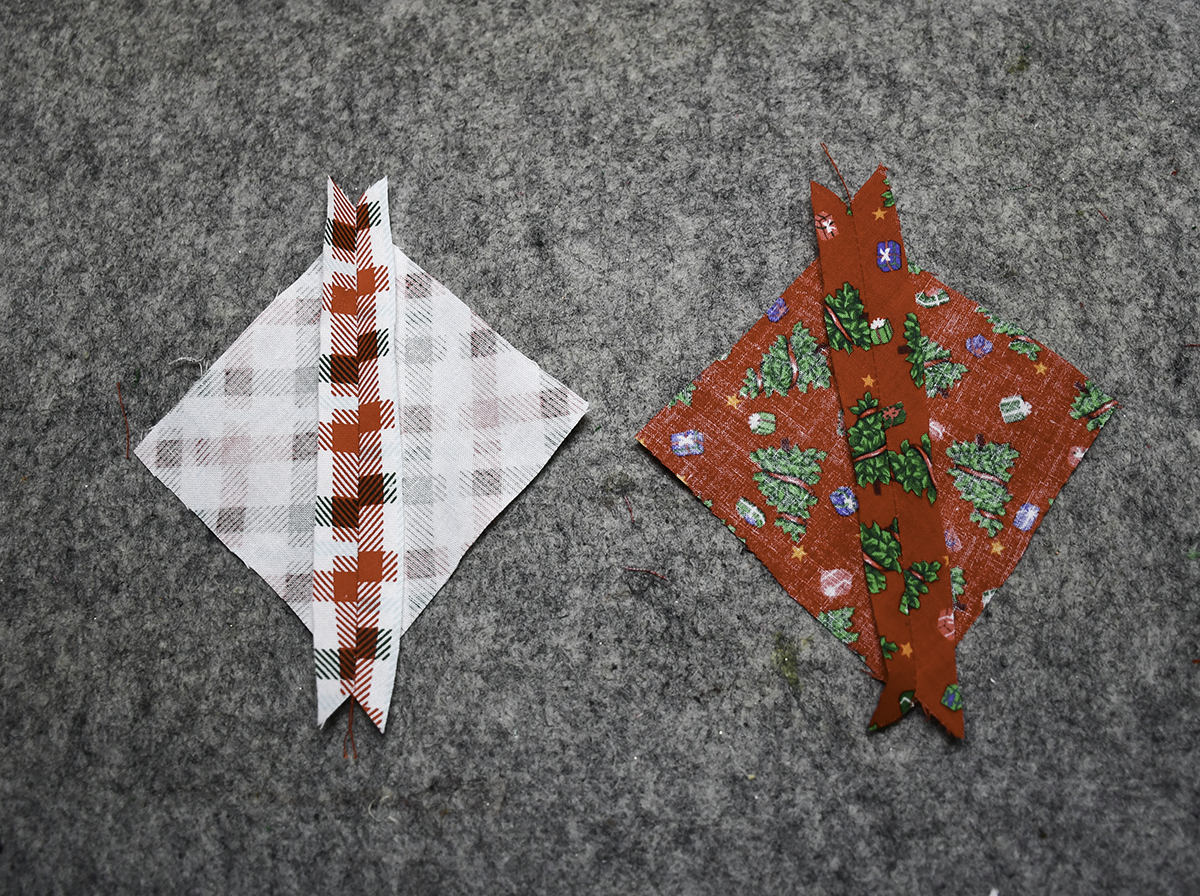
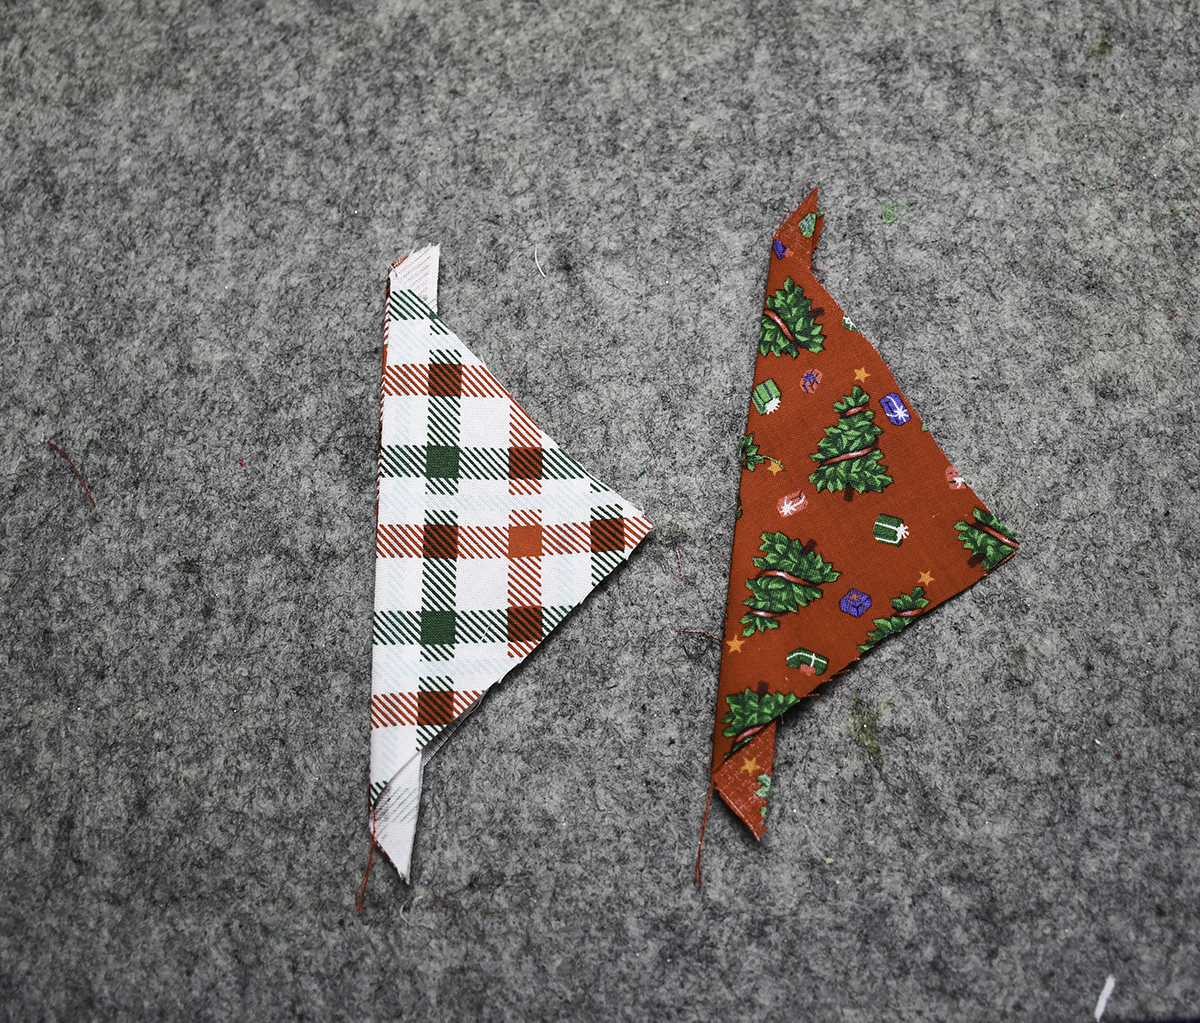
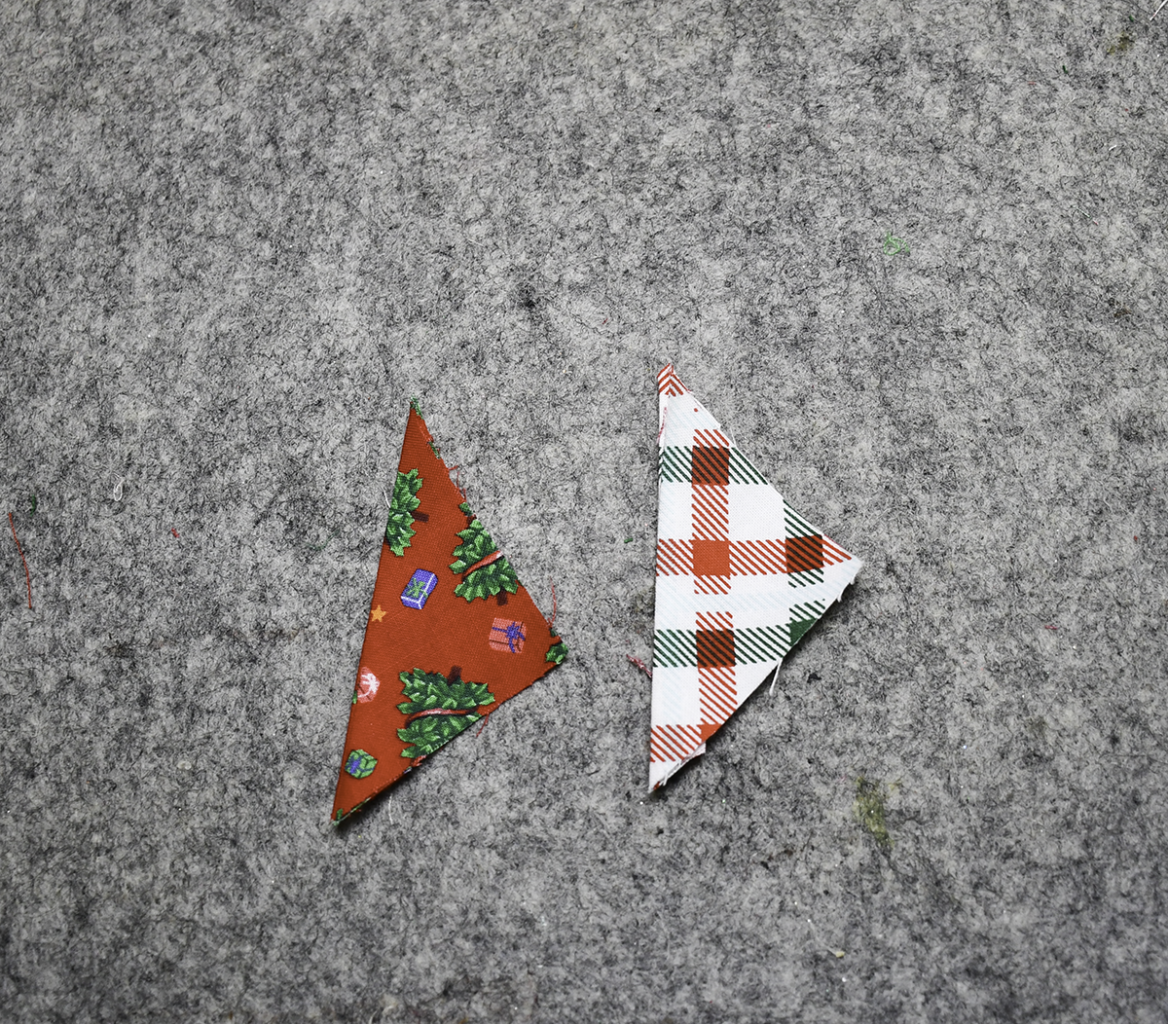
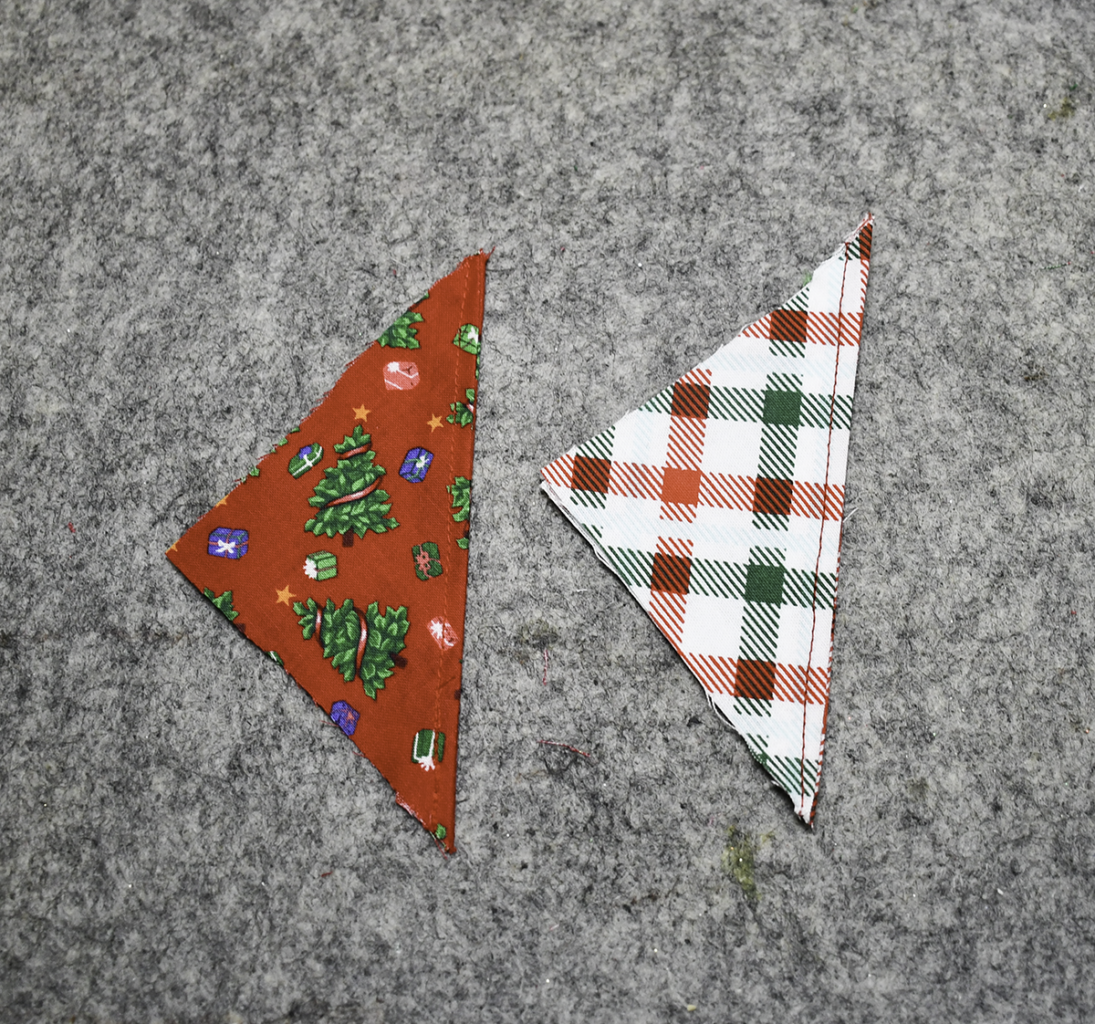
Step 6: Add the Triangles
Place the first triangle on the lining piece on the bottom so that the diagonal is facing the center of the lining piece and the corner raw edges match. Add the second triangle in the same way but on the other corner. Clip.
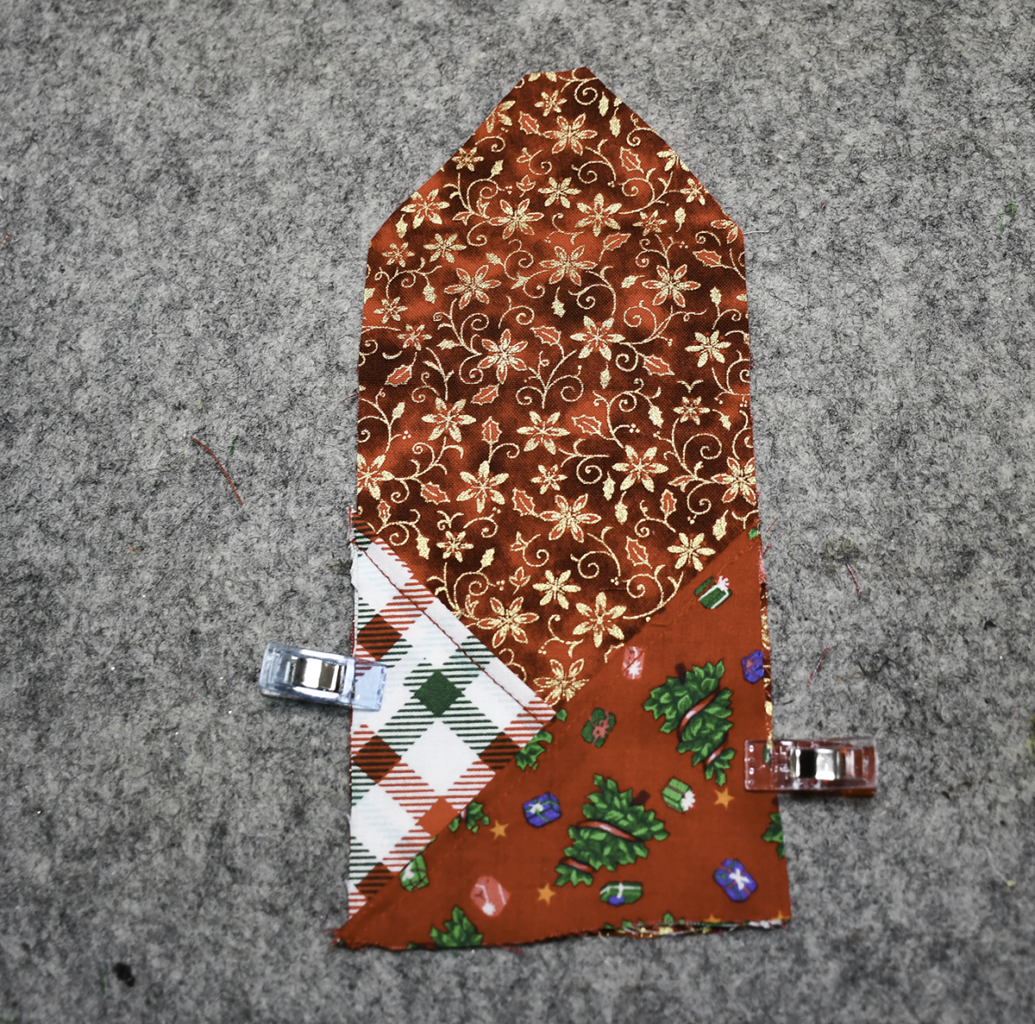
Step 7: Add the back outer Piece
Place the back outer piece right sides together with the front lining piece sandwiching the triangles. Clip. Stitch all the way around leaving an opening for turning. Trim the seams. Turn right sides out. Press.
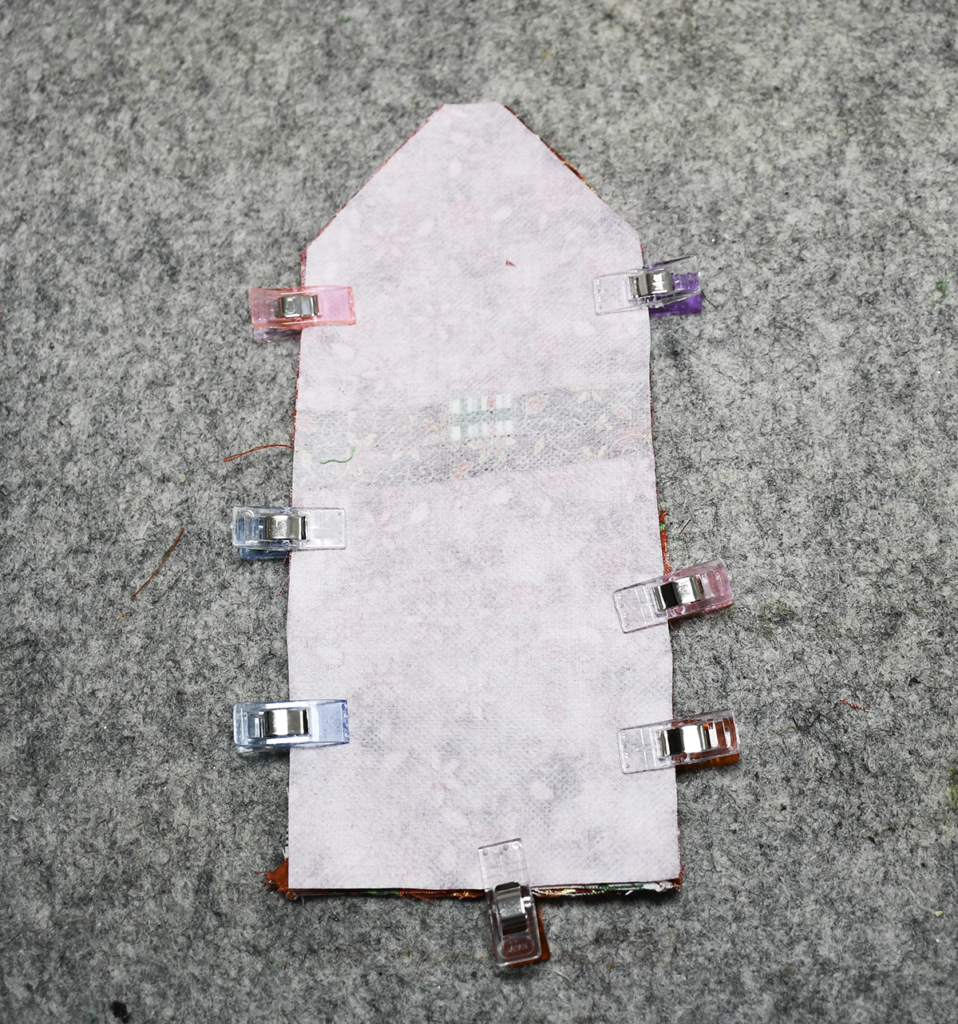
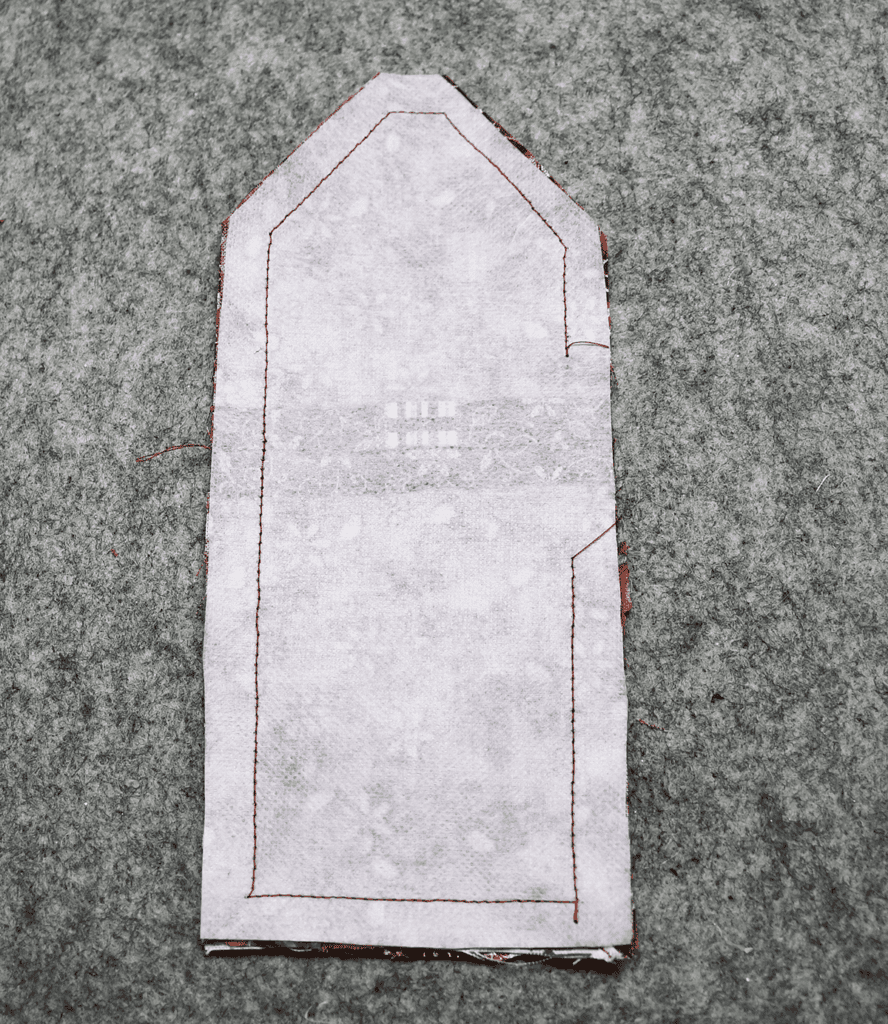
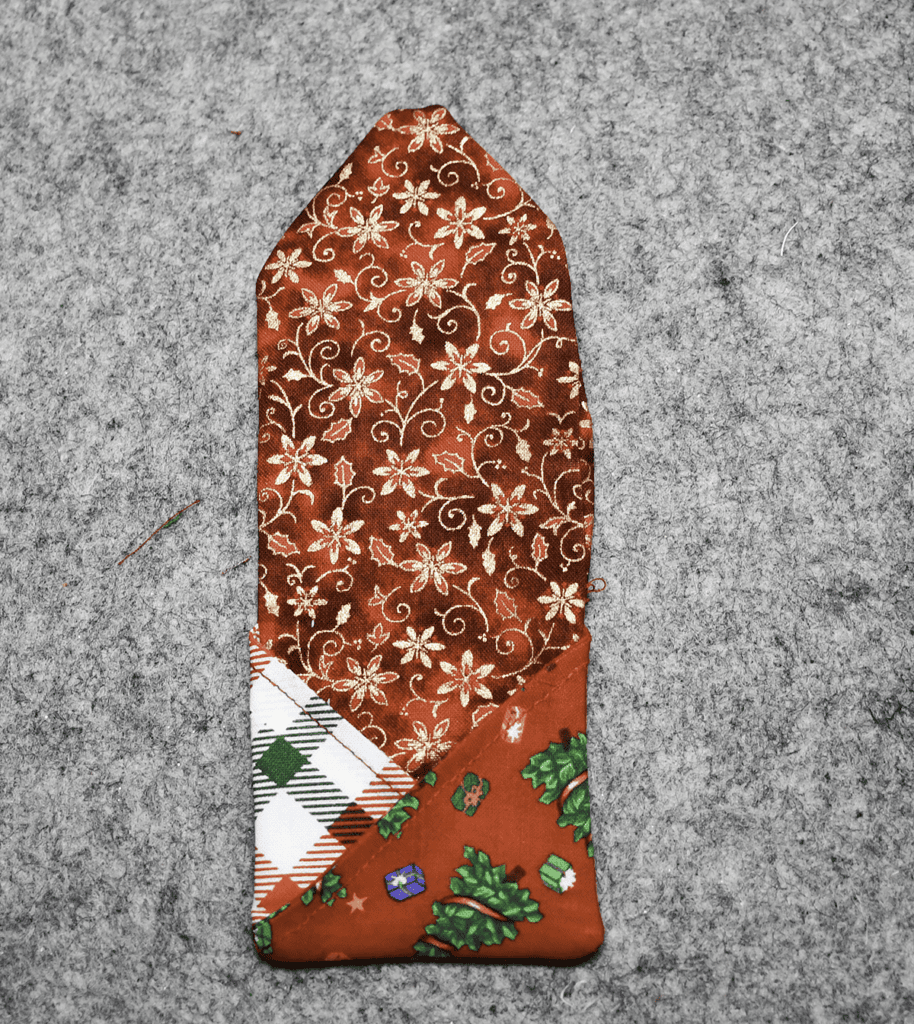
Step 8: Topstitch
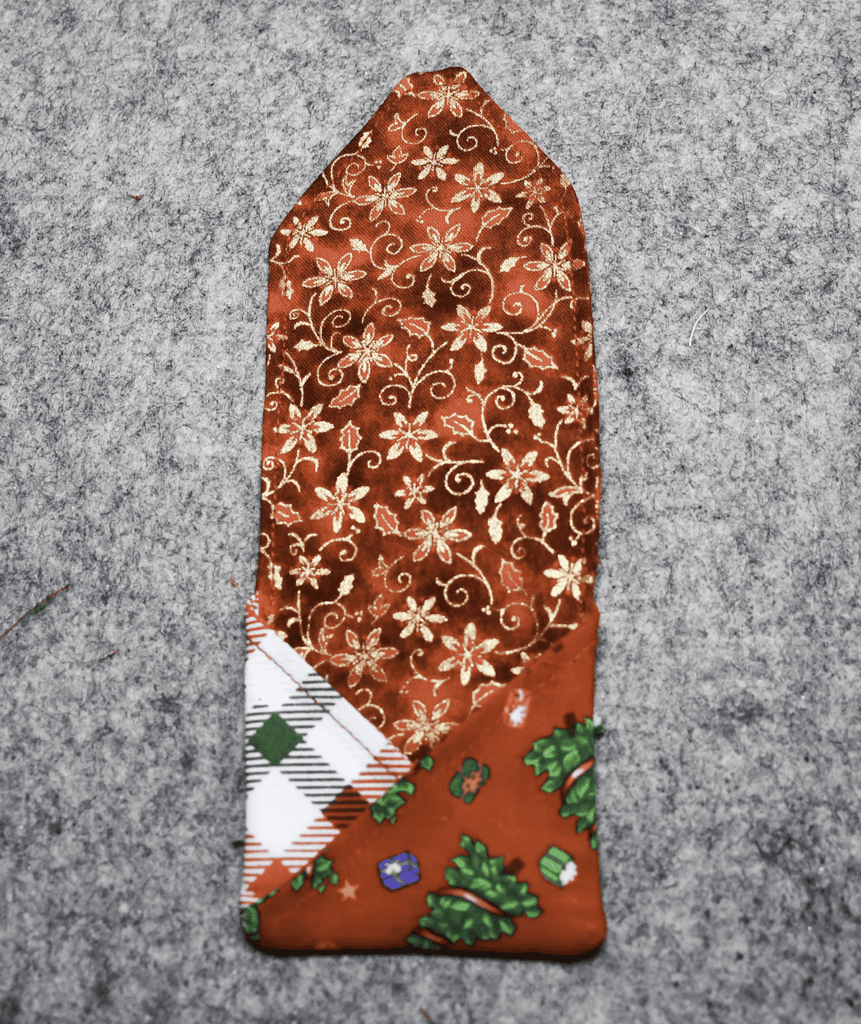
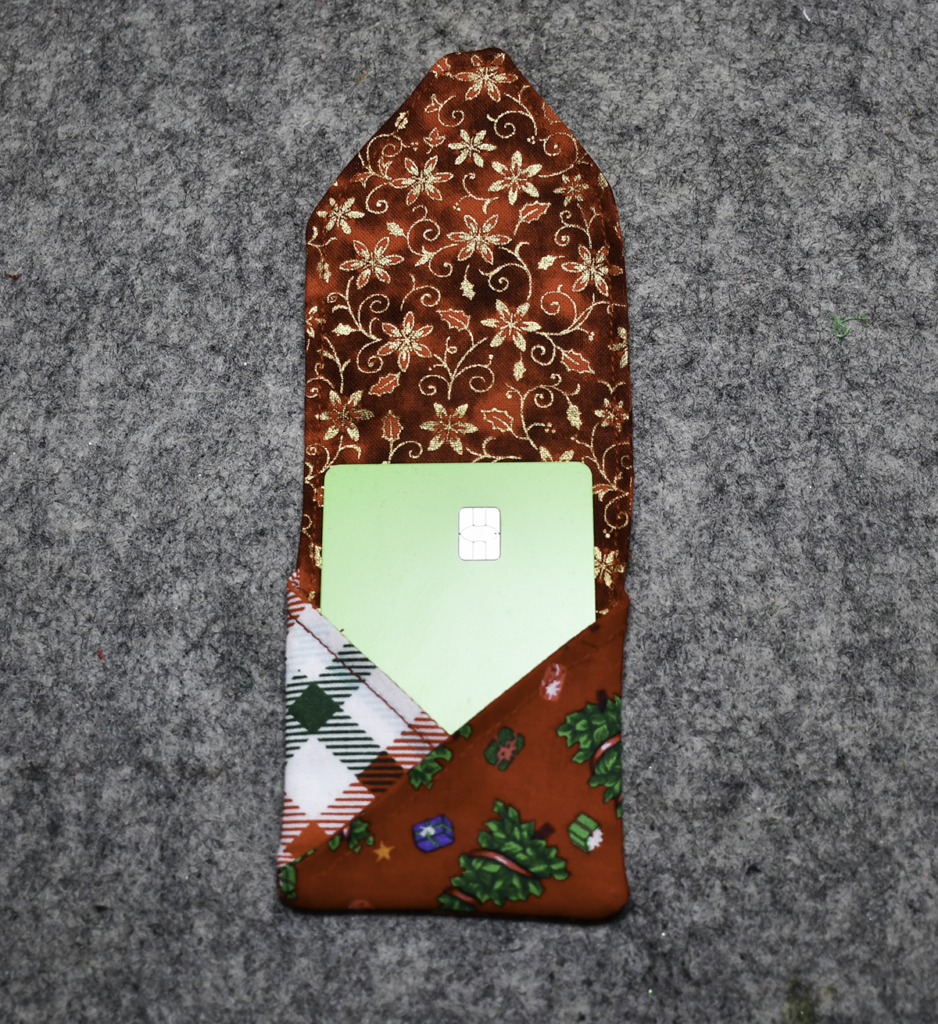
Starting at the top of one of the triangle pieces, topstitch all the way to the top of the second triangle pieces making sure that the opening you left for turning is closed. Insert the gift card under the triangles and fold down the top. Tuck the tup under the triangles and on top of the gift card. You have now finished your fabric gift card holder.
I hope you enjoyed this simple sewing project. If you would like more sewing and crafting projects subscribe to our free newsletter and receive access to our free printables library.