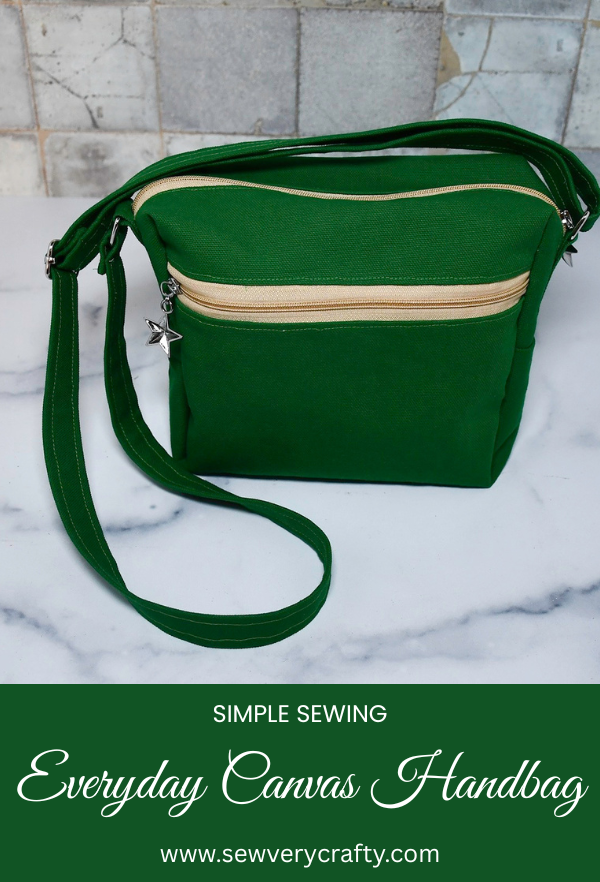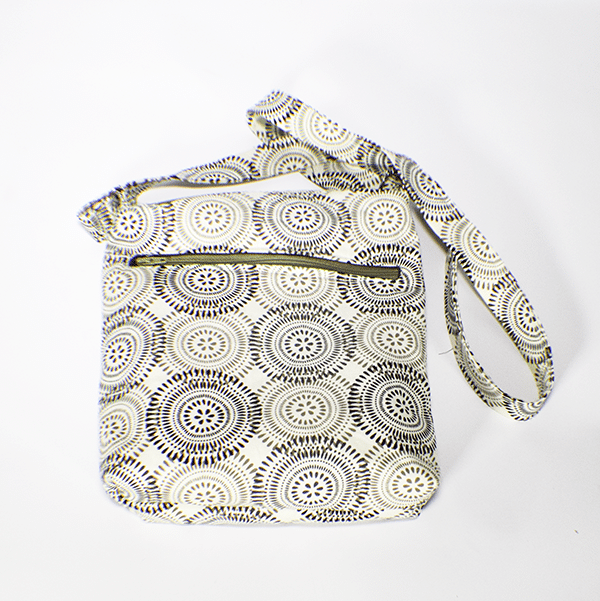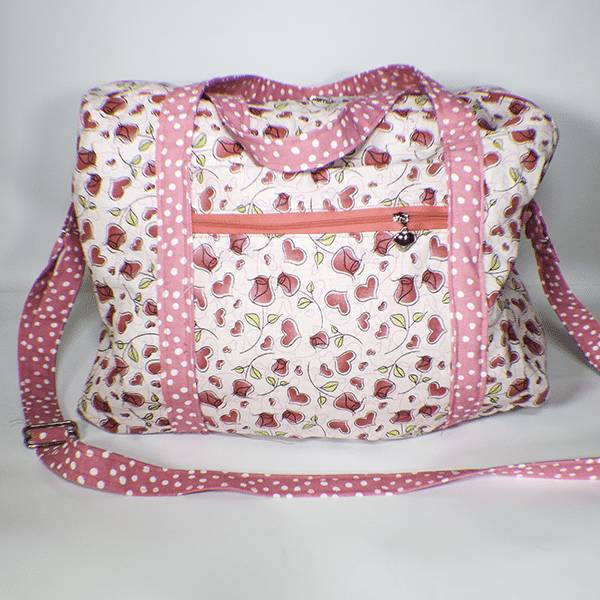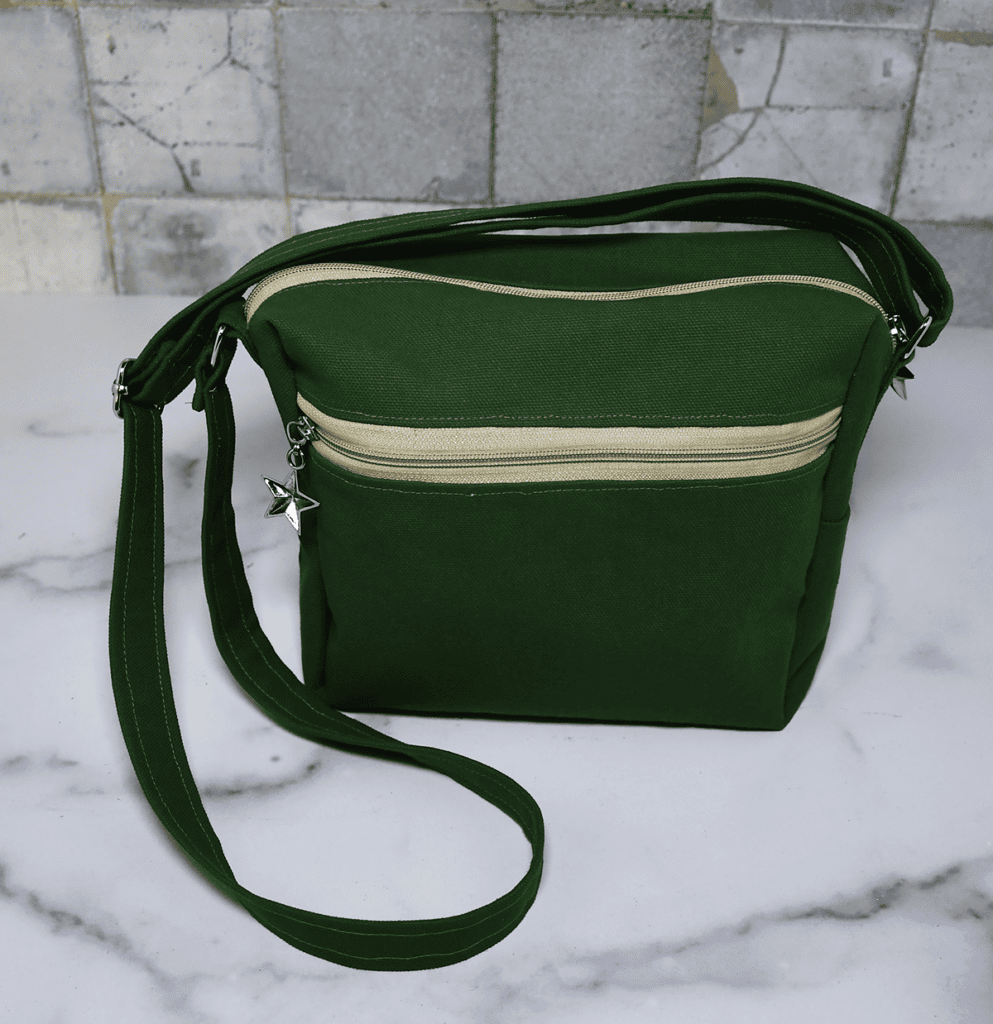
I came across this project on Ae PooiM and thought it was a really cute handbag that is really simple to make. It may seem intimidating because it has two zippers but the zippers are an easy install. I hope you try this cute little bag out even if you are just learning to install zippers. This is a great project try out your skills. Handbags are one of my favorite things to make and this one was quick to make and results in a really nice design. I hope you enjoy this project. If you do and would like more handbag projects head over to my handbag page for more.

Note: This post contains affiliate links that if you click on them and make a purchase I will receive a small commission at no extra cost to you. As an Amazon Associate I earn from qualifying purchases.
What you will Need: How to Make an Everyday Canvas Handbag
- 1/2 yd of canvas fabric
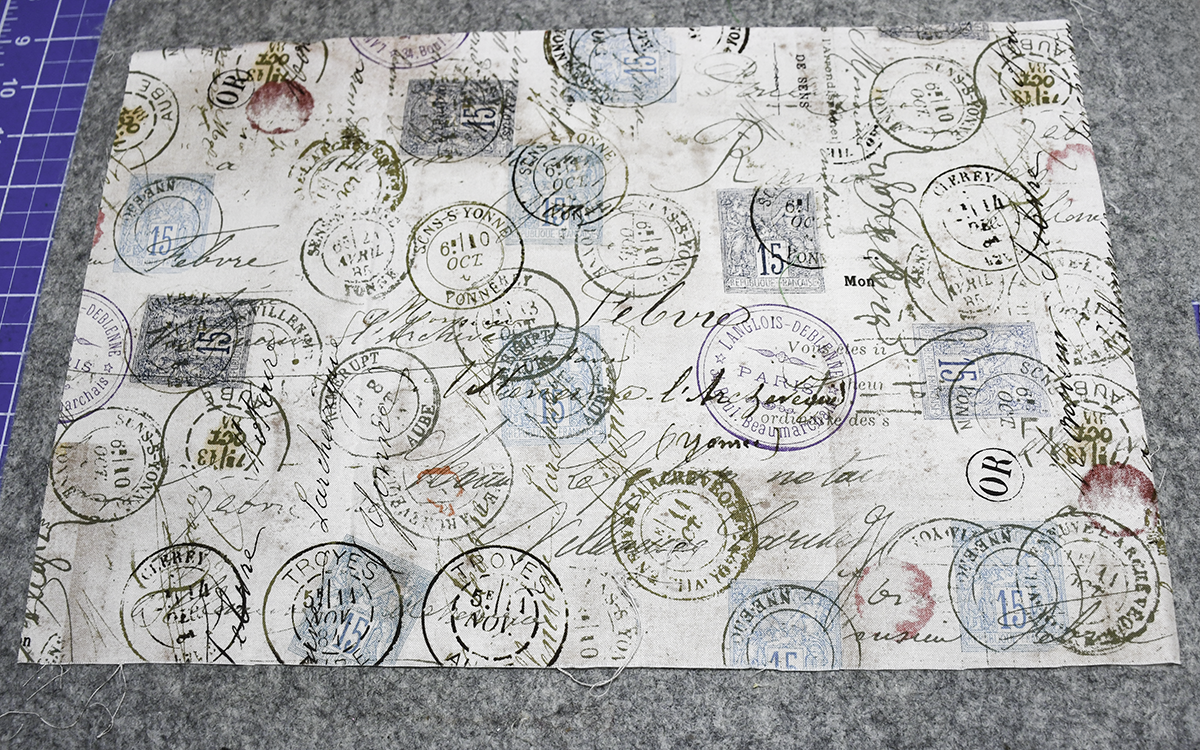
- 1/2 yd of cotton fabric for lining
- #3 Continuous zipper
- 2 3/4″ square rings
- 1 3/4″ triglide
- 2 #3 zipper sliders
- Sewing Machine
- Standard sewing supplies
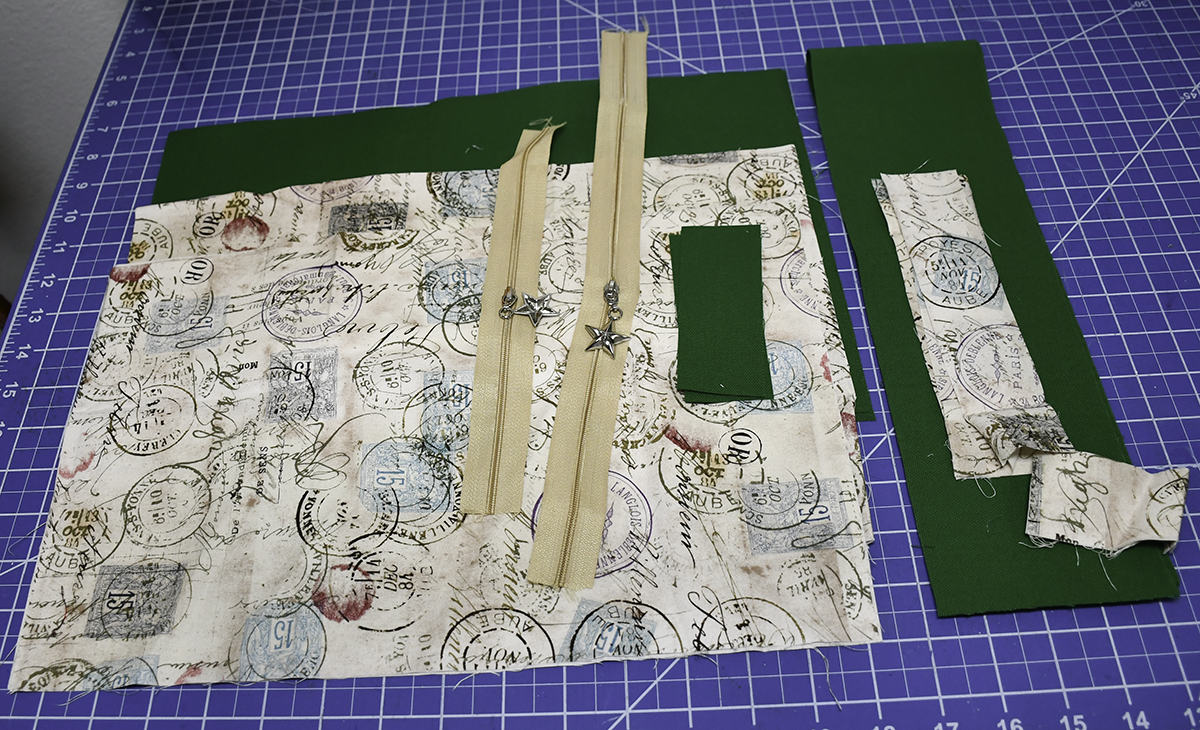
Step 1: Cut the fabrics and zippers
Canvas
- 2 pieces — 15″ x 9 7/8″
- 2 pieces — 4 3/8″ x 1 5/8″
- 1 piece — 51 1/8″ x 3 1/8″
Cotton
- 3 pieces — 15″ x 9 7/8″
- 2 pieces — 3 3/8″ x 1 1/8″
- 4 pieces — 7 1/2″ x 1 3/4″ Bias strip
Zippers
- 1 #3 continuous zipper — 10 1/4″
- 1 #3 Continuous zipper — 15 3/8″
Step 1: Cut the Canvas
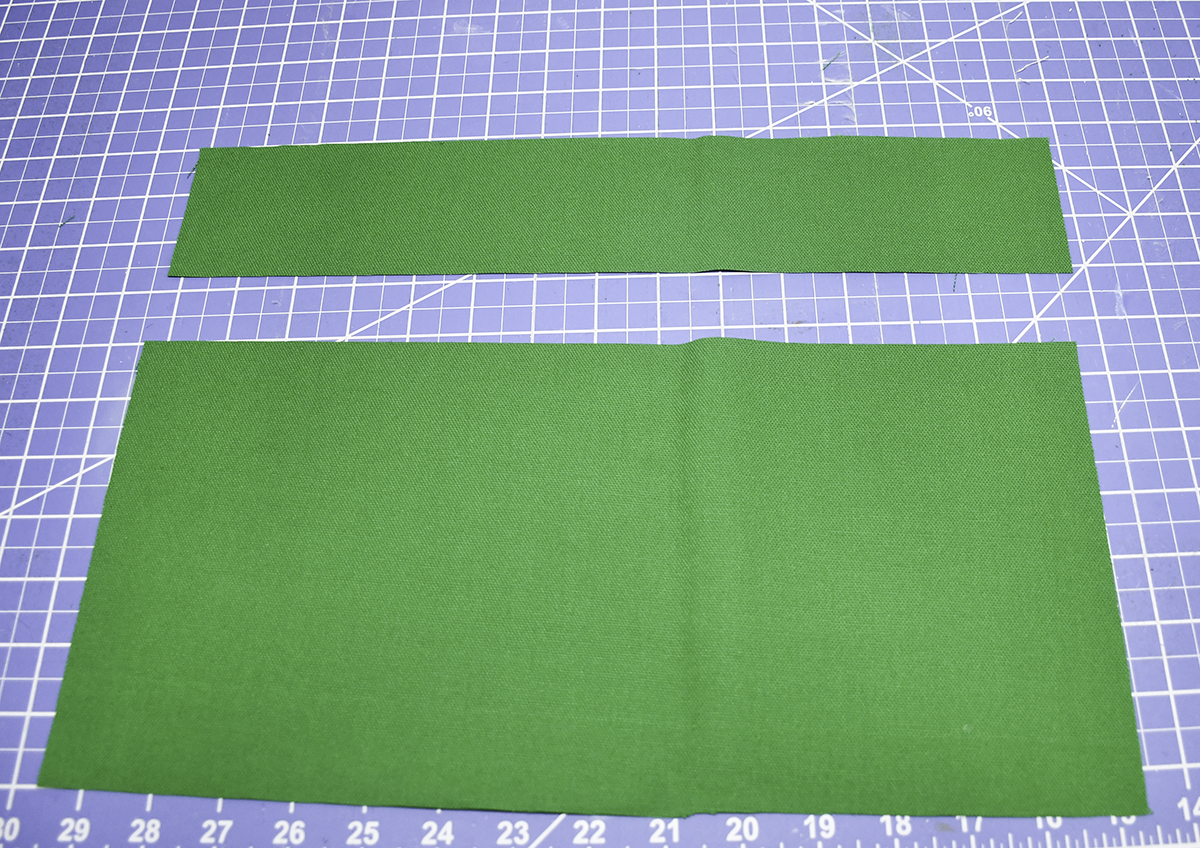
Take one piece of the canvas that you previously cut and measure down from one long side 2 3/4″. Draw a line and cut.
Step 2: Add First Half of the long zipper
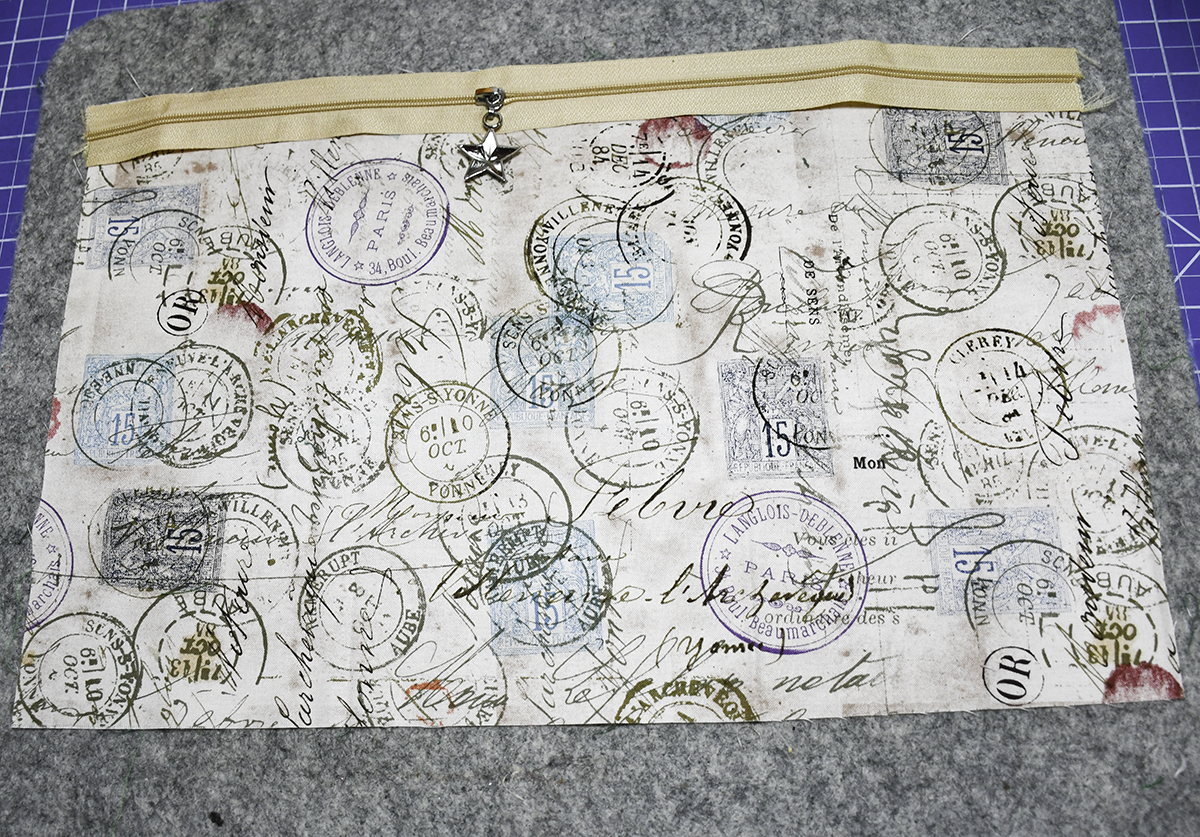
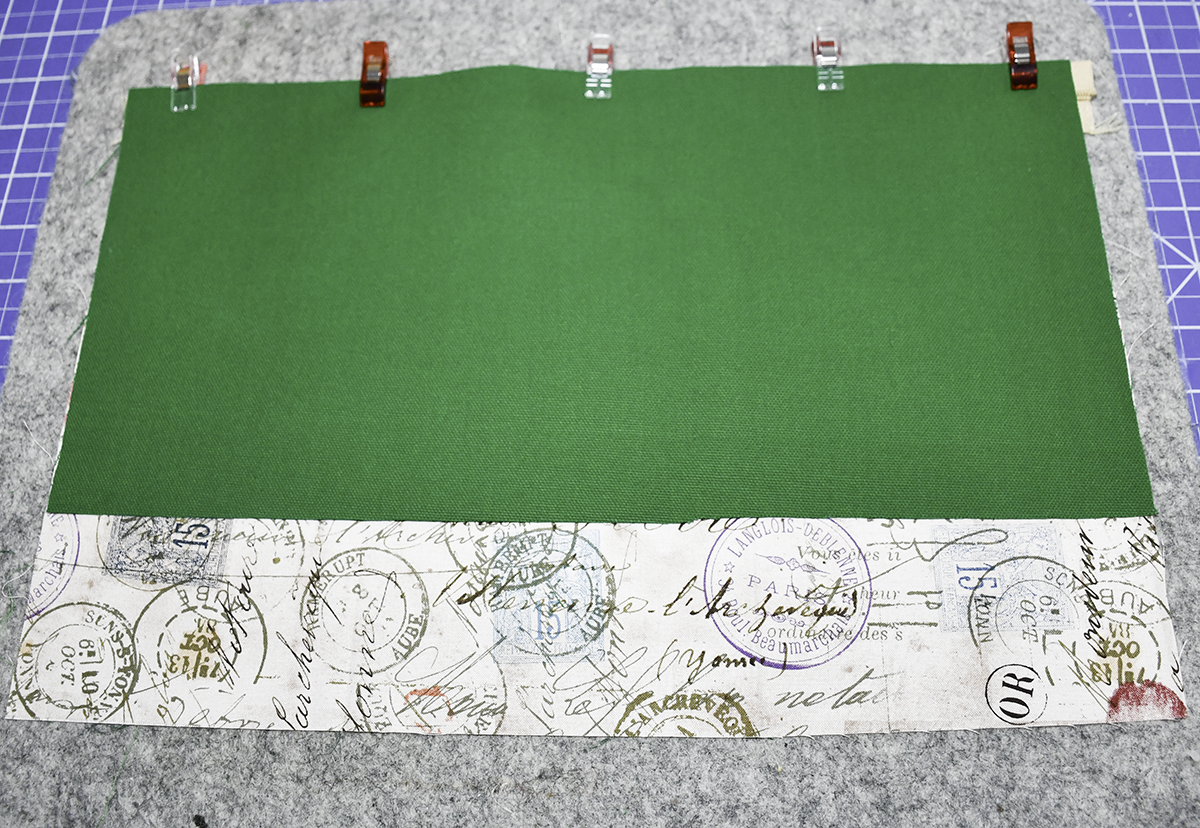
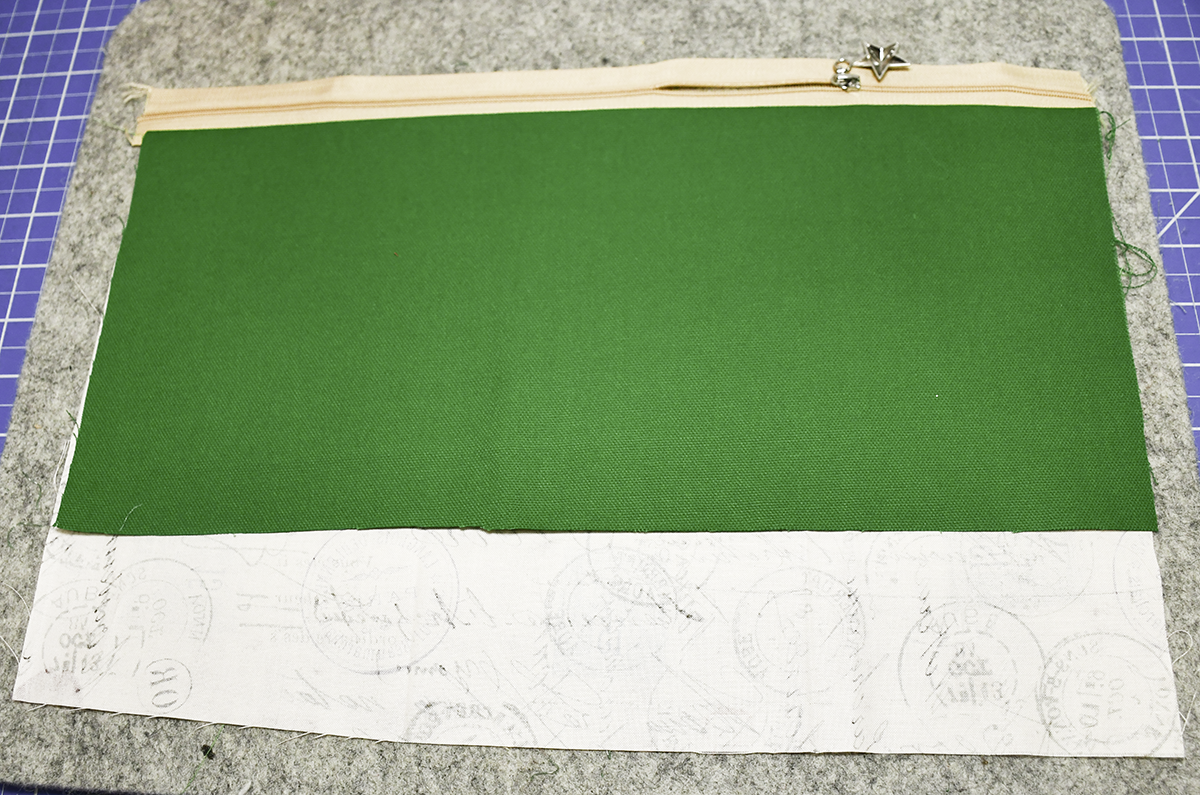
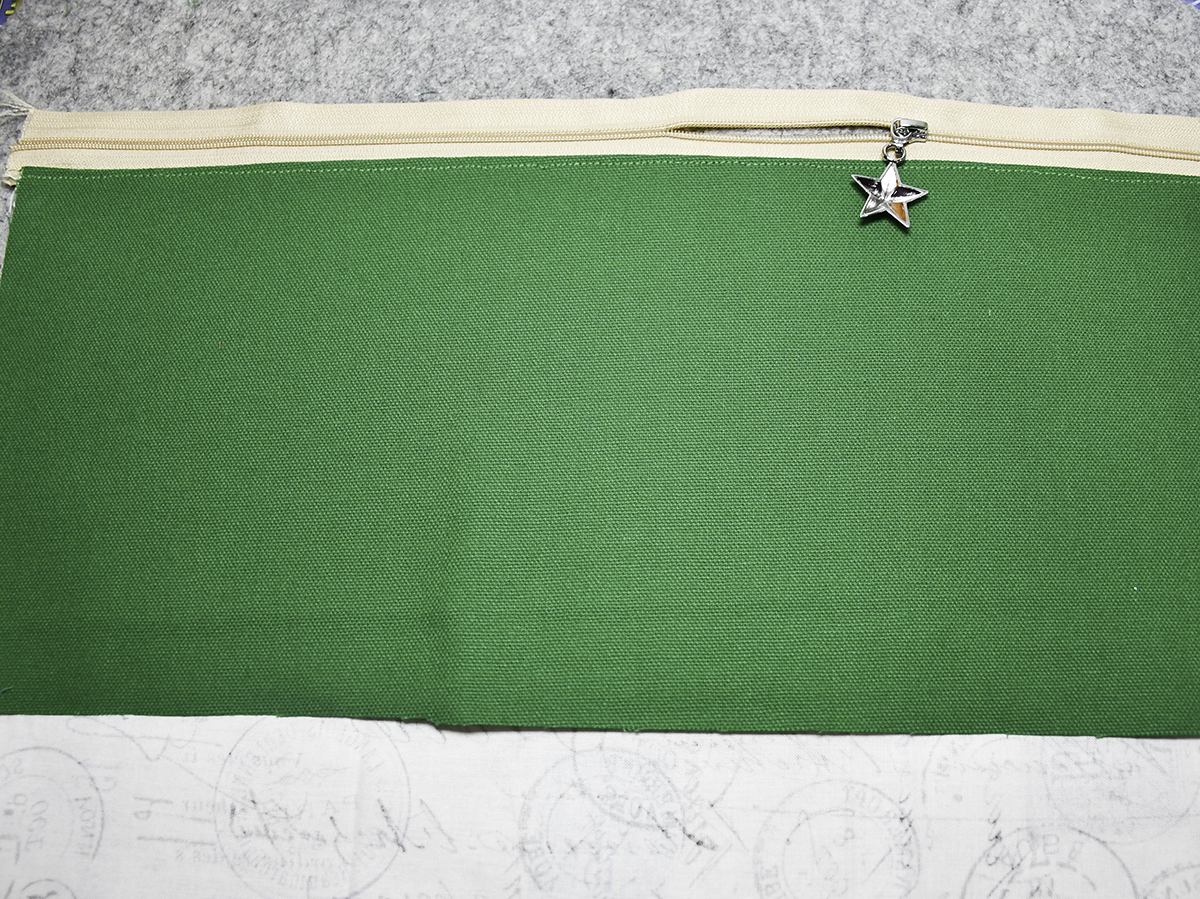
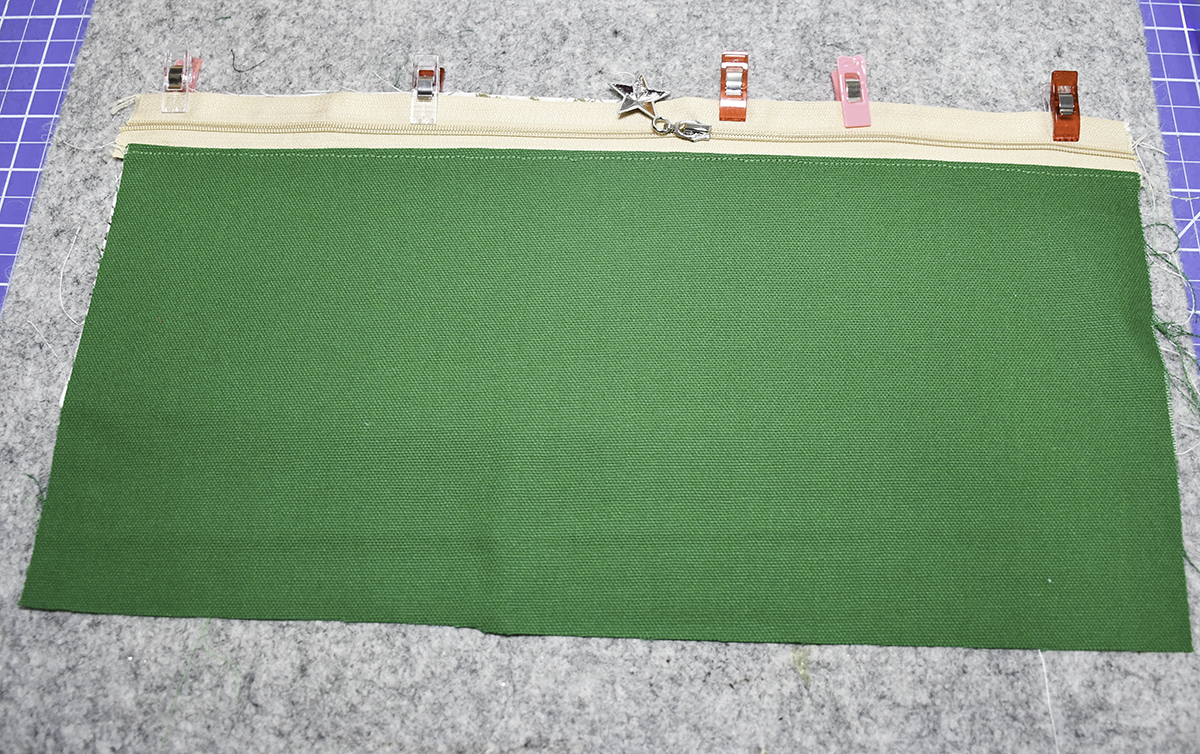
Place one of the cotton fabric pieces that measures 15″ x 9 7/8″ right side up on your work surface. Lay the long zipper across the long edge of the cotton so it is right sides up. Place the larger of the two canvas pieces right sides down on the top of the zipper. Clip. Stitch the zipper sandwich you just made using a 1/4″ seam allowance. Turn the piece so that the canvas is right sides up and the lining is right sides down with the zipper in the center. Press and topstitch along the zipper.
Step 3: Add the second half of the long zipper
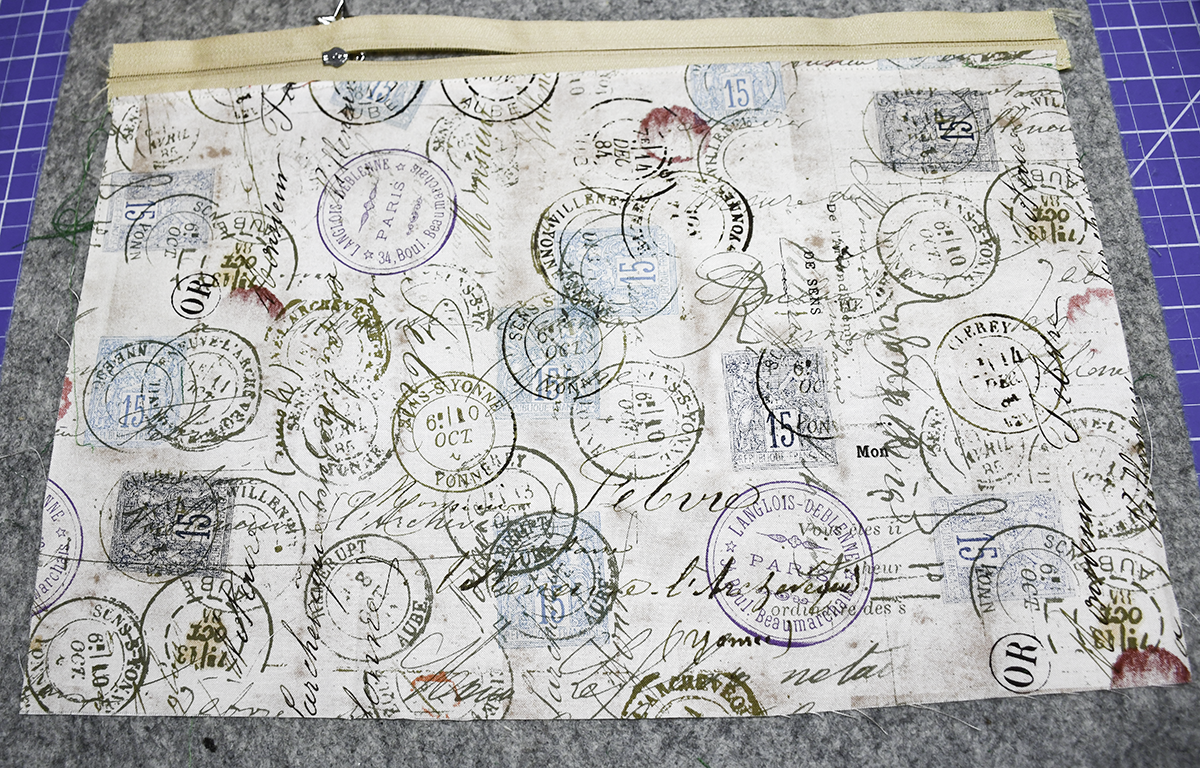
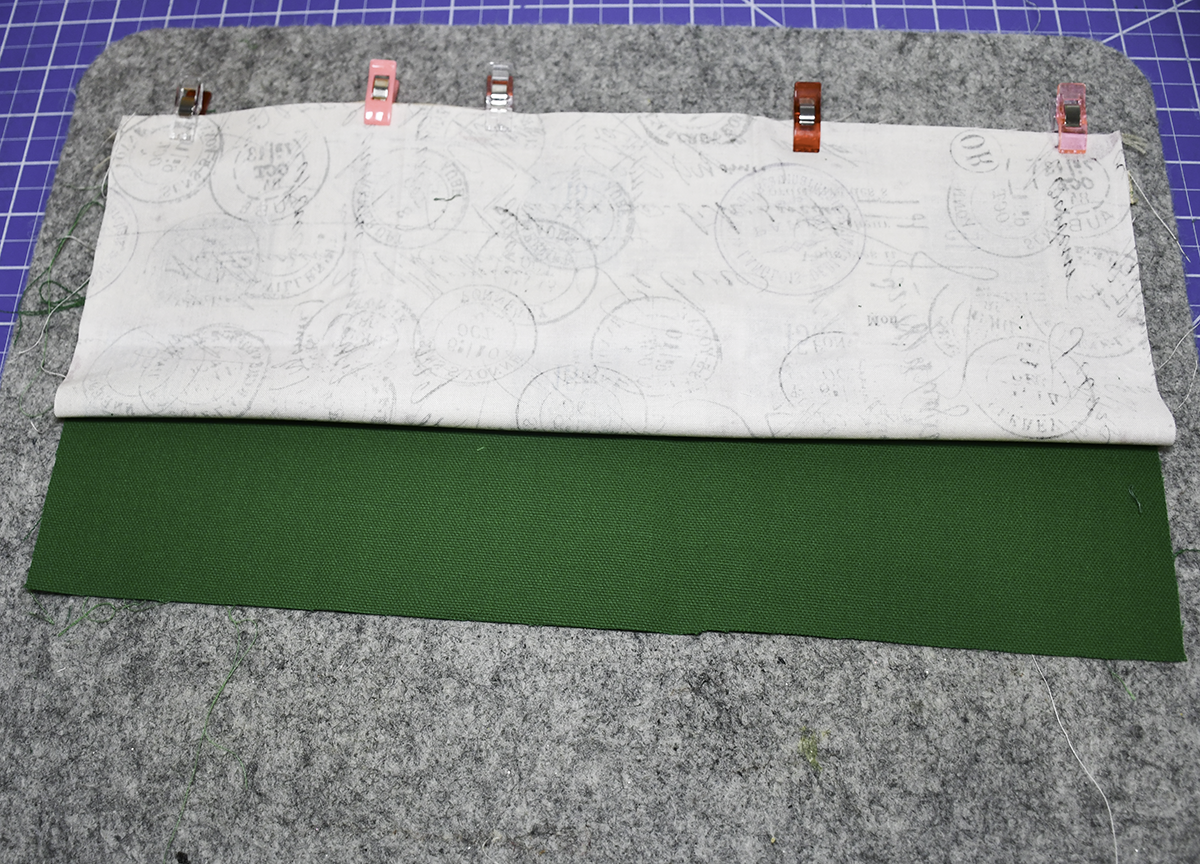
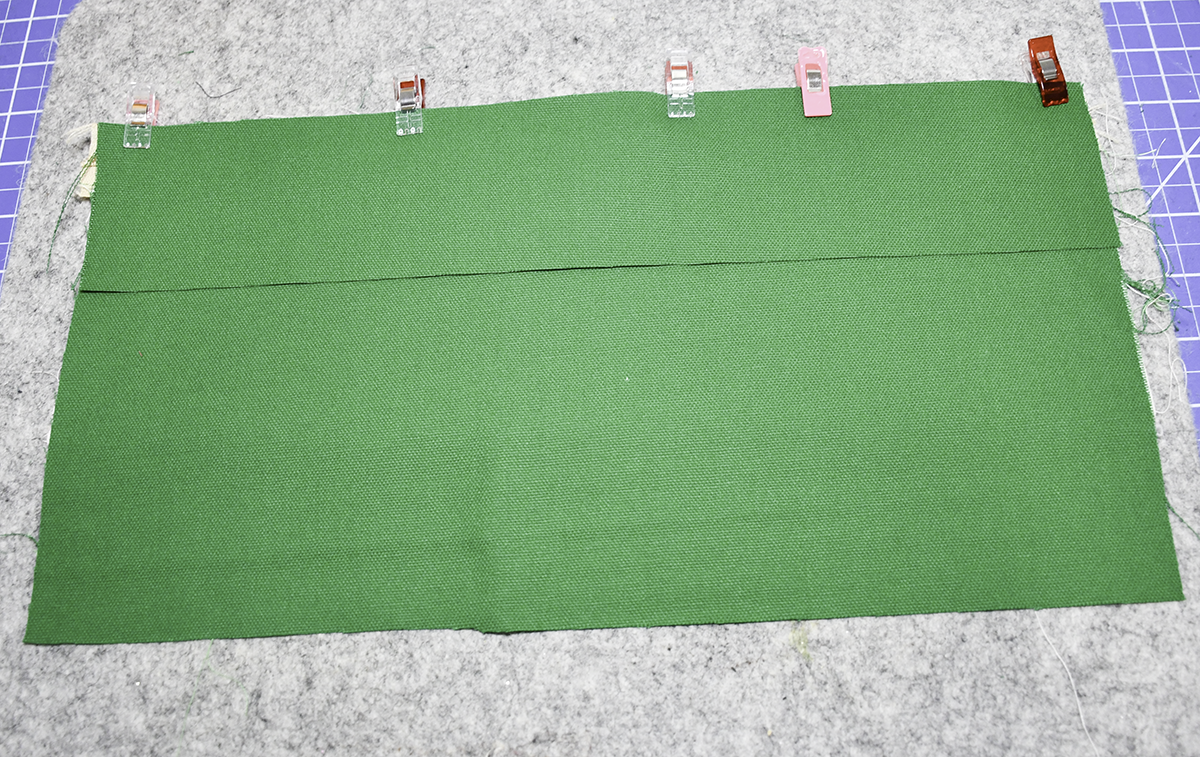
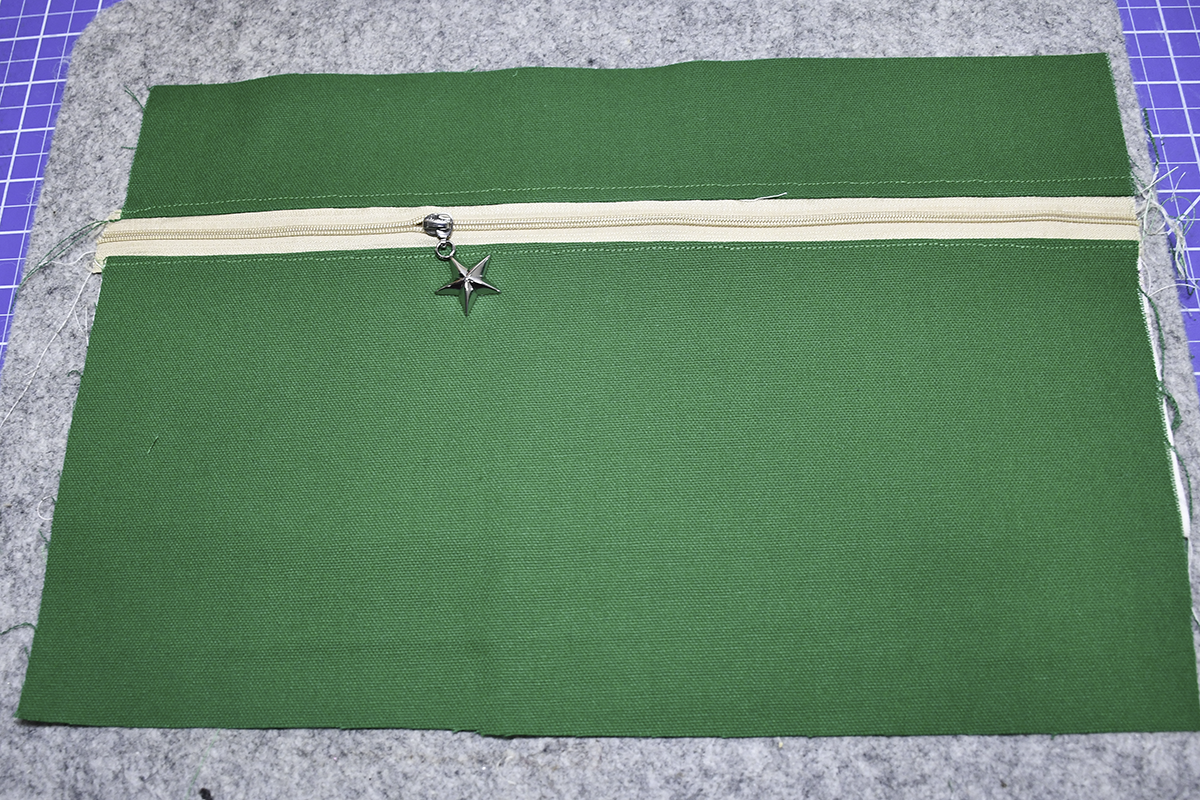
Turn the piece so that the lining is right sides up. Fold the lining so that it meets the top edge of the zipper. Clip. Turn the piece so that the canvas side is right sides up. Place the smaller canvas piece right sides down on the top half of the zipper and clip. Stitch the zipper through all layers using a 1/4″ seam allowance. Open up the piece so that the zipper is in the center. Press and topstitch.
Step 4: Prepare the Short Zipper
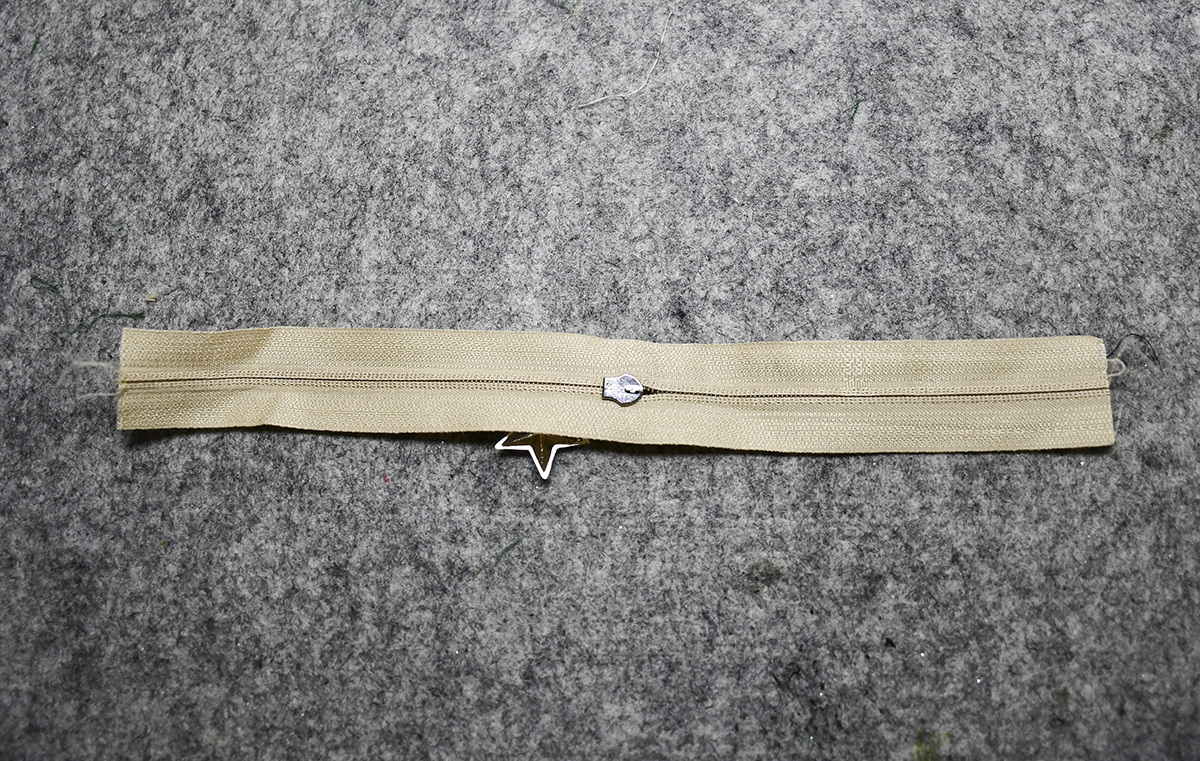
Place the shorter zipper right sides down on your work surface. Take the two lining pieces that measure 3 3/8″ x 1 1/8″ and place them right sides down on each end of the zipper. Stitch each short end using a 3/8″ seam allowance. Open each end.
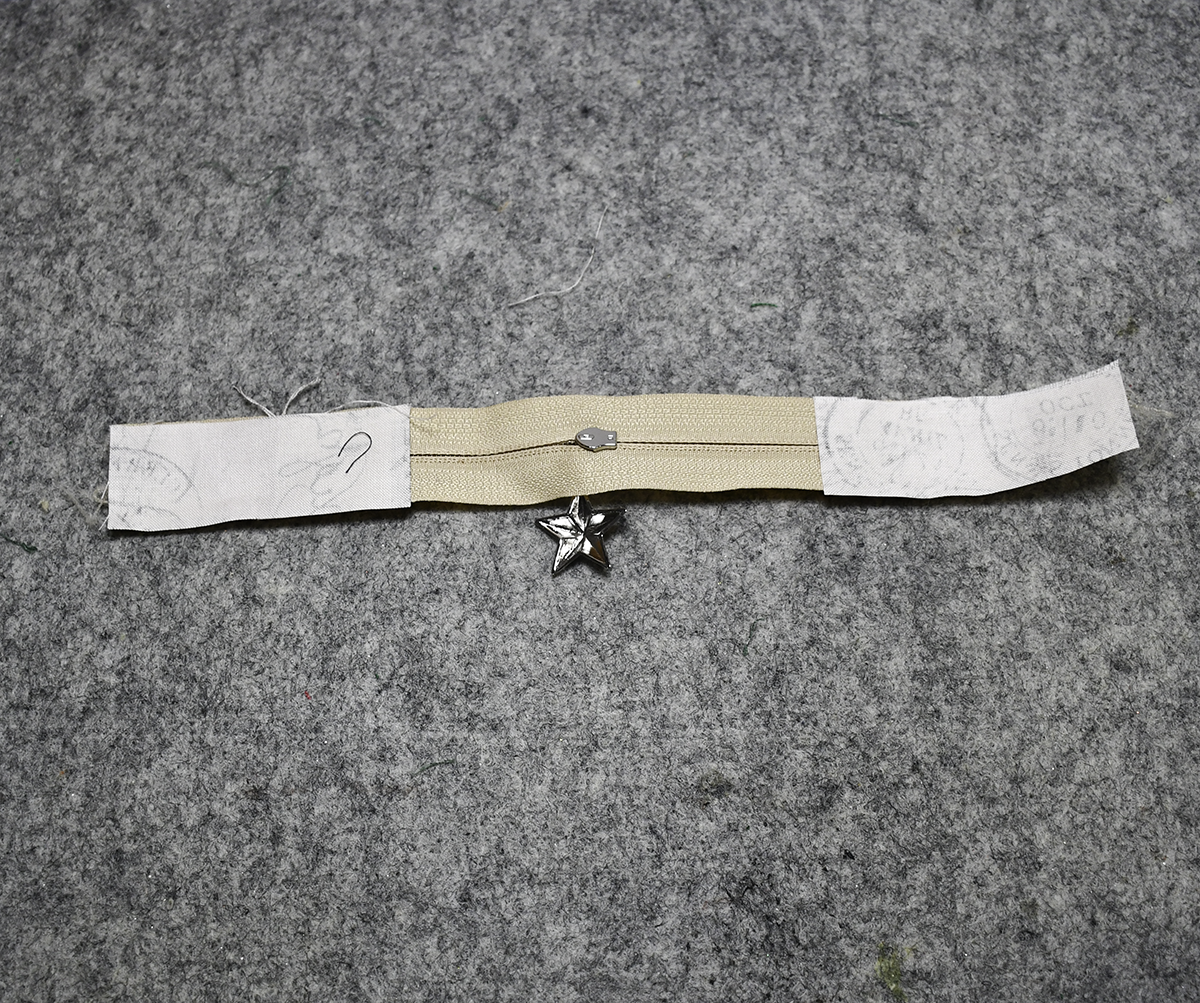
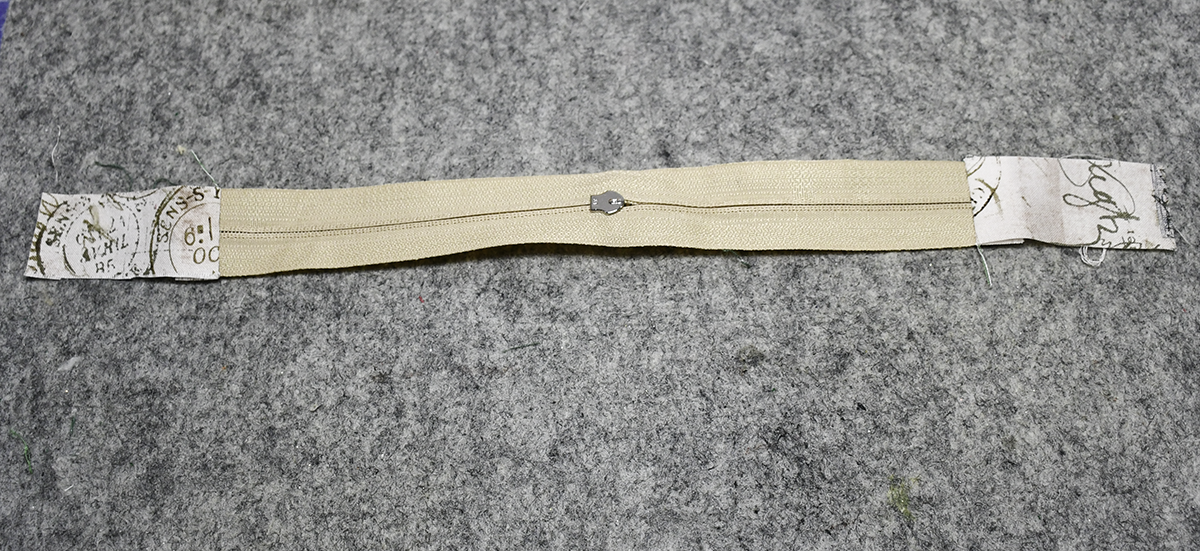
Step 5: Add the First half of the shorter zipper
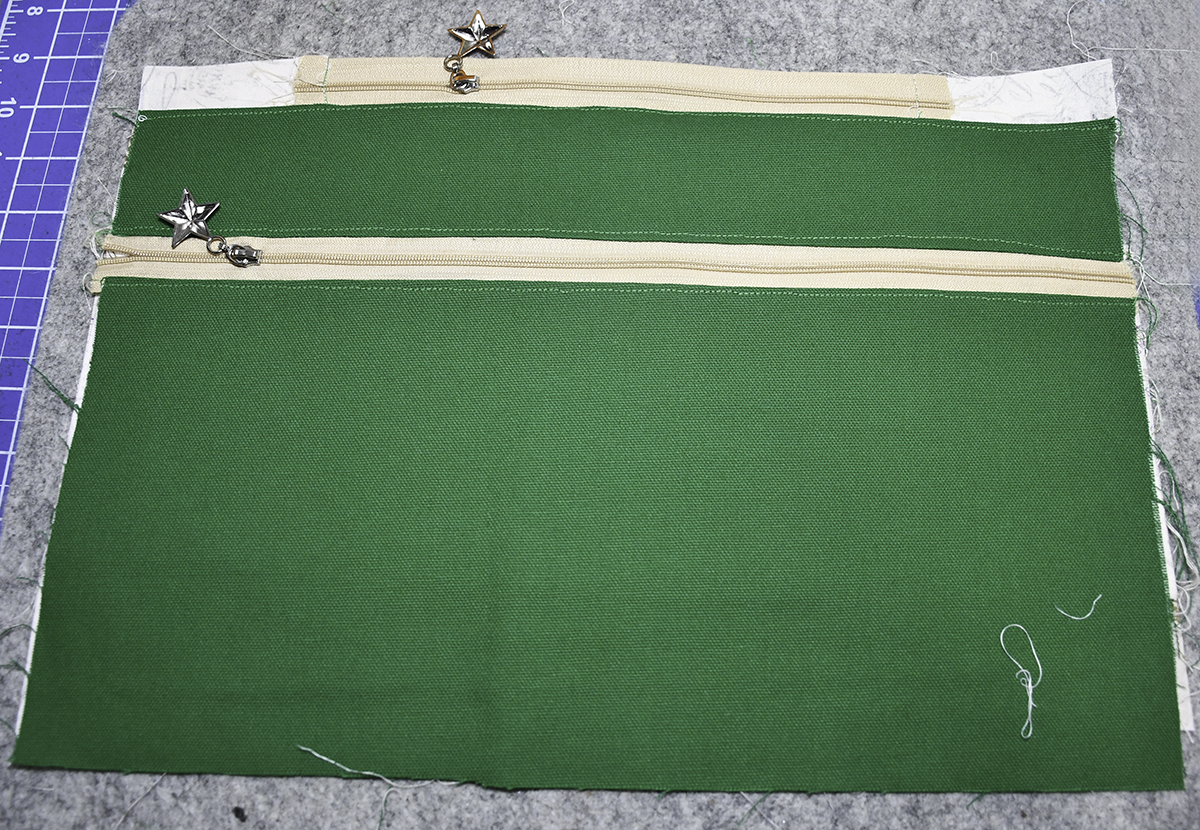
Take a second Lining piece that measures 15″ x 9 7/8″ and place it right sides up on your work surface. Lay the prepared zipper wrong sides down on the top of the lining piece. Add the canvas piece with the zipper you just added on the top of the zipper right sides down and clip all three layers. Stitch the zipper using a 1/4″ seam allowance. Expose the zipper and topstitch.
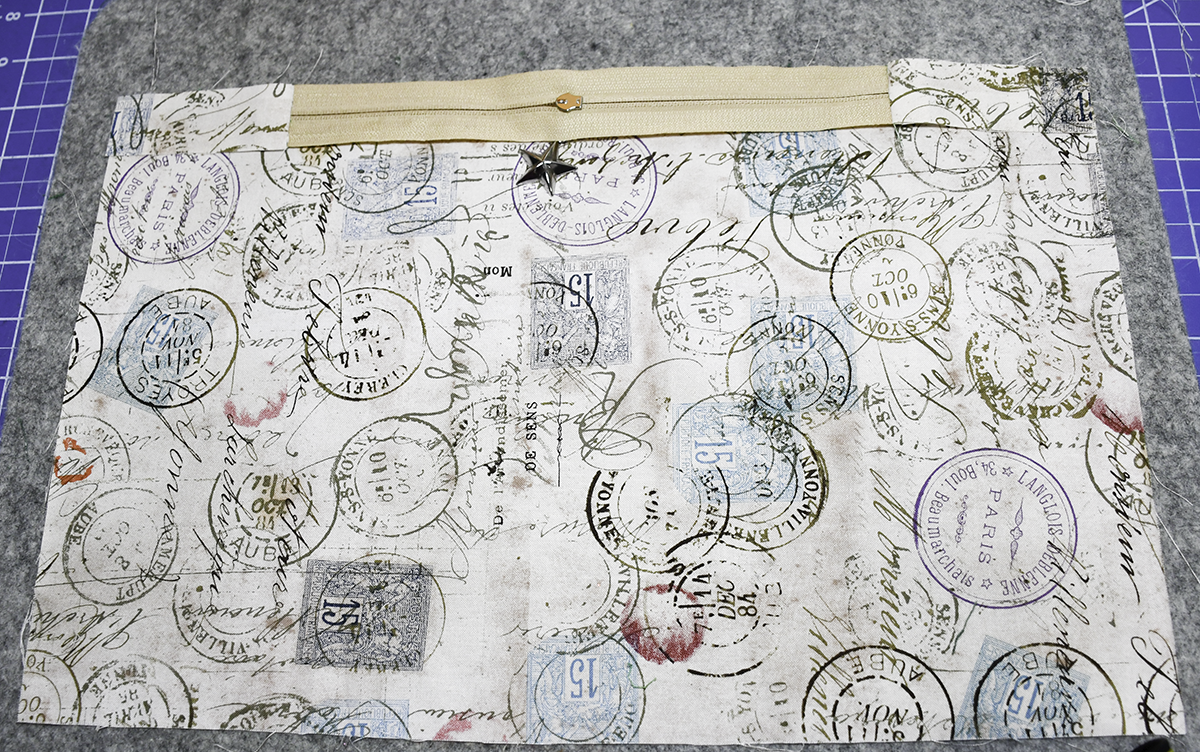
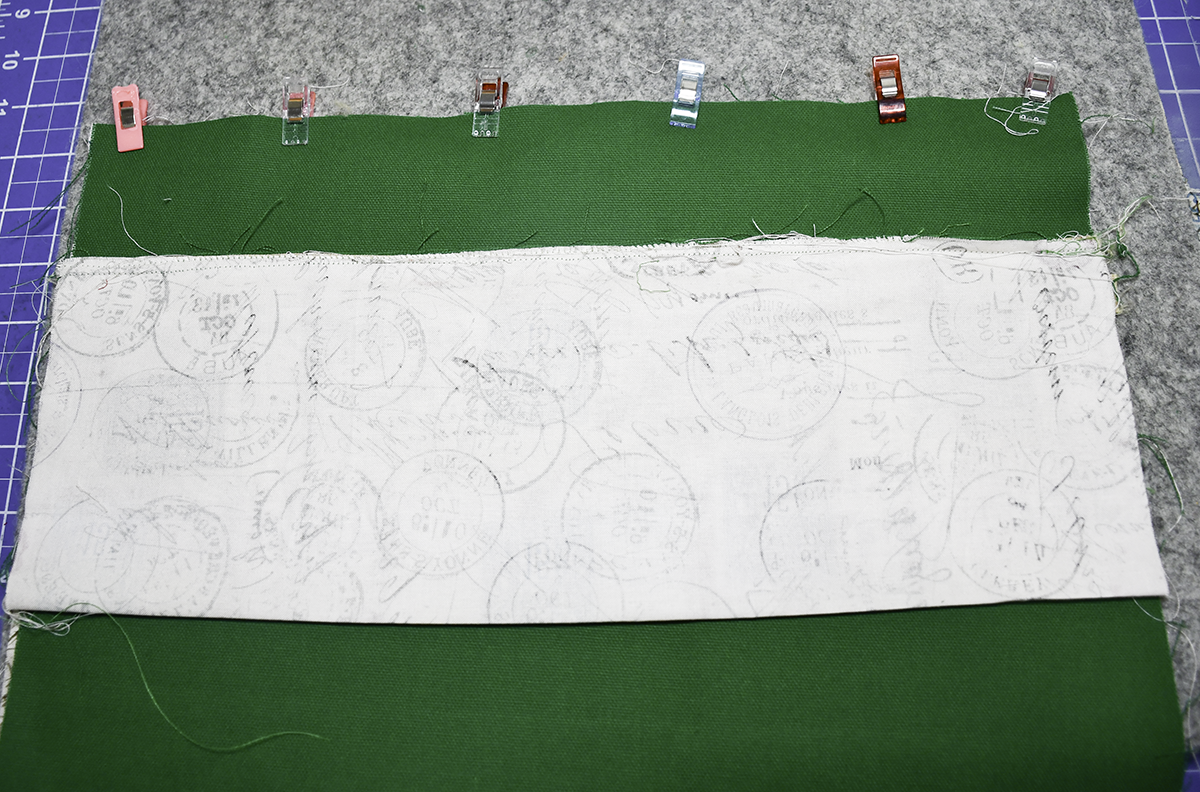
Step 6: Add the second half of the shorter zipper
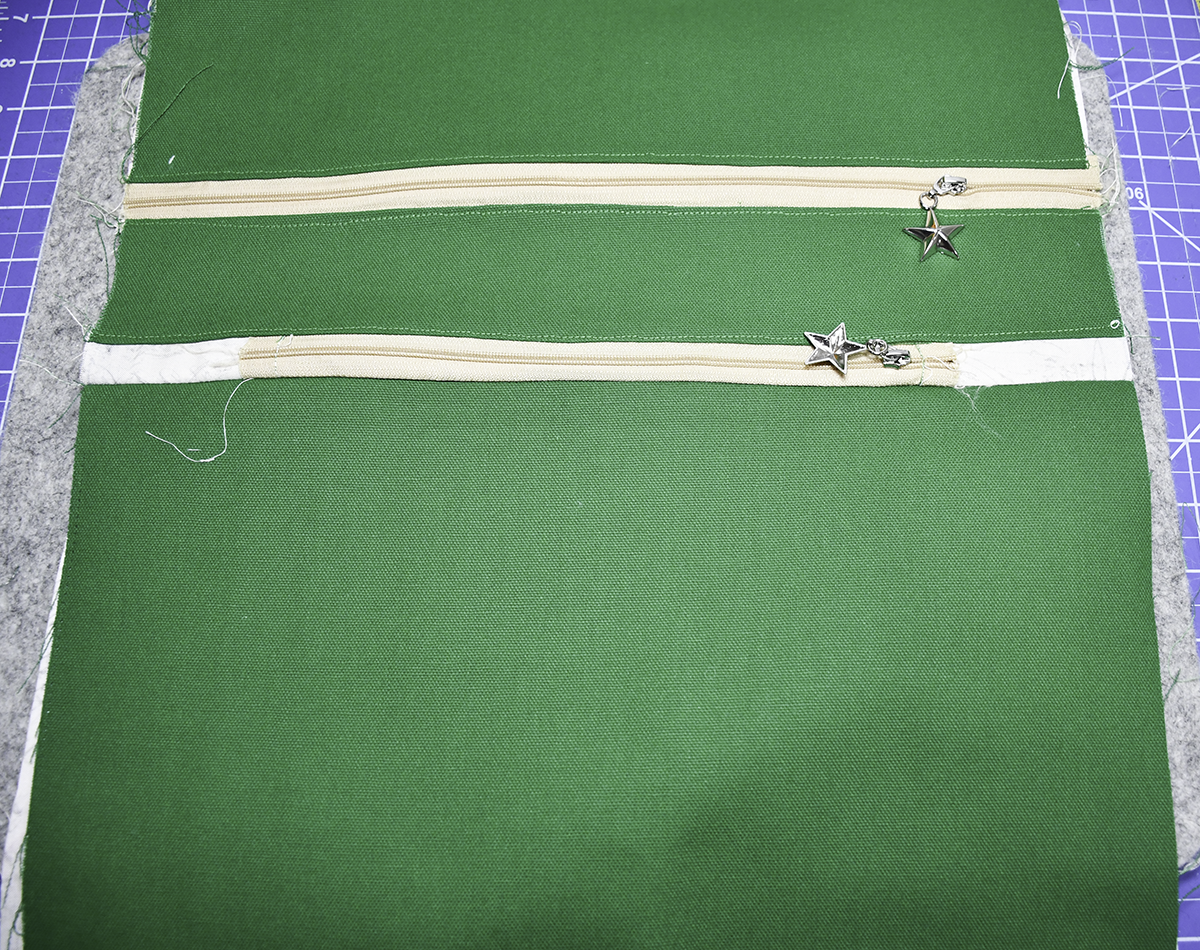
Place the third lining piece that measures 15″ x 9 7/8″ right sides up on your work surface. Lay the zipper right sides up on the zipper. Finally place the second whole canvas piece on top of that. Clip, and stitch using a 1/4″ seam allowance. Open, press and topstitch.
Step 7: Create the strap tabs
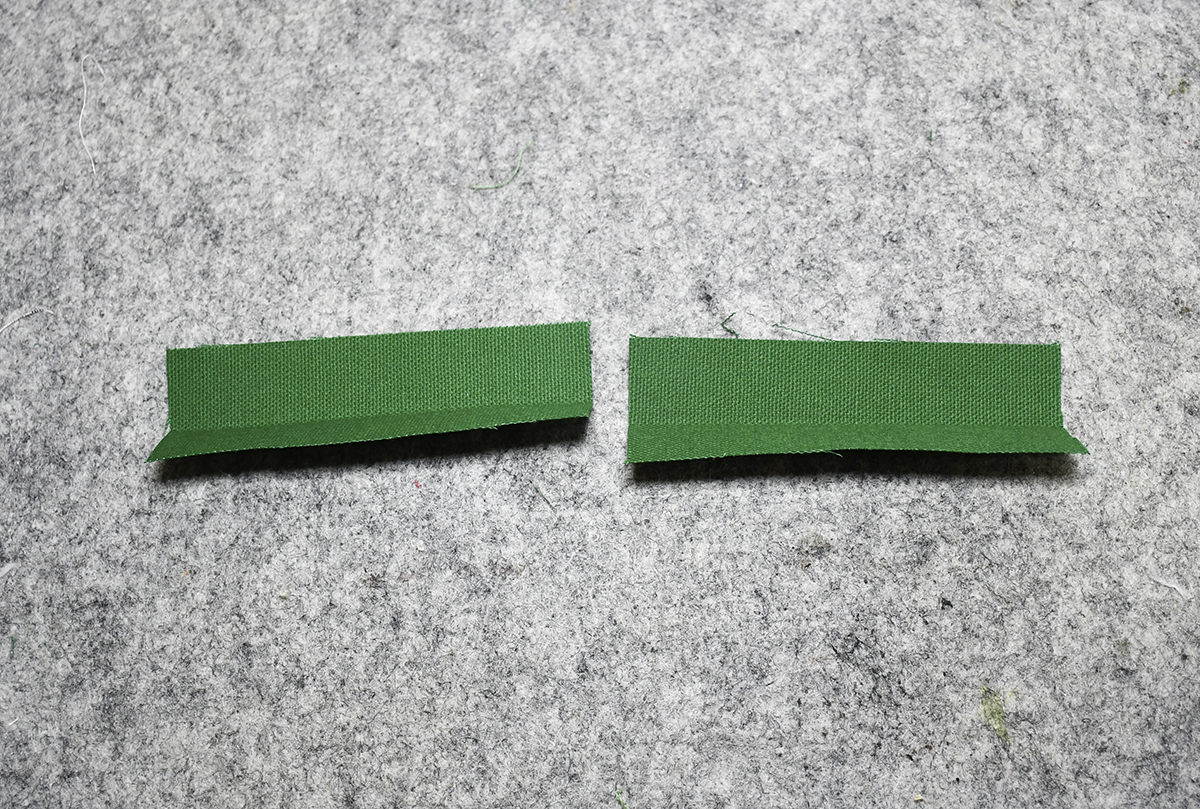
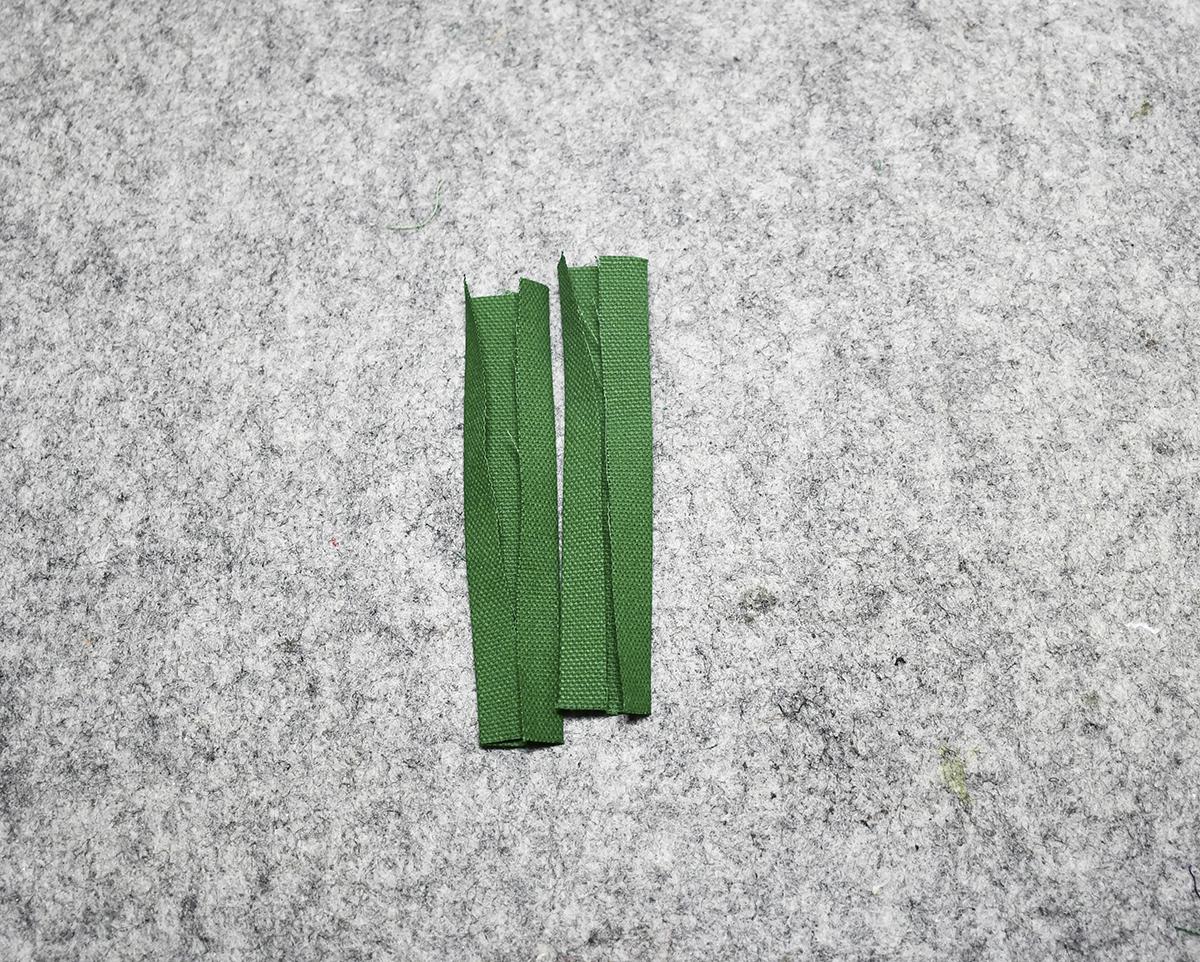
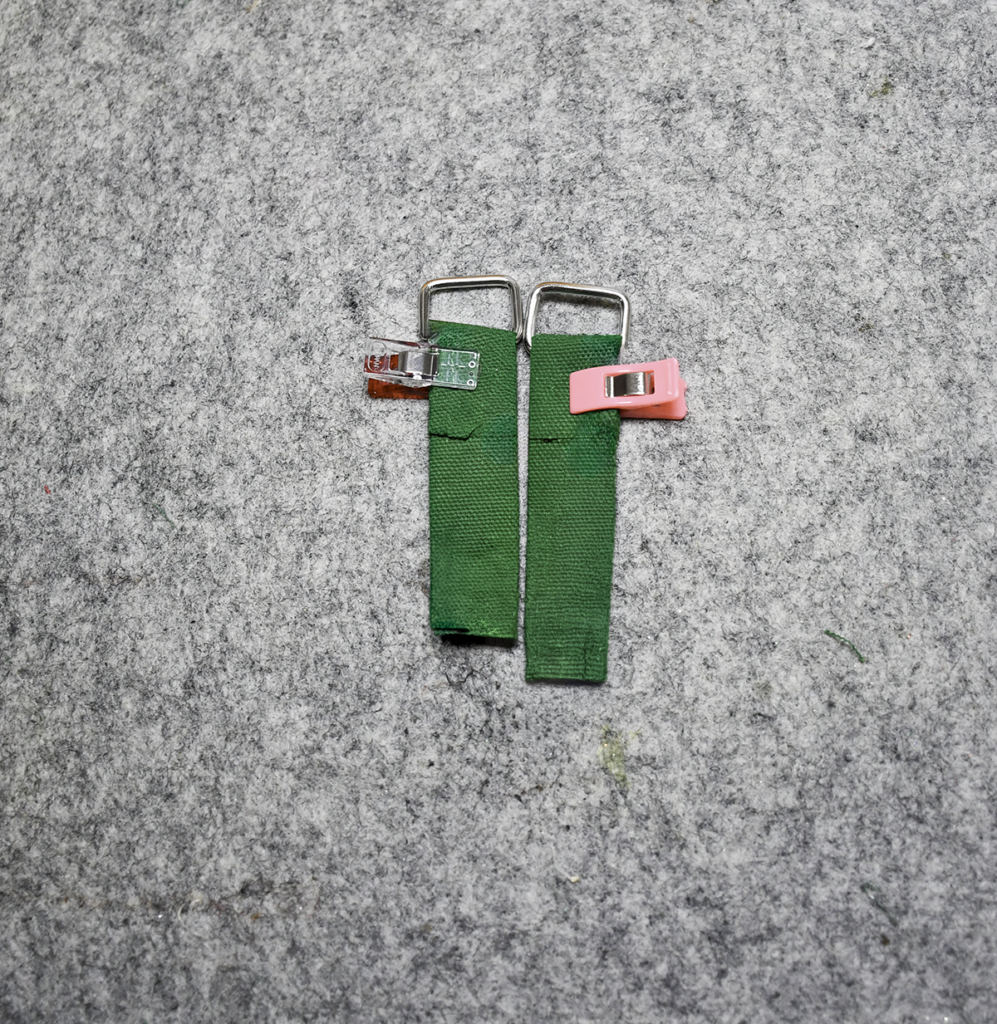
Take the two canvas pieces that measure 4 3/8″ x 1 5/8″ and fold them in half lengthwise and finger press to create the center line. Fold the long raw edged to the center and press. Topstitch on all four long sides. Insert the canvas through the square rings so that it fold over by 1″. Clip.
Step 8: Add the Tabs
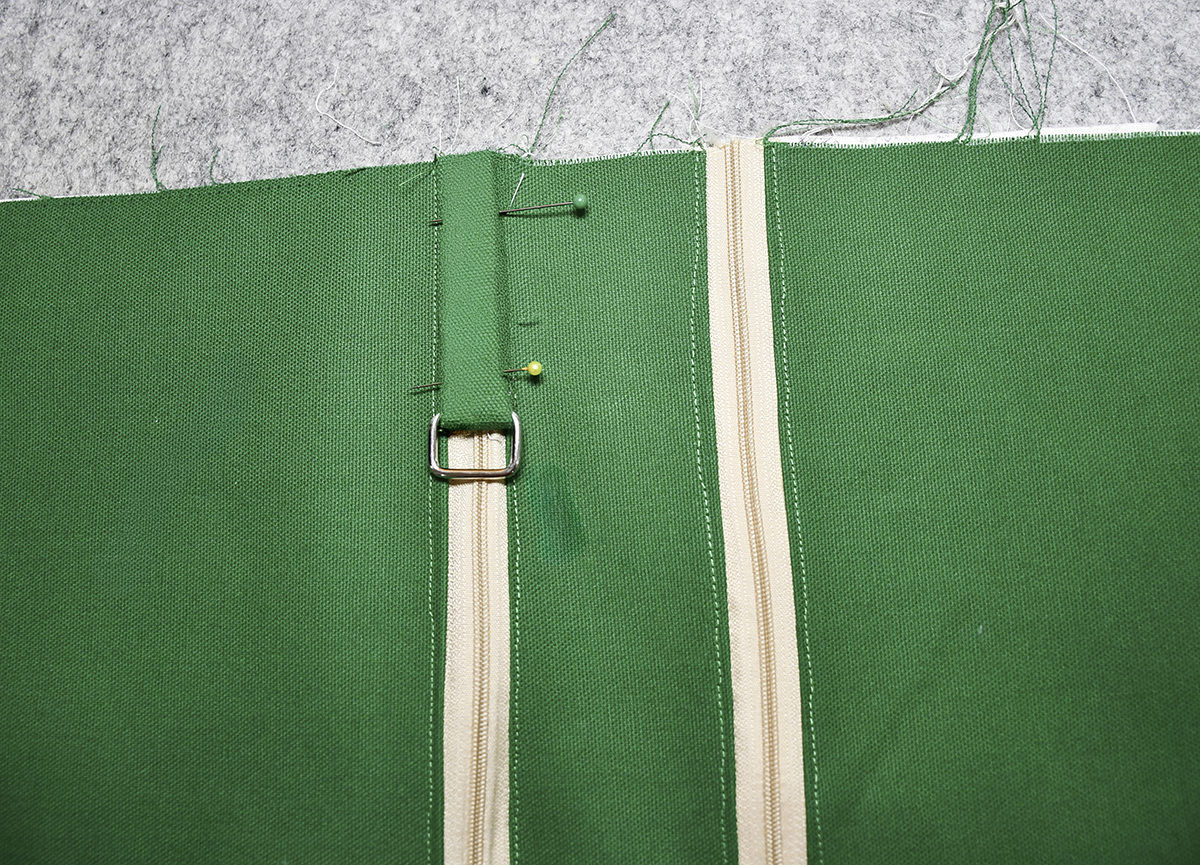
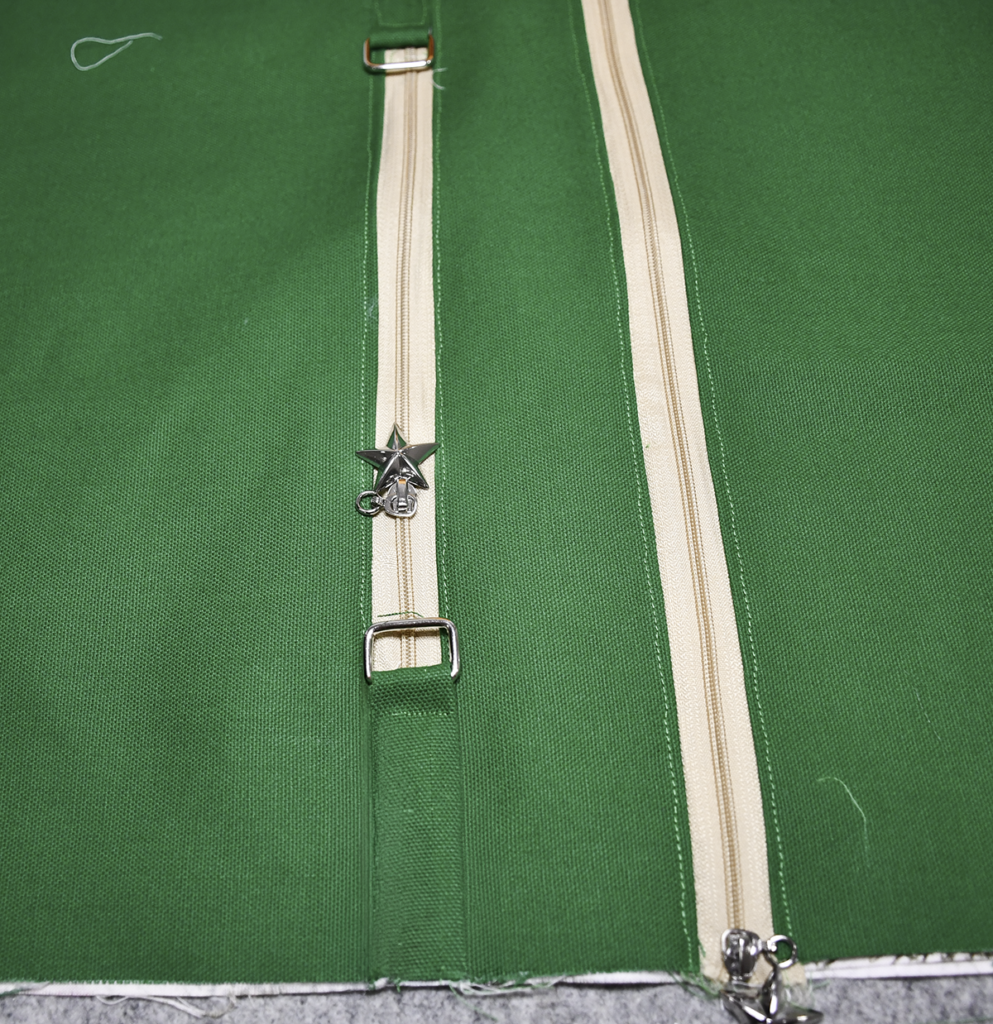
Place the short raw edge of each tab so that they are on top of the lining tabs you previously added to the short zipper with the raw edges meeting. Clip. Topstitch along the sides and short folded edge to secure.
Step 9: Stitch the Bag
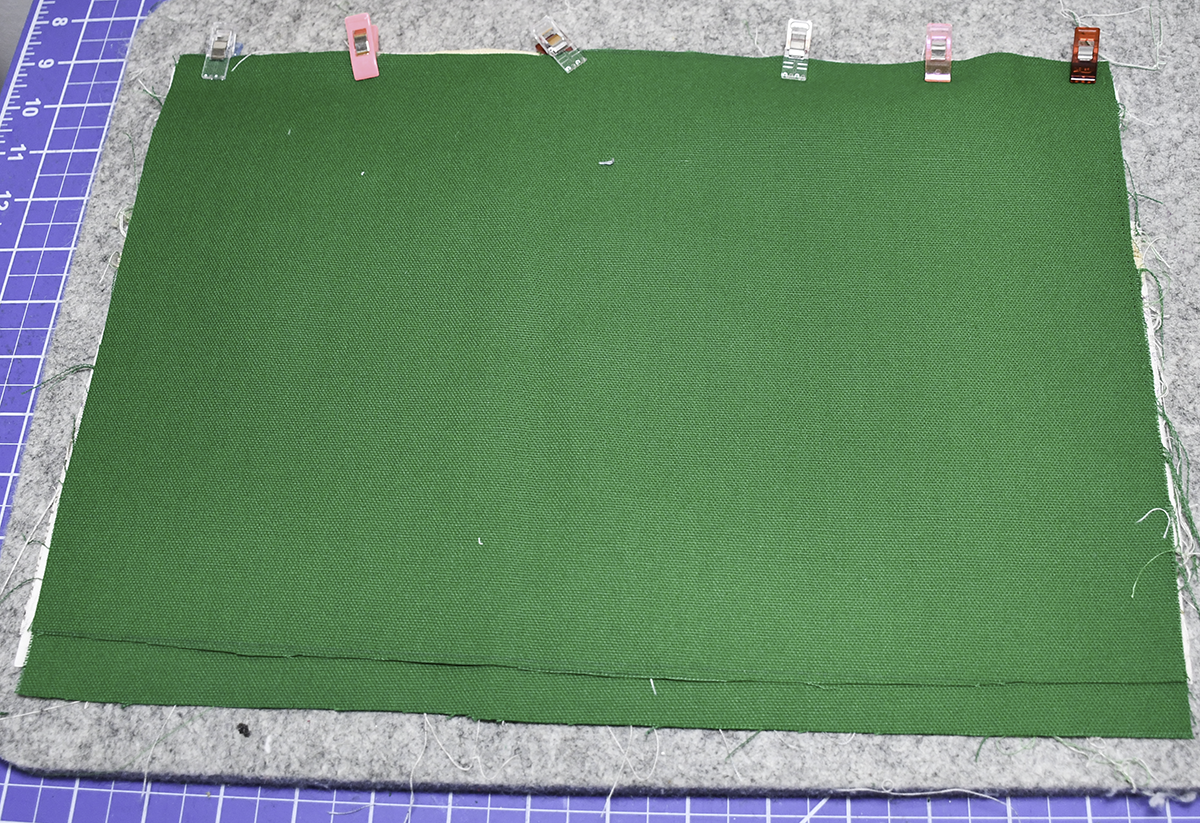
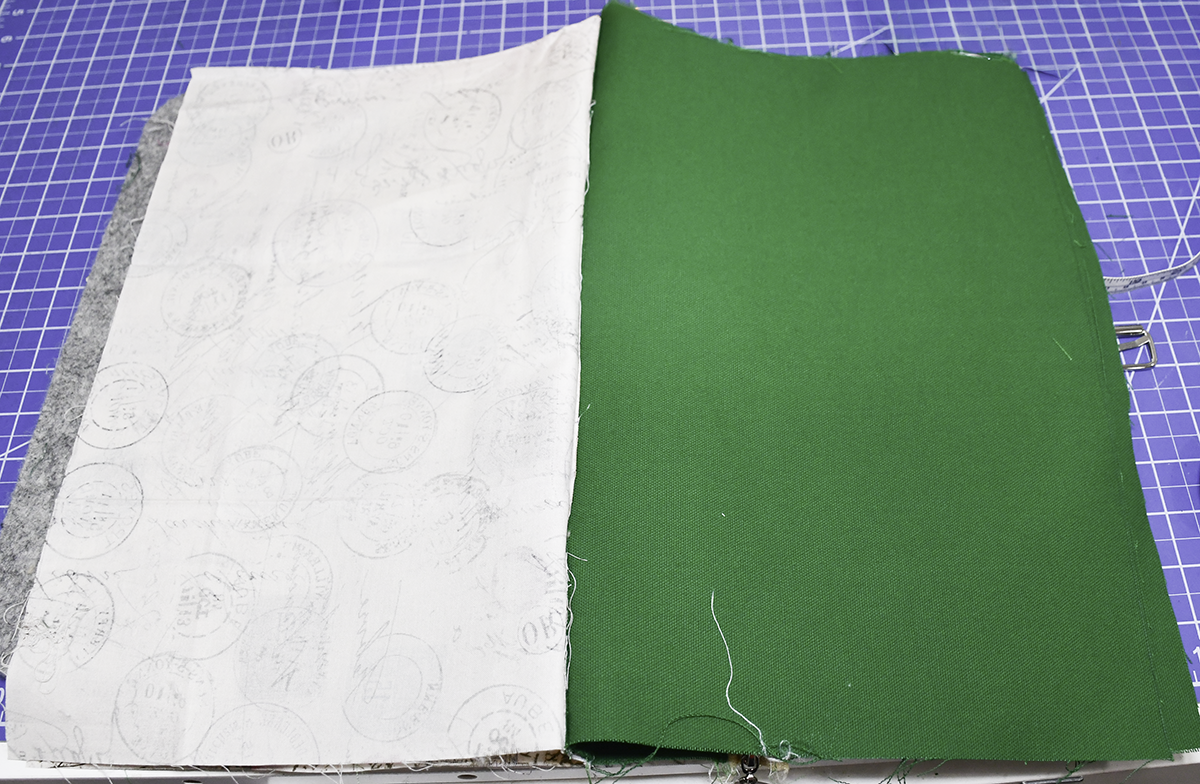
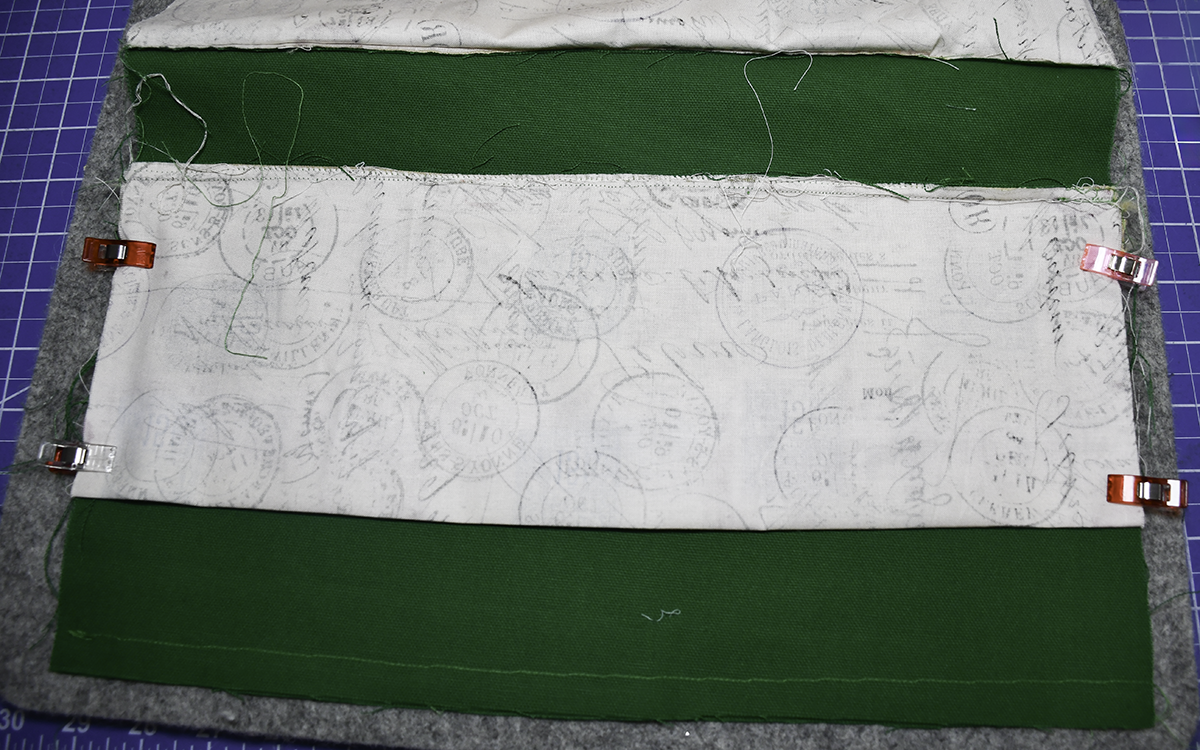
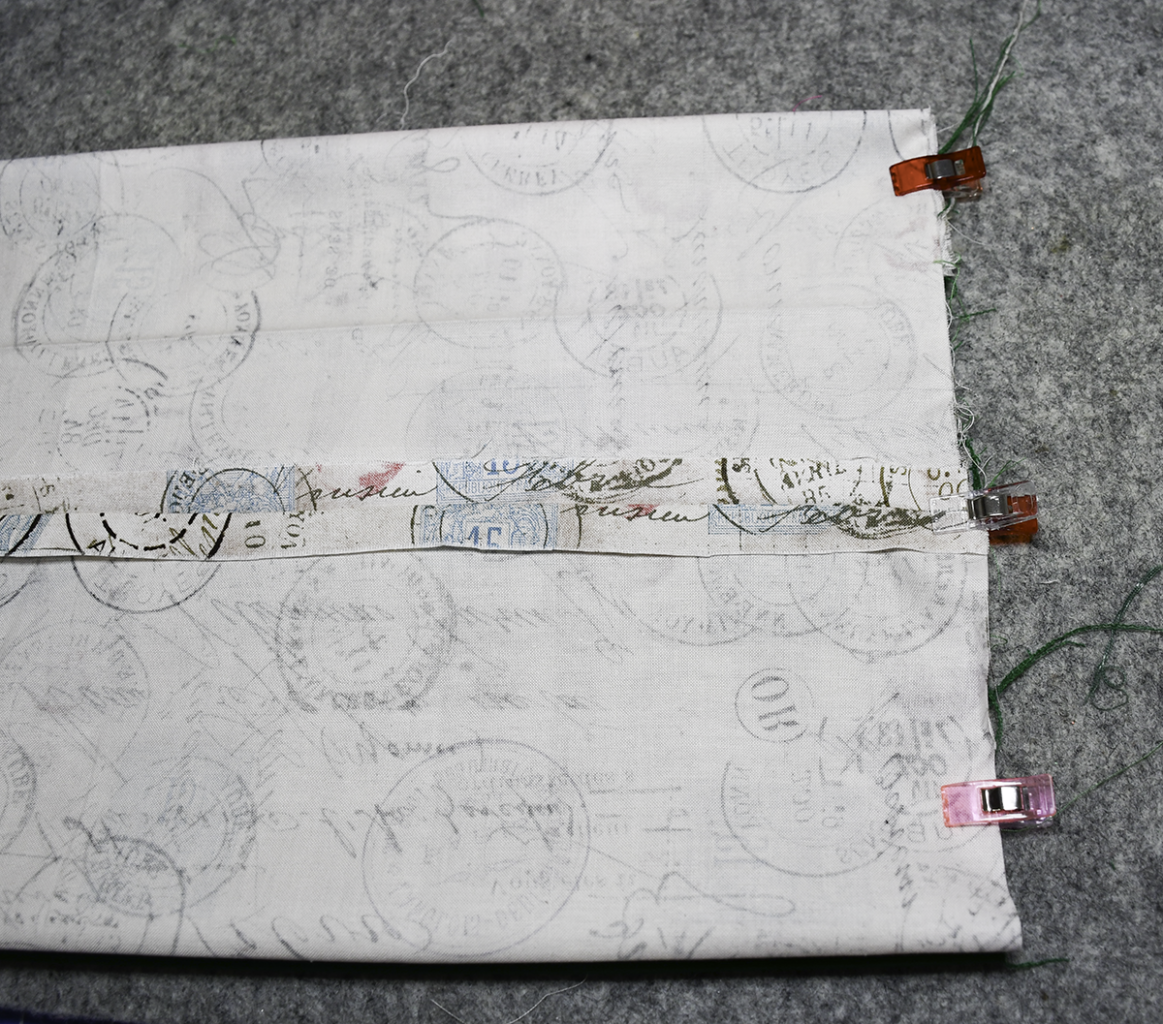
Place the bag so that the lining sides are right sides together and the canvas sides are right sides together. Stitch the bottoms of each using a 3/8″ seam allowance. Press the seams open. Stitch the pocket you created to the bag sides of the top layer only using a 1/8″ seam allowance. Trim off any excess zipper. Reposition the bag so that the seams of the lining and canvas are in line with the short zipper. Clip.
Step 10: Box the Corners
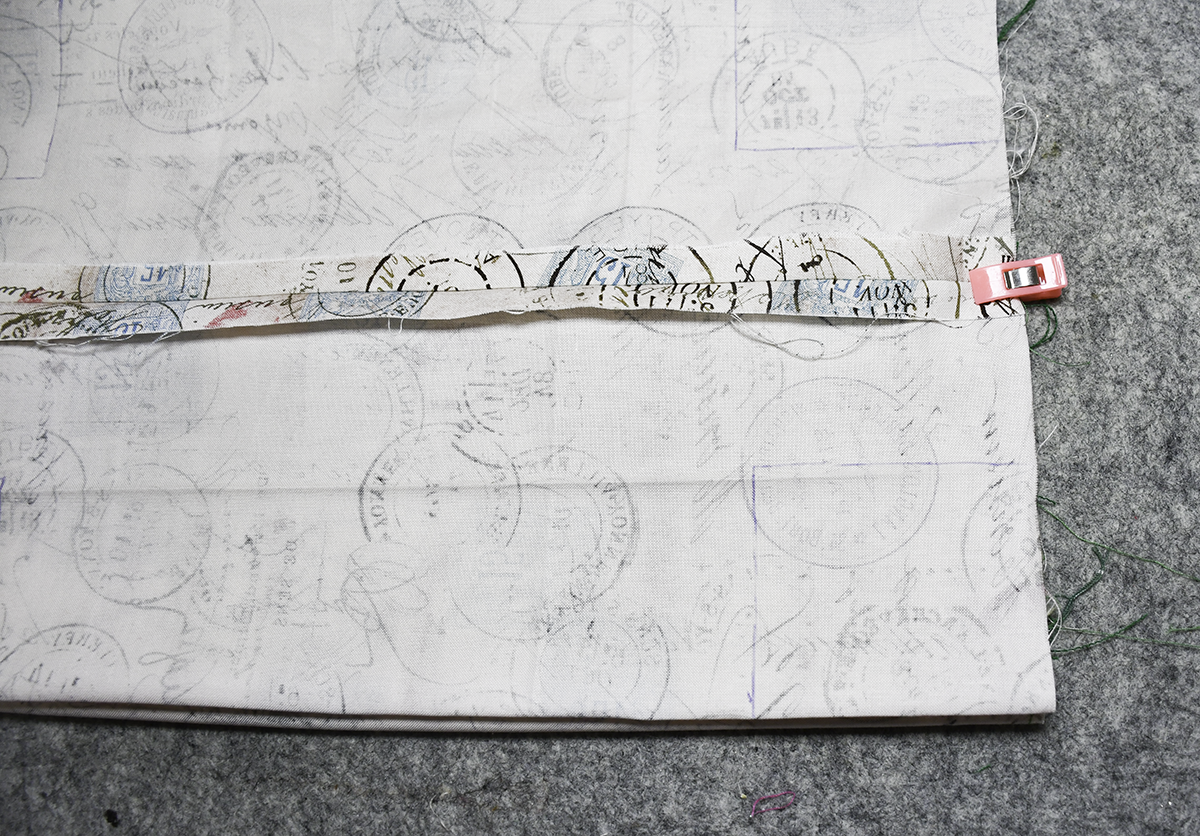
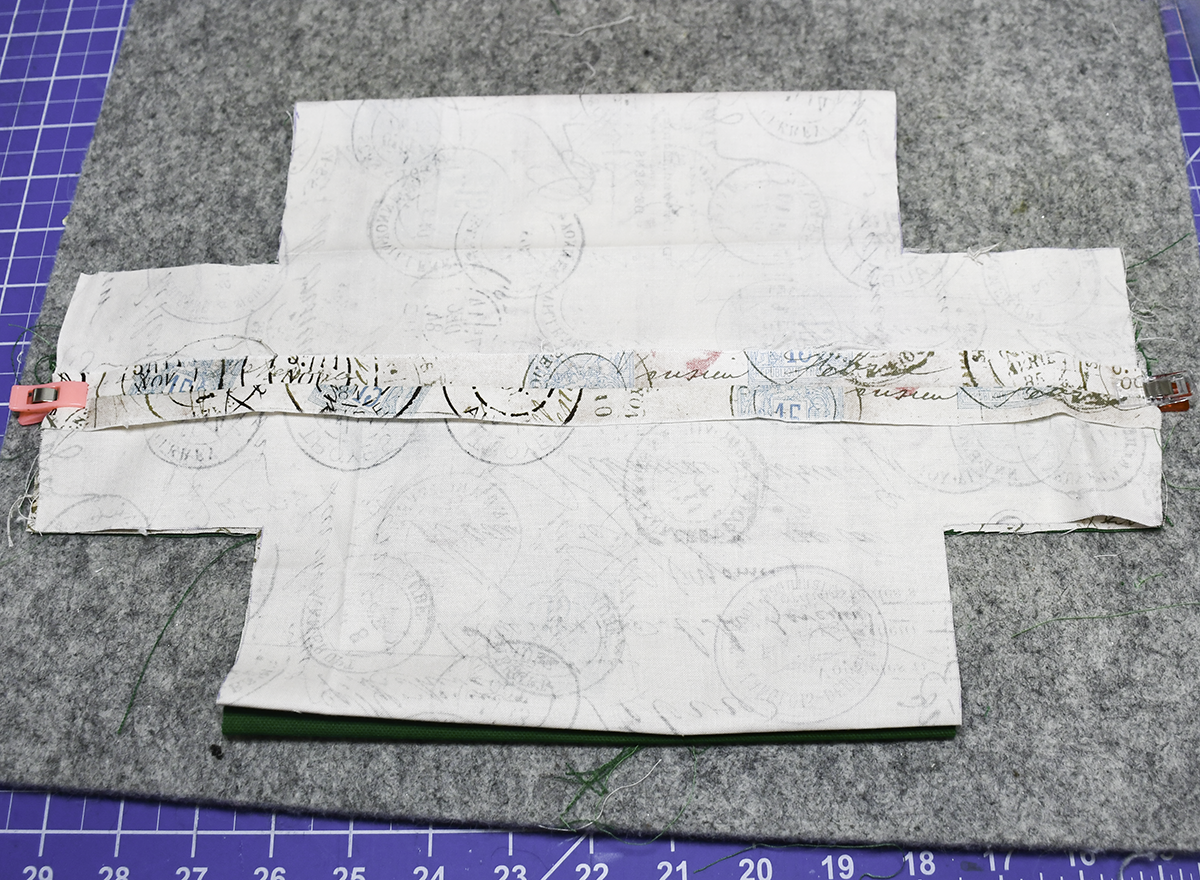
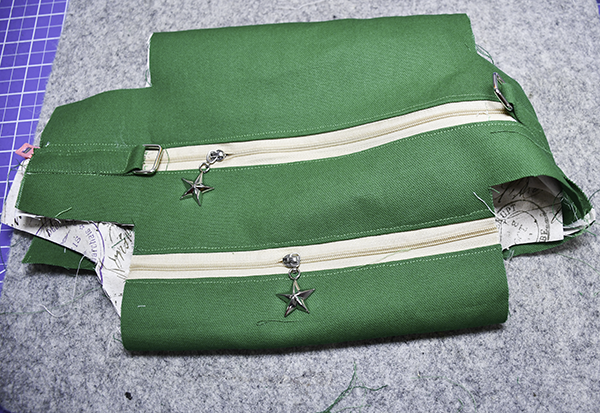
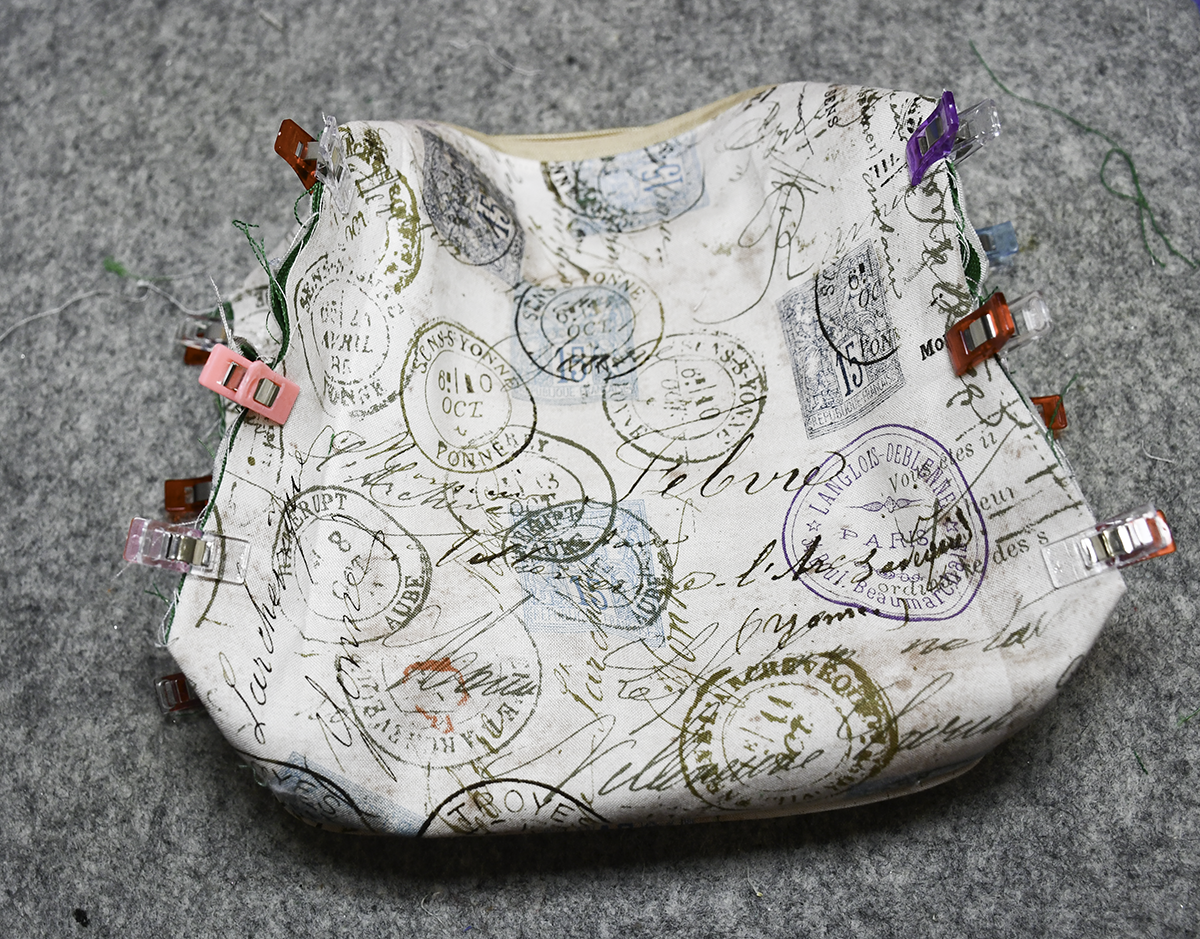
Using a ruler and pen draw 3 1/8″ wide and x 2 3/4″ high rectangle on all four corners. Cut out the rectangles. Turn the bag right sides out and remove the zipper slider from the long zipper. Replace the zipper slider on the other end of the long zipper and settle the slider in the center. Turn wrong sides out. Stitch the sides with lining right sides together and canvas right sides together using a 3/8″ seam allowance. Pinch the holes together by placing the bottom together with the corresponding side so that the right sides of the canvas are facing and the holes from the rectangles are closed. Stitch each corner using a 3/8″ seam allowance.
Step 11: Add the Bias Strips
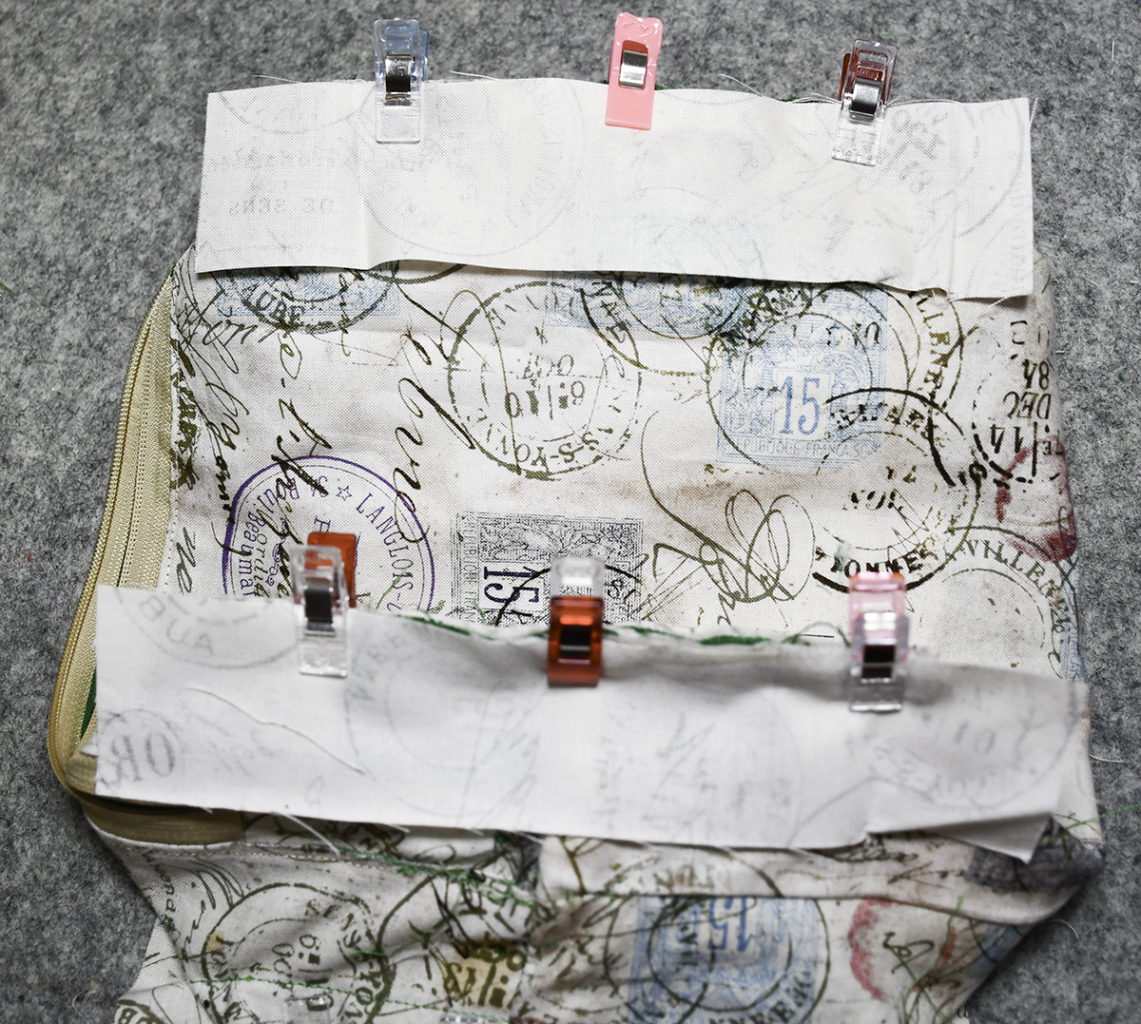
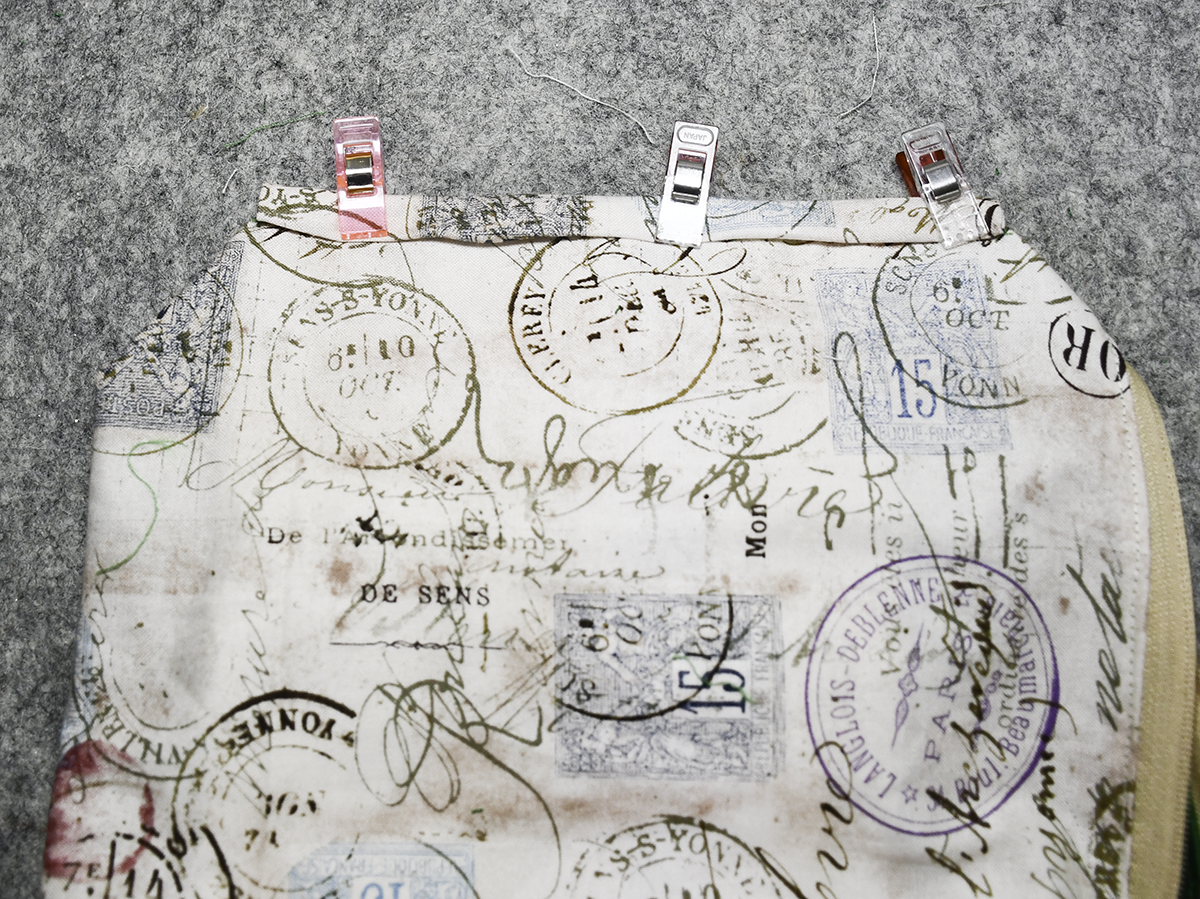
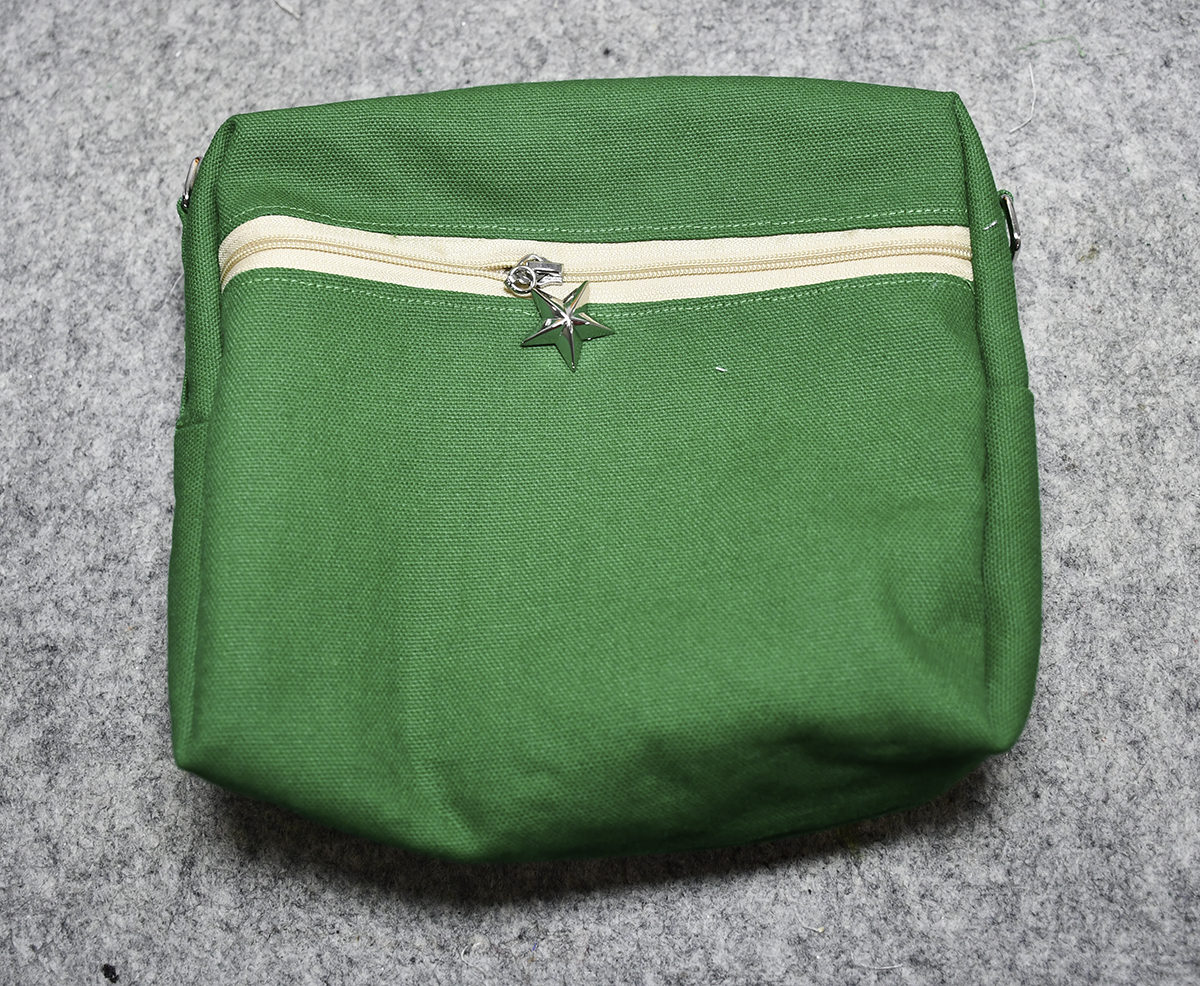
Place the bias strip right side up on your work surface. Lay the raw edges of the corners you just stitched right sides down on the bias strip so that it is centered. Stitch using a 3/8″ seam allowance. Trim the seam allowance. Fold the short edged over the ends of the corner then double fold the long edge over to cover the raw edges of the corners. Clip. Stitch along the folded edge. Repeat for all four corners. Turn the bag right sides out.
Step 12: Create the strap
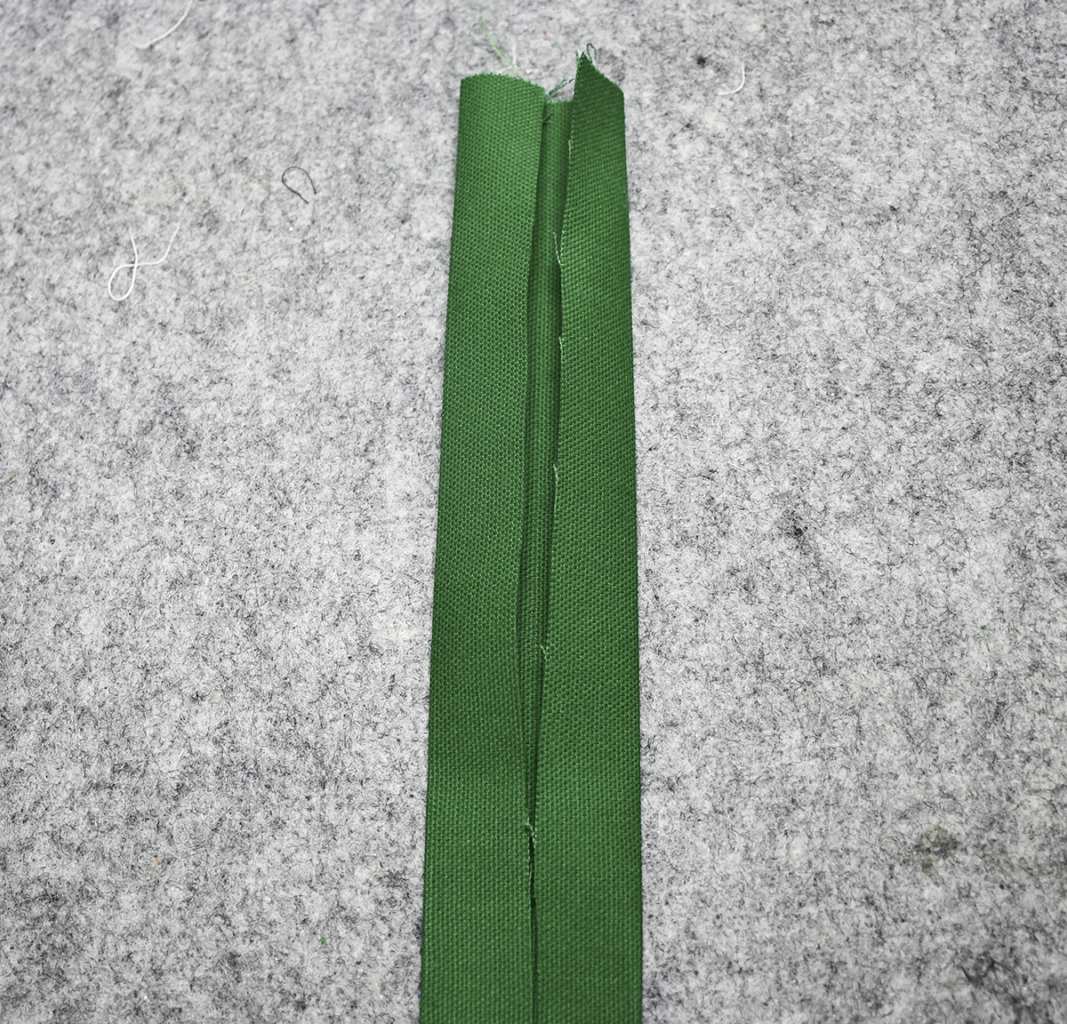
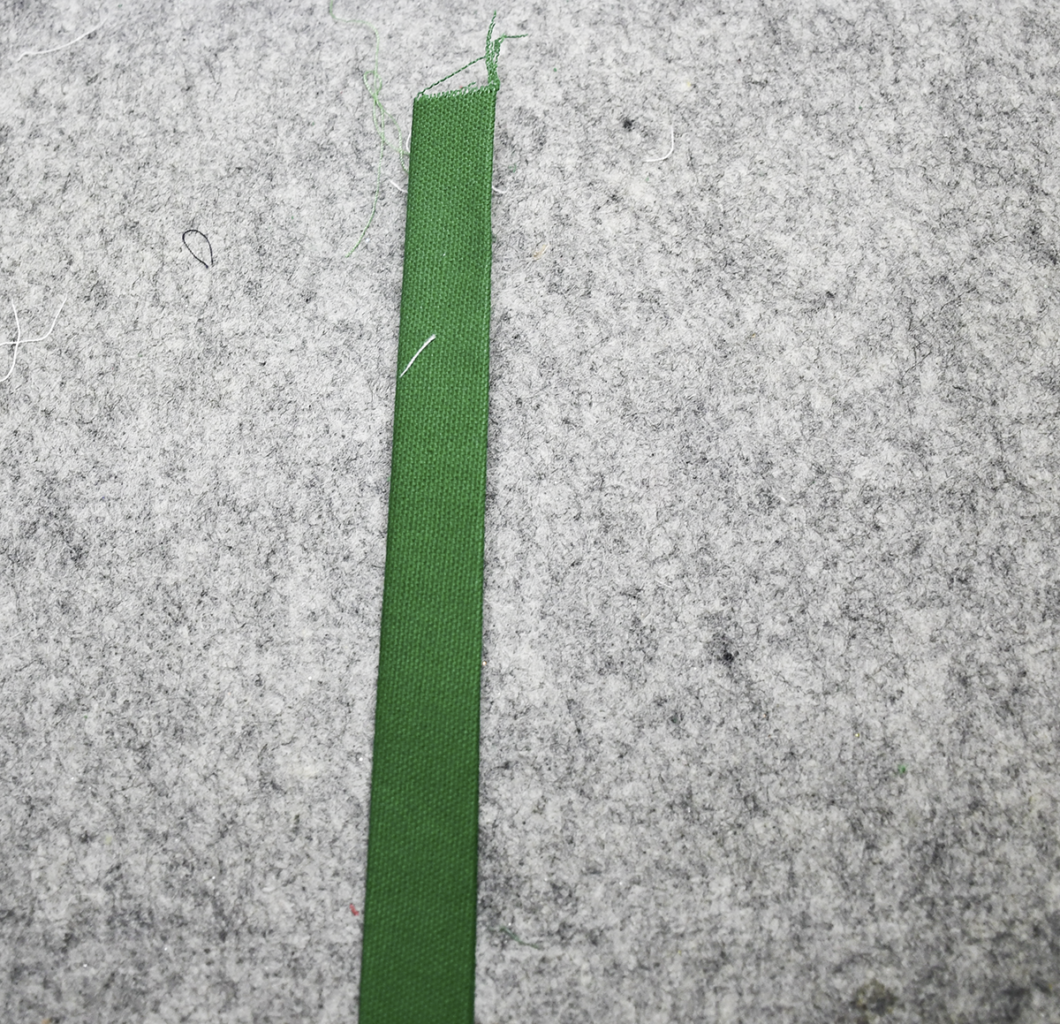
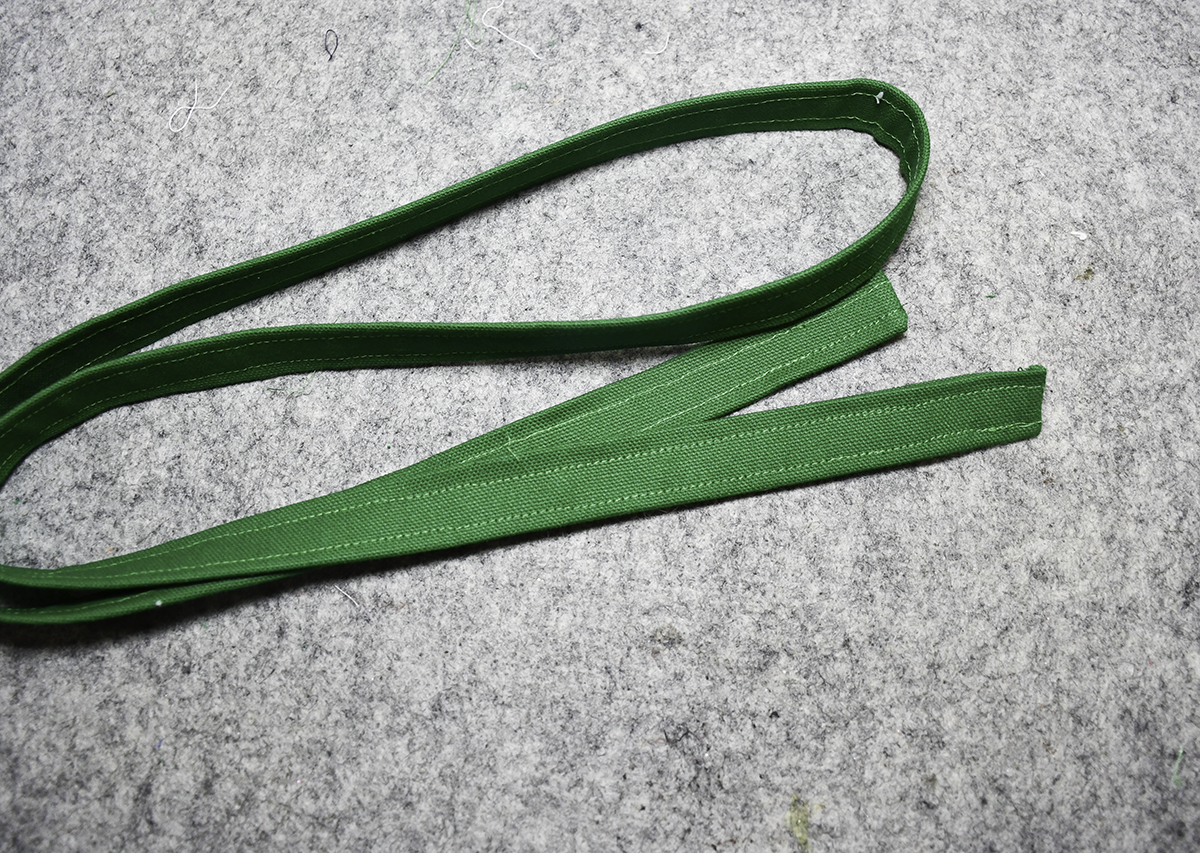
Take the remaining canvas piece and fold it in half lengthwise. Press and open up. Fold the long raw edges to the center crease and press again. Fold in half lengthwise to enclose the raw edges. Open each end fold the folded long edges toward each other and stitch using a 3/8″ seam allowance. Do this for both ends. Trim the seam and turn the strap to hide the seam. Topstitch all the way around.
Step 13: Finish the bag
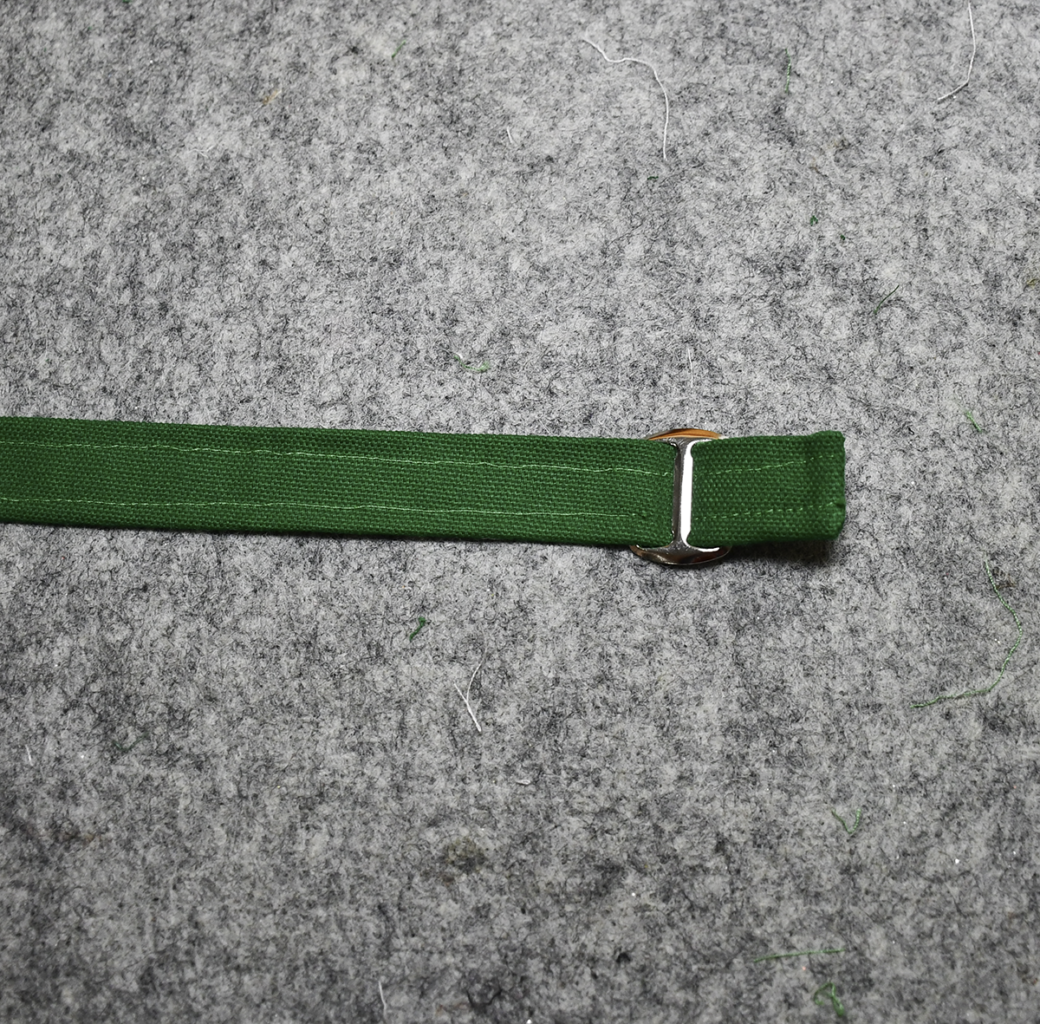
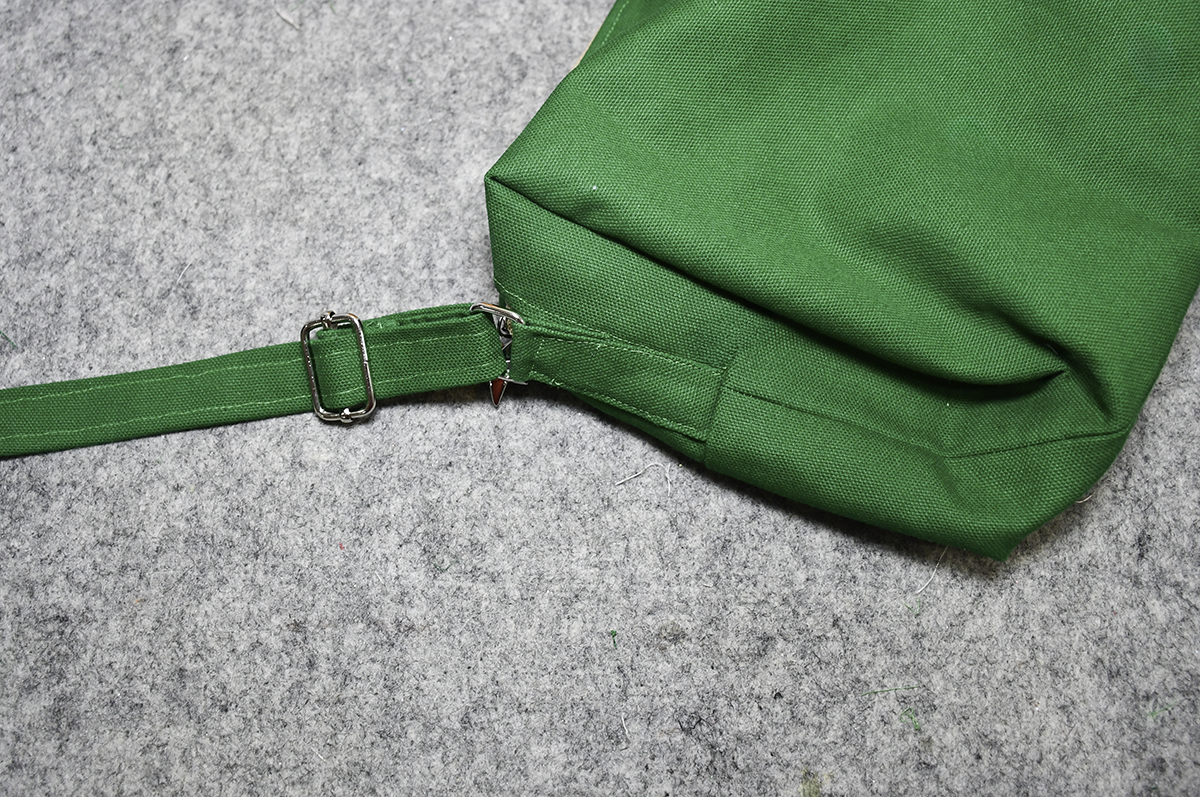
Add the Triglide. Insert one end of the strap inside the triglide and fold over the center bar. Stitch to secure. Insert the other end of the strap without the triglide through the one of the tab rings. Insert that end into the triglide and over the center and back out. Place the end through the other tab ring and stitch to secure. you have now finished your everyday canvas handbag.

I hop you enjoyed this simple bag making project. if you would like more sewing and crafting projects subscribe to our free newsletter and receive your free handbag ebook.
Subscribe to our Free YouTube Channel!
Join our Sew Very Crafty Fans Facebook group
If you want to ask questions and share your projects join our Facebook group here. The community will help to achieve your sewing and crafting dreams.