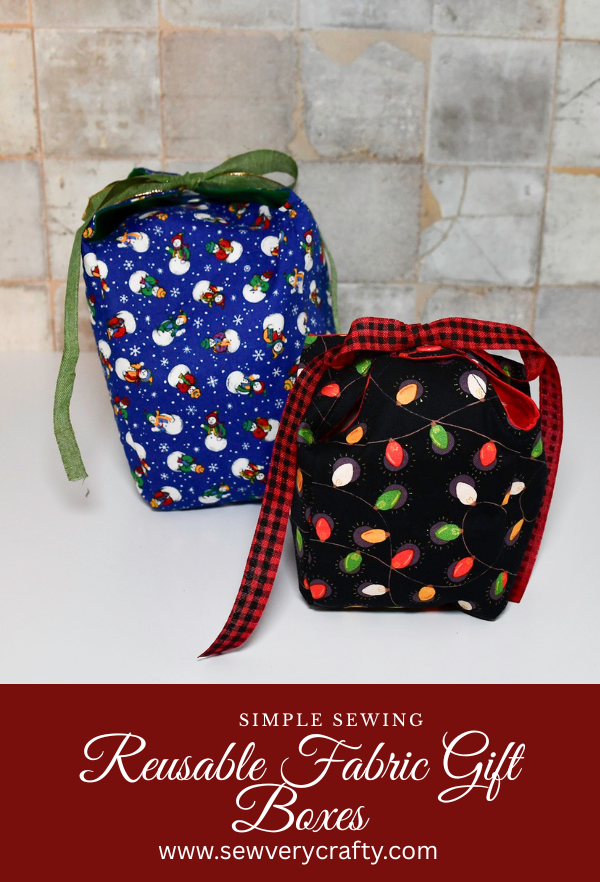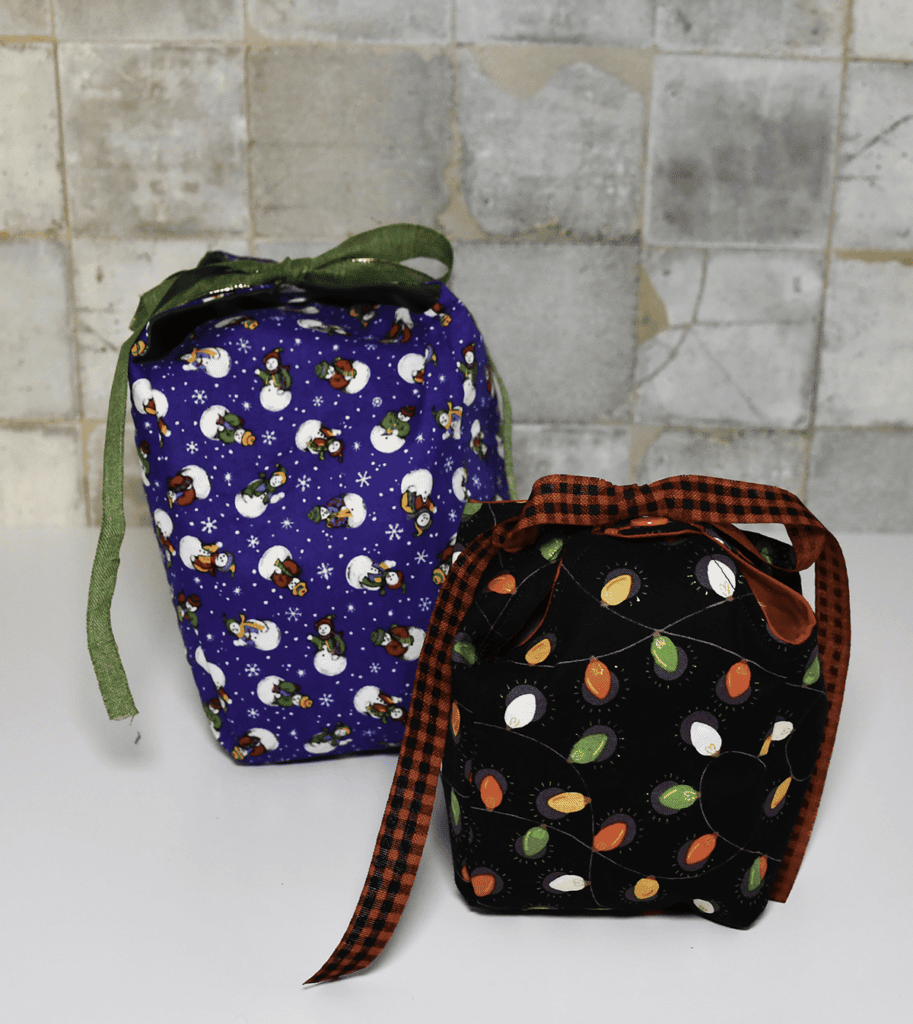
I saw this pattern on the Michael’s website. I thought these reusable fabric gift boxes would make an excellent holiday sewing project. This project allowed me to use some of my holiday fabric stash which is always a good thing. The pattern is surprisingly simple to stitch and really doesn’t take long at all. There are two sizes to these fabric gift boxes so I decided to make them both. I hope you enjoy this simple sewing project. If you would like more holiday sewing and crafting projects head over to my Holiday Project Vault.

Note: This post contains affiliate links that if you click on them and make a purchase I will receive a small commission at no extra cost to you. As an Amazon Associate I earn from qualifying purchases.
What you will Need: How to Make a Reusable Fabric Gift Box
- Pattern you can get by clicking on this link
- Outer Fabric
- Lining Fabric
- Pellon 808 interfacing
- 2 pieces of 16″ Ribbon
- Kam Snap
- Sewing Maching
- Standard Sewing supplies
Step 1: Download and Tape the Pattern
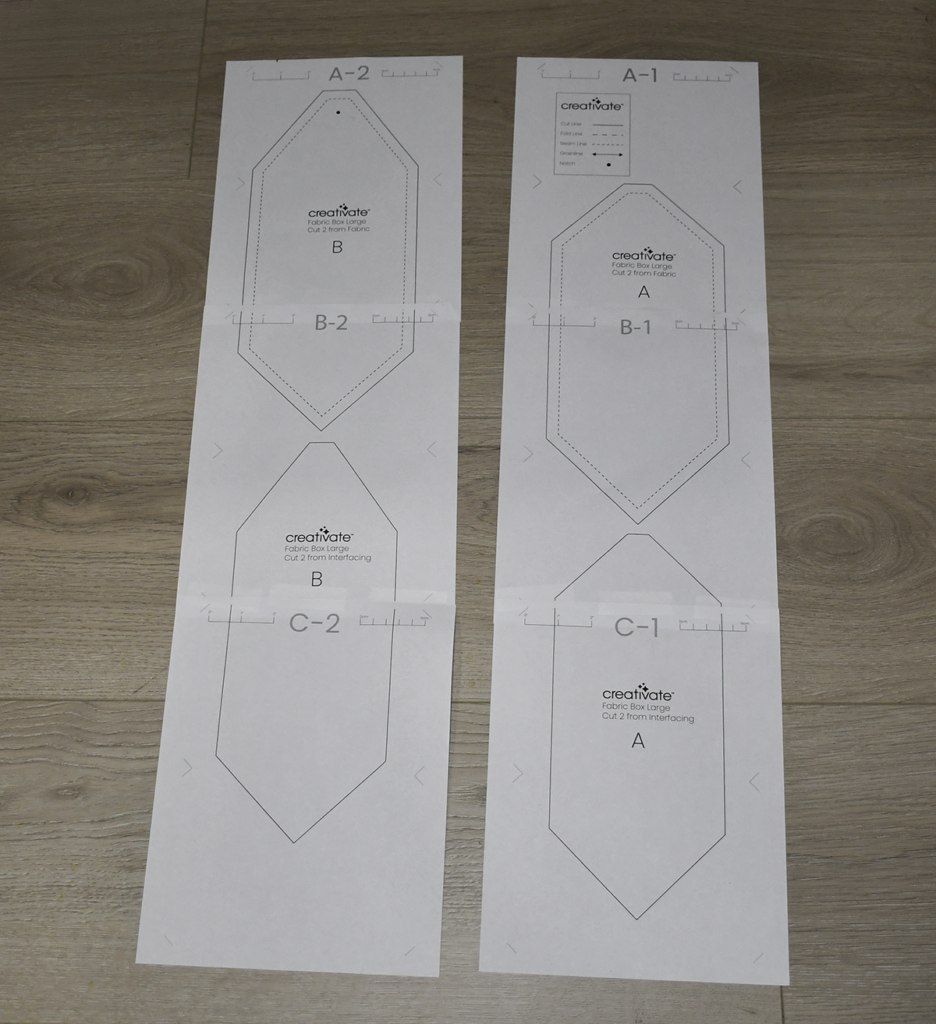
The pattern comes in two sizes. For the large size you will need to tape the pieces together. It took me a bit to figure out how the pattern goes together. The pattern tapes together vertically. Take piece A-1 and tape it to the top of Piece B-1. Tape B-1 to the top of C-1. Repeat for A-2, B-2 and C-2. The small boxes only use one page for each size piece.
Step 2: Cut out the Pieces
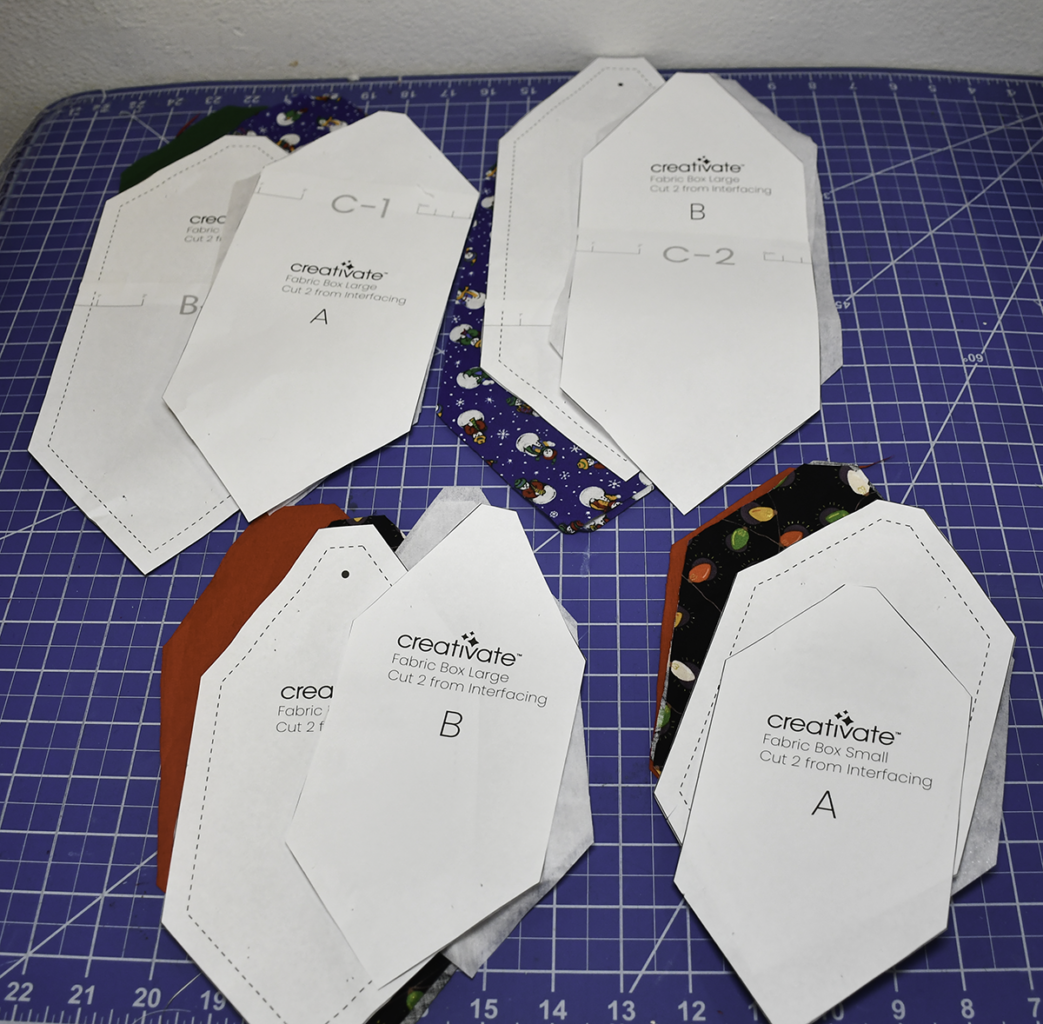
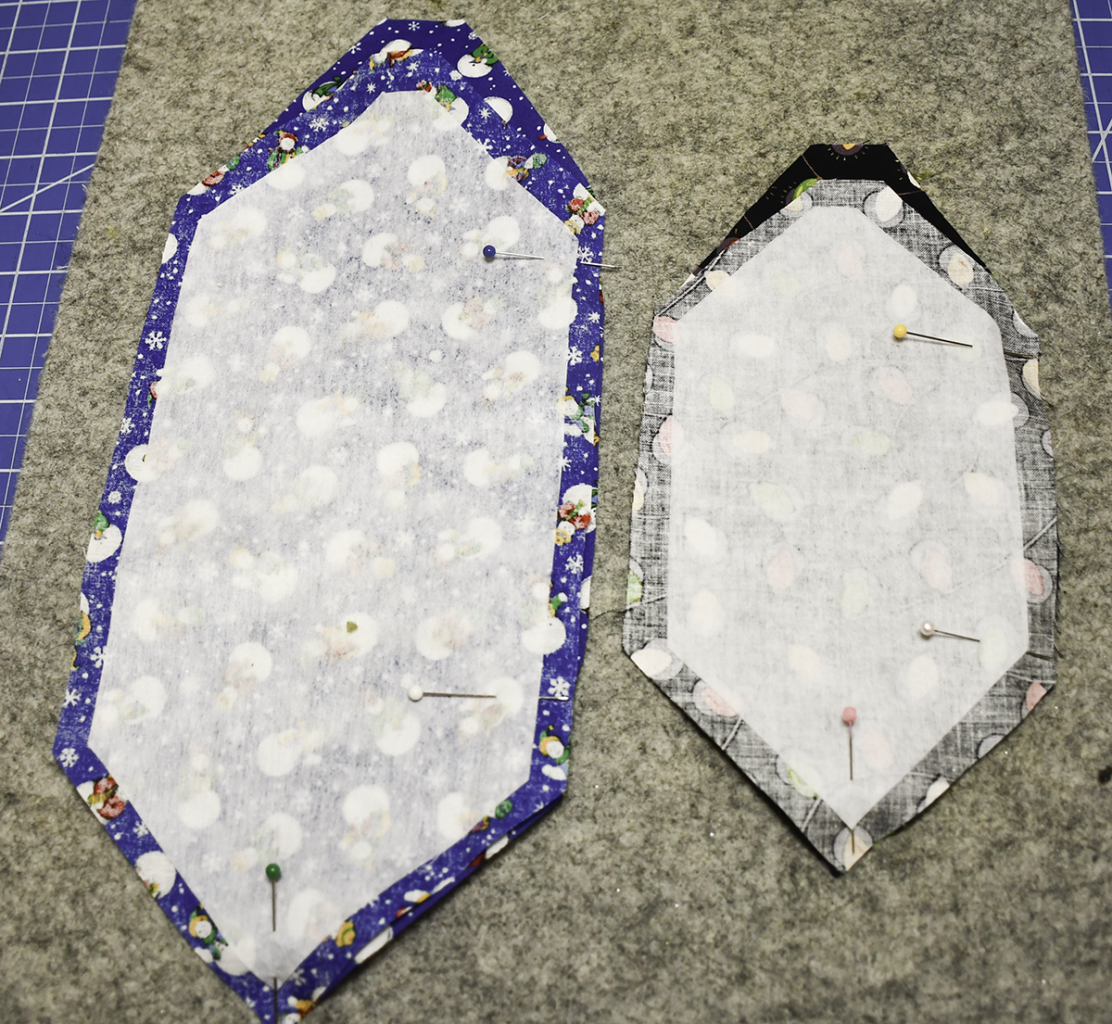
Cut two outer A pieces and interfacing and two outer B Pieces and interfacing. Cut four lining pieces.
Step 3: Fuse the Interfacing
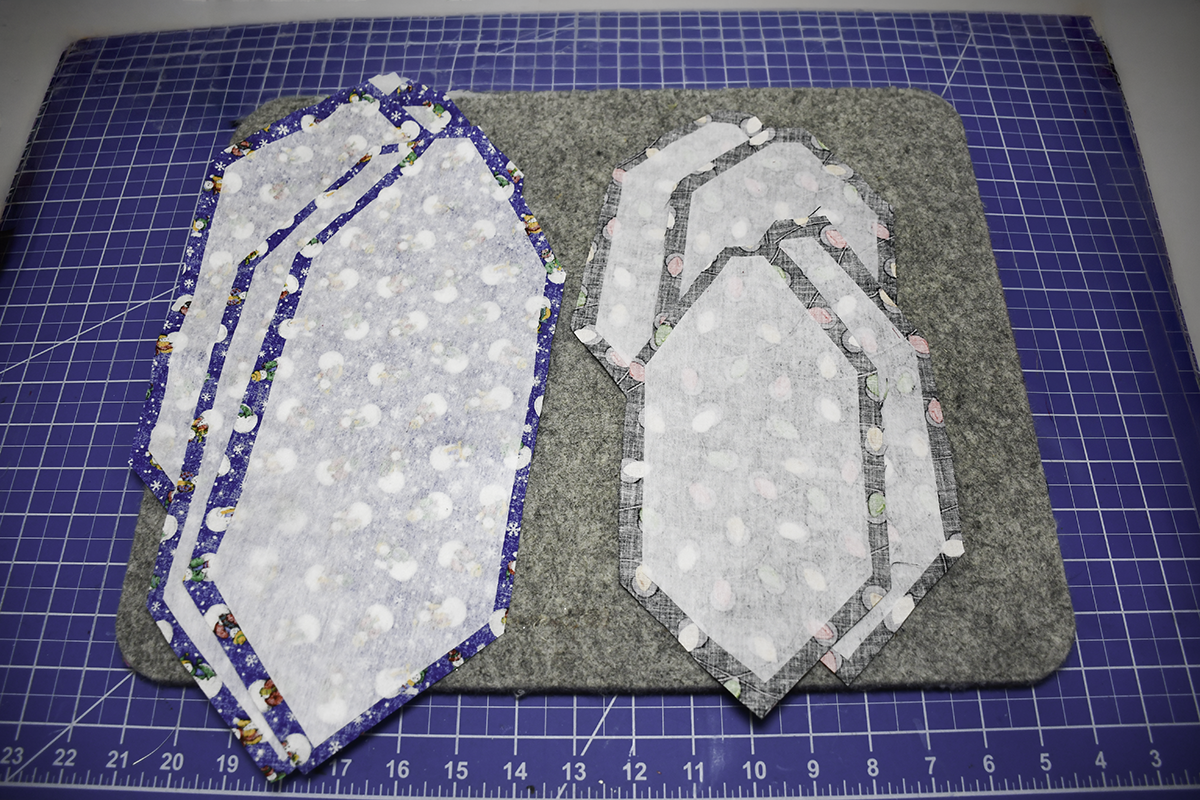
Fuse the Pellon 808 to the wrong side of each outer piece. Fuse following the manufacturer’s instructions.
Step 4: Stitch the Outer Box
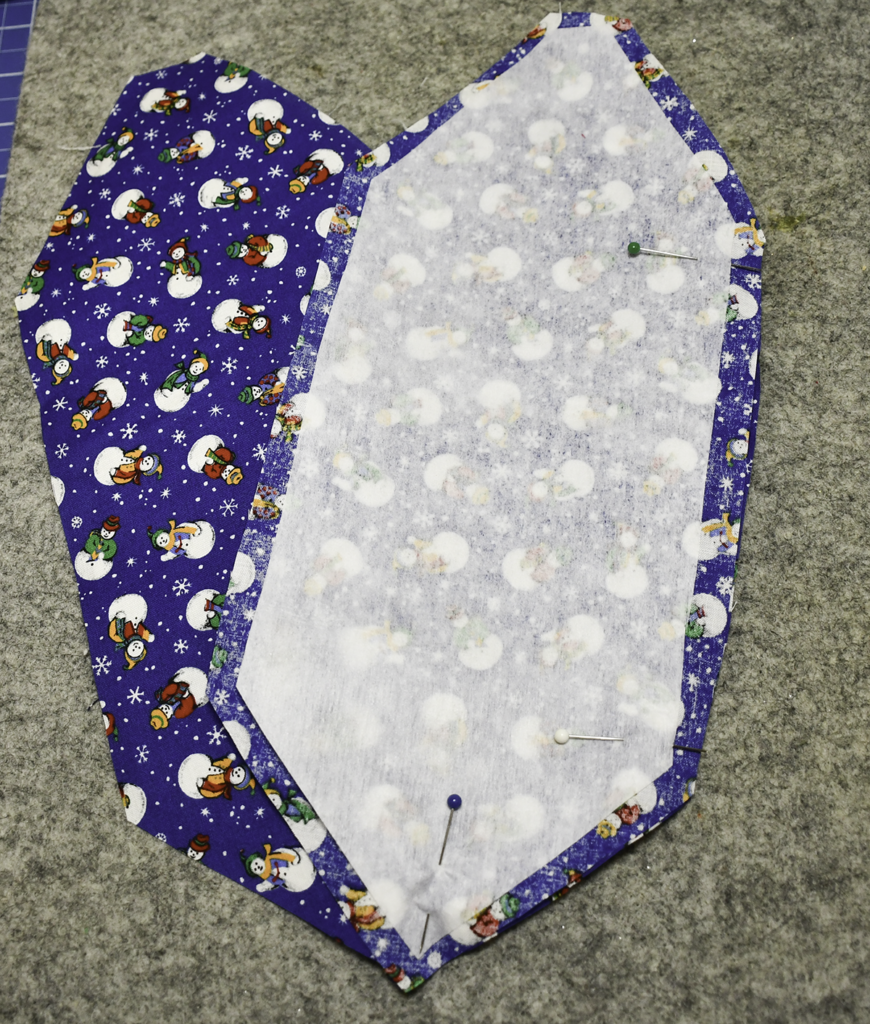
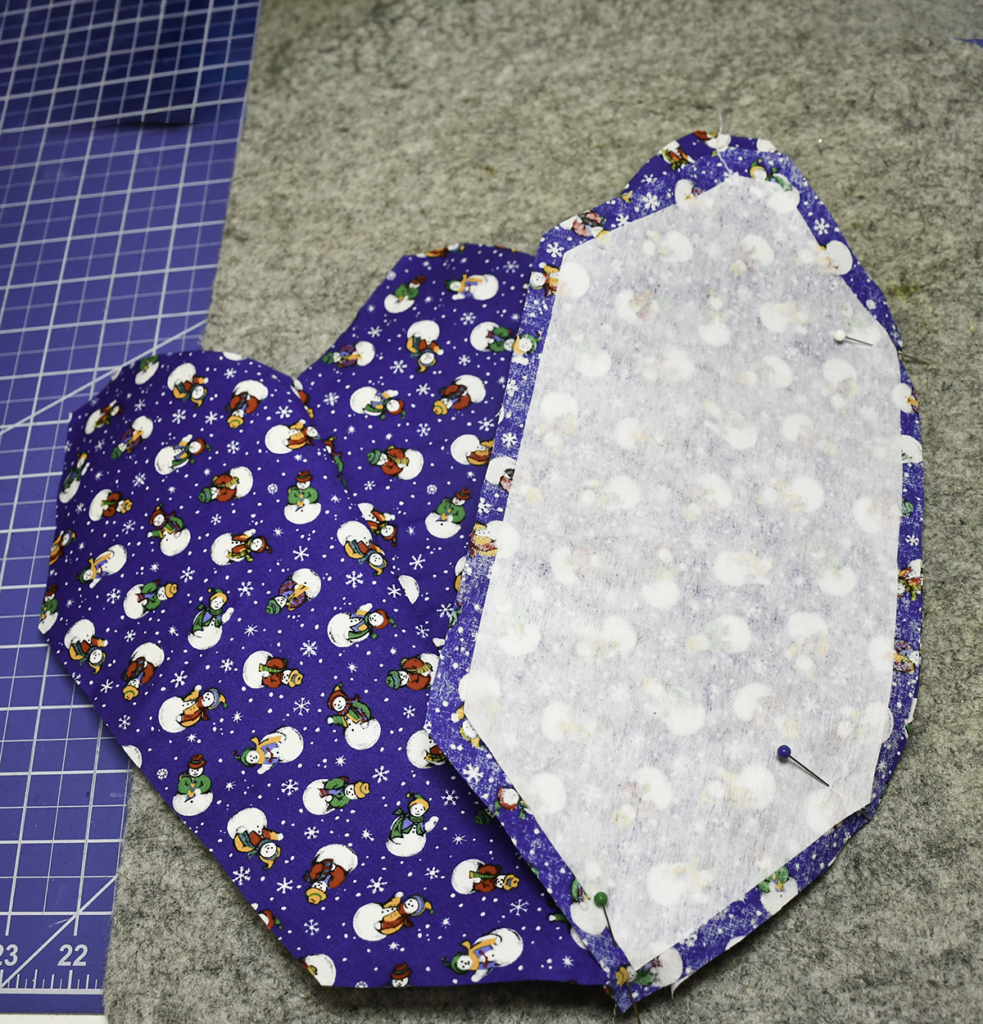
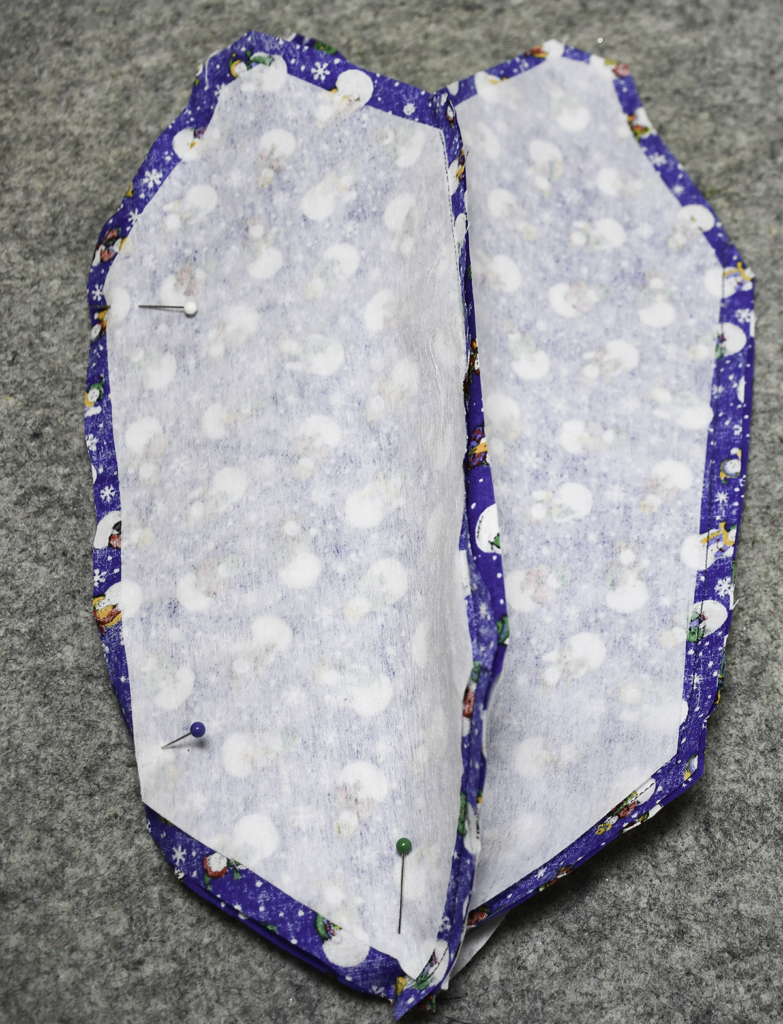
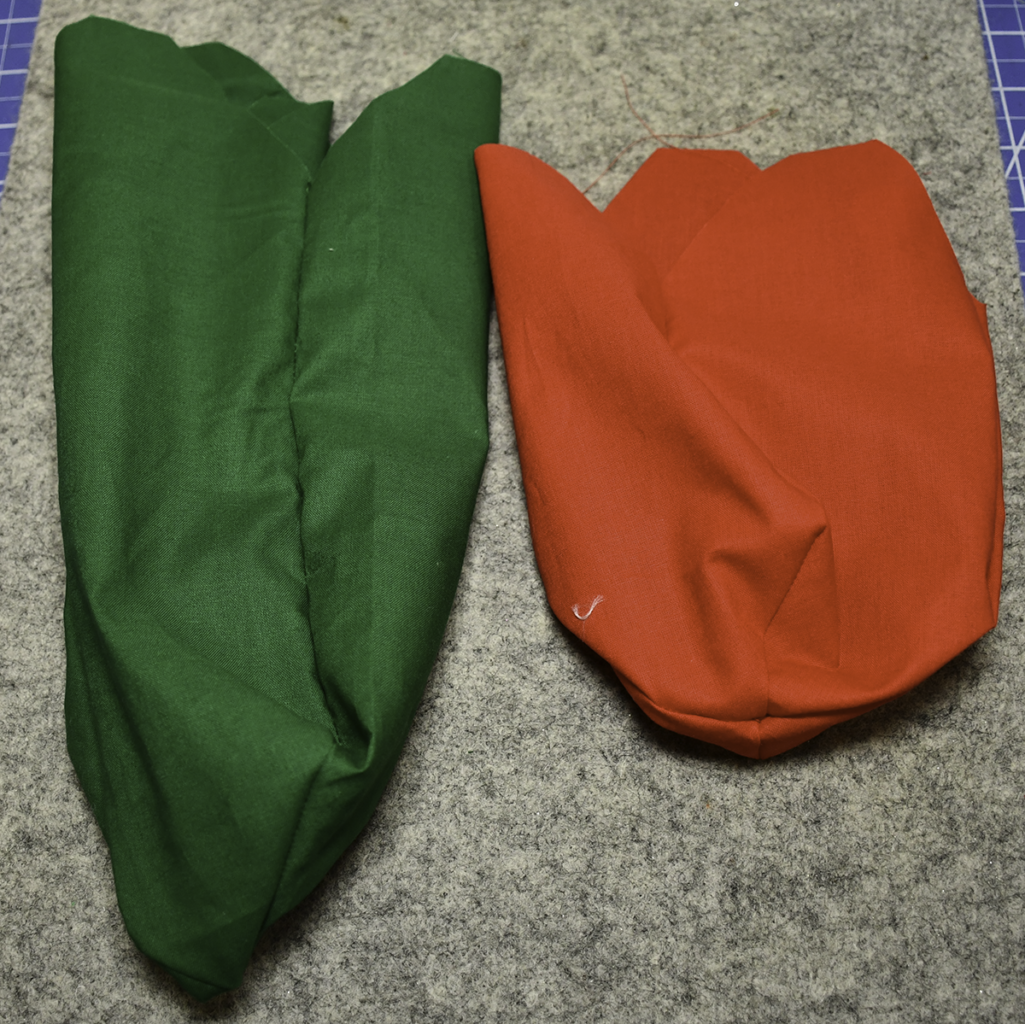
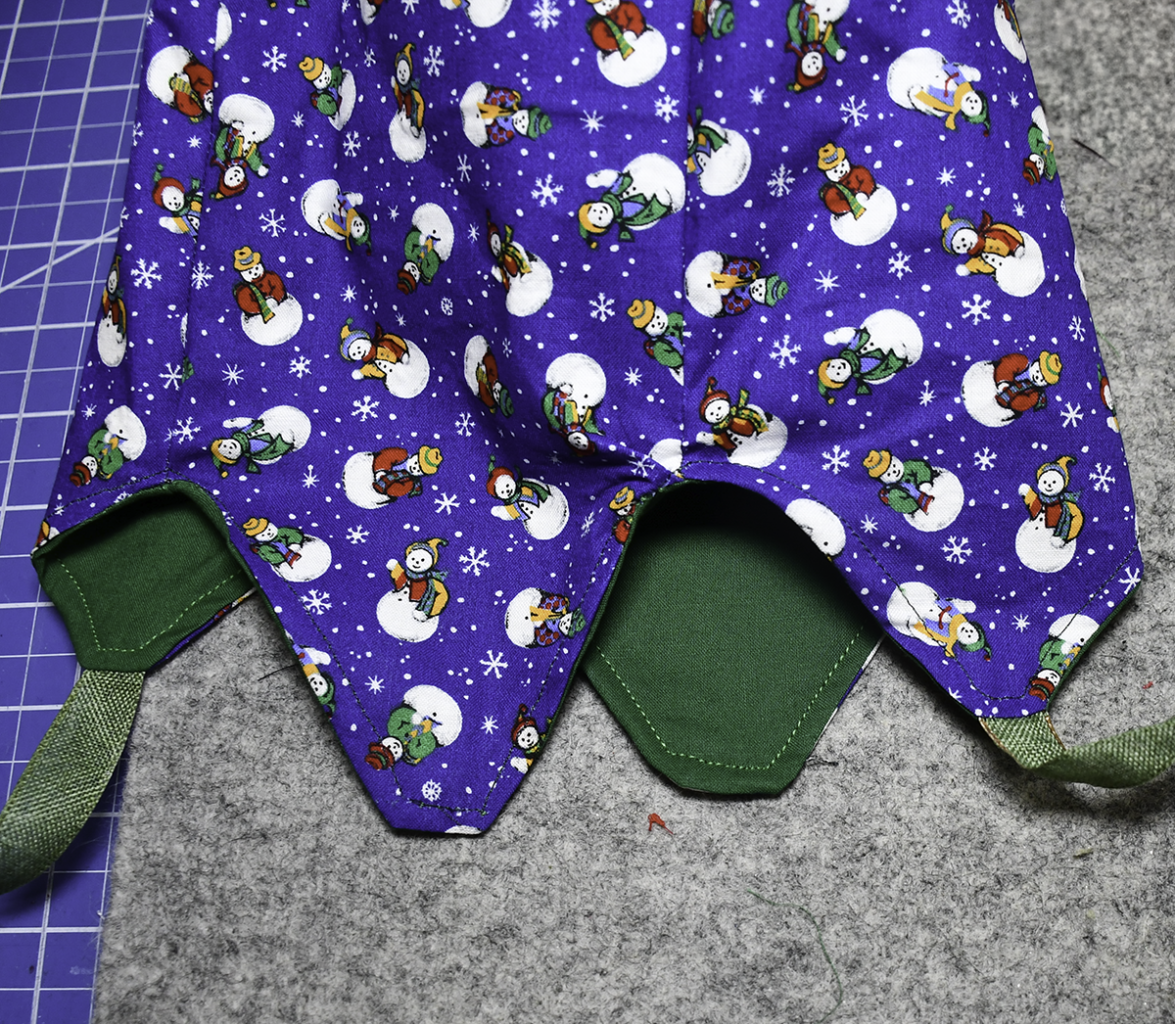
Place one outer piece A right sides together with outer piece B. Stitch along the long raw edge using a 3/8″ seam allowance. Stop and pivot to stitch along the diagonal also using a 3/8″ seam allowance. Backstitch. Next stitch the 2nd outer A piece to the first outer B piece right sides together using a 3/8″ seam allowance down the long raw edge and the diagonal. Repeat for the final B piece.
Step 5: Stitch the Lining
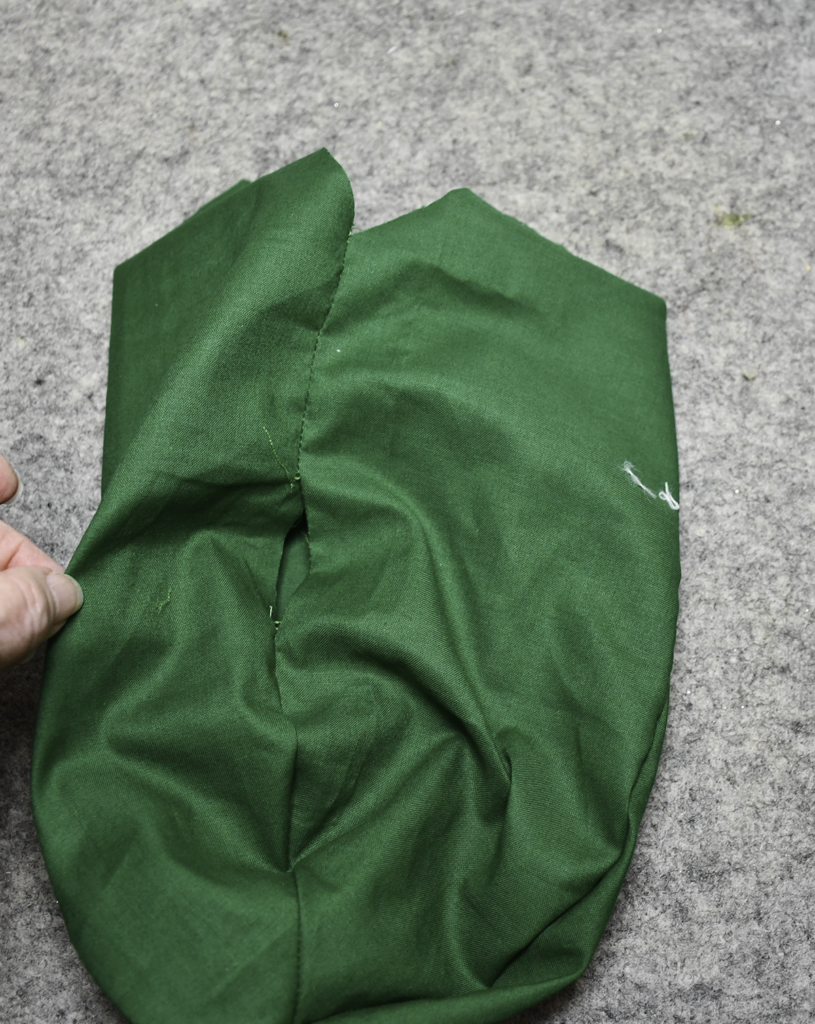
Stitch the lining pieces in the same way you stitched the outer pieces but leave an opening for turning. Turn right sides out.
Step 6: Add the Ribbon
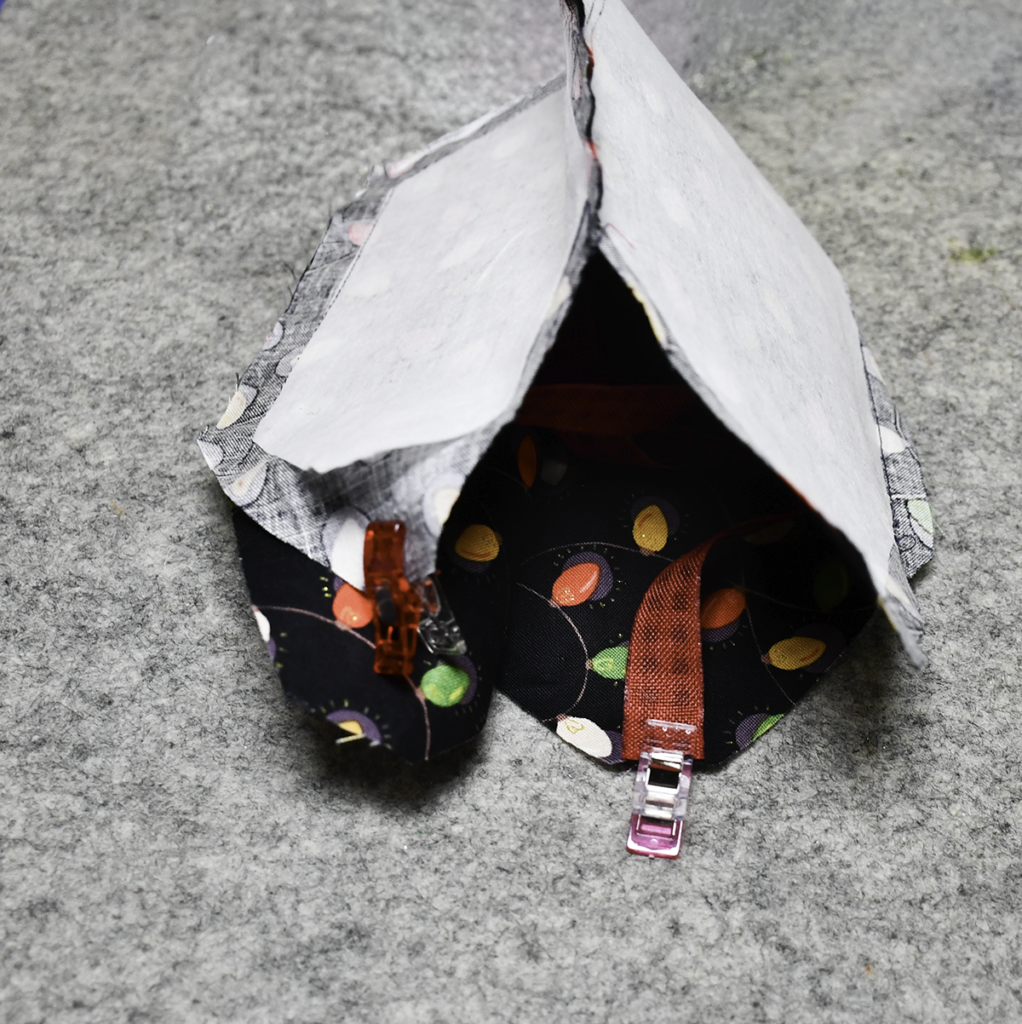
Place one piece of ribbon on each outer A piece at the top edge. Let the ribbon drop into the right side of the outer box. Stitch using a 1/4″ seam allowance to secure.
Step 7: Add the Lining
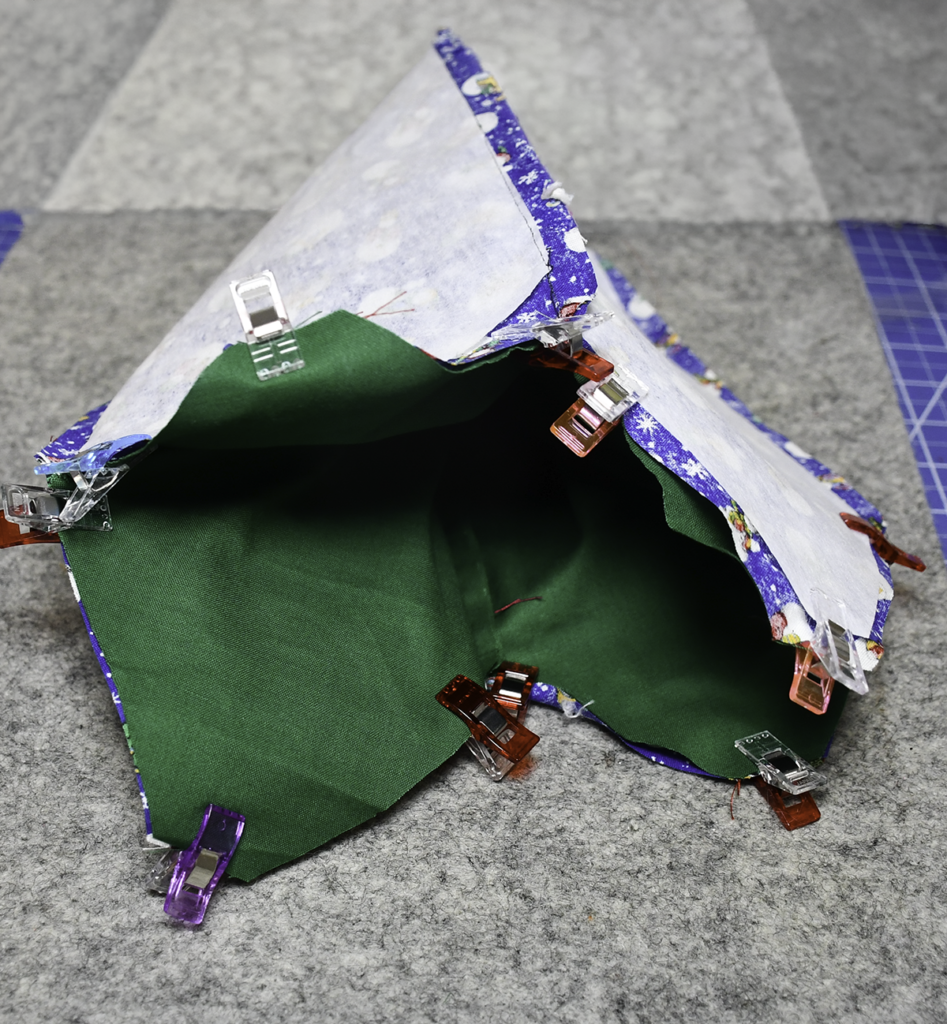
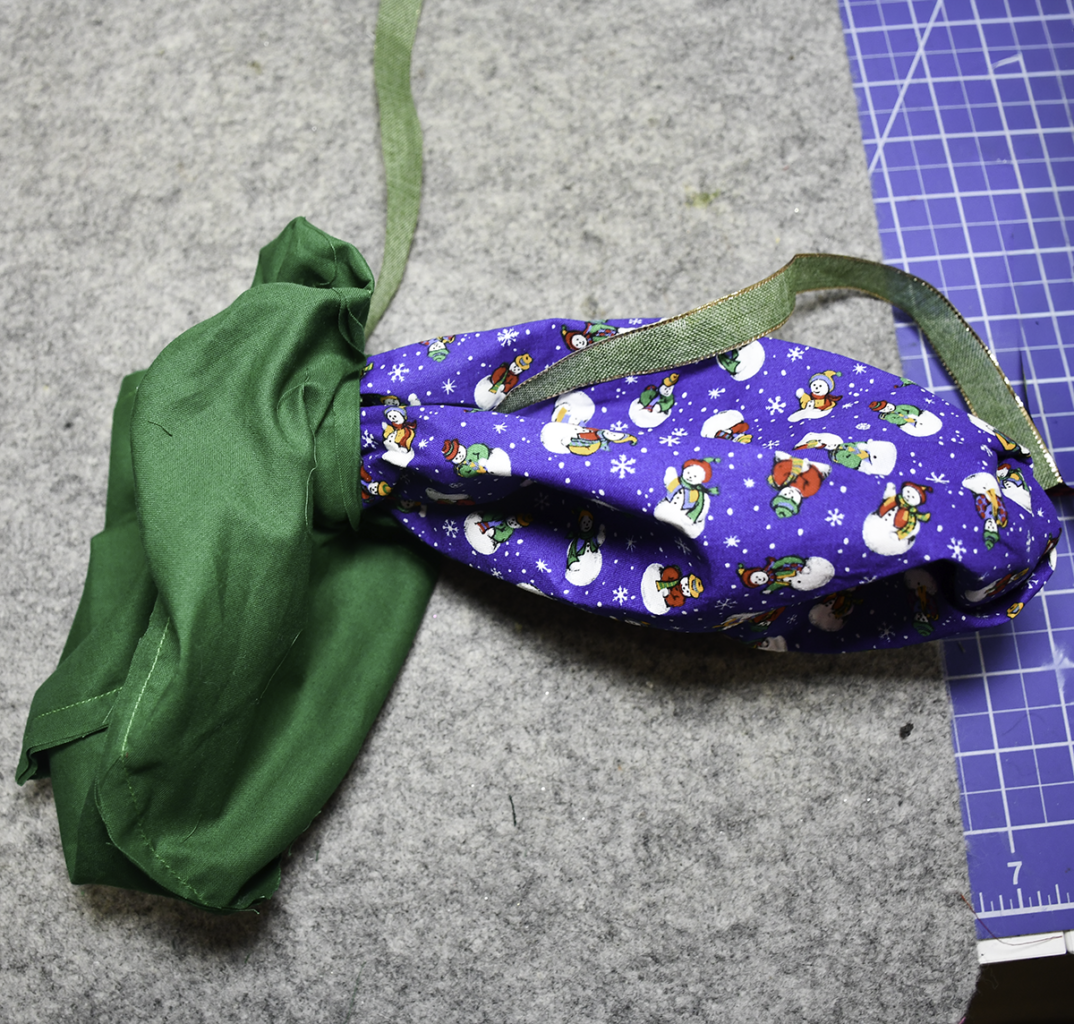
Place the lining inside the outer box so that the right sides are together and the ribbon is sandwiched between the two layers. Stitch all the way around the top using a 3/8″ seam allowance. Trim the seam allowance at each corner making sure not to clip the stitches.
Step 8: Turn Right sides out
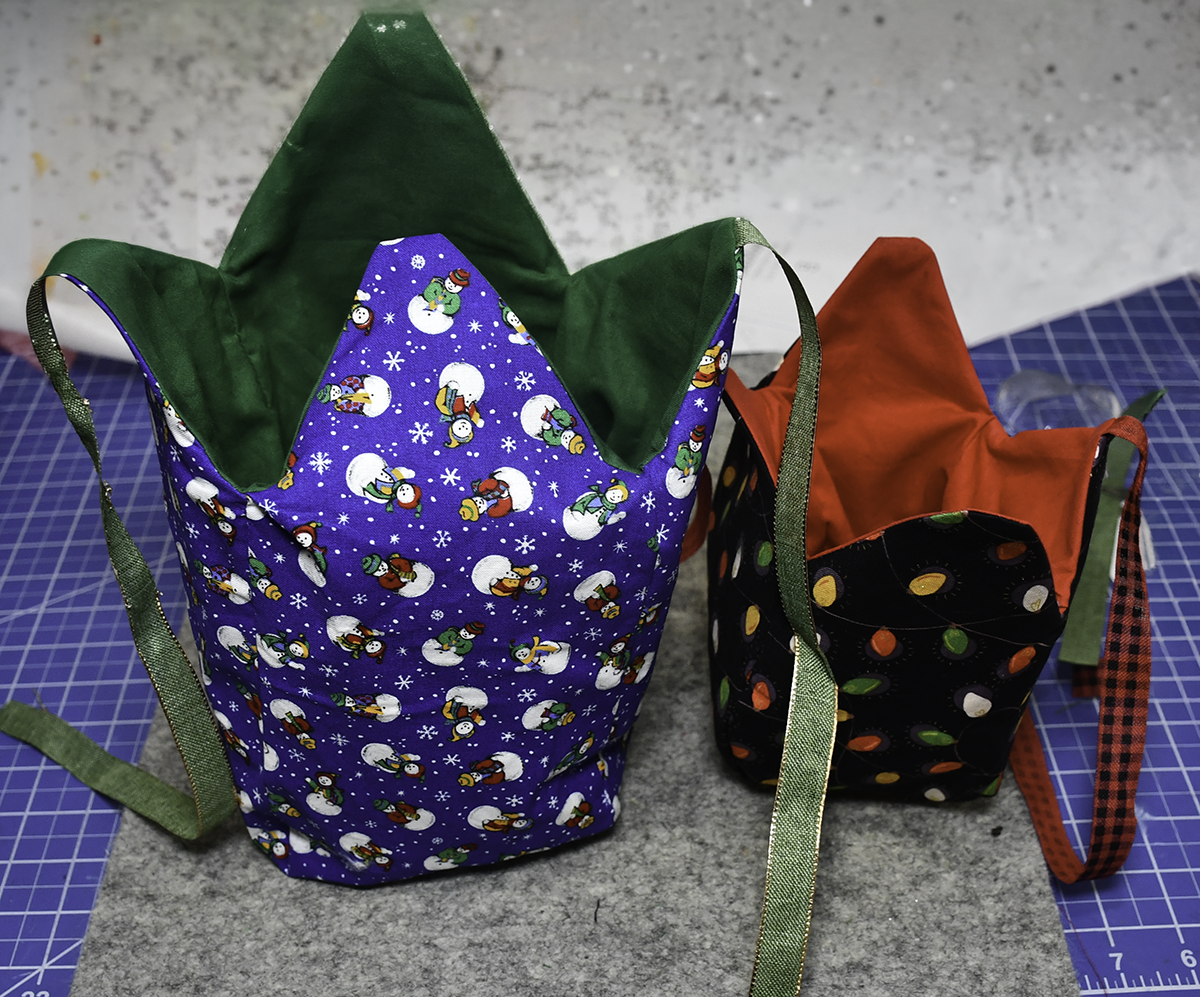
Turn the box right sides out through the opening you left in the lining. Sew the opening closed using either your machine or ladder stitch. Press the edges and topstitch all the way around the top of the box.
Step 9: Add the Kam Snap
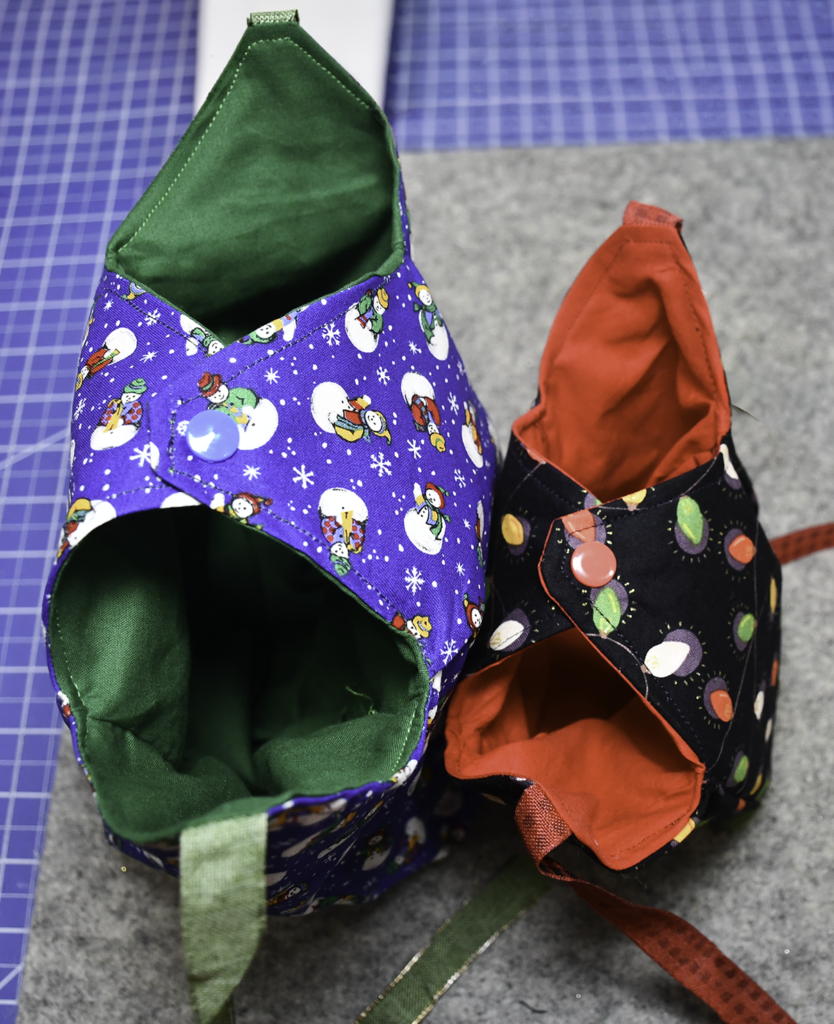
Place one half of the Kam Snap so that the button part of the snap is facing up on the B side. Start by creating a small hole in the location you want to add the snap using the awl that comes with the kit. Use the pliers that come with the kit to secure the first half of the Kam Snap. Place the second half of the Kam snap so that the button part of the snap is facing down. This allows the B sides to overlap. Insert your gift and tie the ribbon. Voila!
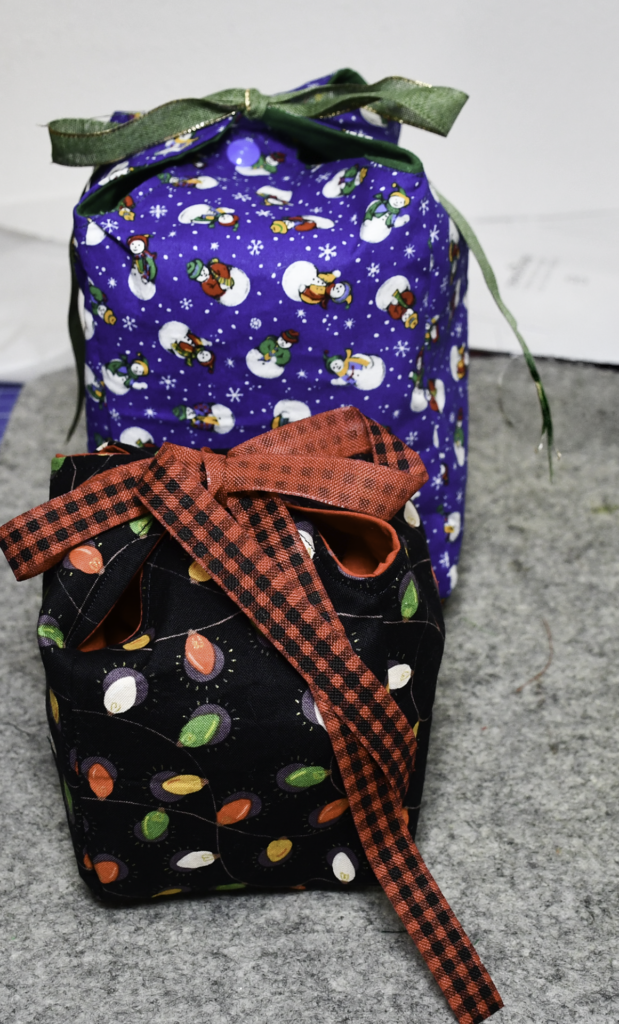
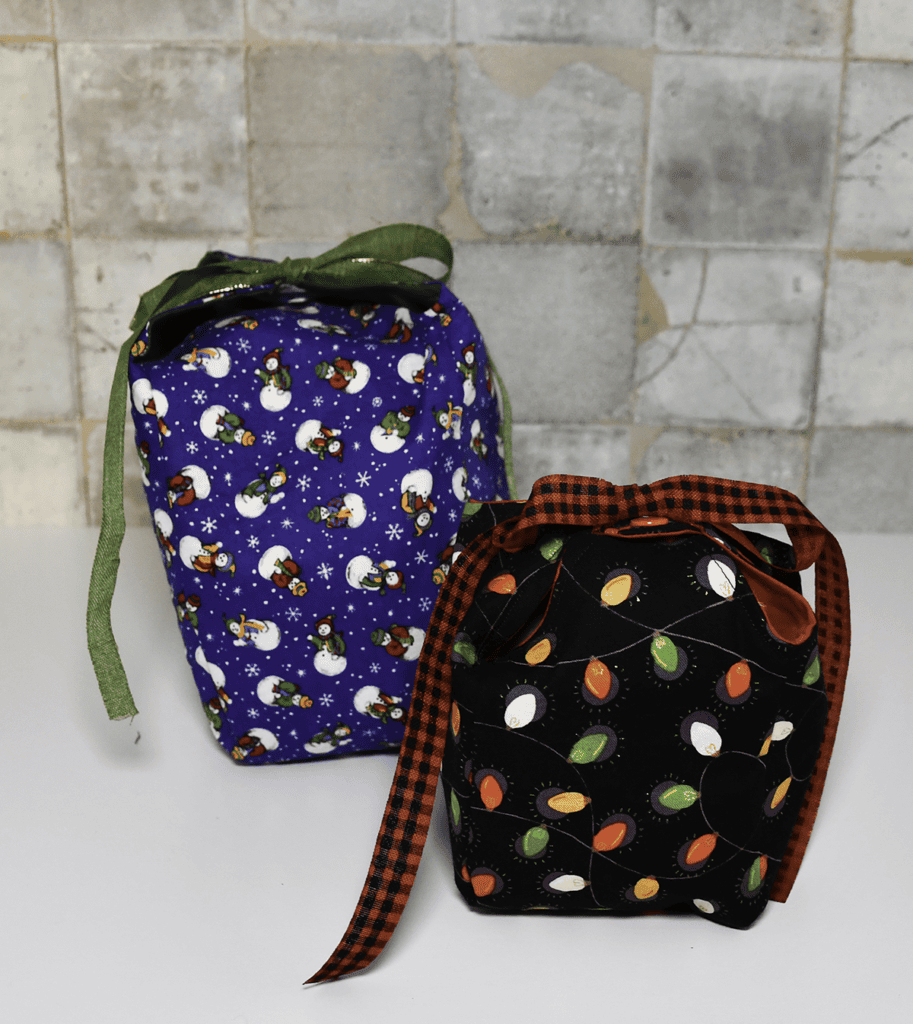
I hope you enjoyed this simple fabric gift box project. For more sewing and crafting projects subscribe to our free newsletter and receive your free handbag eBook.
Subscribe to our Free YouTube Channel!
Join our Sew Very Crafty Fans Facebook group
If you want to ask questions and share your projects join our Facebook group here. The community will help to achieve your sewing and crafting dreams.