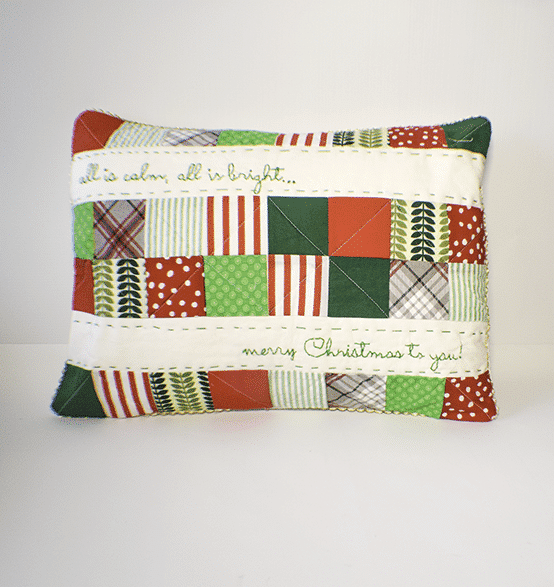
I came across this adorable patchwork Christmas pillow from Amy at Nana Company and wanted to share it with you. It is a super simple beginner quilting project that anyone starting out with quilting can make. There is some hand embroidery in this project which I must confess I have not done in a while but this project was worth taking it up again. The embroidery as a simple backstitch of the lettering and some straight lines so it was not too taxing for me and it came out lovely. The free pattern that Amy provides also comes with the letters for the embroidery so it is just a matter of tracing them and embroidering over them.
I used fabrics that I had on hand that had a Christmas theme or Christmas colors. You could, of course, head to Michaels![]() Mood Fabrics or Amazon to get exactly what you want for your project. This post contains affiliate links that if you click on them and make a purchase I may receive a small commission at no extra cost to you. As an AmaZon Associate I earn from qualifying purchases.
Mood Fabrics or Amazon to get exactly what you want for your project. This post contains affiliate links that if you click on them and make a purchase I may receive a small commission at no extra cost to you. As an AmaZon Associate I earn from qualifying purchases.
What you will Need: How to Make a Patchwork Christmas Pillow
- Pattern you can get by clicking on this link
- 32 2 1/2″ squares in various prints
- 2 strips of 16 1/2″ x 2 1/2″ cotton solid
- 60″ trim
- 1 yd of backing fabric
- 1/2 yd of quilt batting
- 12 x 16 Pillow form.
Step 1: Cut your Fabrics
Cut the squares and strips as stated above. Cut the quilt backing and batting 2″ larger all the way around of the pieced front of the pillow. From the backing fabric, cut two pieces. One piece will measure 13 1/2″ x 12 1/2″ and the other will measure 9 1/2″ x 12 1/2″.
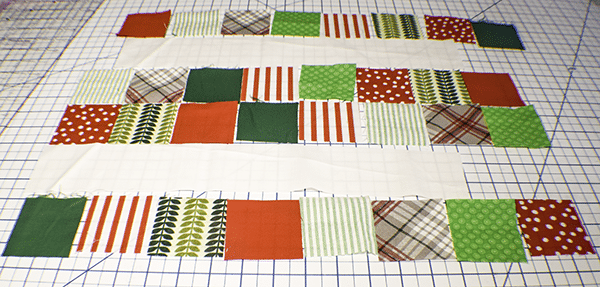
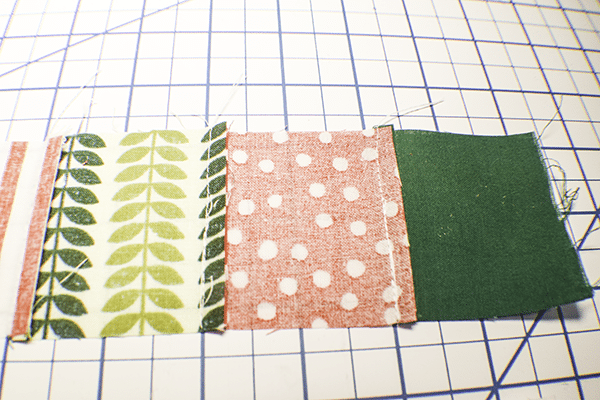
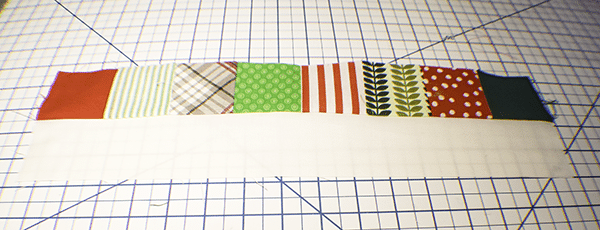
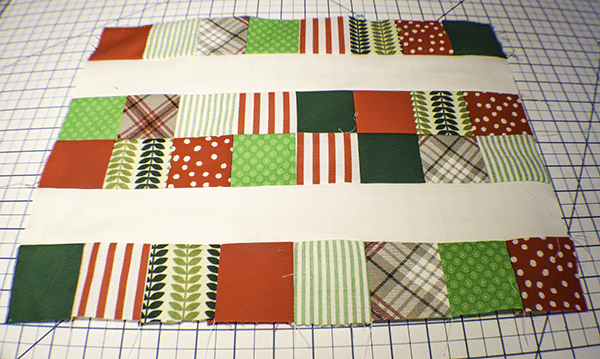
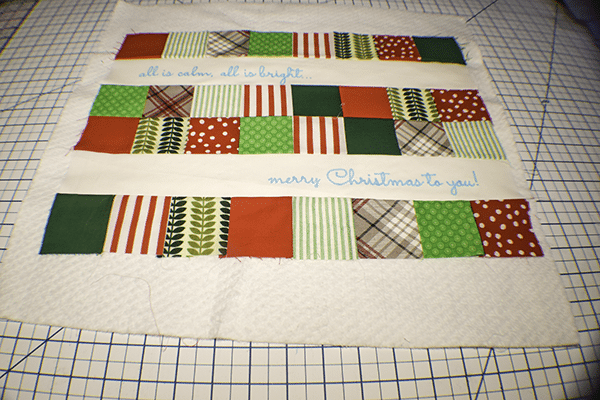
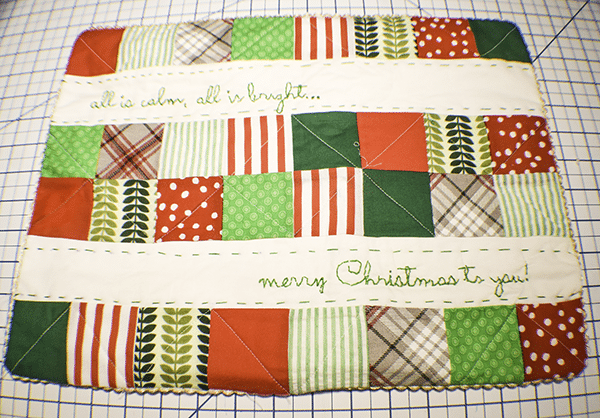
Step 2: Piece the Top
Stitch the squares right sides together using a 1/4″ seam allowance until you have a 4 rows of 8. Once you have a row of 8 add a strip of solid colored fabric right sides together and stitch using a 1/4″ seam allowance. Add two more rows of the squares nesting the seams then the next strip and finally the last row of squares. This will complete the piecing of the top. Make sure that you press after each row after stitching.
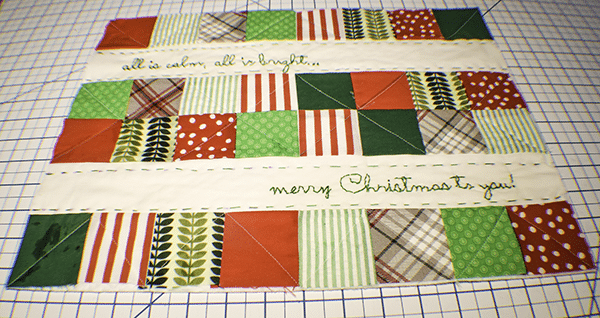
Step 3: Trace the Letters
Using the letters in the pattern trace them onto the solid colored strips. I used “Mark be Gone” to trace my letters.
Step 4: Add the Batting
Using a basting spray or pins attach the batting to the pieced front. I used a basting spray that you can get here. Embroider the letters using a hand backstitch. If you are unfamiliar with how to do an embroidery backstitch check out this video.

Step 5: Add the Backing to your Pillow Case
Add the backing fabric to the batting so that the backing is right sides out. Use your basting spray or pins. Quilt the quilt any way you like. I just used a few diagonal lines. Do not quilt over the embroidery.
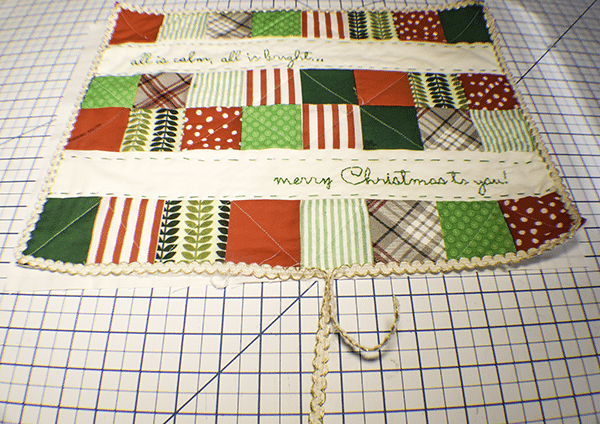
Step 6: Add the Trim
Place the trim to the pieced front so that the raw edges meet. Trim all the way around the pillow front. When the two ends meet fold down and then stitch over the ends. Do not overlap the ends or this will cause bulk.
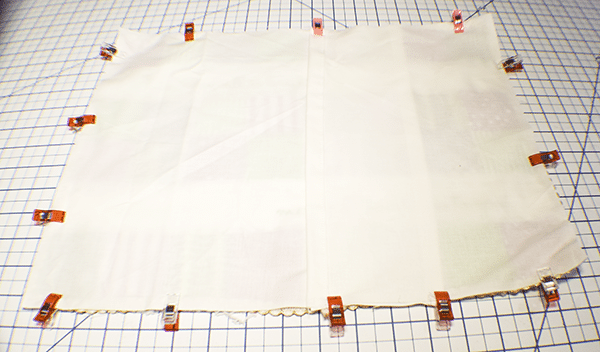
Step 7: Create the Back to your Pillow Case
Take two two pieces of backing fabric and hem one of the 12 1/2″ ends on both pieces. Place the longer back piece right sides together with the pillow front and pin or clip. Place the shorter piece on the other end and pin or clip. It will be just like an envelope. Stitch all the way around using a 1/4″ seam allowance. Turn right sides out and press. Insert a pillow form and you have completed your Patchwork Christmas Pillow.
I hope you enjoyed this Patchwork Christmas Pillow. If you would like more sewing and crafting projects sign up for our newsletter and receive access to our free Printables library
If you would like video tutorials of some of Sew Very Crafty's most popular posts subscribe to our YouTube channel here.