Note: This post contains affiliate links that if you click on them and make a purchase I will receive a small commission at no extra cost to you. As an Amazon Associate I earn from qualifying purchases.
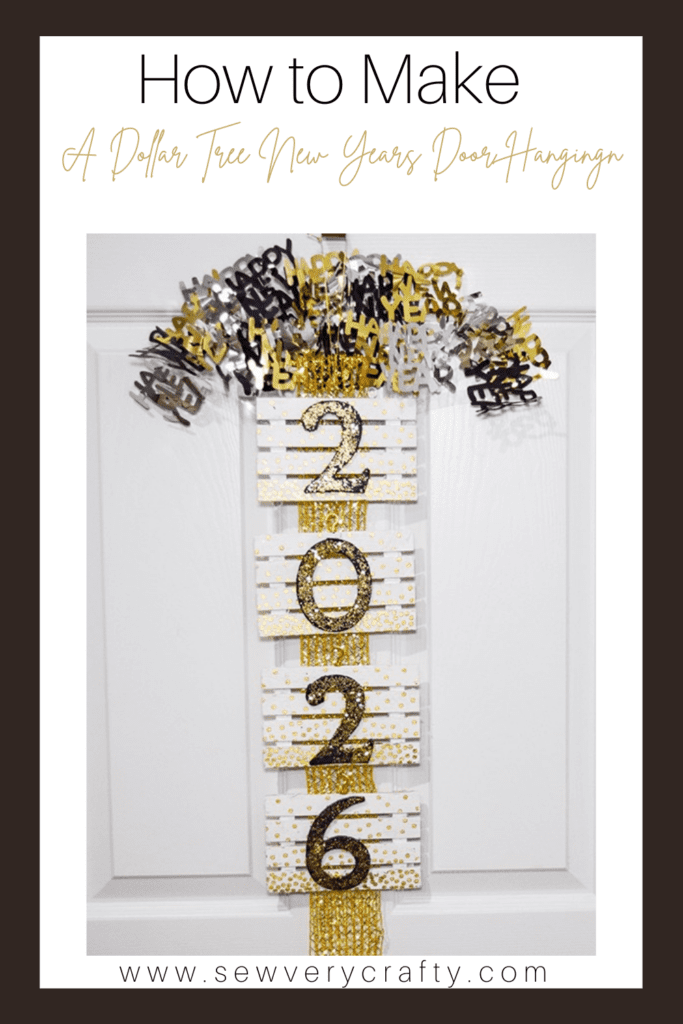
Here we go with another easy Dollar Tree craft. Before you know it New Year's Day will be upon us. I decided to create this simple Dollar Tree New Years door hanging to celebrate the occasion. I got the idea when I saw some gold and white napkins at Dollar Tree. Dollar Tree craft pallets were perfect for this project. I hope you like this very simple New Years craft. For more Dollar Tree crafts head over to my Dollar Tree page. For more Holiday sewing and crafting check out my Holiday Project Vault.
What you will Need: How to Make a New Years Door Hanging
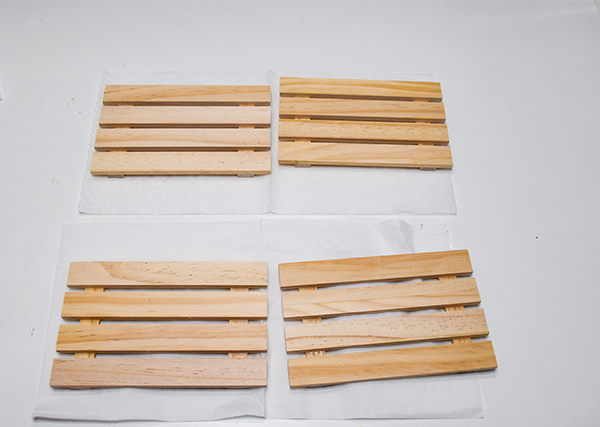
- 4 Dollar Tree Pallets
- 2 different kinds of Dollar Tree Napkins
- Numbers representing the year
- Gold Ribbon
- White craft paint
- Black chalk paint
- Mod Podge
- Gold Glitter
- Hot Glue
- screw eyes
- hooks
- New Years cascade centerpiece
Step 1: Paint the Pallets
Paint all four pallets white. I used white chalk paint for mine but any white paint will work. Let the paint dry completely.
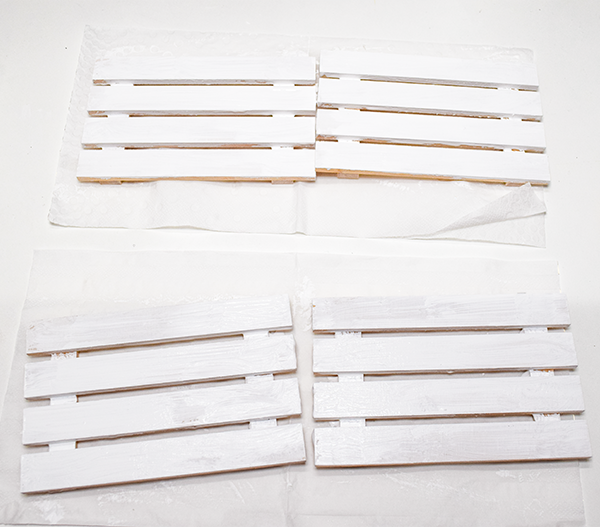
Step 2: Add the Mod Podge
Cover all four pallets with Mod Podge. Let the Mod Podge dry completely.

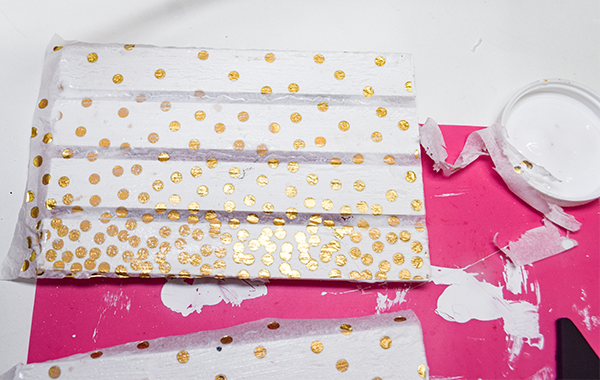
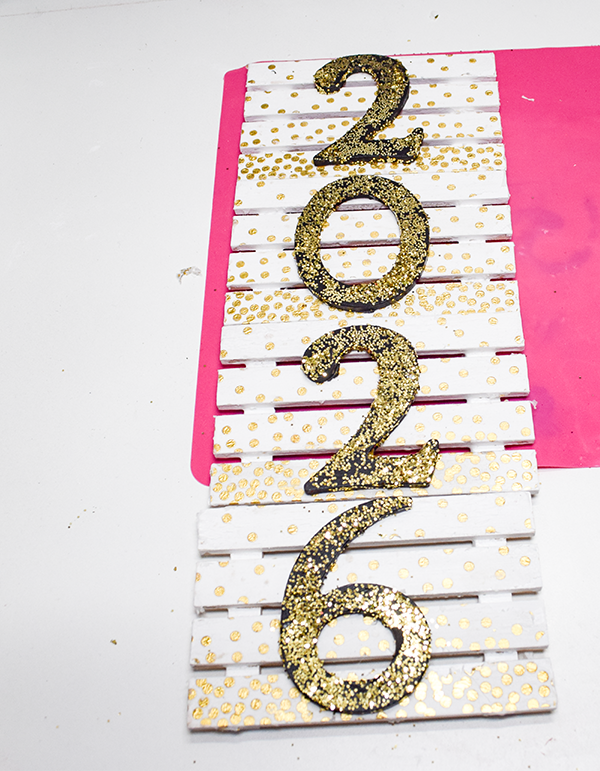
Step 3: Add the Napkins
Remove all the layers of paper except the top layer. Place the napkin tops on the pallets. Cover with a piece of parchment paper. Use a small iron and press the parchment paper so that the Mod Podge fuses with the napkins and secures them.
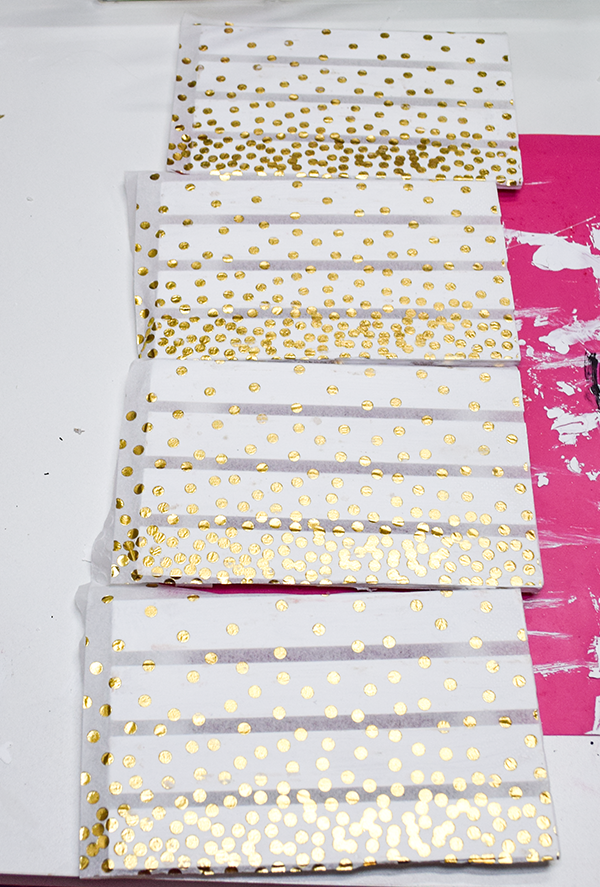
Step 4: Cover again with Mod Podge
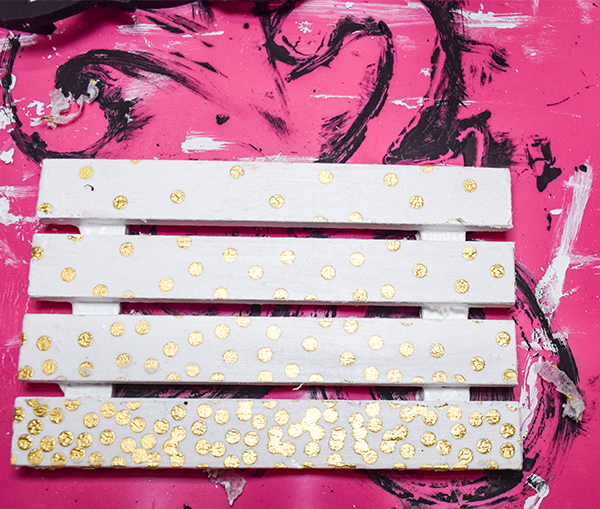
Cover the napkins with at least one coat of Mod Podge. Let the Mod Podge dry completely. Remove the excess napkin using sand paper. Also remove the excess napkin between the slats.
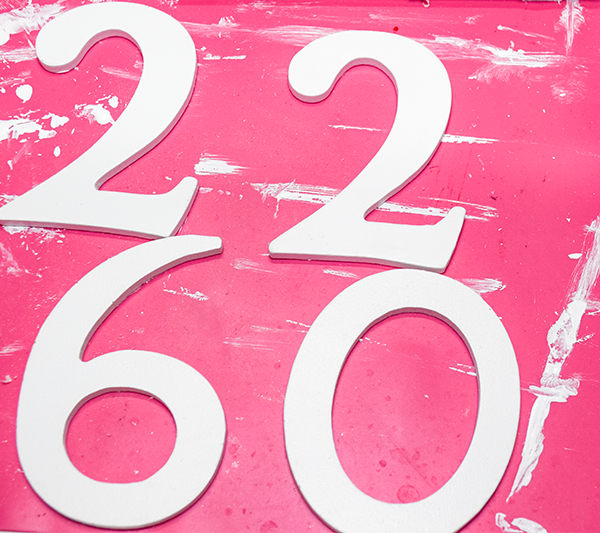
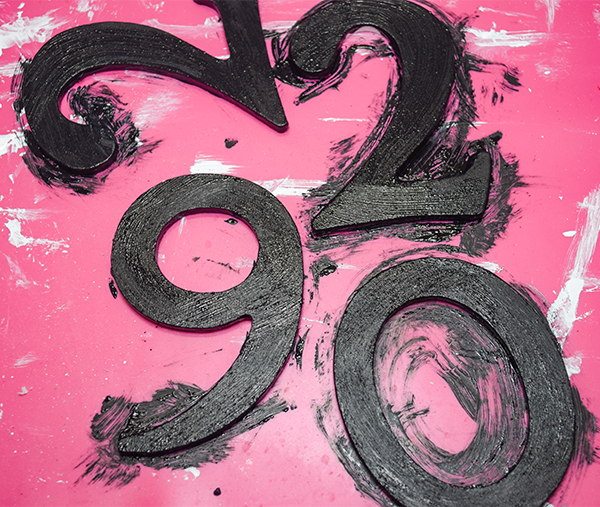
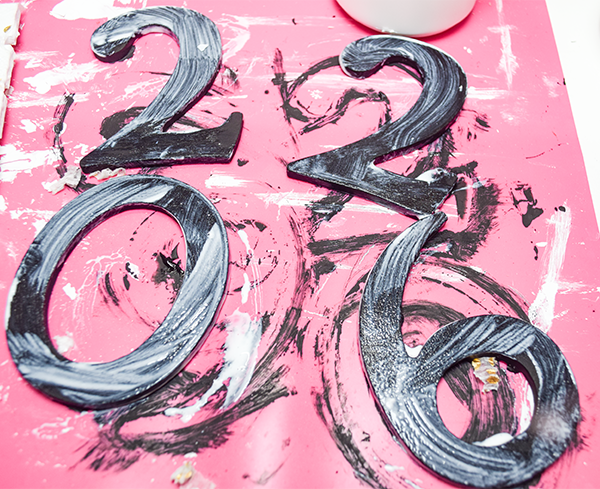
Step 5: Paint the numbers
Paint all of the numbers. I used black for my numbers. Once numbers have dried add a layer of Mod Podge and sprinkle with gold glitter. Let dry.

Step 6: Attach the Numbers
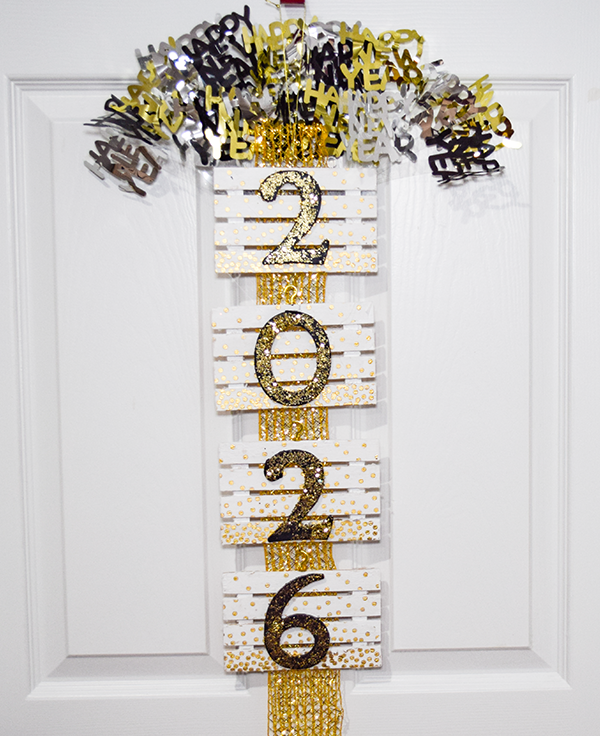
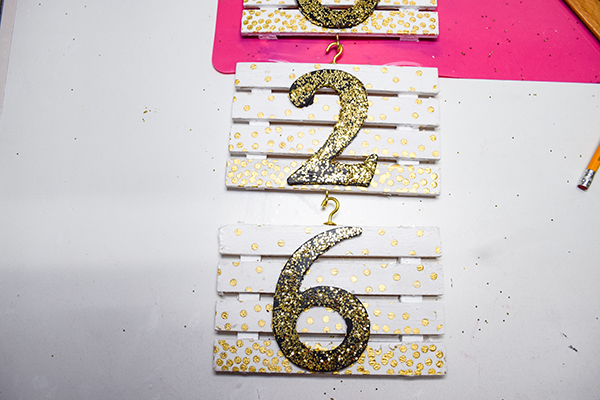
Using Hot Glue attach the numbers to the pallets. I used the year 2026 and put one number per pallet.
Step 7: Attach the Pallets
Screw in a screw eye into the top center of each of the pallets and a small hook to the bottom of three of the pallets. Hook the pallets together so that they read out the New Year.
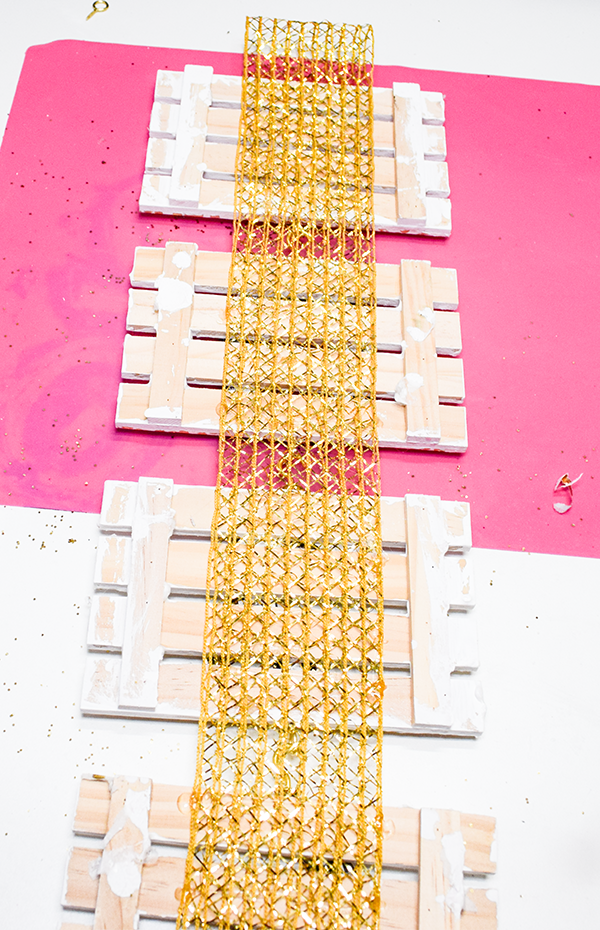
Step 8: Add the Gold Ribbon
Lay out a piece of Gold Ribbon onto your work surface . Fold the ribbon in half. Place the loop at the top and some tails at the bottom. Place the pallets on top of the ribbon and hot glue the ribbon to the pallets.

Step 9: Embellish the Door Hanging
I found a New Years cascade center piece at Hobby Lobby. I cut the pieces off the centerpiece that I wanted to use for the embellishments. Because the piece is meant to arch over the words Happy New Year were upside down. Each word has a clear tab. Fold the tab over and hot glue it to the words with just a dot of glue. Using hot glue attach the words of the centerpiece to the top pallet to add pizzazz to the door hanging. Once those were attached the Dollar Tree New Years Door Hanger is complete. Hang from the door and have a Happy New Year.

I hope you enjoyed this simple Dollar Tree craft. If you would like more sewing and crafting projects subscribe to our free newsletter and receive your free Dollar Tree holiday eBook.
If you would like video tutorials of some of Sew Very Crafty's most popular posts subscribe to our free YouTube channel here.