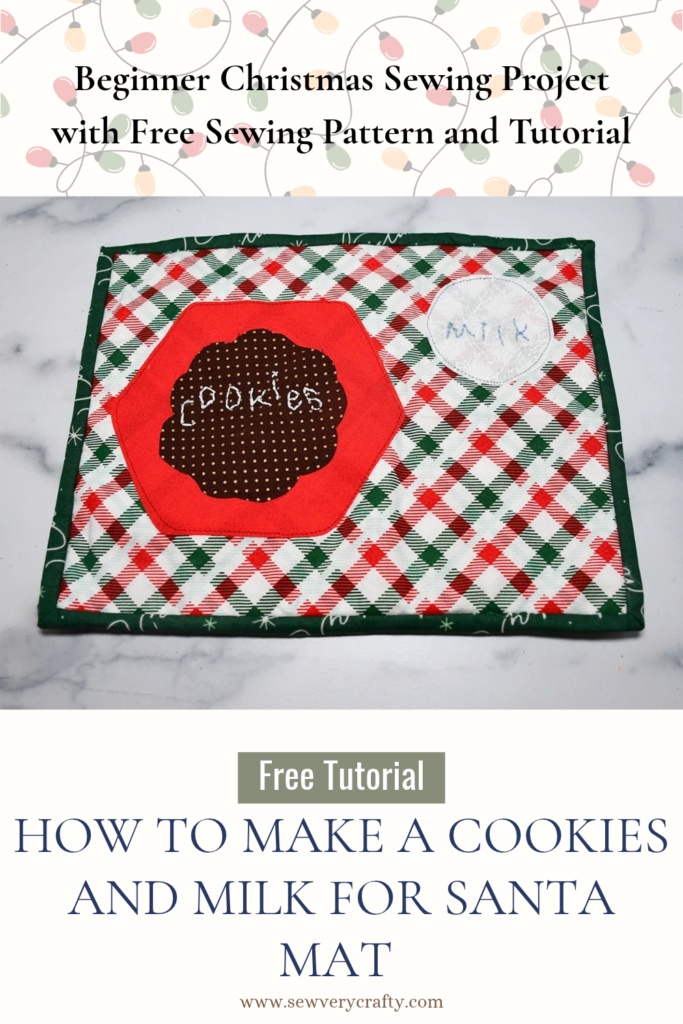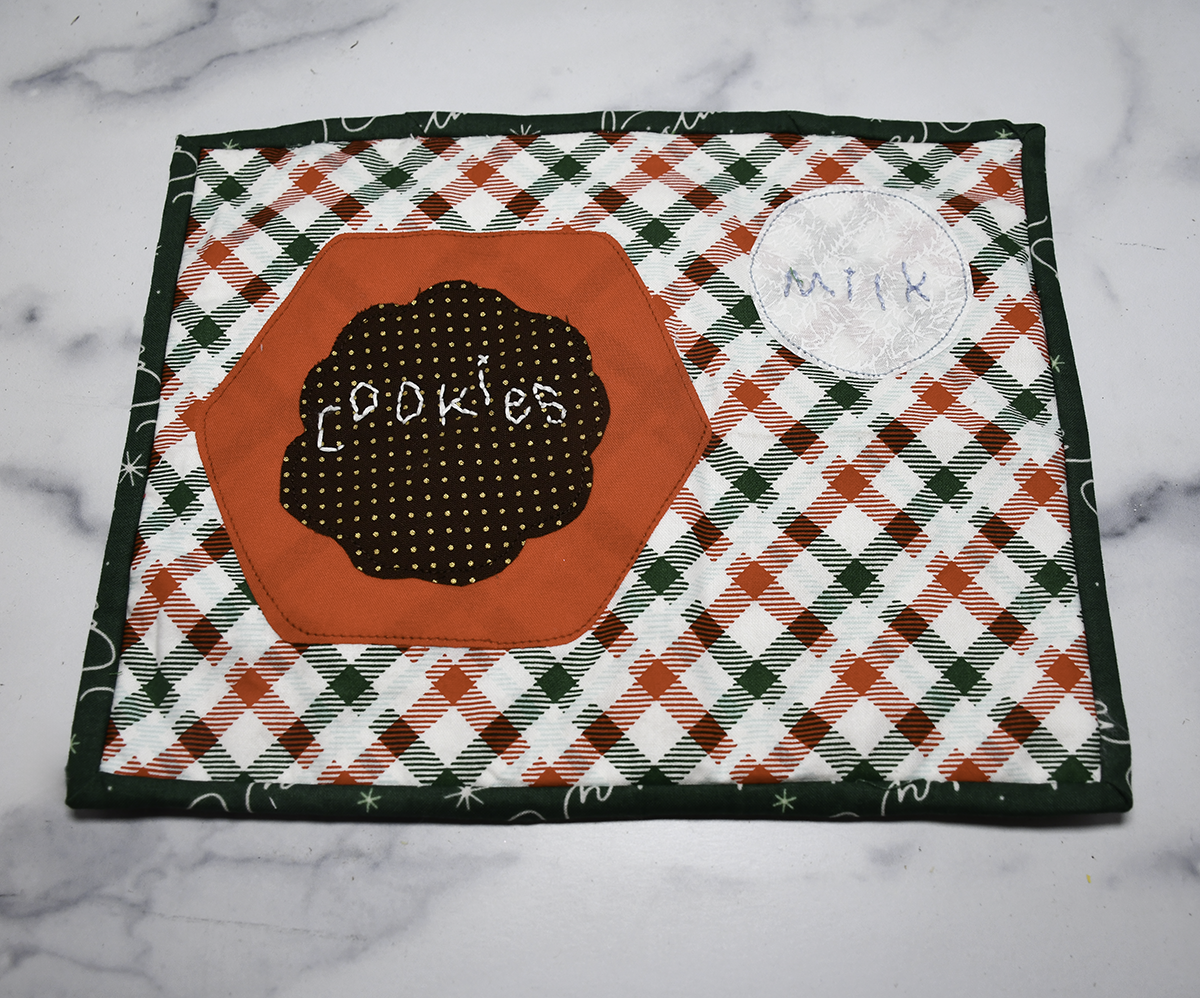
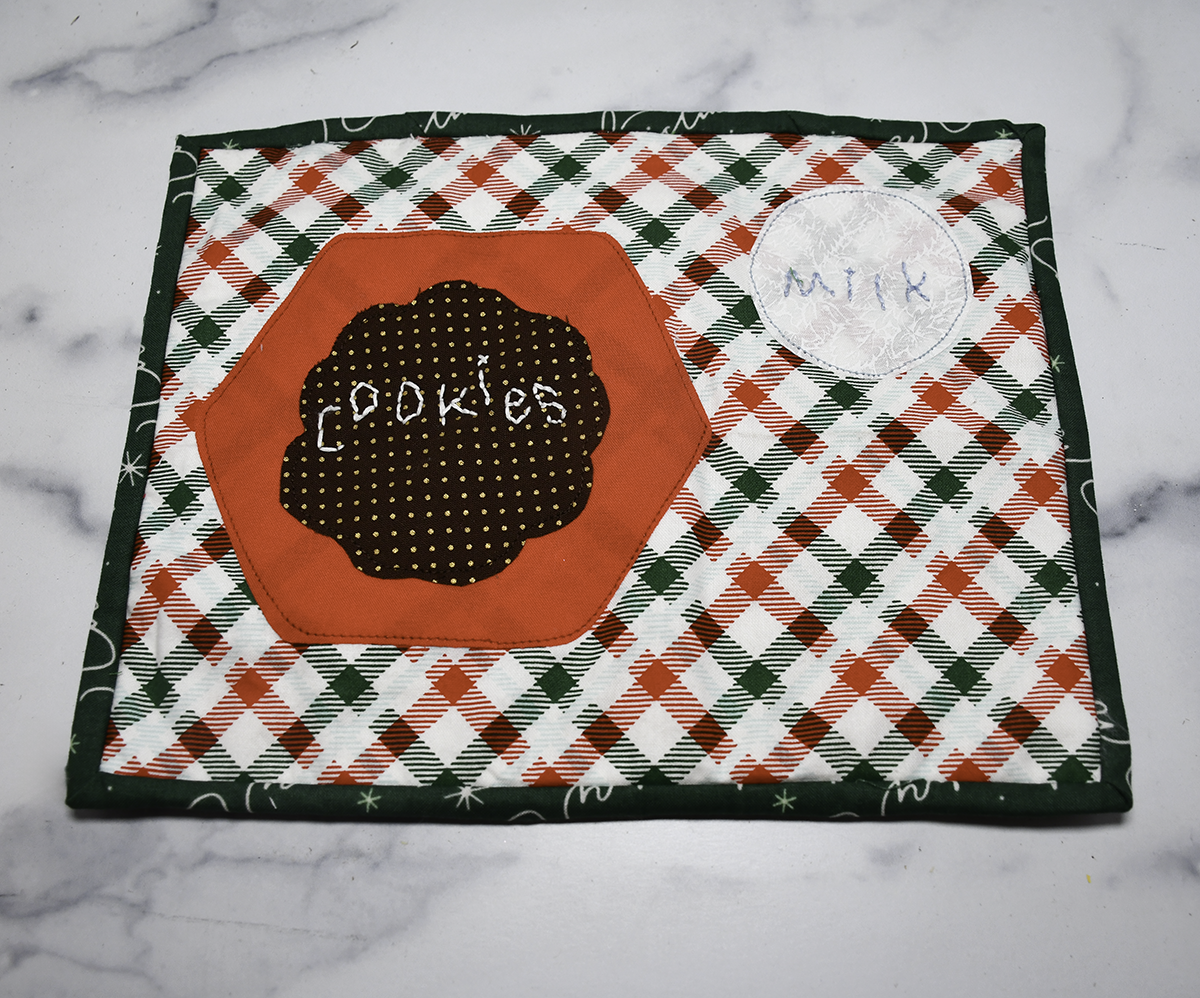
I came across this project on Allpeoplequilt.com and thought it was really cute so I decided to share it with you. The pattern is free and takes just a little bit to complete the project from beginning to end. The fabrics I used are a bit different than the ones used on the website but I am trying to use up some of my fabric stash. I also changed the pattern just bit but used the same basic idea. I hope you like this project. If you would like more holiday sewing and crafting projects head over to my Holiday Project Vault.

Note: This post contains affiliate links that if you click on them and make a purchase I will receive a small commission at no extra cost to you. As an Amazon Associate I earn from qualifying purchases.
What you will Need: How to Make a Cookies and Milk Santa Snack Mat
- Pattern you can get by clicking on this link
- 1/8 yd of Christmas patterned fabric
- 8″ square of solid fabric for the plate
- 6″ piece of brown polka dot fabric
- 4″ square of light blue fabric
- 2″ wide binding strips to reach all the way around
- Quilt batting
- Basting spray
- Wonder Under
- Transfer paper
- Embroidery floss
- Sewing machine
- Standard sewing supplies
Step 1: Cut the Fabrics
From the Christmas Patterned fabric cut two 10 3/4″ x 8 1/2″ rectangles. Trace the plate, milk shape and cookie shape onto the paper side of the Wonder Under.
Step 2: Create the Appliqué
Fuse the glue side of the Wonder Under onto the wrong side of the respective fabrics by pressing the paper side of the Wonder Under with a hot iron. Cut out the shapes. Remove the paper backing.
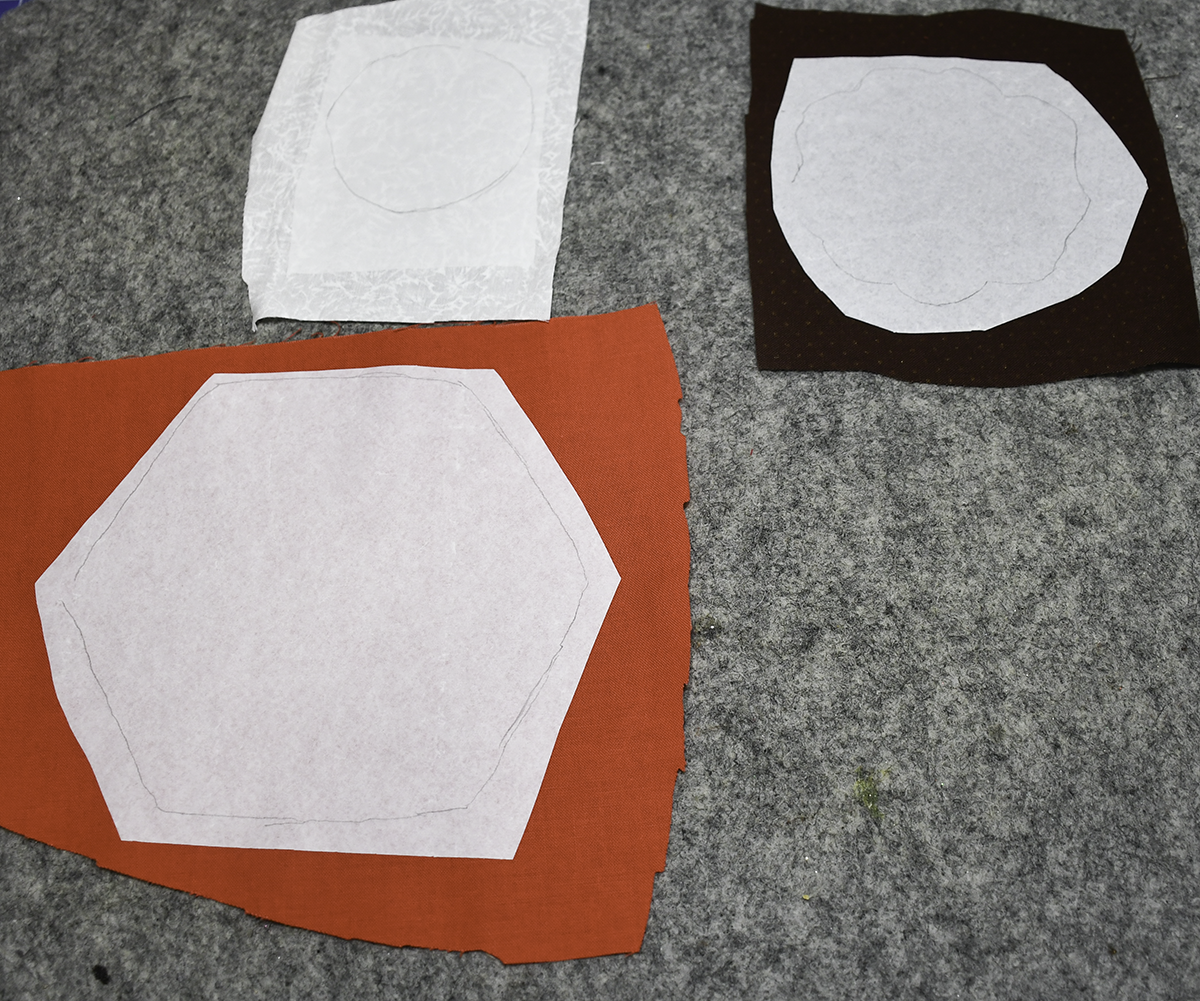
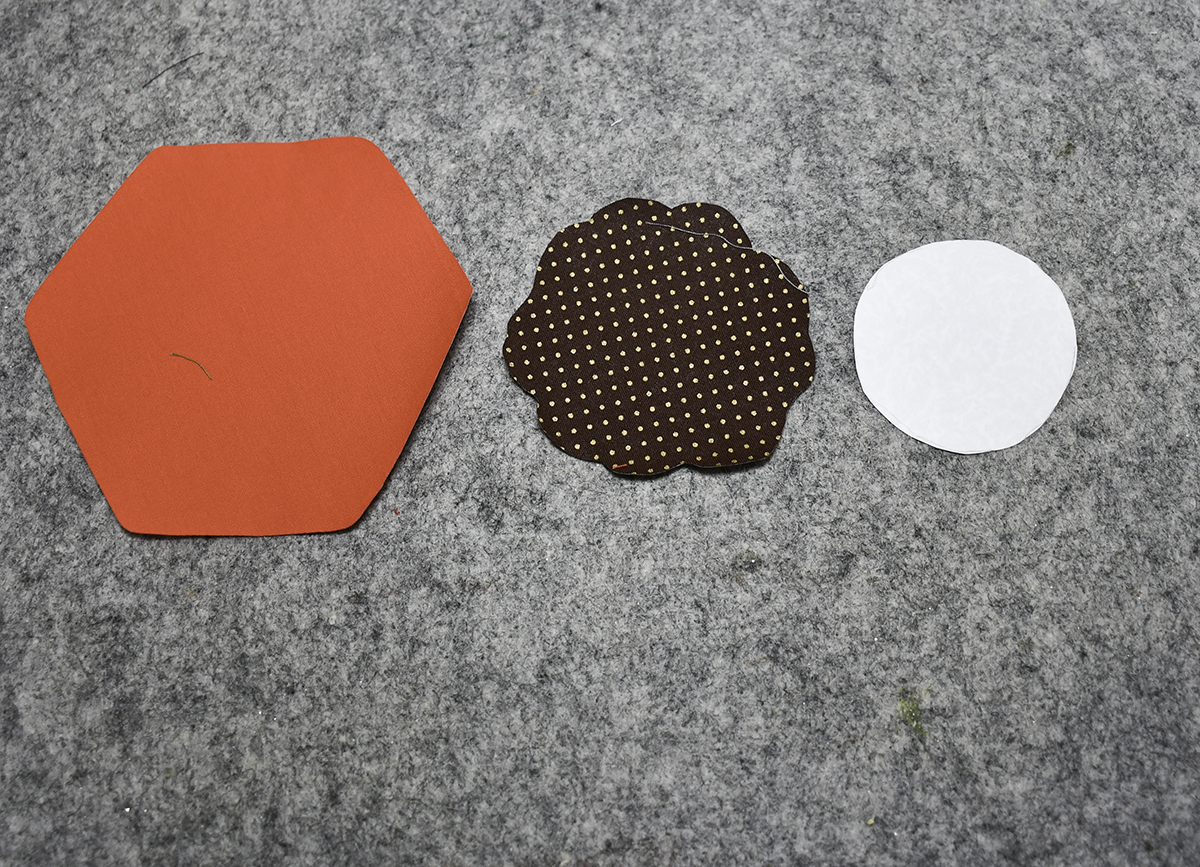
Step 3: Add the Appliqué
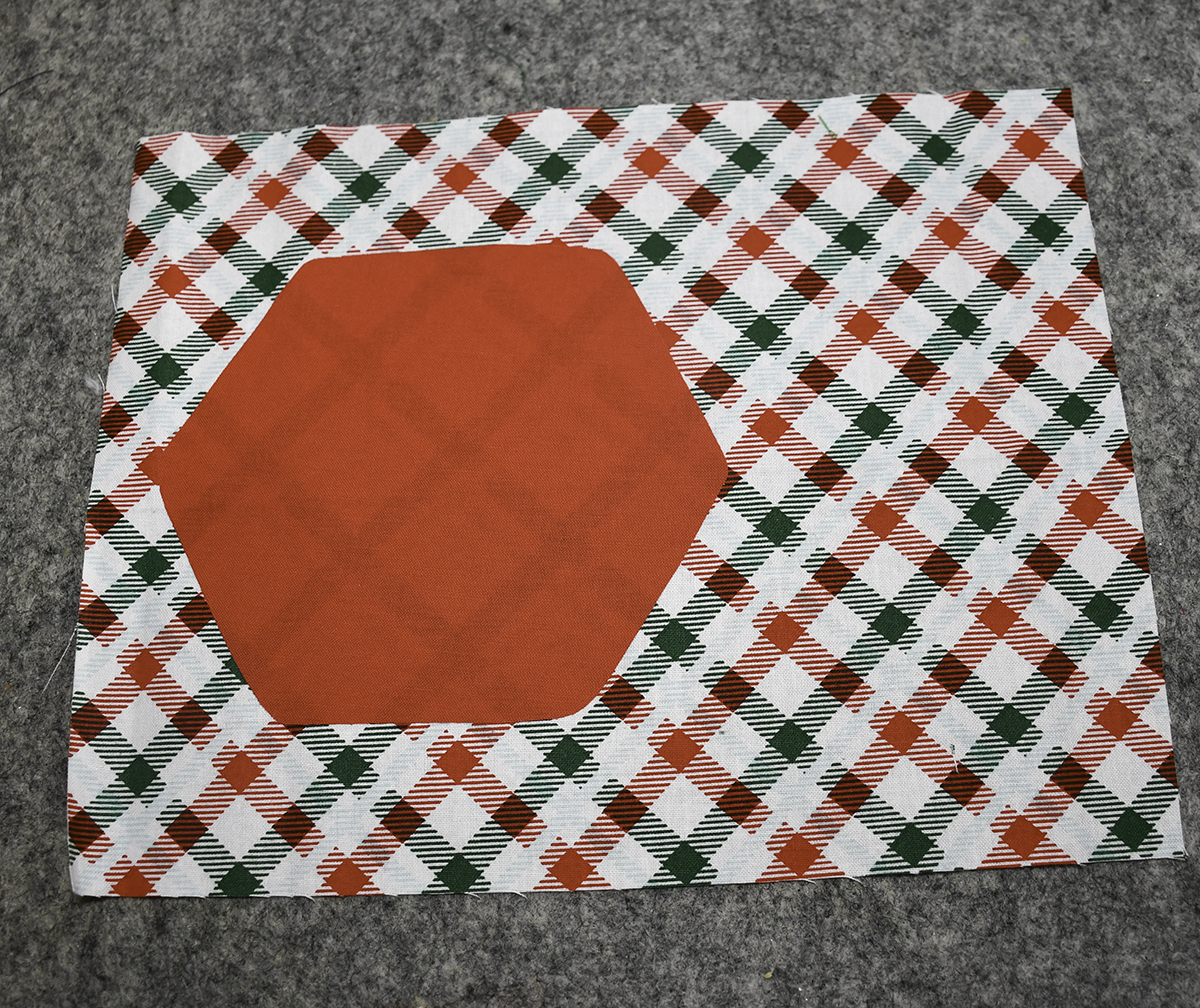
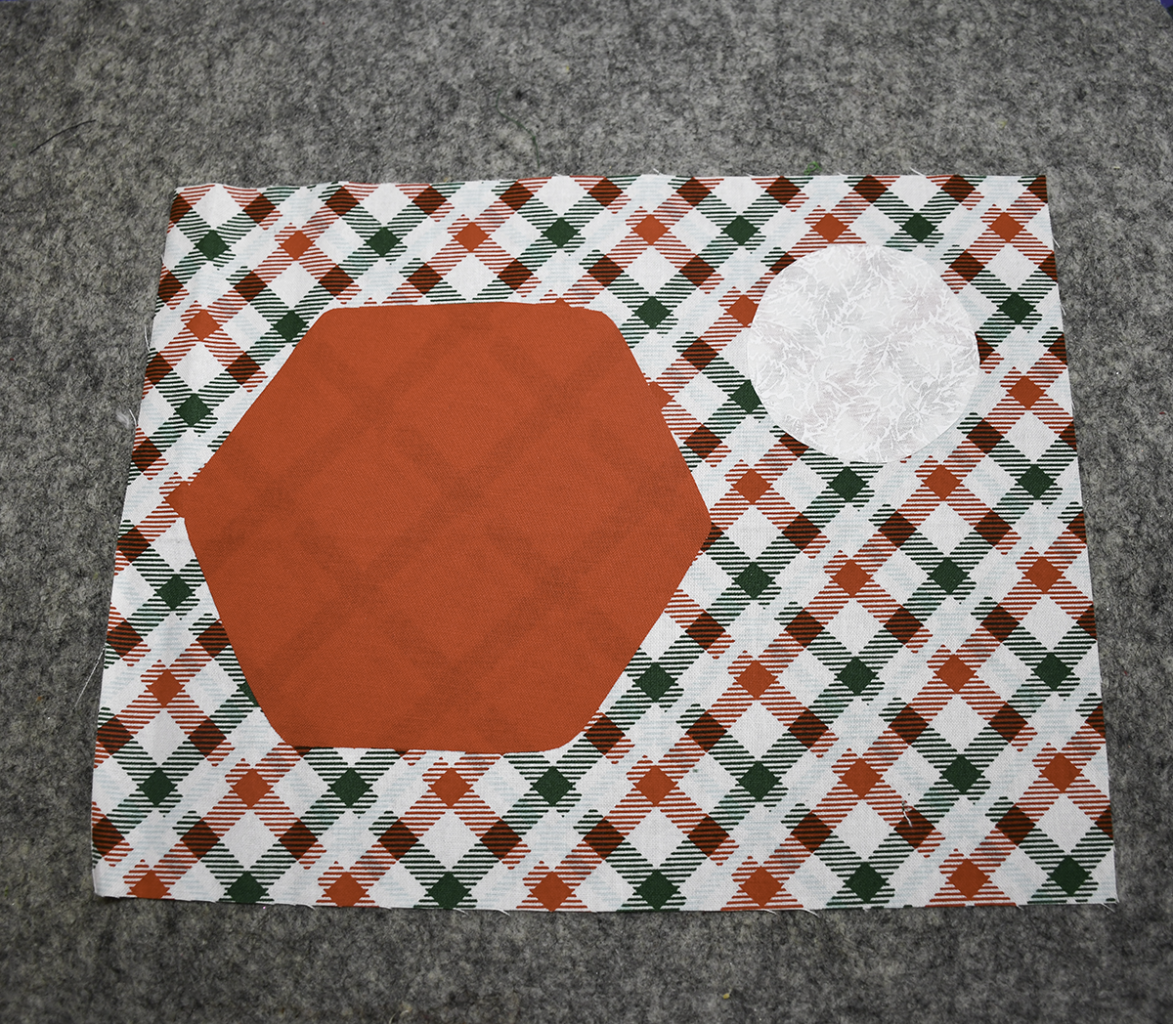
Place the Plate shape onto the left side of one of the mat pieces and fuse it to the fabric. Repeat for the cookie piece and the milk piece.
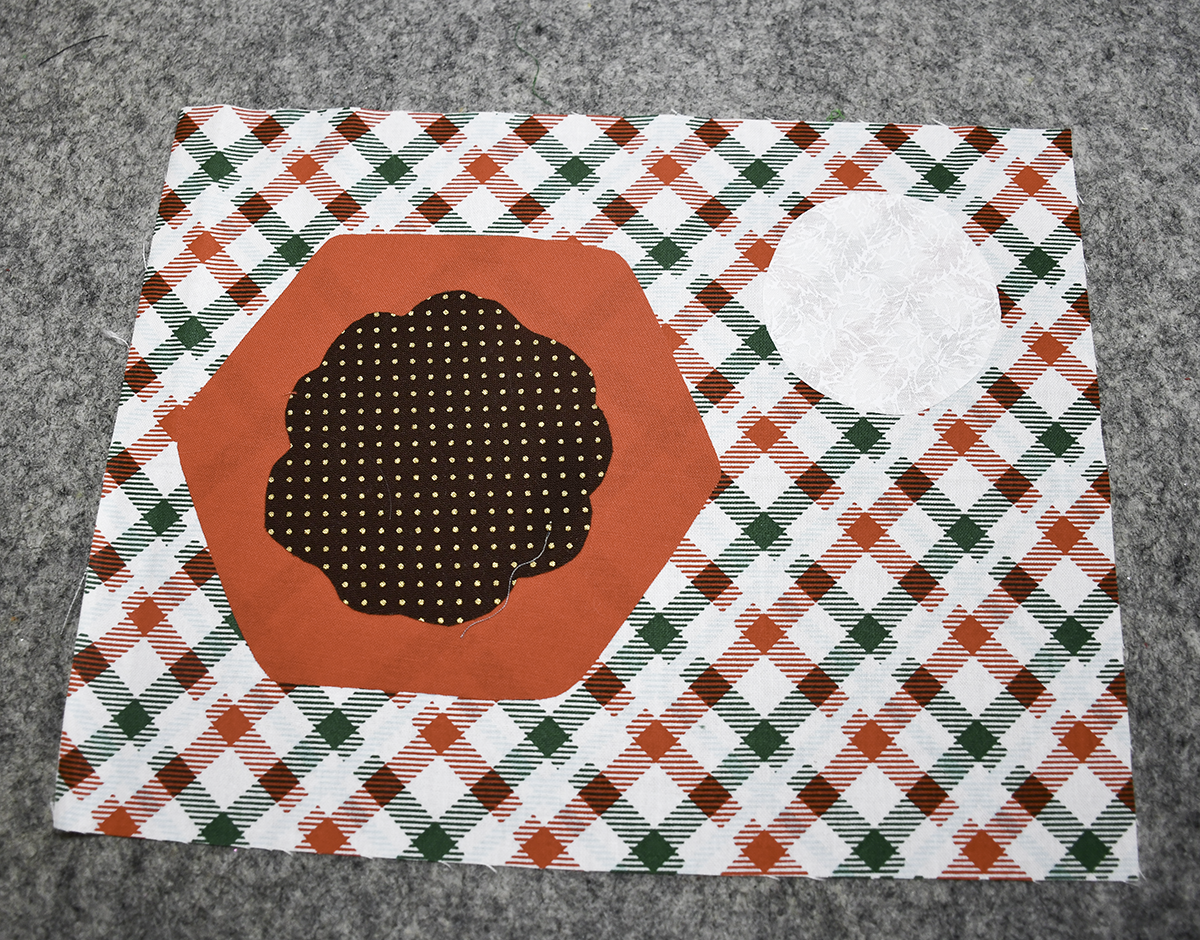
Step 4: Add the Batting
Spray some basting spray to the top of the batting. Place the appliquéd piece on top. Spray the other side of the batting and add the other mat piece so the batting is sandwiched between the two mat pieces.
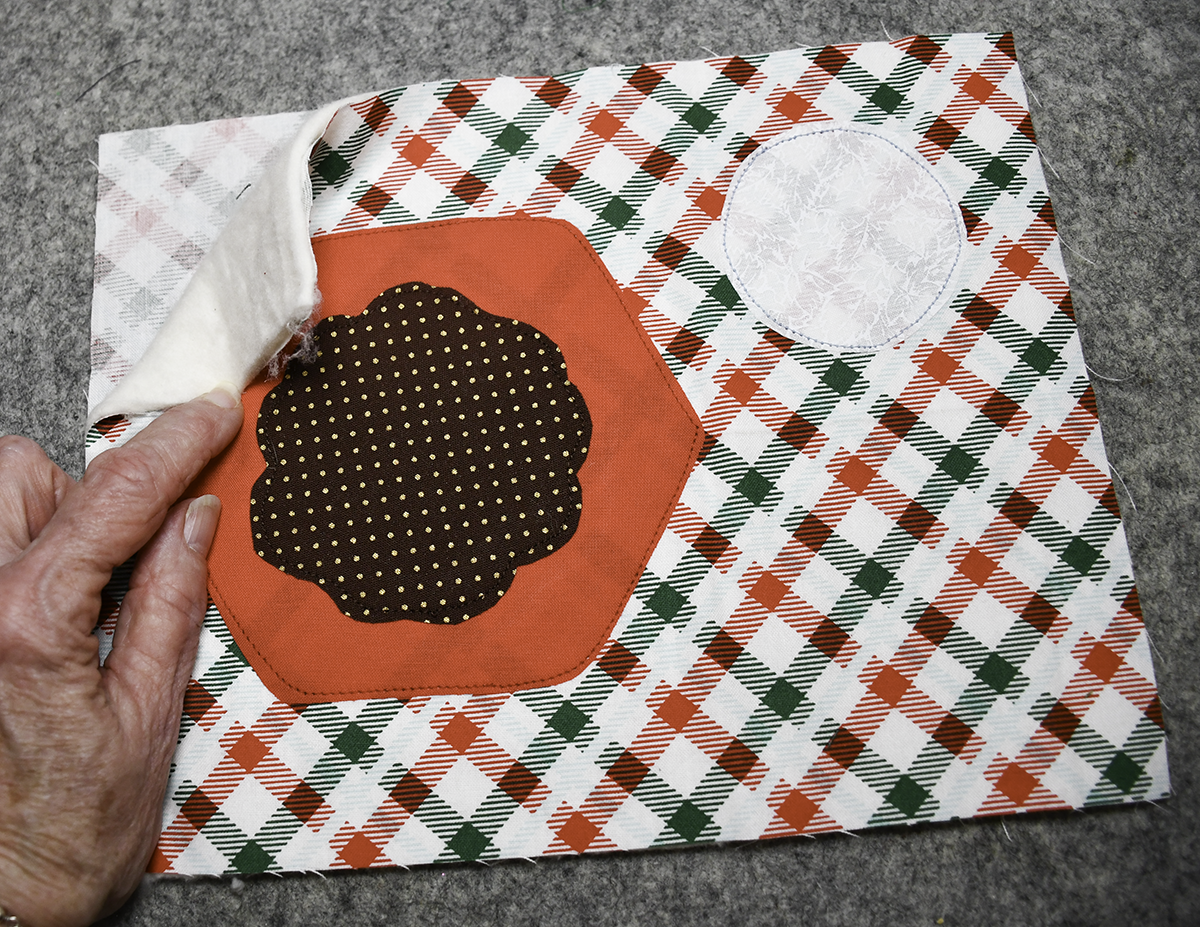
Step 5: Stitch the Appliqué
Use a straight stitch and sew all the way around each appliqué piece.
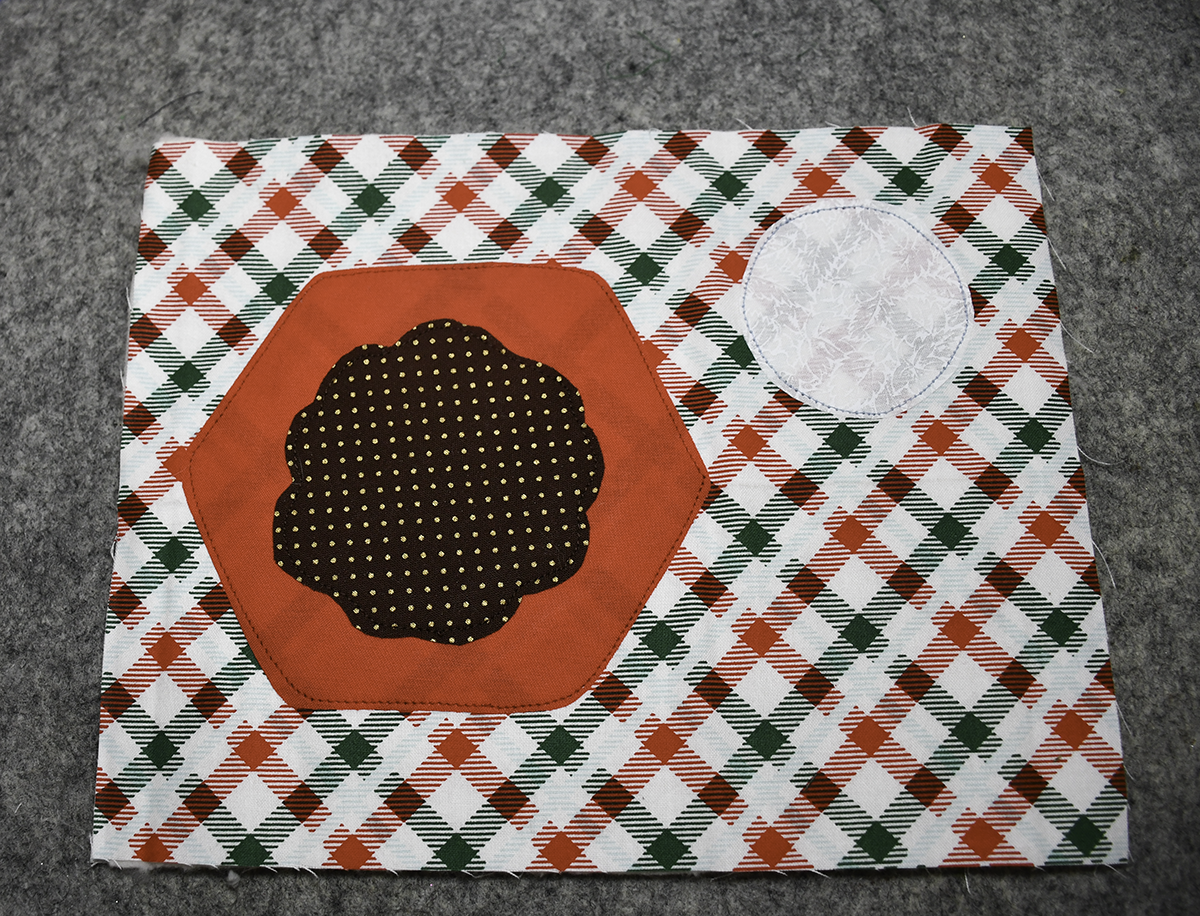
Step 6: Add the Embroidery
Use some transfer paper and place it on top of the cookie piece and the milk piece. Transfer the letters from the pattern to the pieces using a stylus. Embroider the letters using a back stitch.
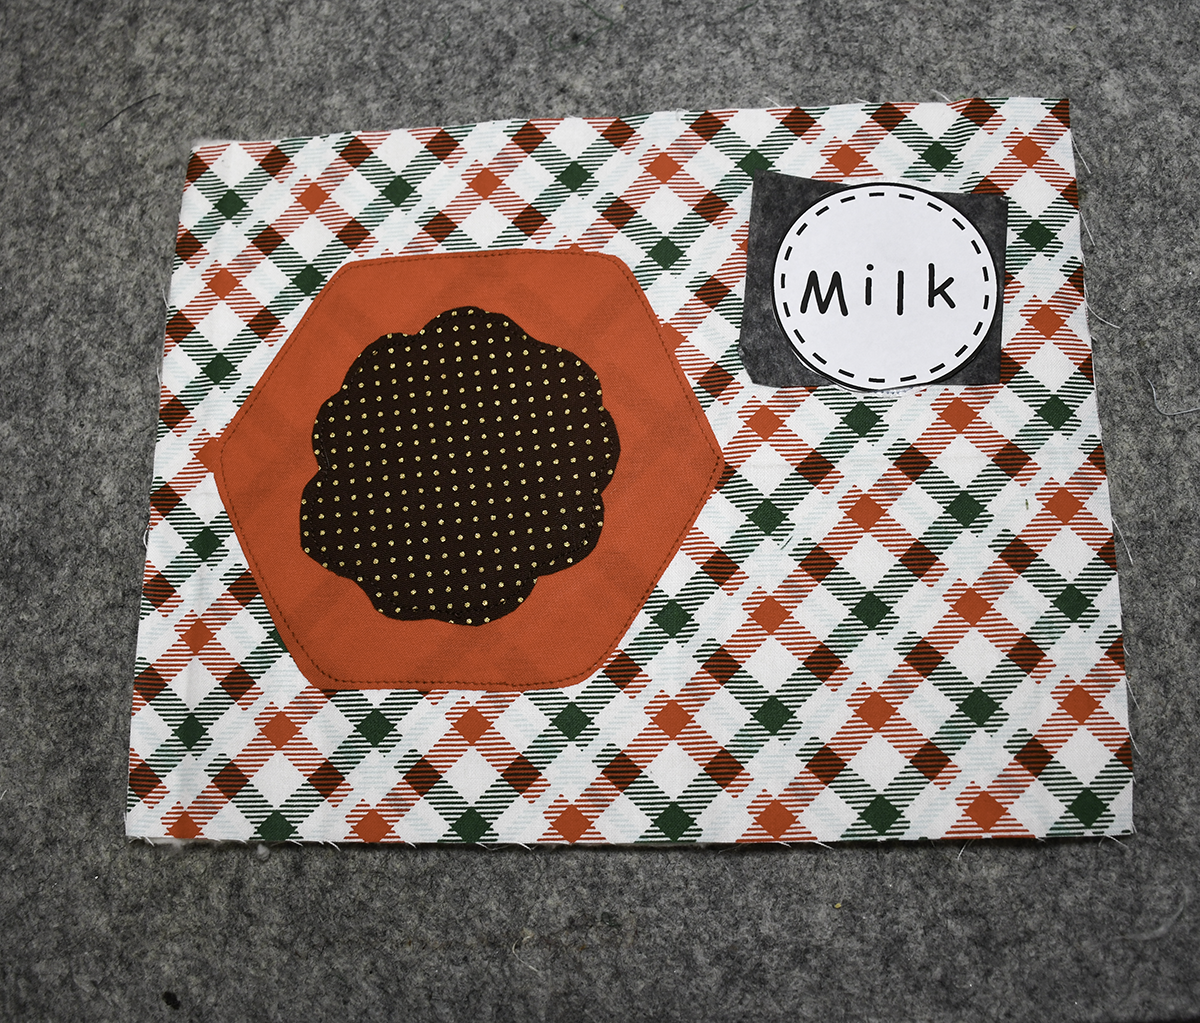
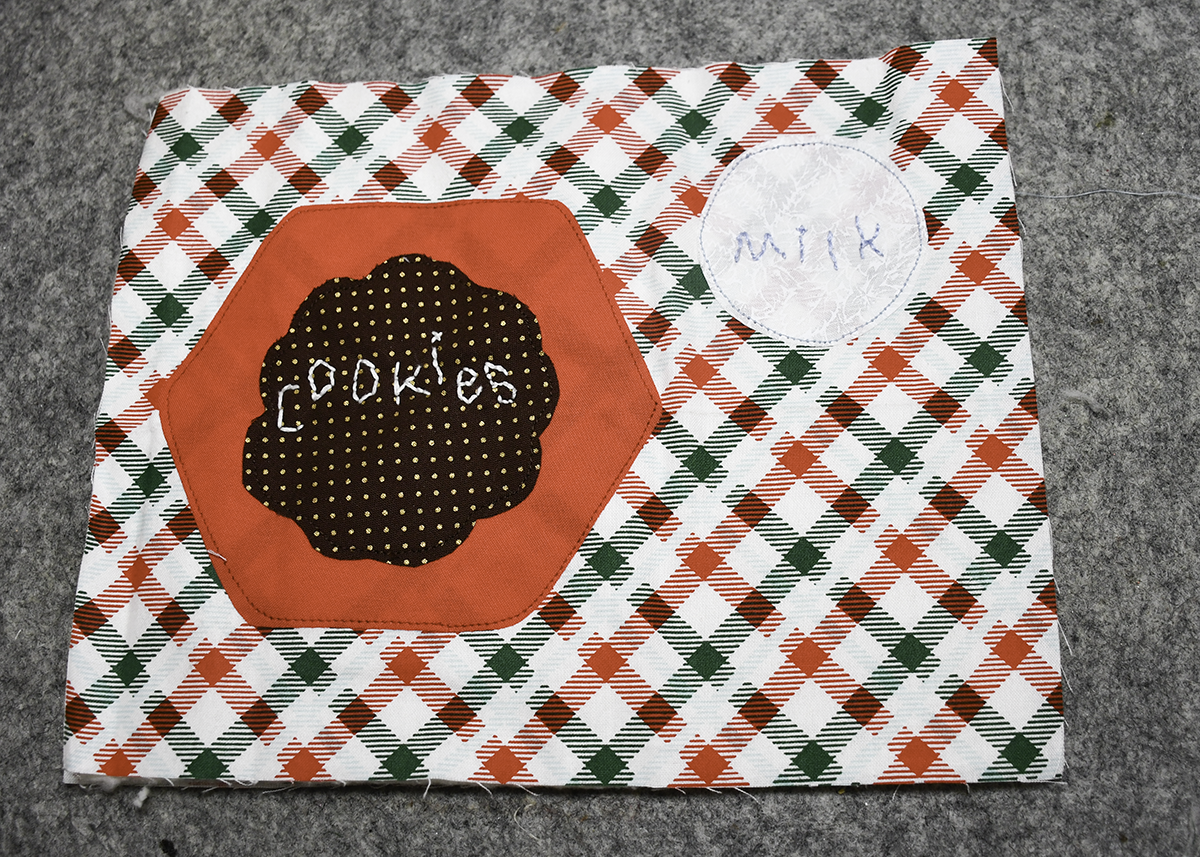
Step 7: Add the Binding
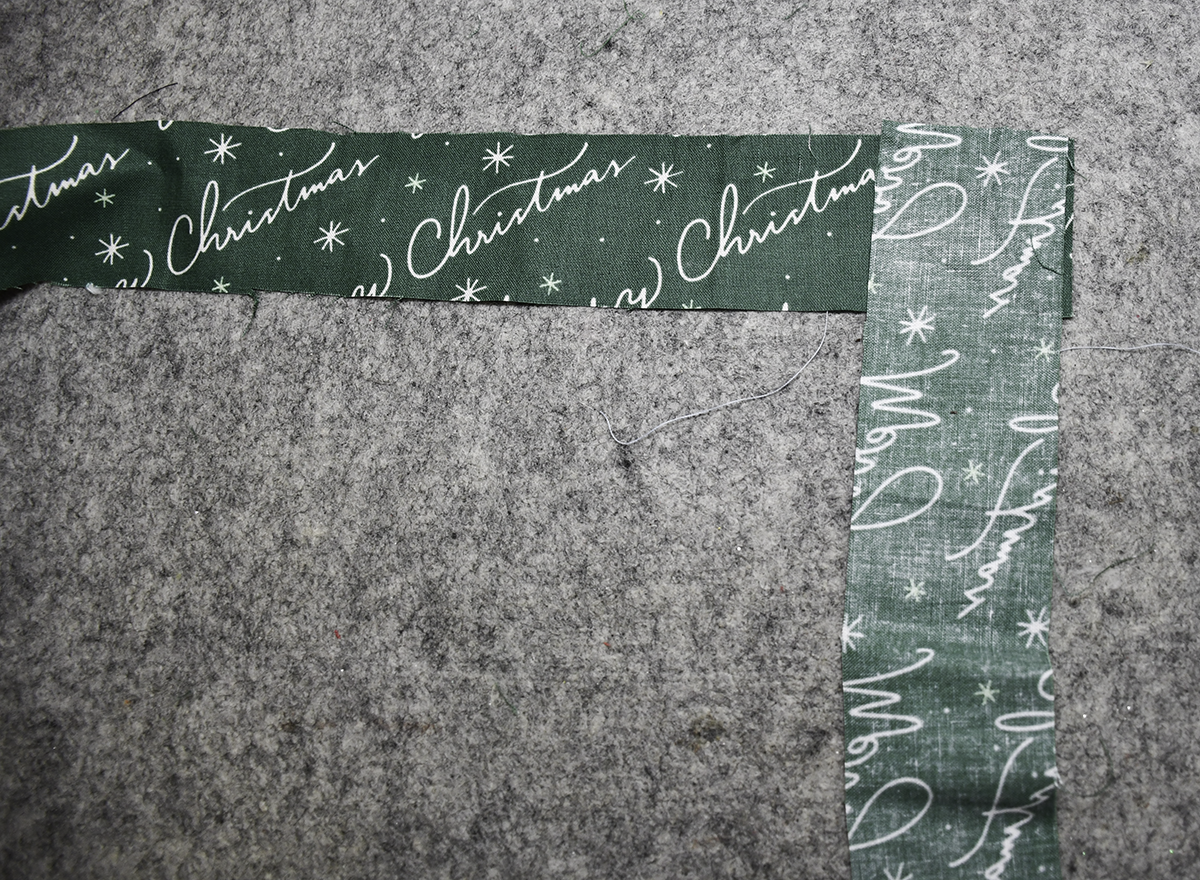
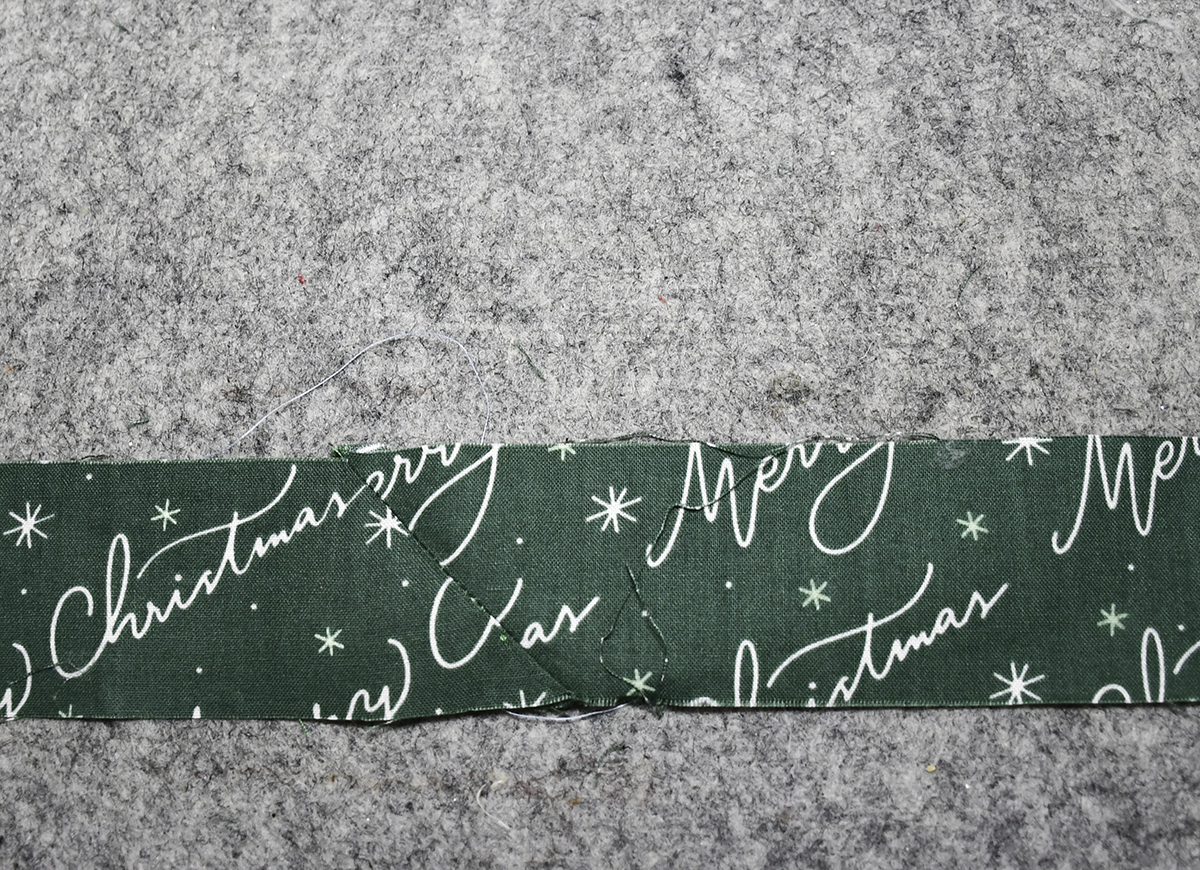
Join the binding strips if necessary by placing the ends of two pieces right sides together a cross. Stitch diagonally across the two pieces. Cut off the excess and press the seam open. Fold the binding wrong sides together and press. Place the binding right sides together leaving a tail. Stitch the binding starting halfway along one of the long sides. Stitch off the corner diagonally when you reach the end. When you reach the end fold the binding so it goes down the next side. Stitch in the same way all the way around until the ends meet. Overlap the ends by 2″. Place the ends right sides together in a cross the same way you did when you joined the pieces. Stitch diagonally and cit off the excess. Stitch the binding the rest of the way.
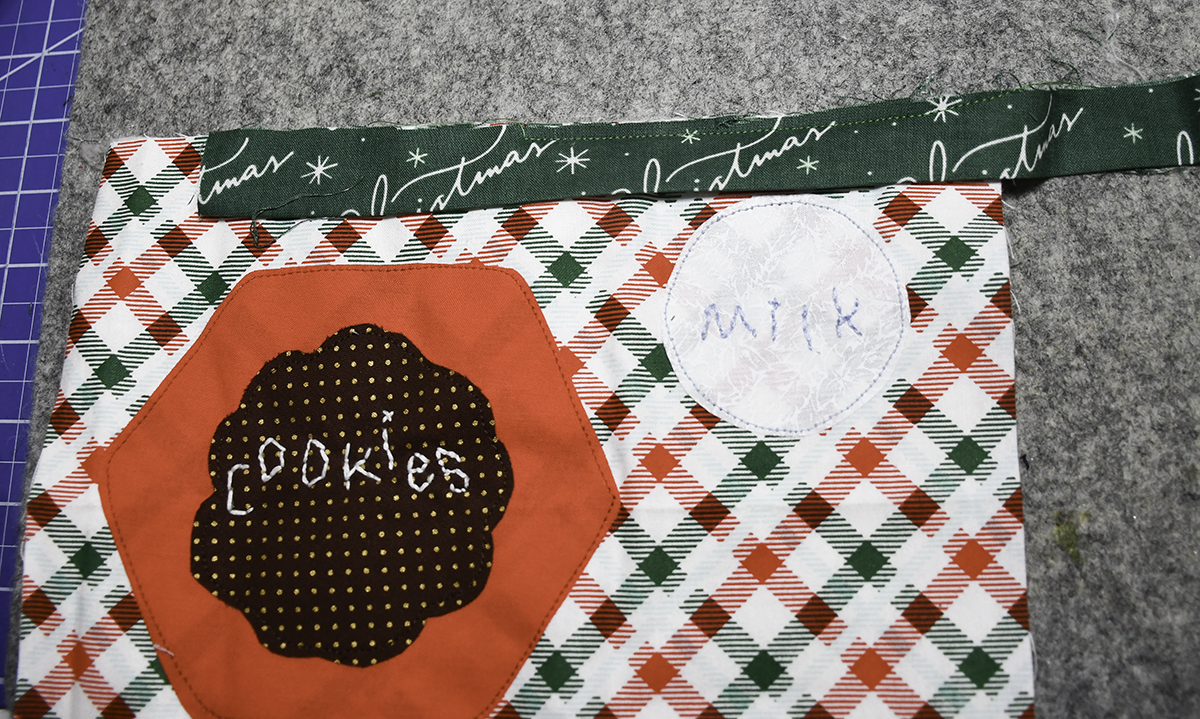
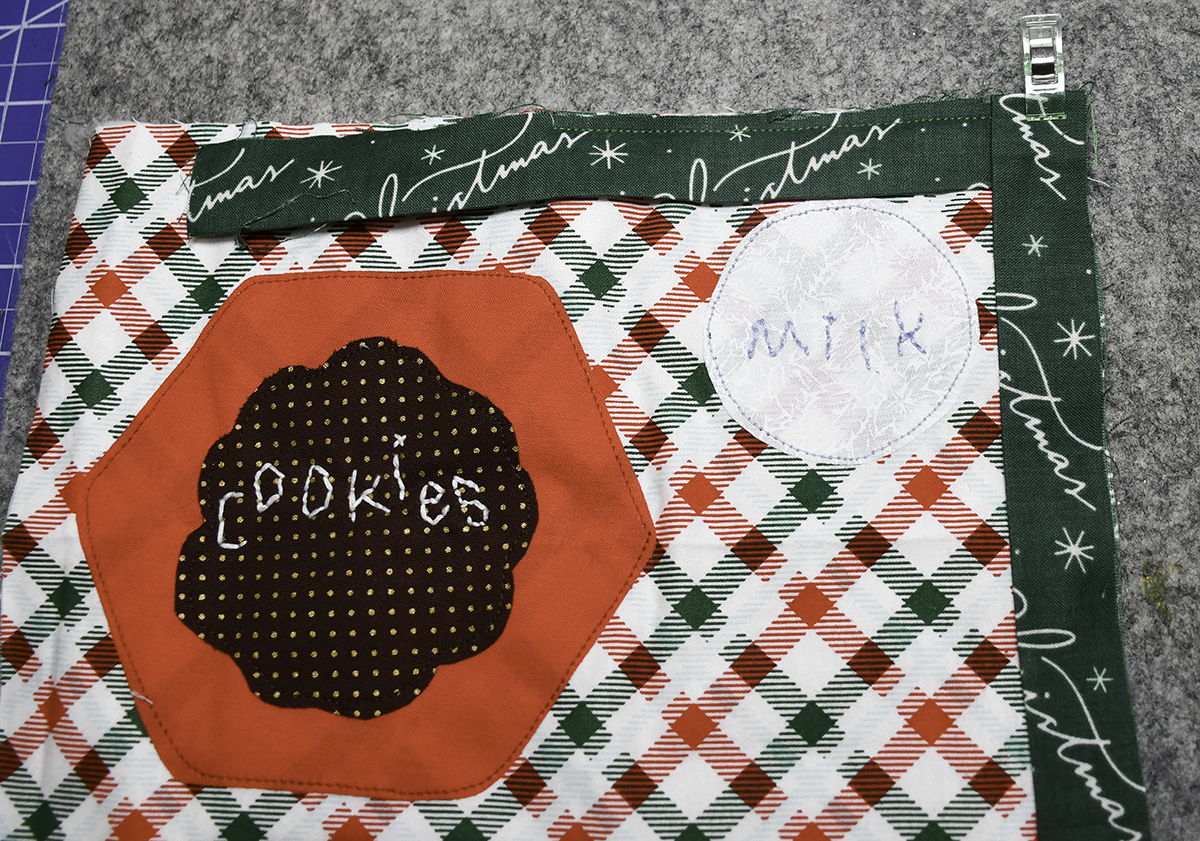
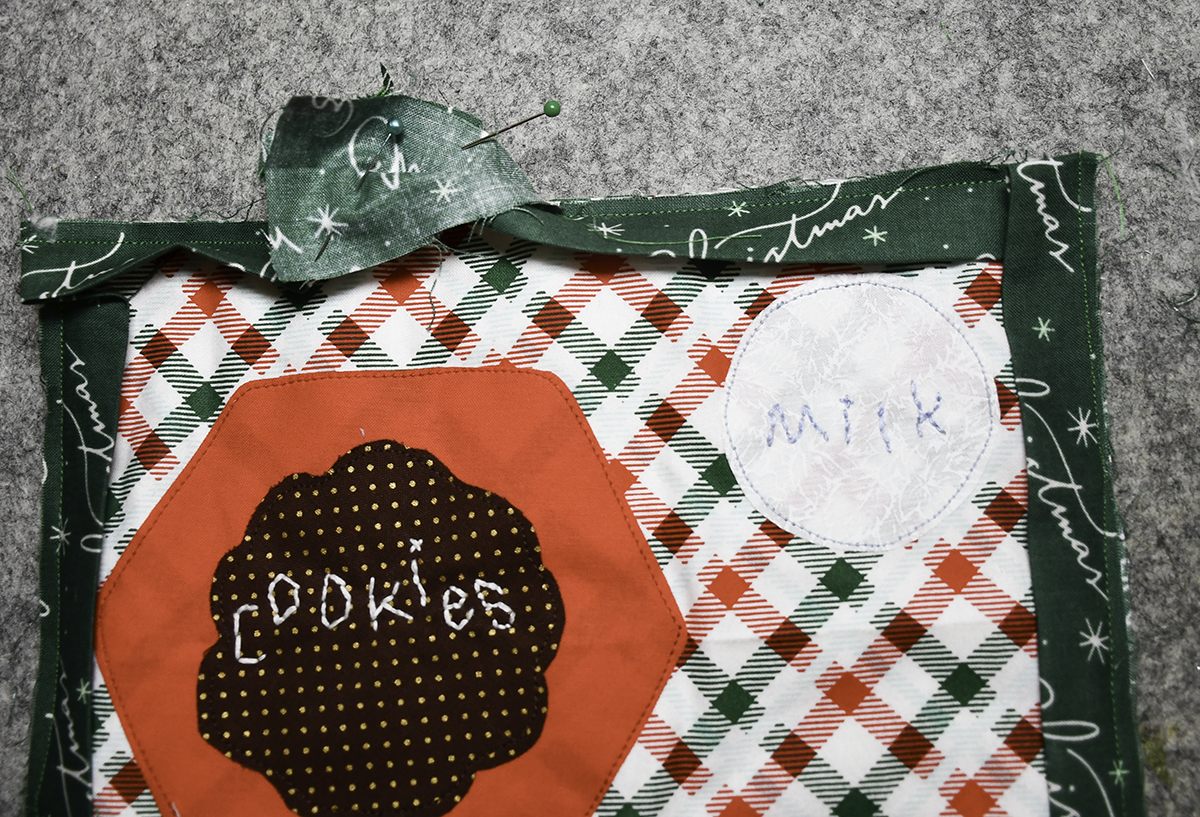
Turn the binding to the other side and hand stitch the binding the other side of the mat. You have now finished your cookies and milk Santa Snack Mat,
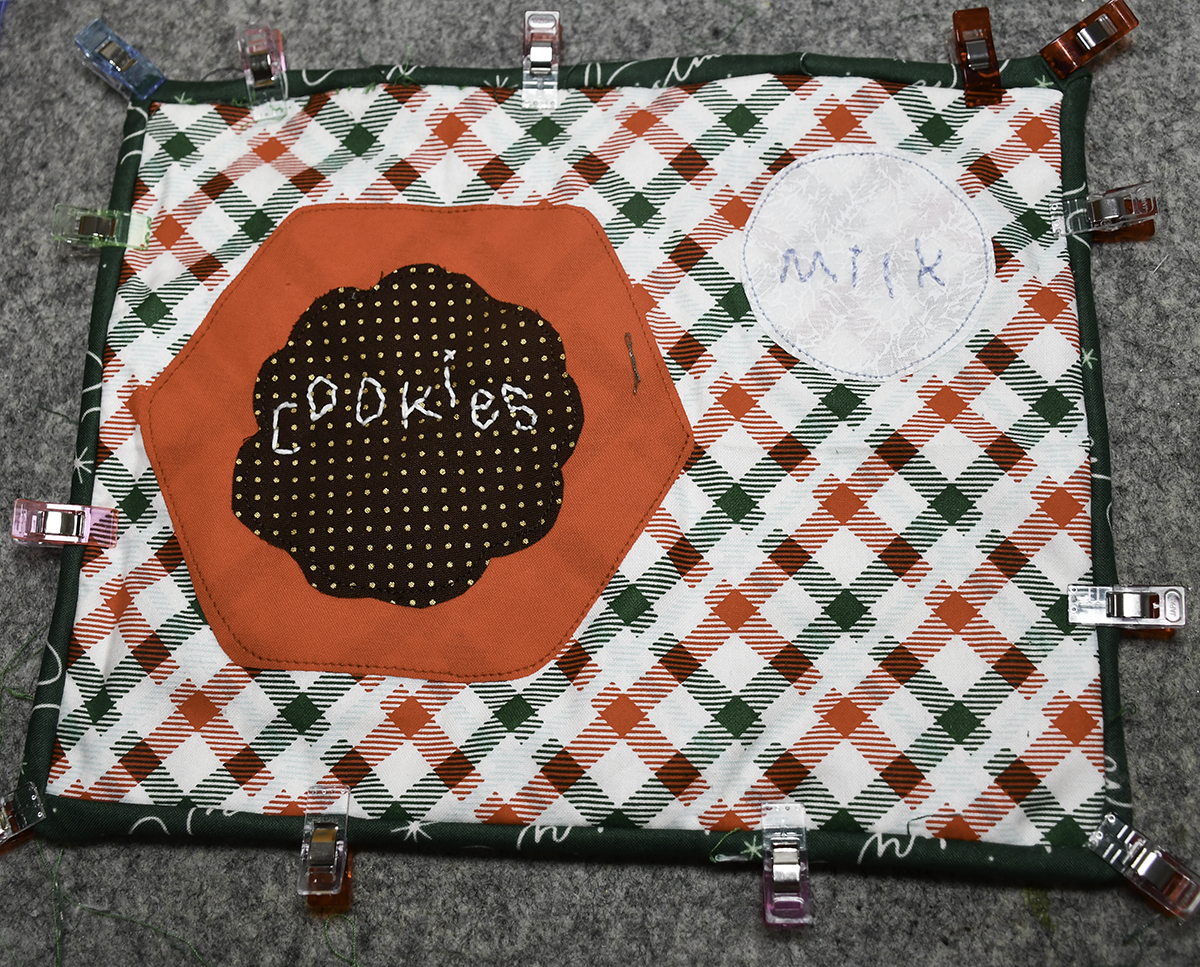
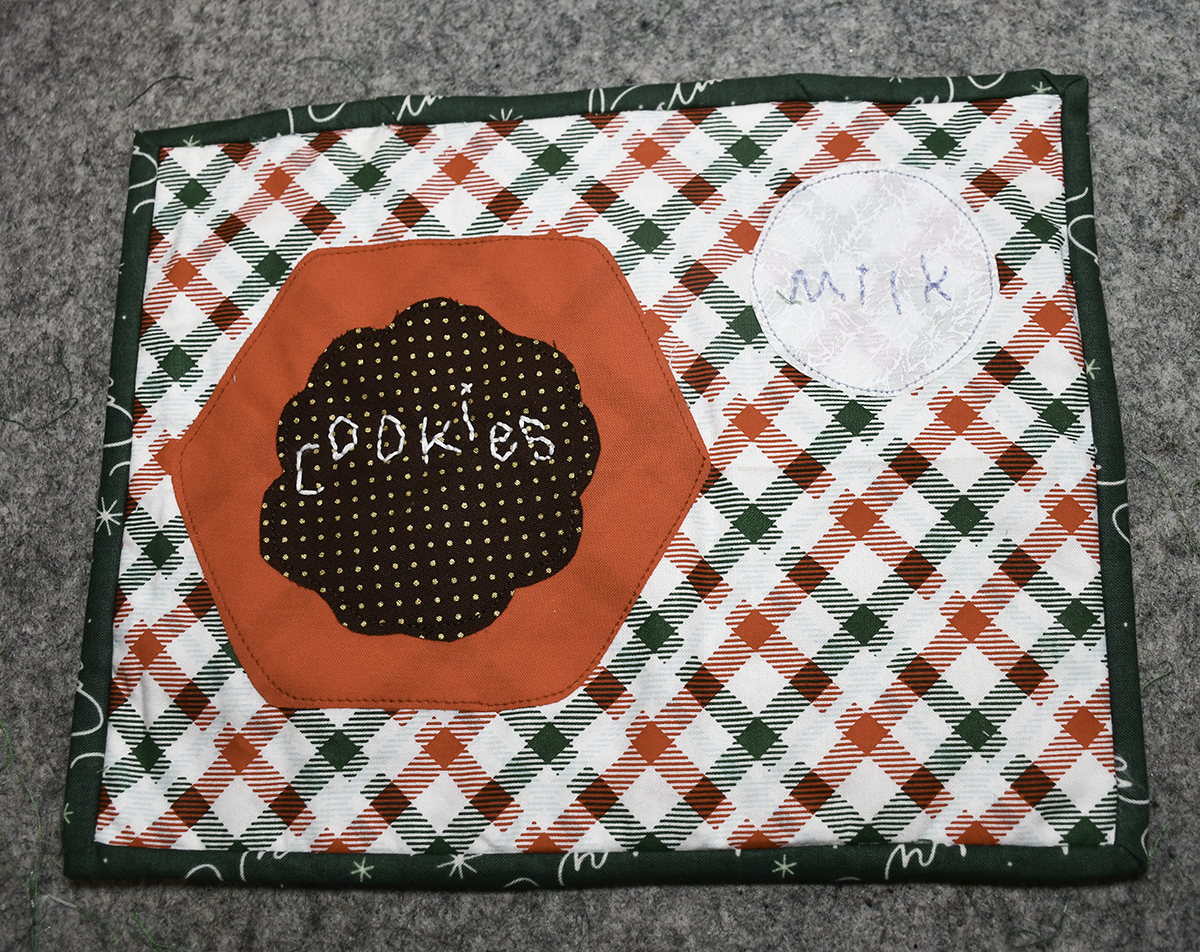
I hope you enjoyed this simple Christmas sewing project. For more sewing and crafting projects subscribe to our free Newsletter and receive access to our free printables library.
Join our Sew Very Crafty Fans Facebook group
If you want to ask questions and share your projects join our Facebook group here. The community will help to achieve your sewing and crafting dreams.
Subscribe to our Free YouTube Channel!