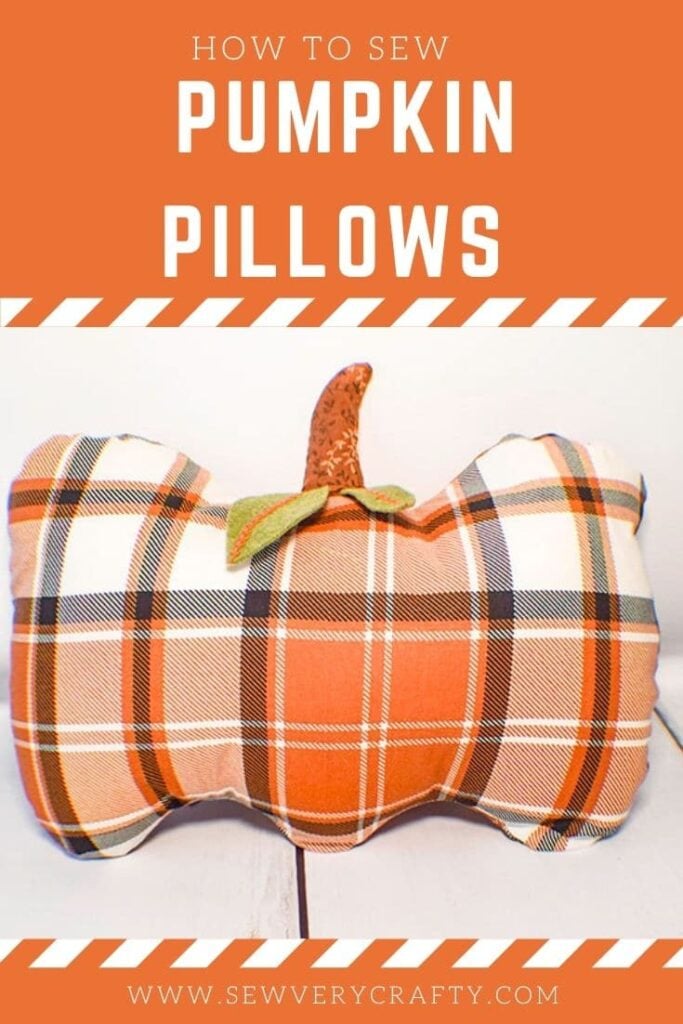
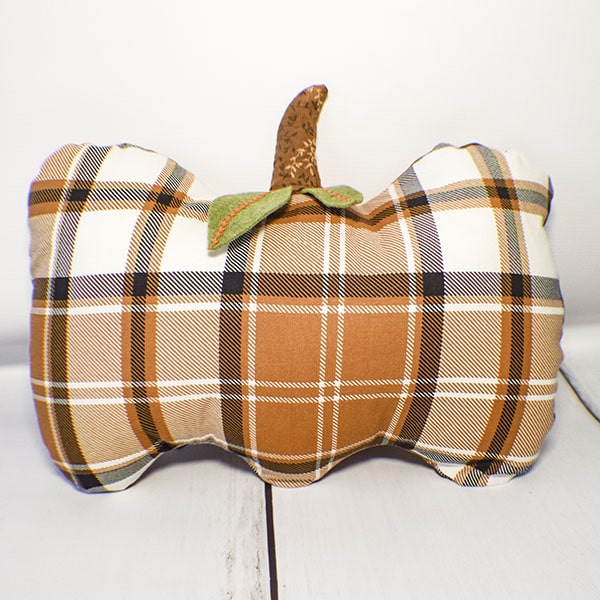
How to Make a Pumpkin Pillow
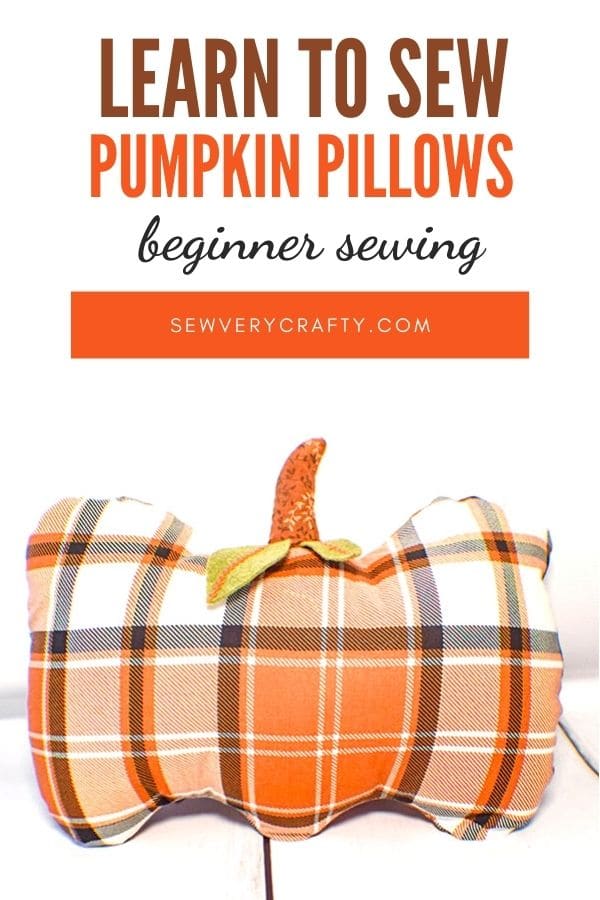
Autumn and Thanksgiving are just around the corner. I thought I would start my home decorating with this adorable pumpkin pillow. I saw this on the Sewing Room on YouTube. It is so easy to make and really gives that fall feeling. You could make a set of three in different sizes to really set up your fall decor. I have included the pattern I used for my pumpkin pillow with this tutorial but you could make it larger or smaller. It is entirely up to you.
I chose cotton fabrics that I purchased at JOANN Fabric & Craft Stores![]() and a little felt for the leaves. But you could head to Hobby Lobby, Fabric.com or onlinfabricstore.net to get exactly what you need for your pumpkin pillow. This post contains affiliate links that if you click on them and make a purchase I will receive a small commission at no extra cost to you. As and Amazon Associate I earn from qualifying purchases.
and a little felt for the leaves. But you could head to Hobby Lobby, Fabric.com or onlinfabricstore.net to get exactly what you need for your pumpkin pillow. This post contains affiliate links that if you click on them and make a purchase I will receive a small commission at no extra cost to you. As and Amazon Associate I earn from qualifying purchases.
What you will Need: How to Make a Pumpkin Pillow
- Pattern you can get by clicking on this link
- 1/3 yd main cotton or fleece fabric
- Scrap of fabric for stem
- Scrap of felt for leaves
- Polyester fiber-fil
- Standard sewing supplies
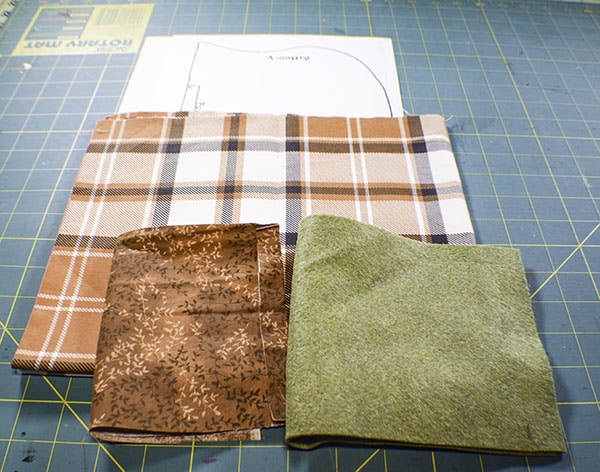
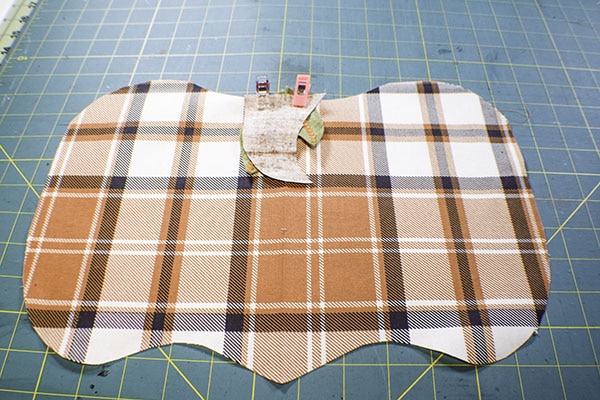
Step 1: Cut your fabrics
Using the pattern pieces cut your main pumpkin, stem and leaves.
Step 2: Create your leaves
Using a contrasting thread, stitch either a straight line or a decorative “v” stitch down the center of your leaves to create the illusion of veins in the leaves.

Step 3: add your stem and leaves
Take one of your pumpkin pieces and place it right sides up on your work surface. Lay the leaves right sides up at the top center and one of the stem pieces right sides down on top of the leaves. Stitch through all layers to secure. Stitch the other stem piece to the second pumpkin piece right sides down making sure that the two stem pieces line up when they are finished. You do not want them facing the opposite direction.
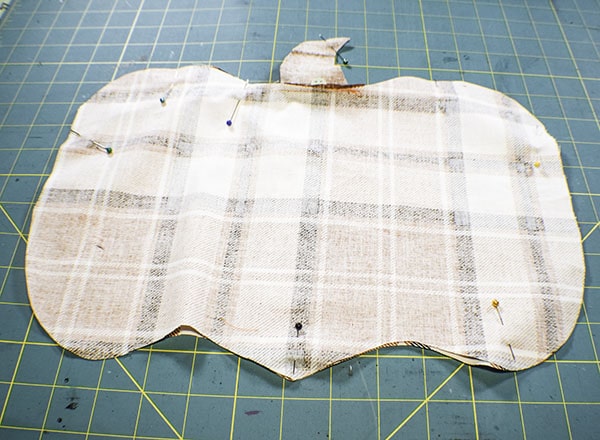
Step 4: stitch the pumpkin pillow
Place the two pumpkin pieces right sides together with the stems sticking up and the leaves facing down. Stitch all the way around the pumpkin and the stems using a 1/4″ seam allowance. Leave an opening on one side large enough for your hand to go into. Clip the curves all the way around the pumpkin except for the area of the opening.
Step 5: Turn the pumpkin right sides out
Reach inside the pumpkin and turn it right sides out. You may need to use a chopstick or That Purple Thang to poke out all of the curves and the stem.
Step 6: Stuff your pumpkin Pillow
Pull the poly-fil apart and stuff the pumpkin starting with the stem. Stuff the pumpkin until it is full. It takes more poly-fil than you think so just keep stuffing until you are satisfied that it is full.
Step 7: Close the opening
Once you have finished stuffing the pillow close the opening using ladder stitch. Fold the seam under by 1/4″ and hand stitch the opening closed. Ladder stitch is also known as invisible stitch. If you are unfamiliar with how to do ladder stitch check out the video below. Once you have closed the opening you are finished with your pumpkin pillow.

I hope you enjoyed this project. If you would like more sewing and crafting projects sign up for our newsletter and receive access to our free Printable Library.
If you would like video tutorials of some of Sew Very Crafty's most Popular projects subscribe to our free YouTube Channel here.