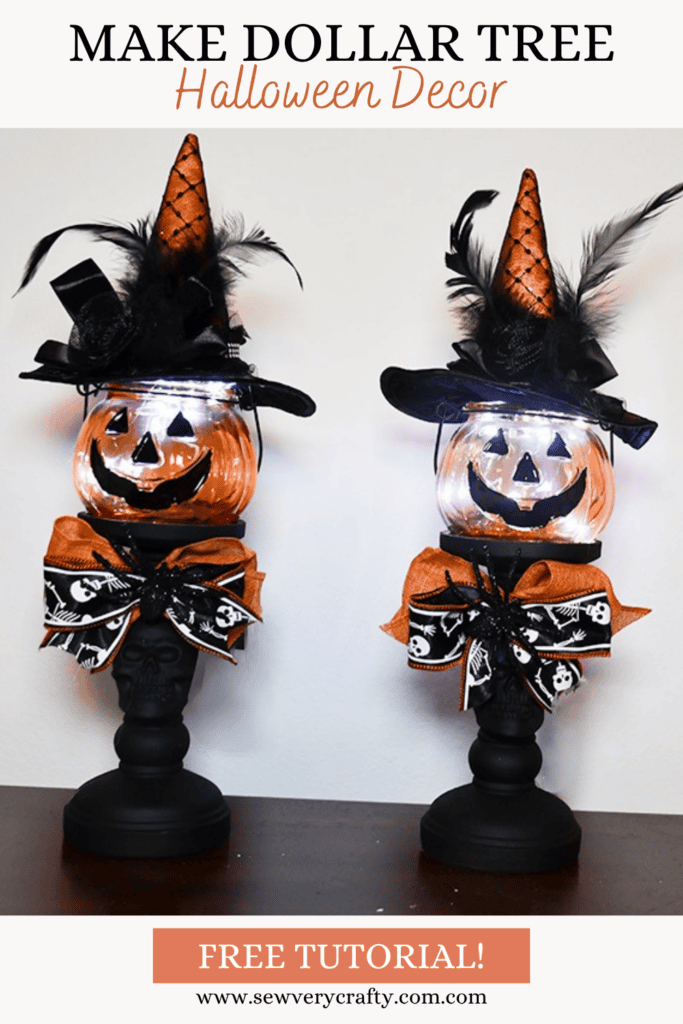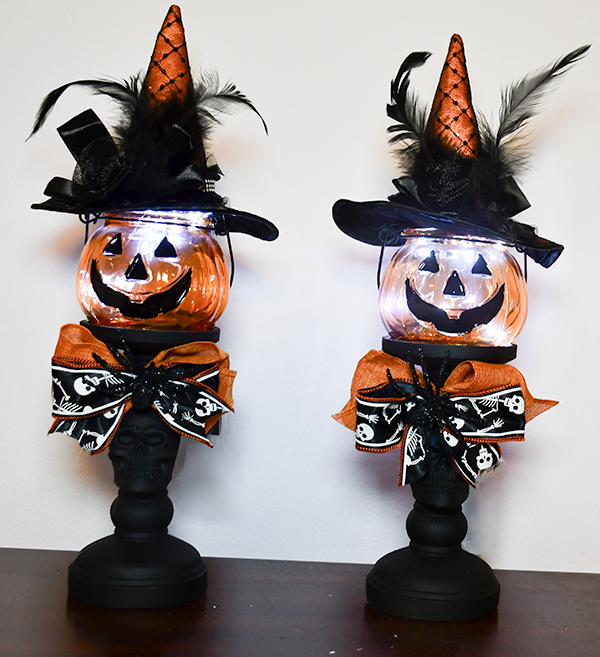
I am steadily going through my Dollar Tree stash. I have so much that I am really trying not to buy anything else. With that said, I pulled together this Dollar Tree Jack-O-Lantern lighter decor. Very easy to make and really demonstrates the Halloween season. Seriously this project came together very quickly and I just love the result. If you would like more holiday sewing and crafting projects head over to my Holiday Project Vault. For more Dollar Tree projects check out my Dollar Tree page.

Note: This post contains affiliate links that if you click on them and make a purchase I will receive a small commission at no extra cost to you. As an Amazon Associate I earn from qualifying purchases.
What you will Need: How to Make Dollar Tree Jack-O-Lantern Decor
- 2 Dollar Tree skull Candle holders
- 2 Dollar Tree Jack-O-Lantern jars
- Halloween ribbon
- 2 Witch hat picks — I got mine at Michael’s but Dollar Tree sells a version of it.
- 2 battery operated mini lights
- Black Matte spray paint
- 2 Dollar Tree spiders
- Hot glue
- e6000
- Scrap of Velcro
Step 1: Spray paint the Candle Holders
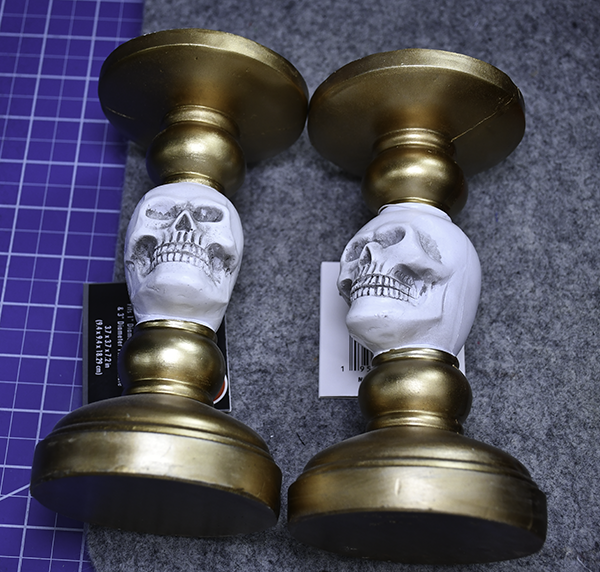
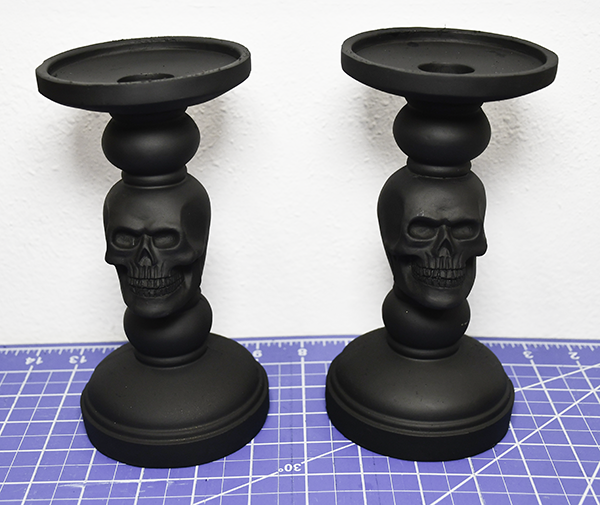
The candle holders I used were gold and white. I really did not care for this so I sprayed painted both of them with matte black spray paint. I used two coats making sure the first coat was dry before spraying the second coat.
Step 2: Add the Jars
Using a combination of e6000 and hot glue attach the Jack-O-Lantern jars to the top of the candle holders.
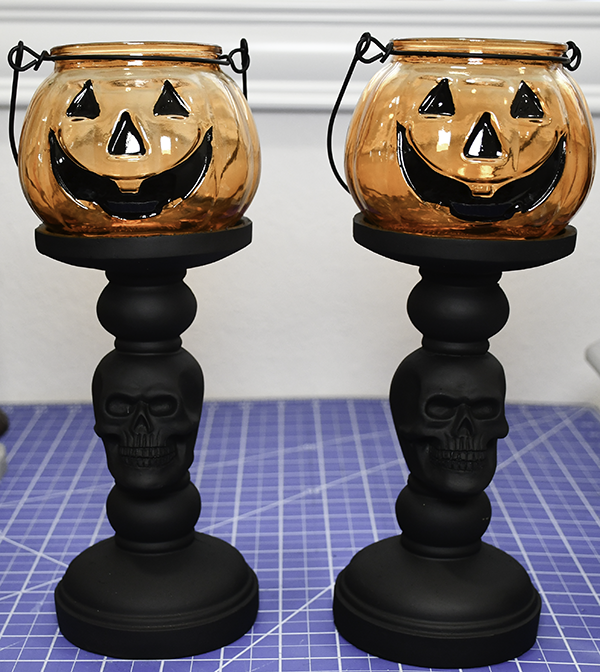
Step 3: Add the Velcro
Cut four small pieces of velcro. Attach the Velcro to each side of both jars using hot glue.
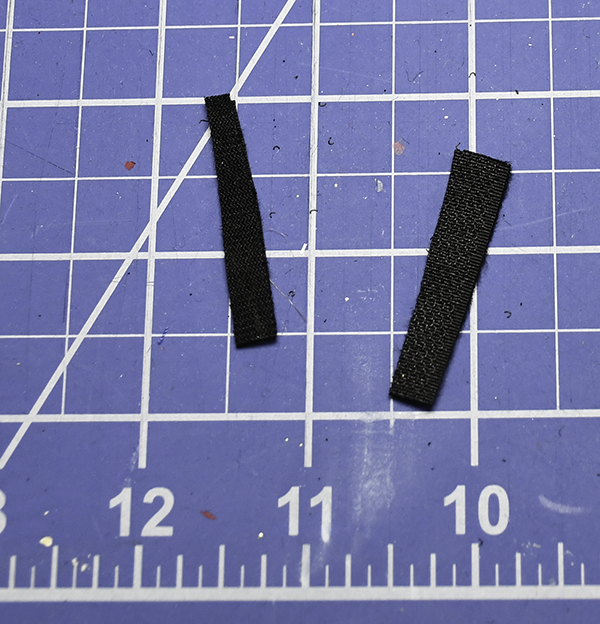
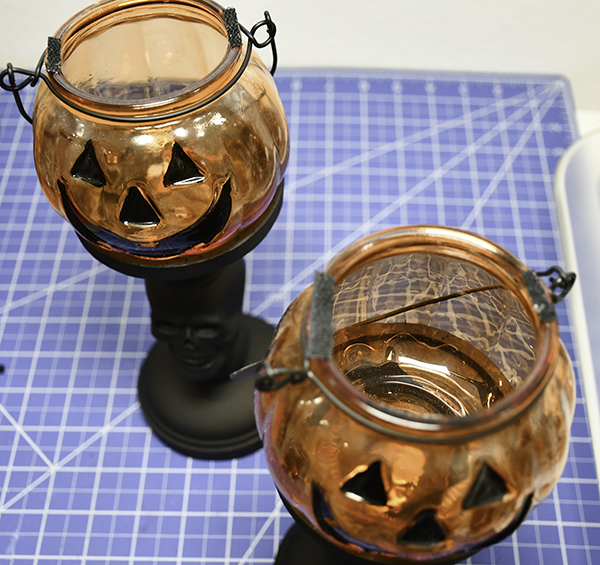
Step 4: Add the Lights
Unscrew the battery pack and insert the batteries. Insert the lights into the jar leaving the battery pack to hang over the edge. You can attach the battery pack to the back of the jar if you like using hot glue.
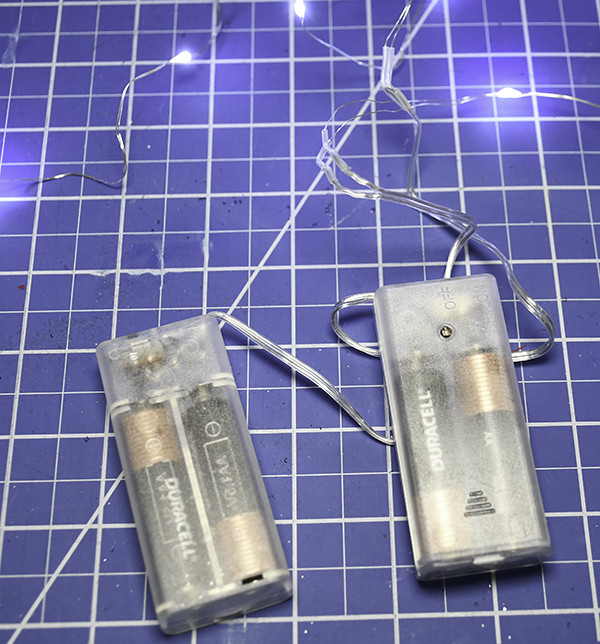
Step 5: Add the hats
Start by removing the stick attached to the hats. Place some hot glue on top of the Velcro. Then place the hats on top. That way the Velcro pieces lineup and the top half of the Velcro will be glued to the hat. I chose to do this in case I need to change out the lights.
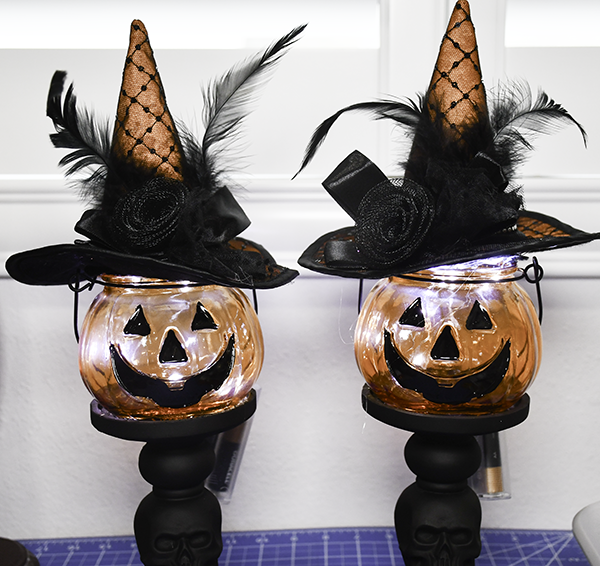
Step 6: Create and Add a Bow
I decided that the candle holders needed something additional so I looked into my ribbon stash and located two ribbons I thought would work and crated a very simple bow. If you have trouble making bows head over to Southern Charm Wreaths and take their bow making class. Add a Dollar Tree spider to the center of each box to finish it off. Once the spiders have been added you are finished.
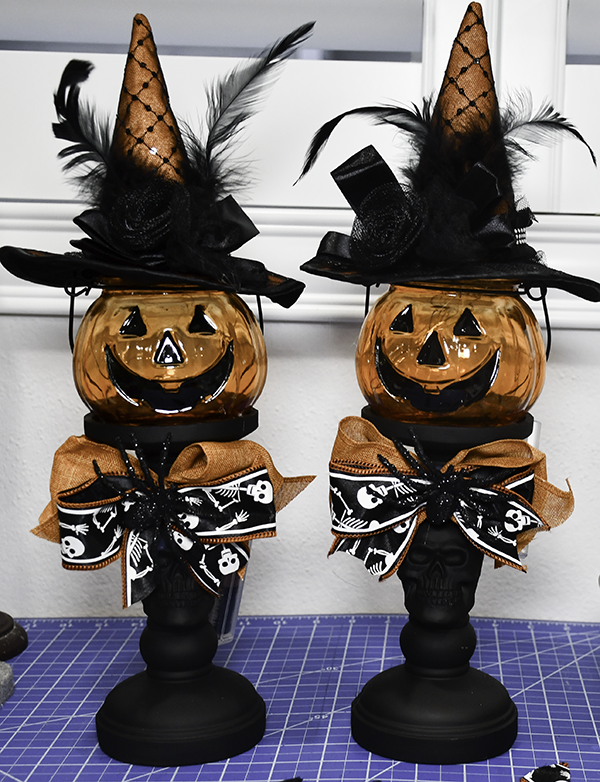
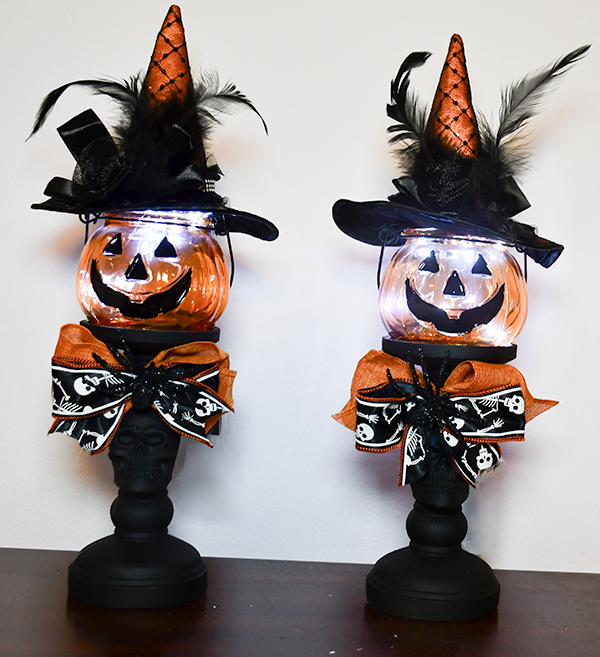
I hope you enjoyed this simple Halloween project. For more sewing and crafting projects subscribe to our free newsletter and receive your free Dollar Tree Holiday eBook for many more.
Join our Sew Very Crafty Fans Facebook group
If you want to ask questions and share your projects join our Facebook group here. The community will help to achieve your sewing and crafting dreams.

Subscribe to our Free YouTube Channel!