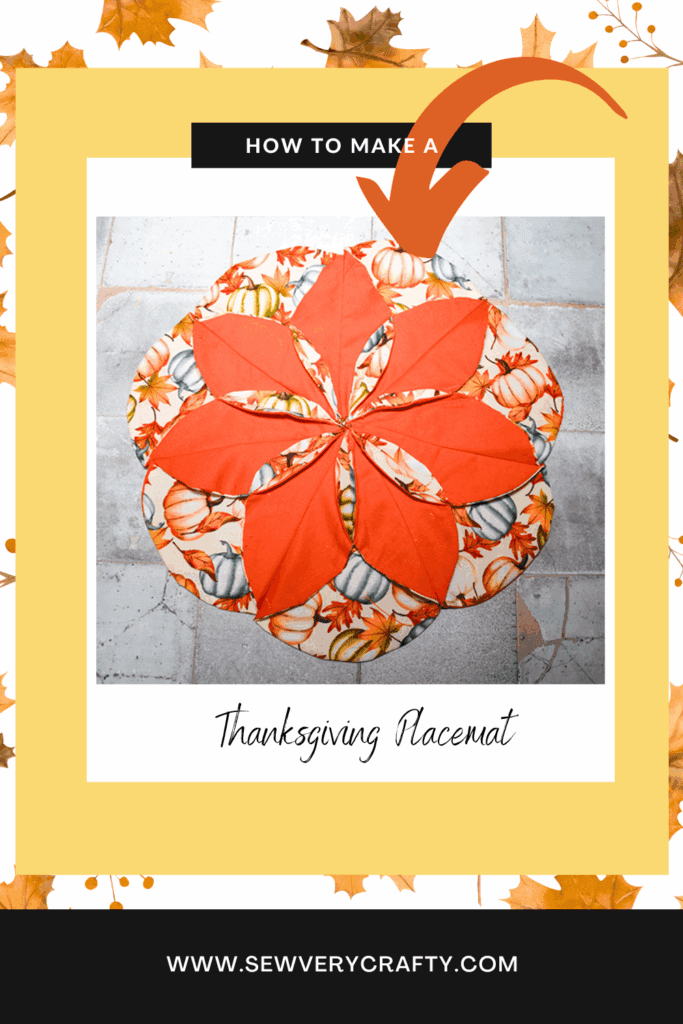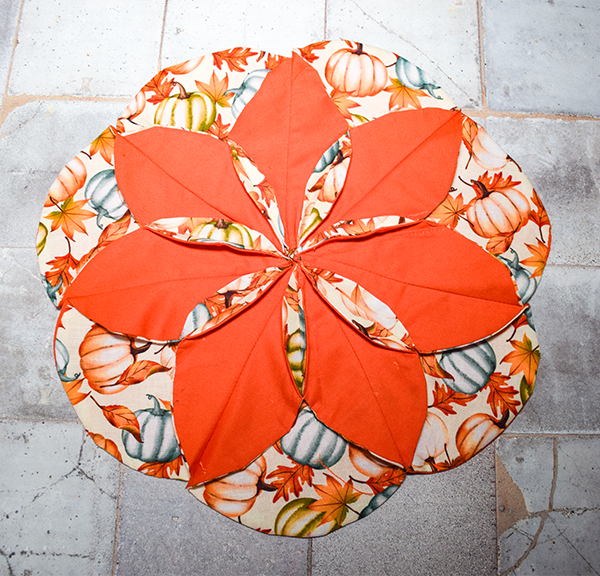
It is Autumn!!!! I really wanted to create some fun placemats for this autumn season so I chose a pretty standard pattern but made it reflect this fall time of year. This is a super simple sewing project that looks much harder than it is. Honestly, this is such great way to add autumn to your homes decor. If you would like more holiday sewing and crafting projects head over to my Holiday Project Vault for many more.
Note: This post contains affiliate links that if you click on them and make a purchase I will receive a small commission at no extra cost to you. As an Amazon Associate I earn from qualifying purchases.
What you will Need: How to sew a fun autumn placemat
- Pattern you can get by clicking on this link
- 1/2 yd solid fabric
- 1/2 yd patterned fabric
- Standard sewing supplies
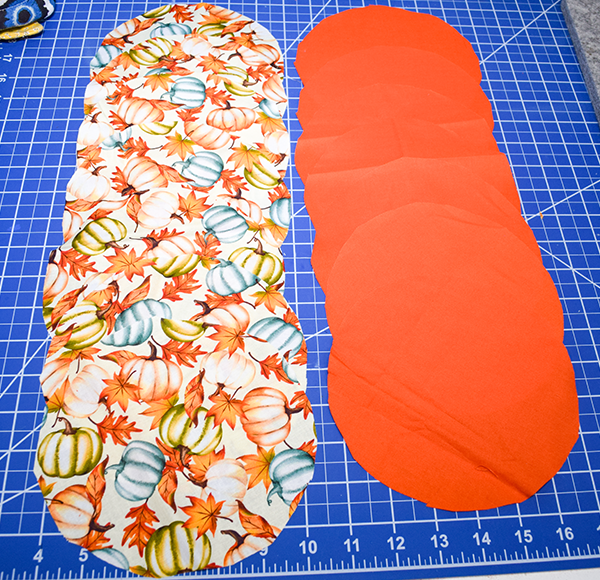
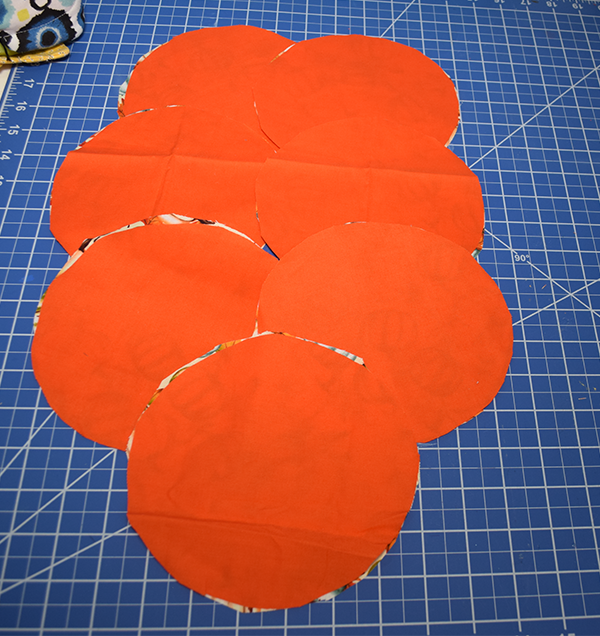
Step 1: Cut out the Fabrics
Using the pattern cut seven solid and seven patterned pieces of fabric.
Step 2: Stitch the Circles
Place one solid and one patented piece right sides together. Stitch all the way around using a 1/4″ seam allowance and leaving an opening for turning. Trim the seam allowance except for the opening. Repeat for all of the circles.
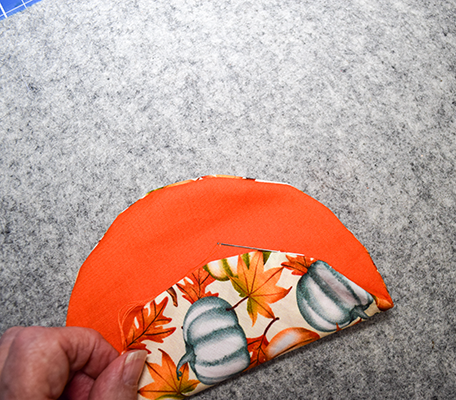
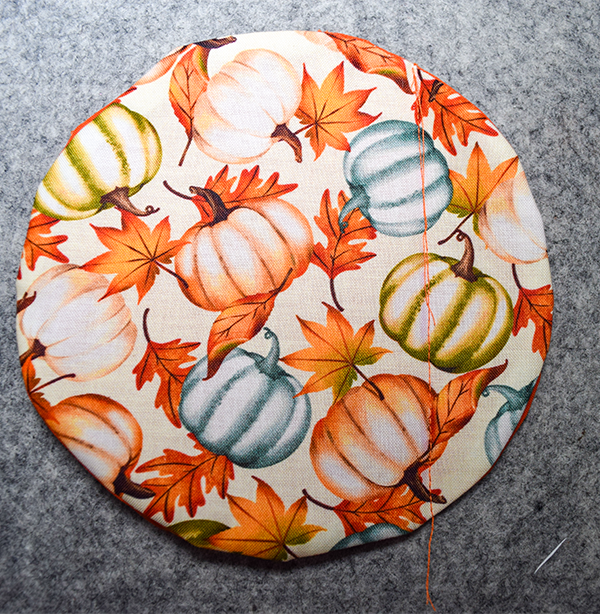
Step 3: Turn right sides out
Turn all of the circles right sides out. Fold under the opening to match the seam and press. Close the opening using ladder stitch. Press thoroughly.
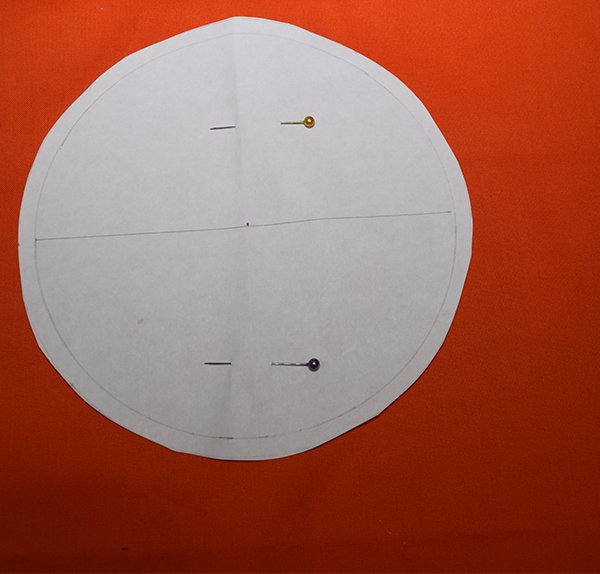
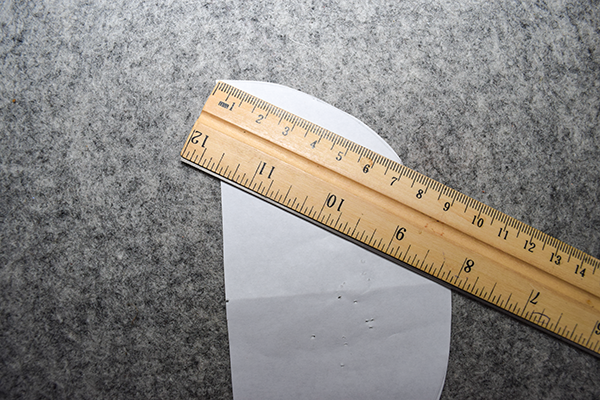
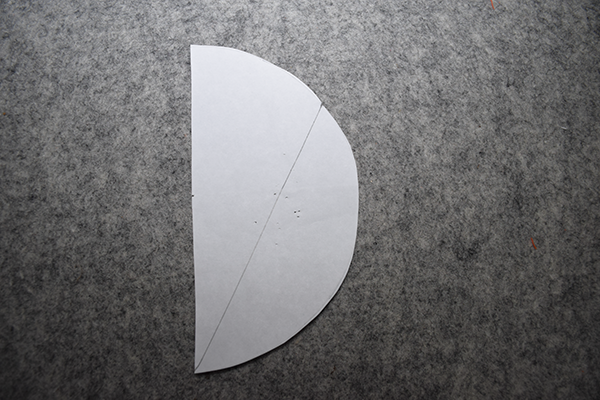
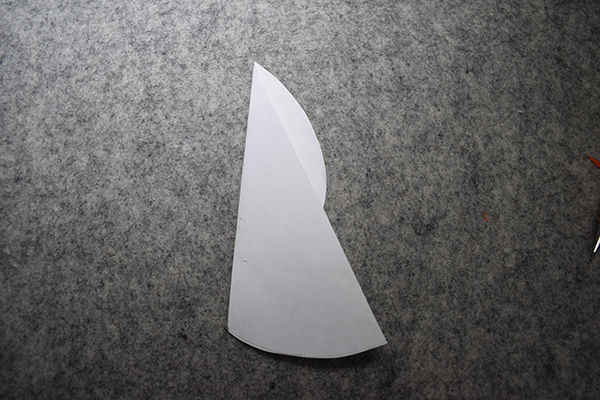
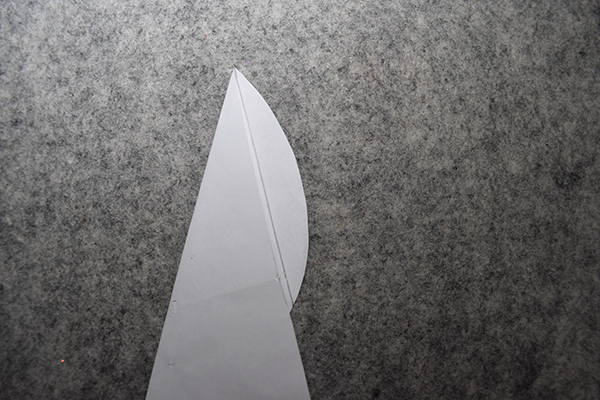
Step 4: Create the Second Pattern Piece
Take the small circle that you previously cut out. Fold it in half and cut. Measure 6.5 cm from the corner down the curved edge and make a mark. Measure from that mark to the opposite corner and draw a line. Fold the pattern on that line. Then, draw a line down the folded part of the pattern. Fold that line in the opposite direction.

Step 5: Draw using the second pattern
Fold the round fabric pieces with the solid side down. Mark the center point. Place the pattern on the fold and draw a line along the long straight edge. Do this for all of the round pieces.

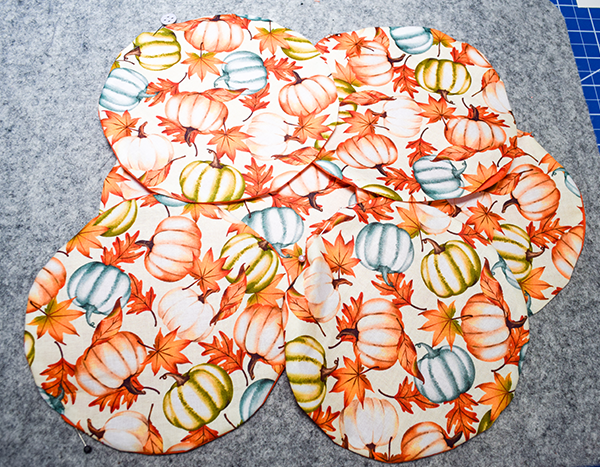
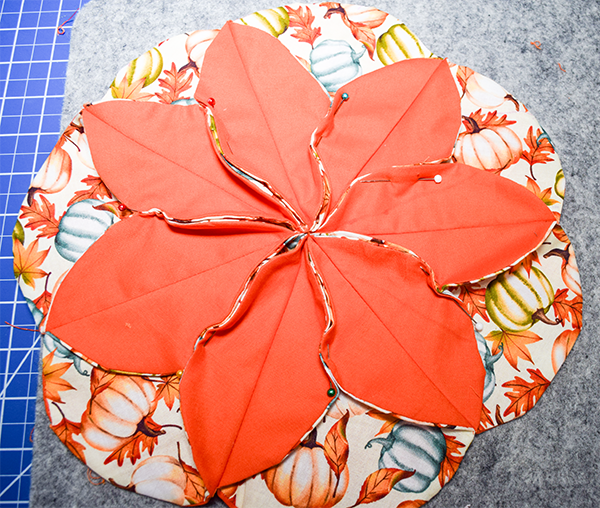
Step 6: Stitch the Circles
Take two circles and place them sold sides together matching the center marks. Stitch the circles together along the line you previously drew. Open the two circles. Place the next circle with solid sides facing together matching the one of the line you just Dre with the intersection of the first two circles you drew and the centers on the other end . Again stitch along the drawn line. Continue this pattern until all circles are stitched together. Stitch the beginning and end circles together in the same way.

Step 7: Press
Open the stitched pieces and press to keep them open.

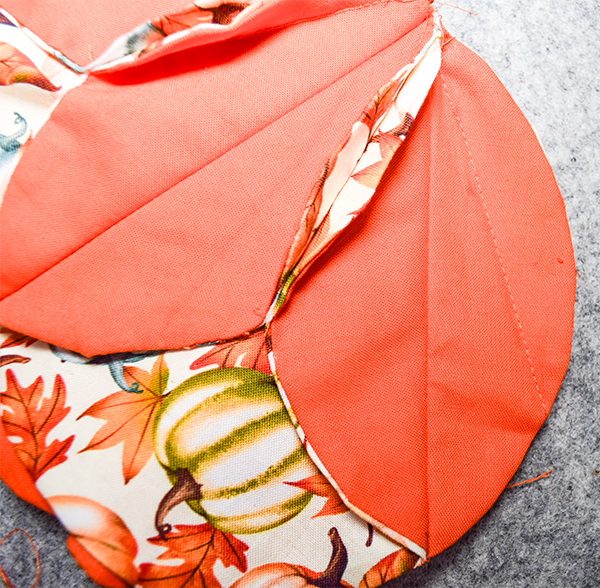
Step 8: Draw the Remaining Lines
Take one open piece and place it patterned sides together and pin. Fold the pinned pieces to the left side and draw a line along the fold. Repeat this process all the way around.
Step 9: Stitch the Lines
Stitch the pieces together along the lines you drew.
Step 10: Press
Press all of the stitched pieces open. Once you have pressed everything open you have finished your fun autumn placemat.

I hope you have enjoyed this simple autumn placemat project. If you would like more sewing and crafting projects subscribe to our free newsletter and receive access to our free printable library.
If you would like video tutorials of some of Sew Very Crafty's most popular posts subscribe to our free YouTube channel here.
Join our Sew Very Crafty Fans Facebook group
If you want to ask questions and share your projects join our Facebook group here. The community will help to achieve your sewing and crafting dreams.