How to Sew a Simple Halloween Face Mask

This is a simple Halloween face mask that you can stitch up for your children for this Halloween. These masks are a super simple sewing project with free sewing pattern. Just a little bit of Halloween fabric and some fusible interfacing is all you need for this project. It is fun little sewing project for beginner sewists and is perfect for the Halloween season. This makes a terrific Halloween party favor for a Halloween party. They can be made quickly and easily for very little cost.
I used Halloween fabric that I had on hand purchased from JOANN Fabric & Craft Stores and Fabric.com but you could head to Hobby Lobby or onlinefabricstore.net to get the perfect Halloween fabric for your masks. In fact remnants make are perfect for this project. This post contains affiliate links that if you click on them and make a purchase I may receive a small commission at no extra cost to you.
If you would like a video tutorial of this project head over to YouTube and check out my video and while you are there subscribe to my free YouTube channel.
What you will Need: How to Sew a Simple Halloween Face Mask
- Pattern you can get by clicking on this link
- 1/4 yd Outer fabric
- 1/4 yd Fusible interfacing like Pellon SF101
- Scraps of 1″ Velcro
- Standard Sewing Supplies
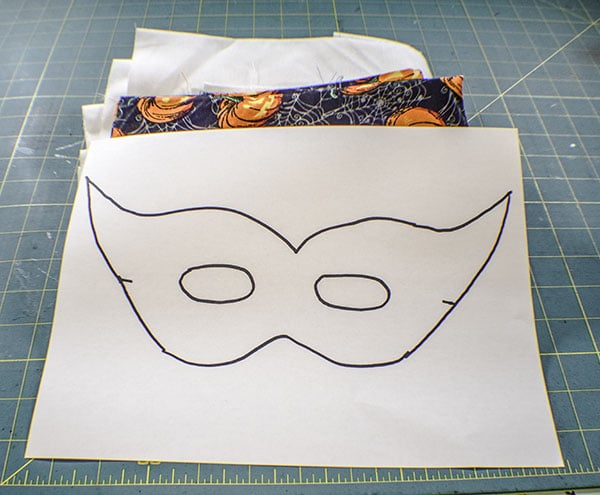
Step 1: Cut your Fabrics
Using the pattern piece cut two outer pieces and two interfacing pieces. Cut two 2 1/2″ x 8 1/2″ rectangles
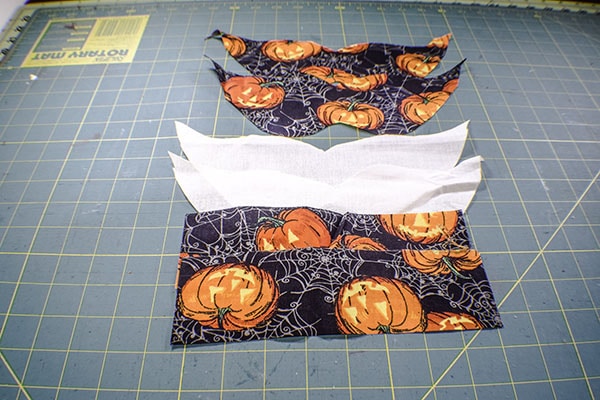
Step 2: Fuse the Fleece
Fuse the interfacing to the wrong side of the fabric pieces following the manufacturers instructions.
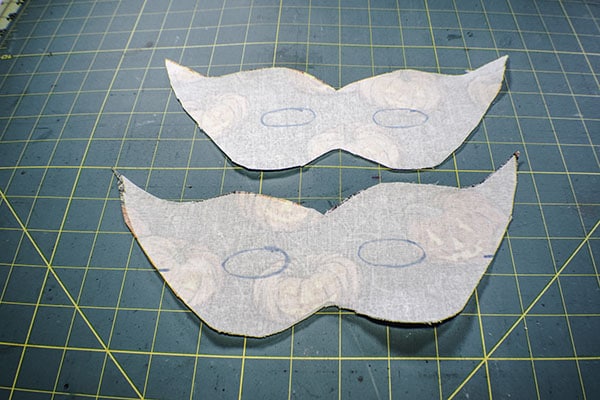
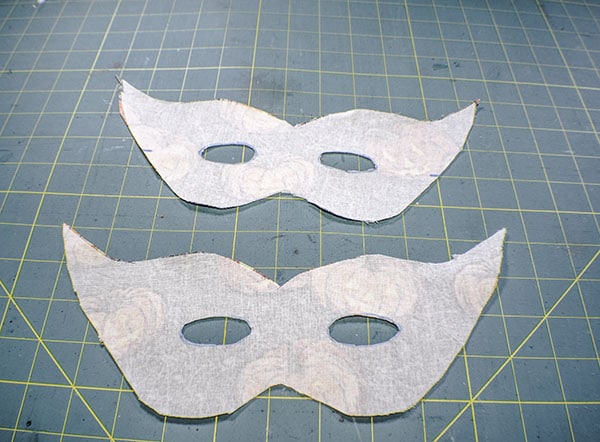
Step 3: Cut out the holes
Transfer the markings on the mask to the wrong side of the fabric and cut out the holes.
Step 4: Fold back the eye holes
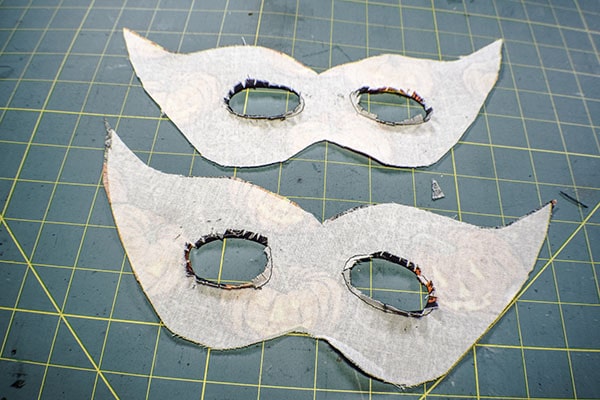
Baste 1/4″ around each eye hole. Clip the eye holes up to the stitching ling and fold the fabric to the wrong side and press.
Step 5: Create the straps
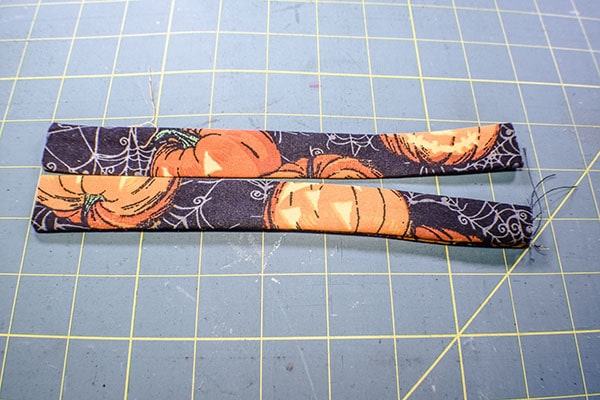
Take the two rectangles and fold them in half lengthwise. Stitch along one short end and one long edge using a 1/4″ seam allowance. Turn the strips right sides out and press.
Step 6: Add the straps
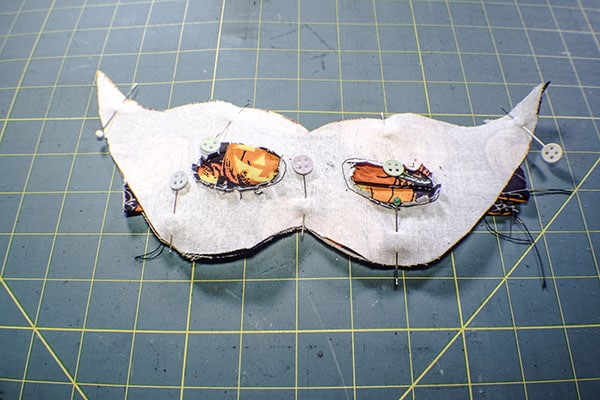
Place a strap on each side of the mask at the mark you made so that they are right sides together with the mask. Stitch using a 1/8″ seam allowance.
Step 7: Finish the Halloween Face mask
Place the other mask piece right sides together with the first making sure that the straps are on the inside. Stitch all the way around the mask using a 1/4″ seam allowance. Turn right sides out through the eye holes. Press. Top stitch all around the mask and around the eye holes. Cut the velcro in 1 1/2″ pieces and stitch on either side of the straps. You have now finished your simple Halloween face mask.

I hope you enjoyed this project. If you would like more sewing and crafting projects sign up for our newsletter and receive access to our free printables library.
If you would like video tutorials of some of Sew Very Crafty's most popular posts subscribe to our free YouTube Channel here.


