How to Make a Dollar Tree Autumn Wreath

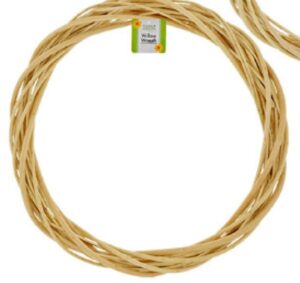
I must admit that I love Dollar Tree. They have a craft section that has a variety of things that you can turn into great crafts for your home. Just Google Dollar Tree crafts and you will find hundreds of different ideas. I was at Dollar Tree today and picked up a few things to make an autumn wreath. I spent all of $5 for everything that I used for this project. If you don't have a Dollar Tree nearby you can even order online. All you need is some silk flowers and leaves in autumn colors along with a 12″ willow wreath to create a spectacular autumn wreath for your front door for this upcoming Fall season.
This is a super simple wreath project that only requires a few Dollar Tree craft supplies and a hot glue gun. You can also get these craft supplies at either Michael's, JOANN Fabric & Craft Stores, or Hobby Lobby in store or online. This post contains affiliate links that if you click on them and make a purchase I may receive a small commission at no extra cost to you. I am an affiliate of Dollar Tree.
What you will need: How to make a Dollar Tree autumn wreath
- 12″ willow wreath
- Various autumn silk flowers and leaves
- Wood Stain (Optional)
- Spray Polyurethane (Optional)
- Artist Paint Brush
- Hot Glue
- Mini Stuffed Scarecrow
- Needle and upholstery thread
Step 2: Stain the Wreath (Optional)
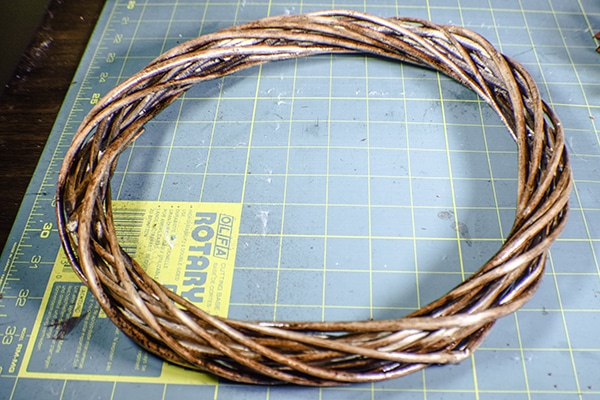
This step is optional. I decided that I did not like the white willow for my wreath. I had some stain left over from a previous project so I decided to stain my wreath to make it a darker brown. This was a simple process. I simply painted on the stain and let it dry. There was no reason to wipe it off. Once it was stained I sprayed it with some Polyurethane that I also had on hand. As an alternative, Dollar Tree also has a dark colored willow wreath but I did not find it substantial enough but it is serviceable for this project if you like the dark look and don't want to stain.
Step 3: Add the flowers
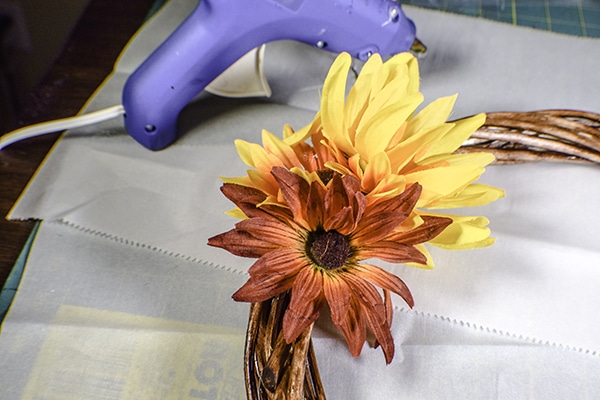
The flowers, leaves and berries can be removed from the stems by simply pulling them off. I selected a variety of flowers and leaves for my wreath and removed all of the flowers from the stems except for the reeds that I chose. I kept the reeds with the stems so that I could mold them around the top and bottom of my wreath.
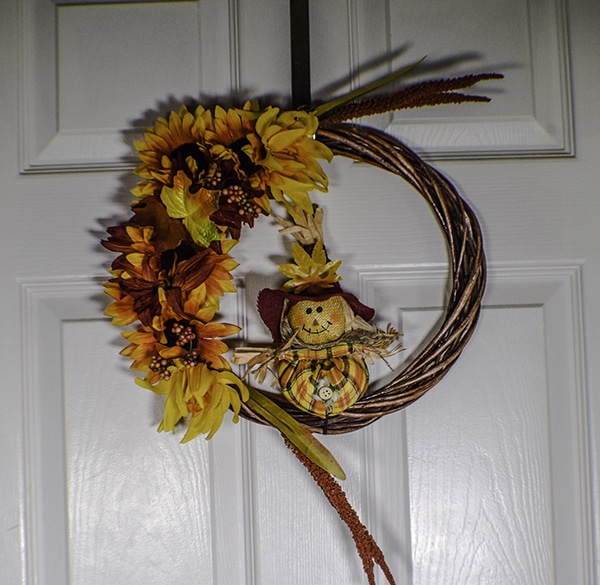
Once I selected the flowers I dry fitted them to the wreath until I found the way that I wanted them. Once that was done I simply hot glued the flowers to the wreath. Hot glue as many flowers as you want. You will know what is pleasing to your eye. I used 10 flowers, three pairs of leaves and berries and two sets of thin dried flowers.
I alternated the two main flowers then interspersed the leaves and berries. The last thing I added was the thin dried flowers. I kept the stems on those and just weaved them through the wreath.
Step 4: Sew on the Scarecrow
Sew the scarecrow to the center of the bottom of the wreath. I used a needle and thread and some strong upholstery thread to do this. I threaded the needle through the bottom of the scarecrow and wrapped the brown thread around the bottom of the wreath and back through the scarecrow until it was secure. The scarecrow does not weigh very much so it only took a few passes for it to stand up on the bottom of the wreath. Once you have added the scarecrow you have finished your Dollar Tree Autumn Wreath.
I hope you enjoyed this project. If you would like more sewing and crafting projects sign up for our newsletter and receive access to our free printables library.
If you would like more Holiday projects check out our Holiday Project Vault.


