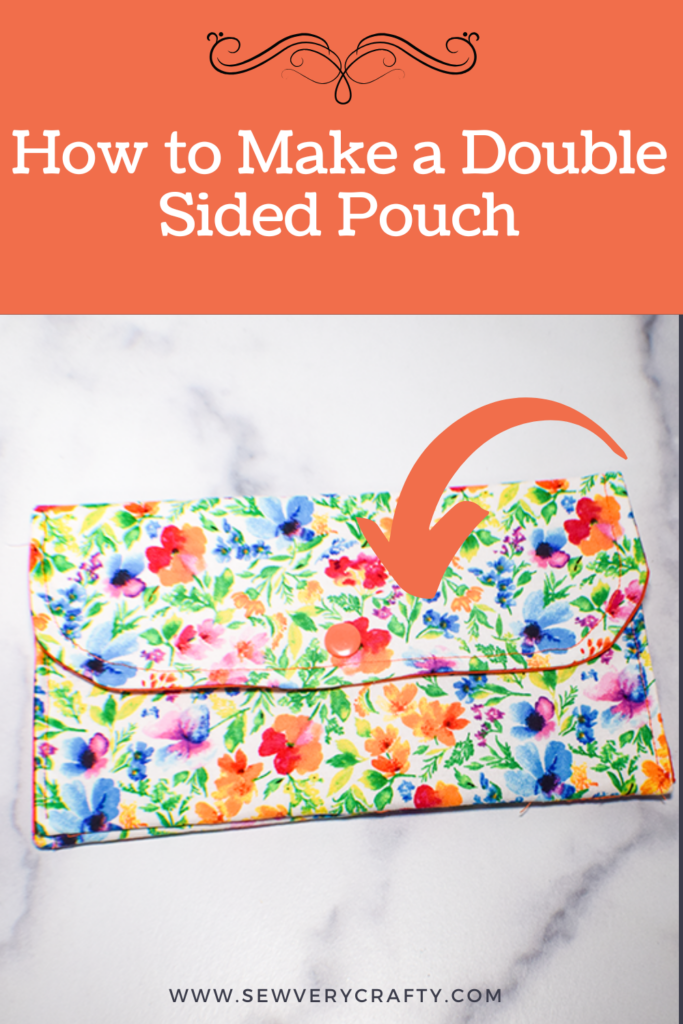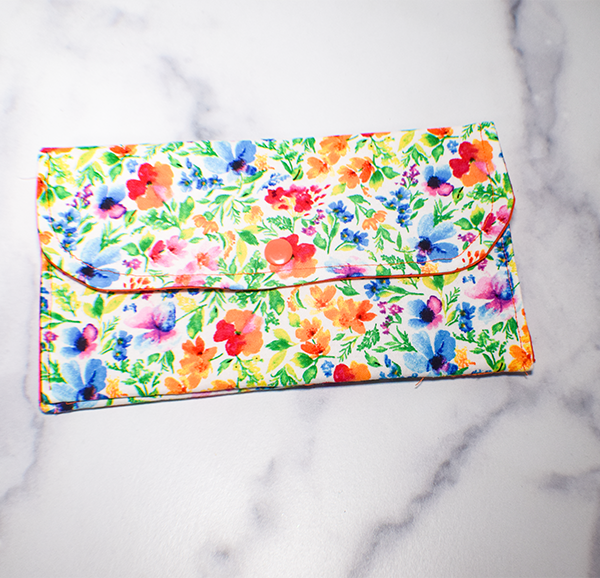
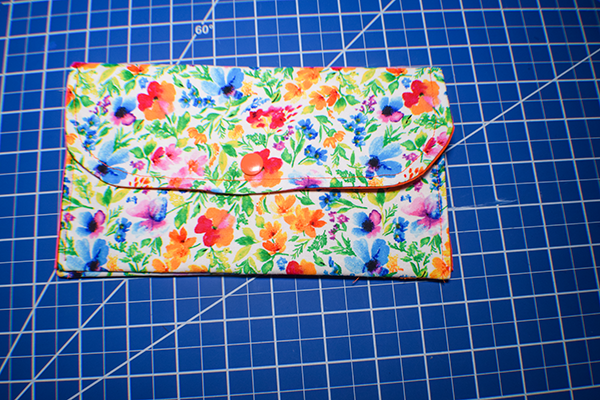
This is truly a beginner sewing project. Anyone can create this fun double sided pouch using basic sewing skills. I use these pouches to store receipts and other things to get them out of the way. The best part is that you can make them from any cotton fabric to suit your own taste. It really only takes about 15 minutes to make this quick and easy project. If you would like more pouch and handbag projects head over to my handbag page for more.
Note: This post contains affiliate links that if you click on them and make a purchase I will receive a small commission at no extra cost to you. As an Amazon Associate I earn from qualifying purchases.
This is a great project for kids!!
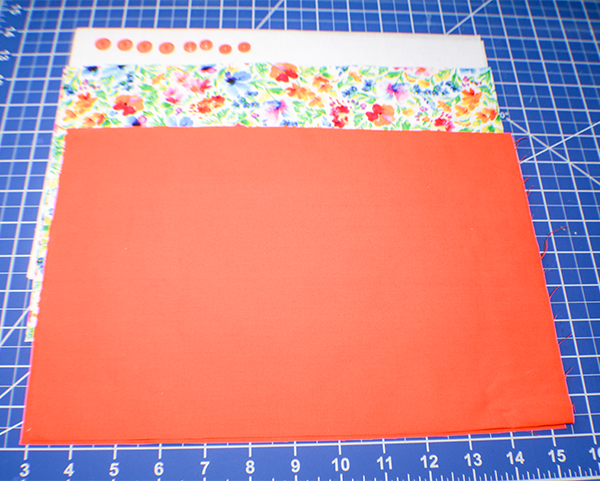
Step 1: Cut the Fabrics
You will need to cut two outer, lining and interfacing pieces that measure 8 5/8″ x 12 1/2.
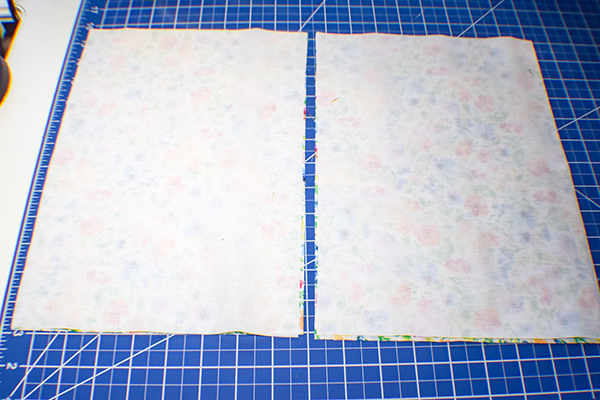
Step 2: Fuse the Interfacing
Using a hot iron and following the manufacturing instructions fuse the interfacing to the outside pieces of fabric.
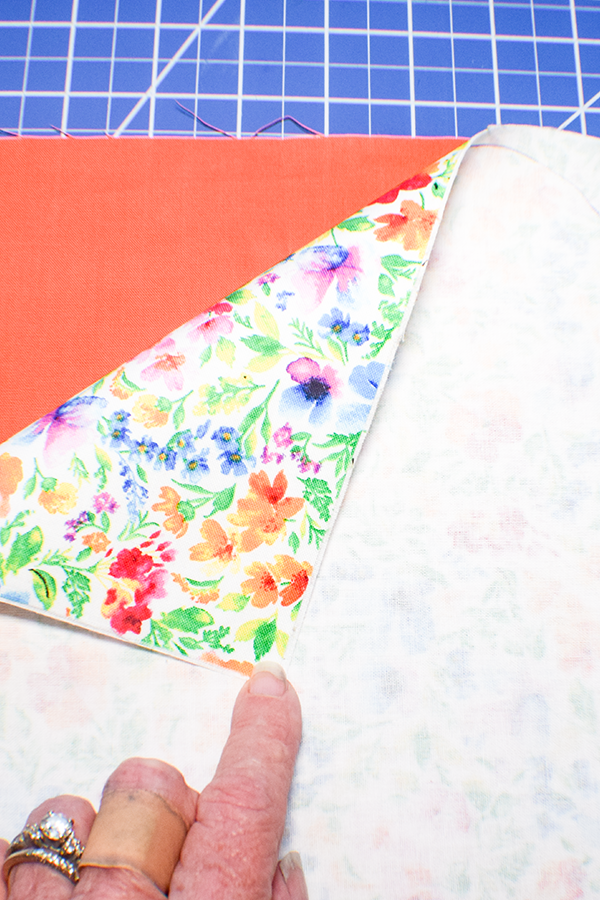
Step 3: Round Two Corners
Using a rounding ruler or other round object draw a curve on the corners at one end of both outer pieces leaving a 1/4″ seam allowance.

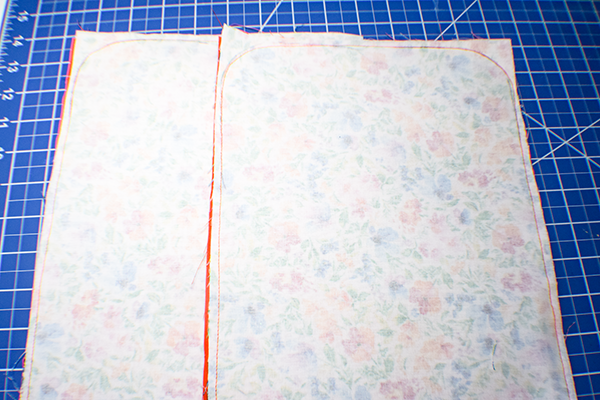
Step 4: Stitch the Pieces
Place an outer and lining piece right sides together. Stitch all the way around using a 1/4″ seam allowance but leaving an opening on the bottom for turning. Make sure to stitch where you drew the curve. Repeat for the other pair of fabrics. Trim the seam allowance.
Step 5: Turn Right Sides Out
Turn the pieces right sides out through the opening you left and press thoroughly and turning under the fabric at the opening.
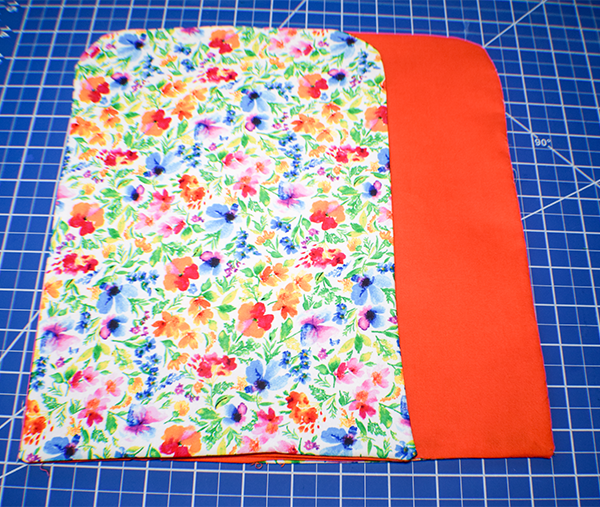
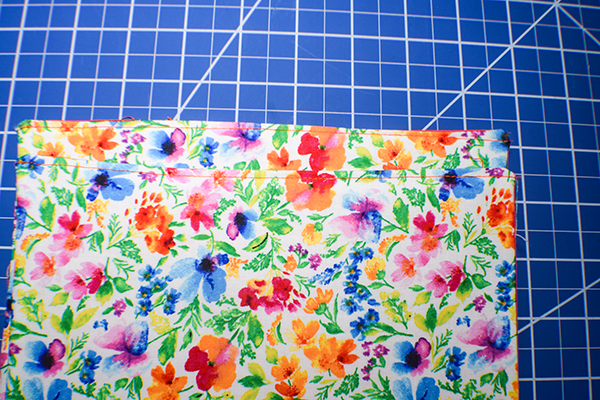
Step 6: Topstitch
Topstitch the bottoms of the pieces making sure to enclose the opening.
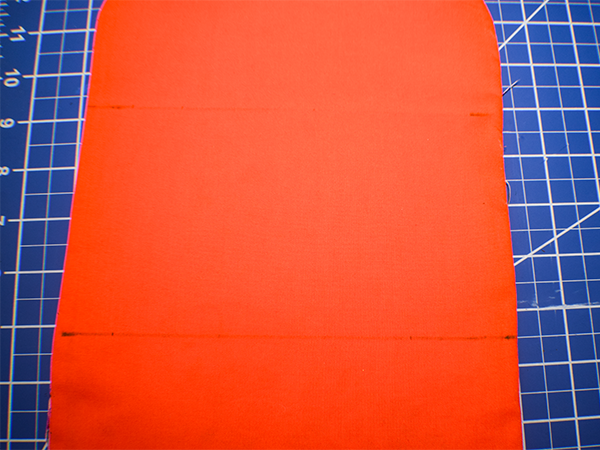
Step 7: Mark the Pieces
Place the two pieces with the outer pieces right sides together. Using an erasable pen or tailor's chalk measure up 4 3/8″ from the bottom and make a mark. Draw a line widthwise across the piece. Measure up another 4 3/8″ and draw another line. Measure 1/2″ from the sides and draw a lengthwise line joining the widthwise lines together.
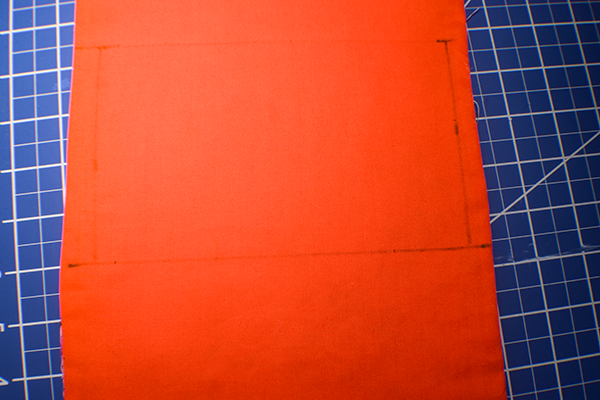
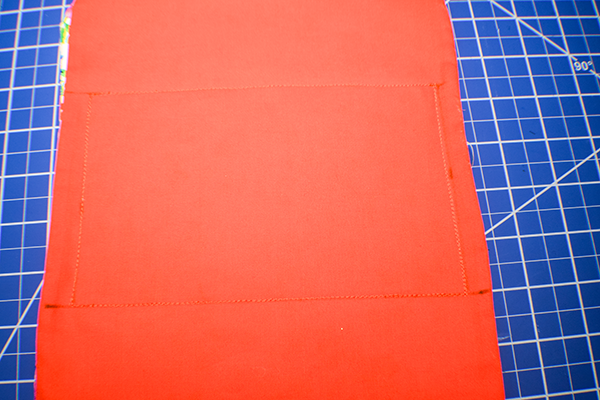
Step 8: Stitch the Lines
Stitch on top of the lines creating a rectangle.
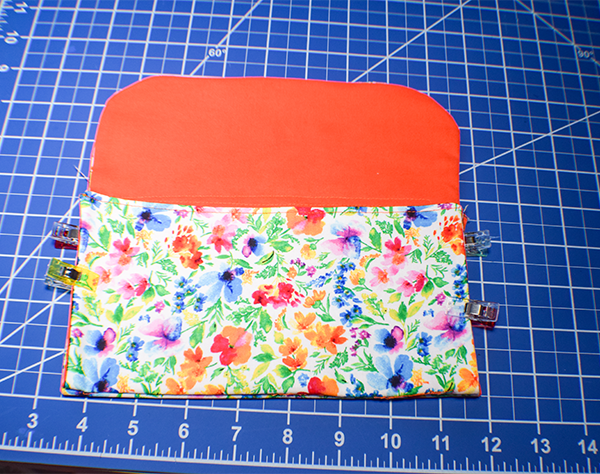
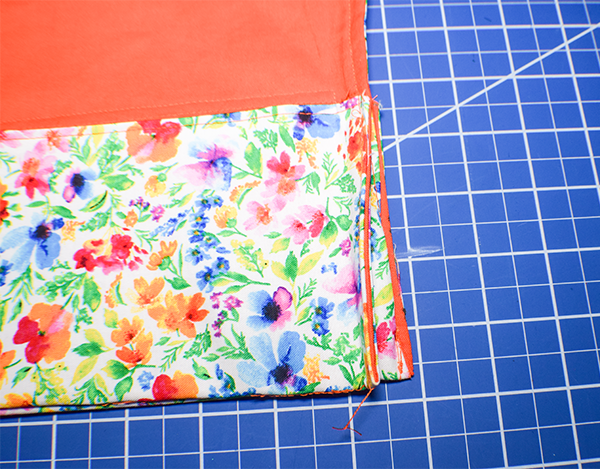
Step 9: Stitch the Rest of the Pouch
Fold the bottom of one side of the pouch up so that the other fabric is showing. Clip using wonder clips. Repeat for the other side. Stitch the first side along the sides and top making sure to fold under the bottom side. Use a 1/4″ seam allowance. Repeat for the other side.
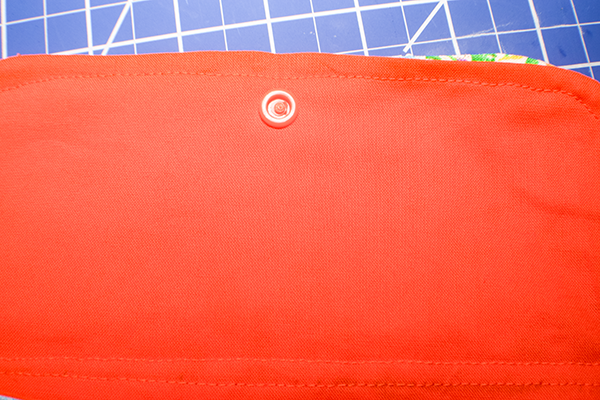
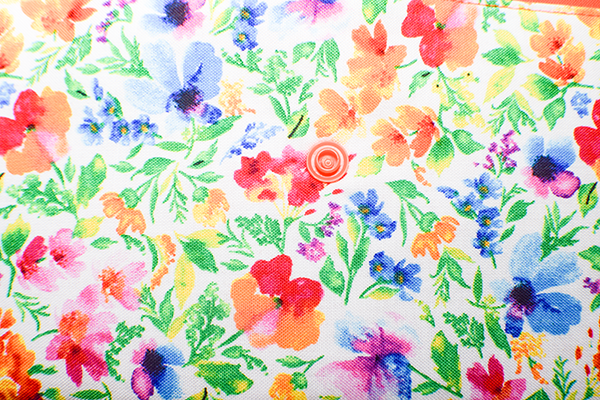
Step 10: Add the Kam Snaps
Fold the rounded top in half to find the center. Mark. Insert one side of the Kam Snap about 1/2″ down from the curved edge. Repeat for the other curved edge. Fold the curved edge down and mark the body of the pouch for the other half of the Kam Snap. Insert the other halves to both sides. Close each side and snap. You have now finished your doubled sided pouch.
I hope you enjoyed this simple sewing project. If you would like more sewing and crafting projects subscribe to our free newsletter and receive your free eBook of 15 handbag patterns and tutorials taken from the blog.
https://click.convertkit-mail4.com/mvu2695n6xhmix4ppcmhrzxmqqqa3/qvh8h7hrko2o7eul/aHR0cHM6Ly9hcHAua2l0LmNvbS9sYW5kaW5nX3BhZ2VzLzJkZGYzZTMxLWQ2M2QtNDllMi05NTU3LTVhZWQ5OWNiMDZlZi9yZWRlZW0=If you would like video tutorials of some of Sew Very Crafty's most popular posts subscribe to our free YouTube channel here.
Join our Sew Very Crafty Fans Facebook group
If you want to ask questions and share your projects join our Facebook group here. The community will help to achieve your sewing and crafting dreams.