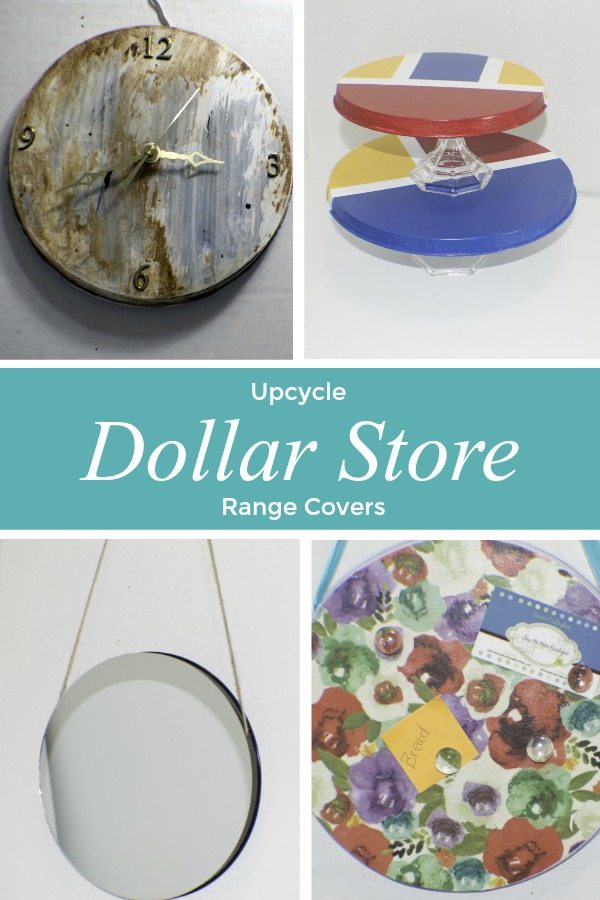
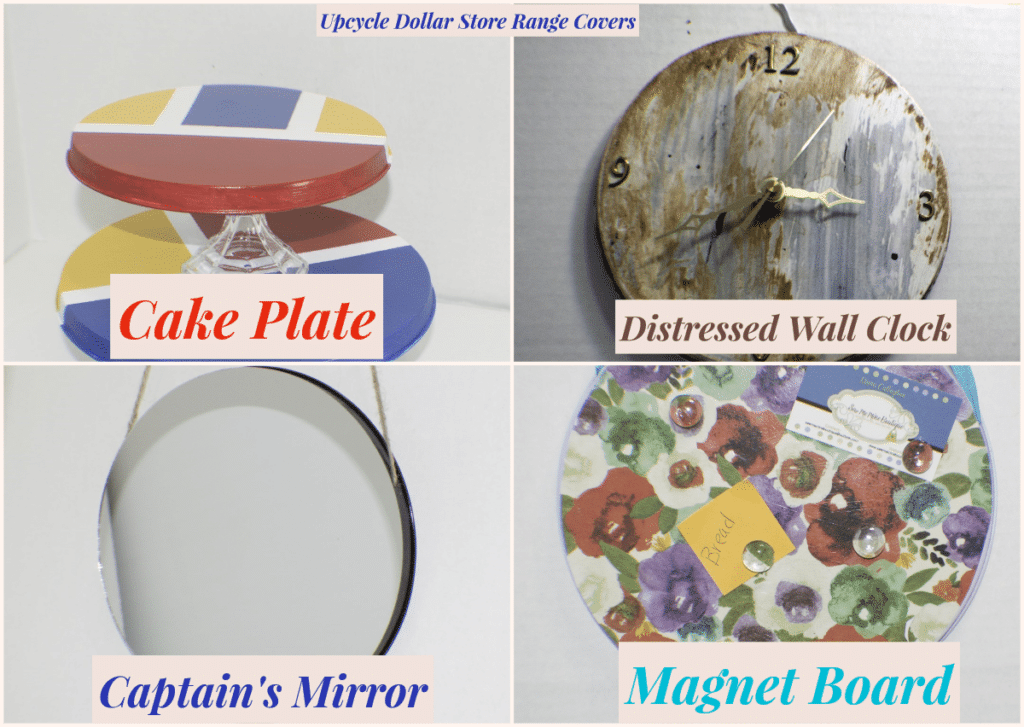
Upcycle Dollar Store Range Covers
I love upcycling. Making something useful out of something inexpensive or unused. During one of my forays into the dollar store I came across some round range burner covers, two for a dollar that I thought were perfect for upcycling. Using some other dollar store items and a few craft store purchases it was easy to create these usable items for very little money. With a little creativity and a few dollars you can also upcycle dollar store range covers.
Range Cover Cake Plate
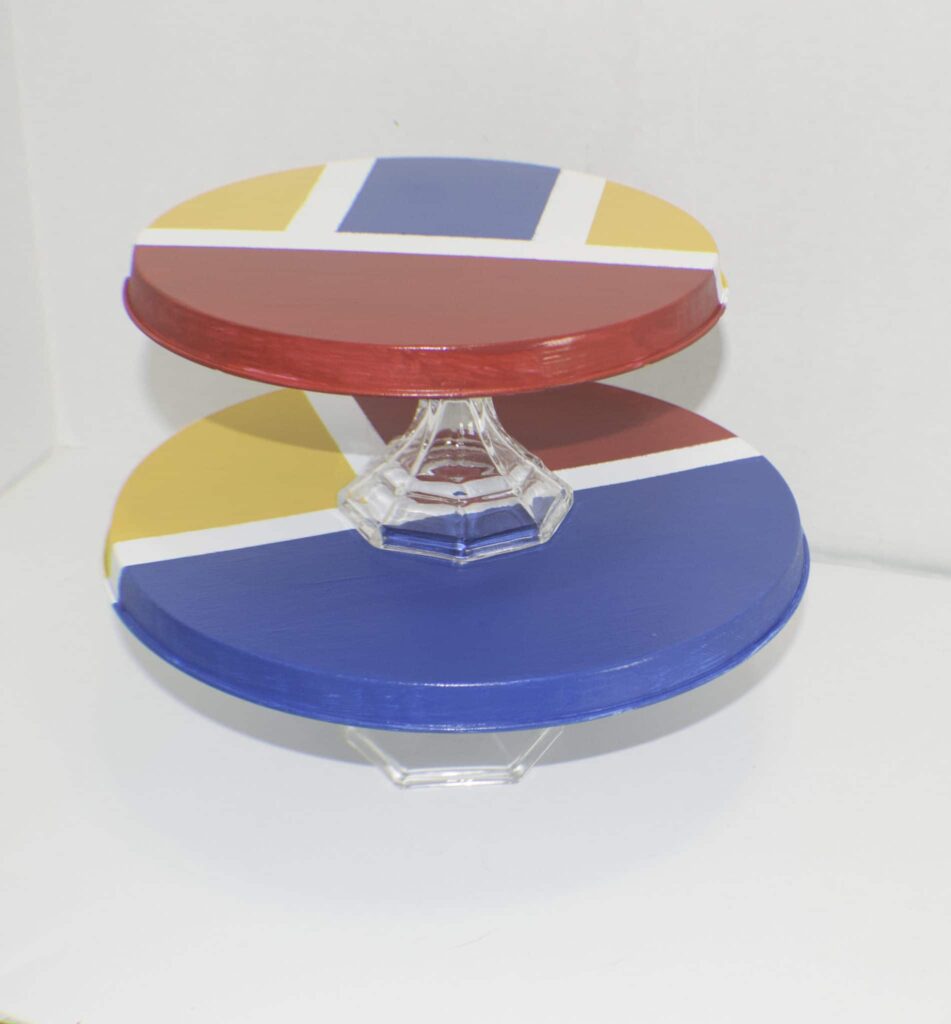
What you will Need: Upcycle Store Range Covers/Cake Plate
- 1 Package of two dollar store range covers
- 2 Dollar store candle holders
- White Spray Paint
- Glue like E6000
Step 1: Upcycle Store Range Covers/Cake Plate
Spray both the 10″ and 8″ range covers with white spray paint. Use several light coats to get an even finish. Let dry completely. I used four coats to cover my range covers.
Step 2: Upcycle Store Range Covers/Cake Plate
Either paint or decoupage the covers in the pattern of your choice. I chose to paint my cake stand in a modern style using painters tape to separate out the colors and to leave nice crisp lines.
Step 2: Upcycle Store Range Covers/Cake Plate
Once you have completed step 2 find the center of the covers and lightly mark. Glue the underside of the 10″ cover to one of the candle holders making sure that it is centered. Glue the second candle holder to the center of the top of the 10″ cover and let cure. Finally, glue the 8″ cover to the second candle holder so that you have two tiers to your cake plate.
Step 2: Upcycle Store Range Covers/Cake Plate
Once the glue has cured, fill your plate with cupcakes or other delectable items. You have a terrific cake plate designed to your own specifications for less than $5.
Range Cover Clock
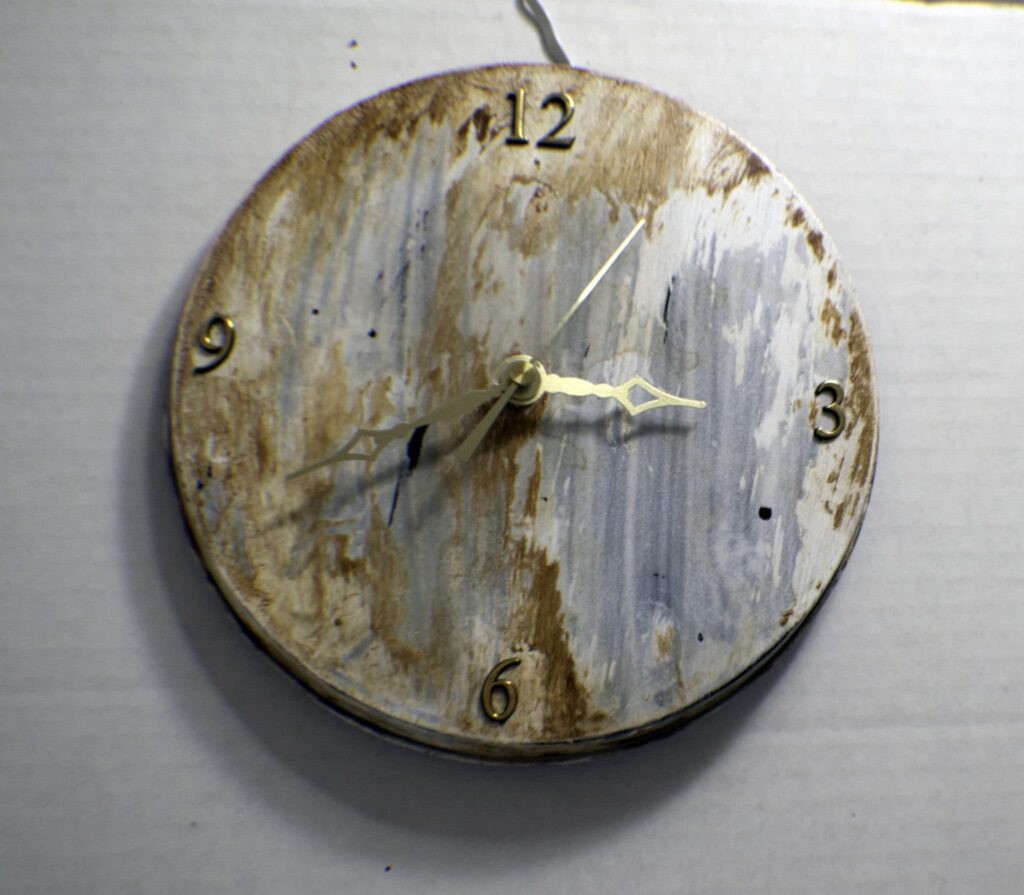
What you will Need: Upcycle Store Range Covers/Clock
- One range cover
- 3 Piece clock kit
- Bronze colored spray paint
- White acrylic paint – or whatever color you chose
- Glue
- Water
Step 1: Upcycle Store Range Covers/Clock
Spray paint the cover with the bronze spray paint and set aside until completely dry. I needed multiple coats to cover the Rooster image on the range cover. It is best to use several light coats rather than one heavy one to ensure even coverage. I used three coats to cover my clock.
Step 2: Upcycle Store Range Covers/Clock
Paint the cover with white acrylic paint and let dry until tacky.
Step 3: Upcycle Store Range Covers/Clock
Once the white paint is tacky run some water over the cover so that some of the paint comes off and the cover appears distressed. I used white but you could use any color you like.
Step 4: Upcycle Store Range Covers/Clock
Once the paint has completely dried, coat it with some antiquing medium to add age. I added quite a lot of medium and again washed it off a bit with water to create the look I wanted. Once the piece is completely dry, spray it with a clear coat of matte spray lacquer or polyurethane to seal the distressed paint. Let it dry.
Step 5: Upcycle Store Range Covers/Clock
Insert a hole into the center of the range cover using either an awl or a drill and insert the clock mechanism following the instructions on the package.
Step 6: Upcycle Store Range Covers/Clock
Glue the numbers to the clock. You can choose to add all of the numbers or just four as I did. Now you have a shabby chic distressed clock for only a few dollars that you can hang on the wall or place on a stand.
Range Cover Captain's Mirror

What you will Need: Upcycle Store Range Covers/Captain's Mirror
- 10″ Range Cover
- 10″ Craft Store Beveled Mirror
- Bronze colored Spray Paint
- Wood pieces
- Twine
- Glue like E6000
- Drill or Awl
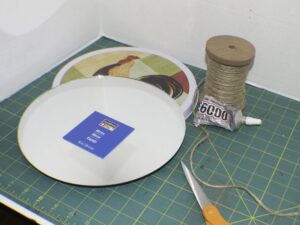
Step 1: Upcycle Store Range Covers/Captain's Mirror
Paint the range cover using the bronze spray paint. I used Krylon paint and primer combined on my project.
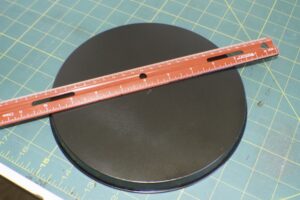
Step 2: Upcycle Store Range Covers/Captain's Mirror
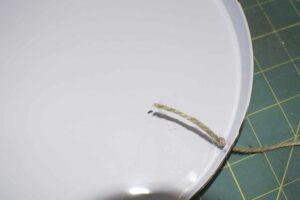
Using either a drill or an awl insert holes into either side of the cover. I used an awl to accomplish this task. The metal of the range cover is thin so it was easy to punch a hole into the sides.
Step 3: Upcycle Store Range Covers/Captain's Mirror
Glue the 10″ mirror to the 10″ range cover using your glue of choice. I used E6000. I glued mine directly to the top of the range cover making sure that it was even on all sides.
Step 4: Upcycle Store Range Covers/Captain's Mirror
Insert the twine into the holes and tie a knot so that the twine can be used to hang the mirror
Step 5: Upcycle Store Range Covers/Captain's Mirror
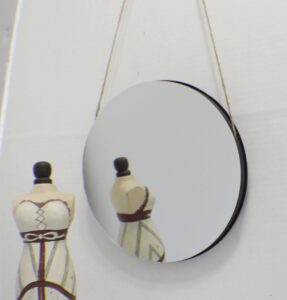
Glue the mirror to the wooden pieces. You have now completed the perfect captain's mirror with the range cover and a few craft supplies. This idea came from http://www.littlehouseoffour.com/2017/02/how-to-make-captain-mirror-from-1.html
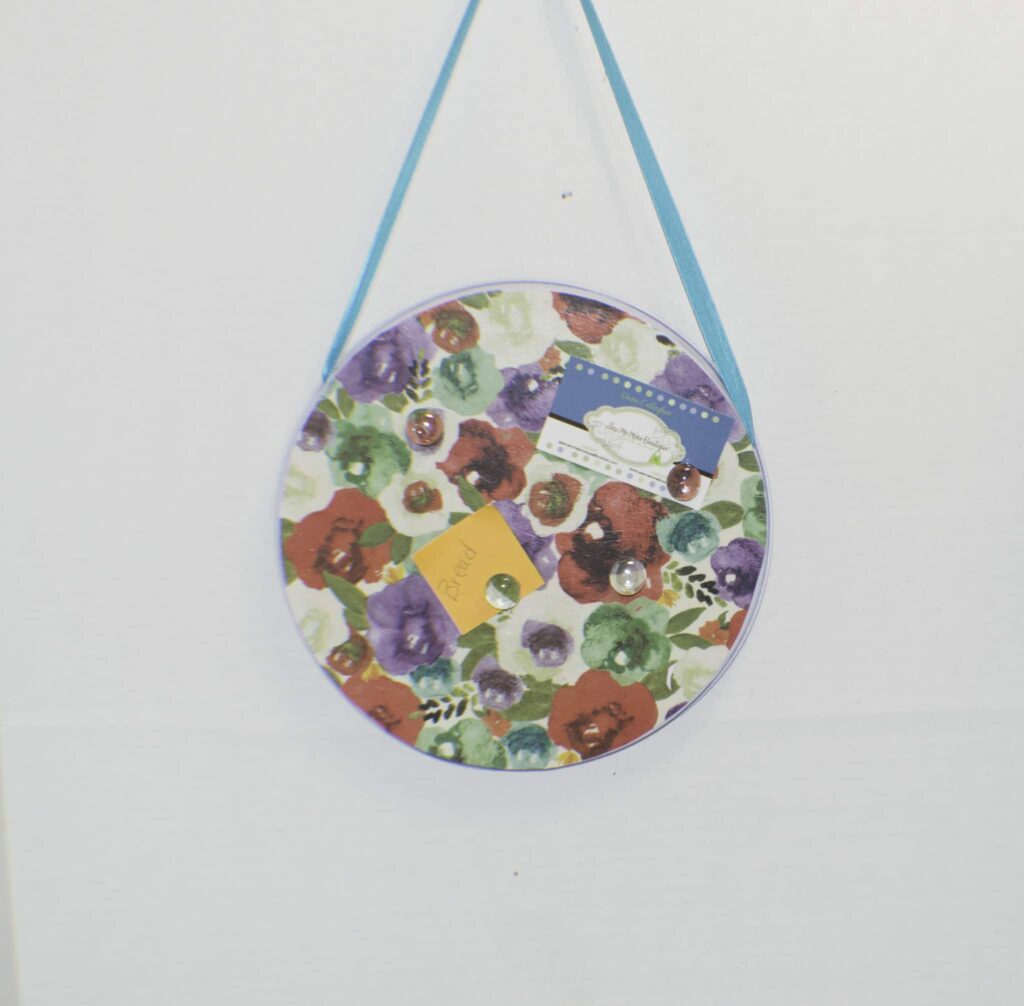
Range Cover Magnet Board
What you will Need: Upcycle Store Range Covers/Magnet Board
- Range Cover, any size
- 12 x 12 piece of paper or fabric
- Decoupage medium like ModPodge
- Ribbon
- Magnets
- Clear glass Gems
- Glue
- Awl or Drill
Step 1: Upcycle Store Range Covers/Magnet Board
Using the range cover as a template draw a circle on the paper or fabric of your choice. Cut out the circle

Step 2: Upcycle Store Range Covers/Magnet Board
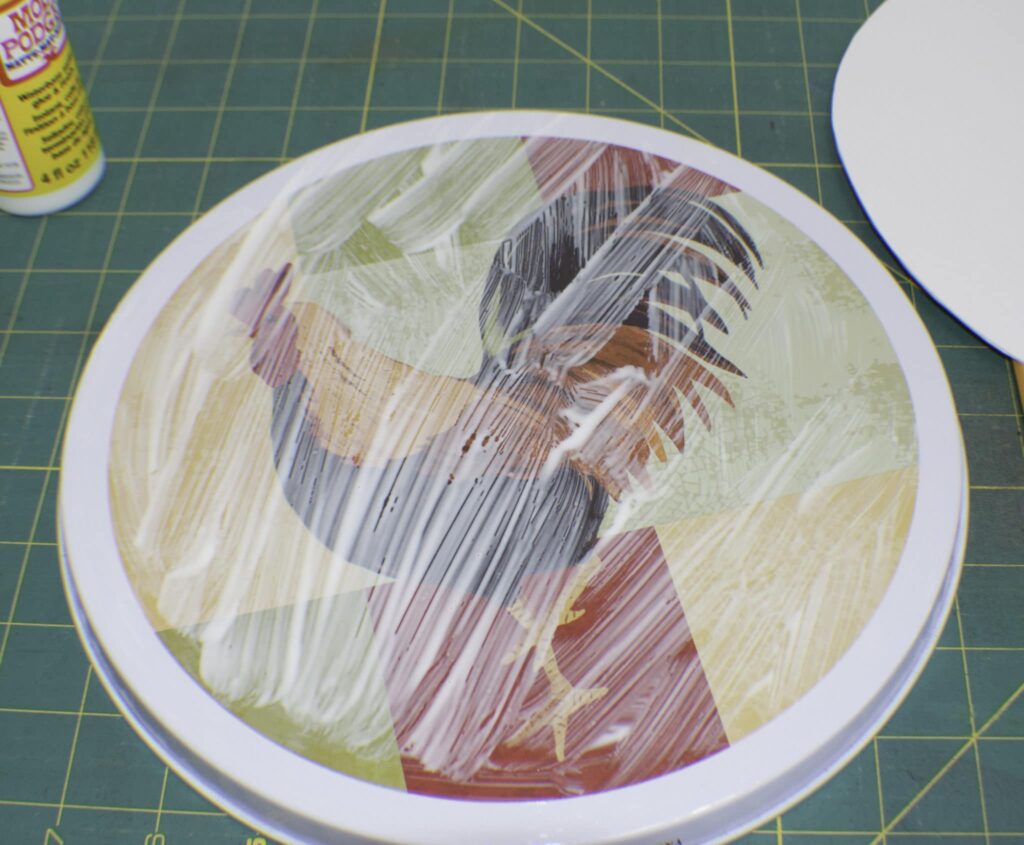
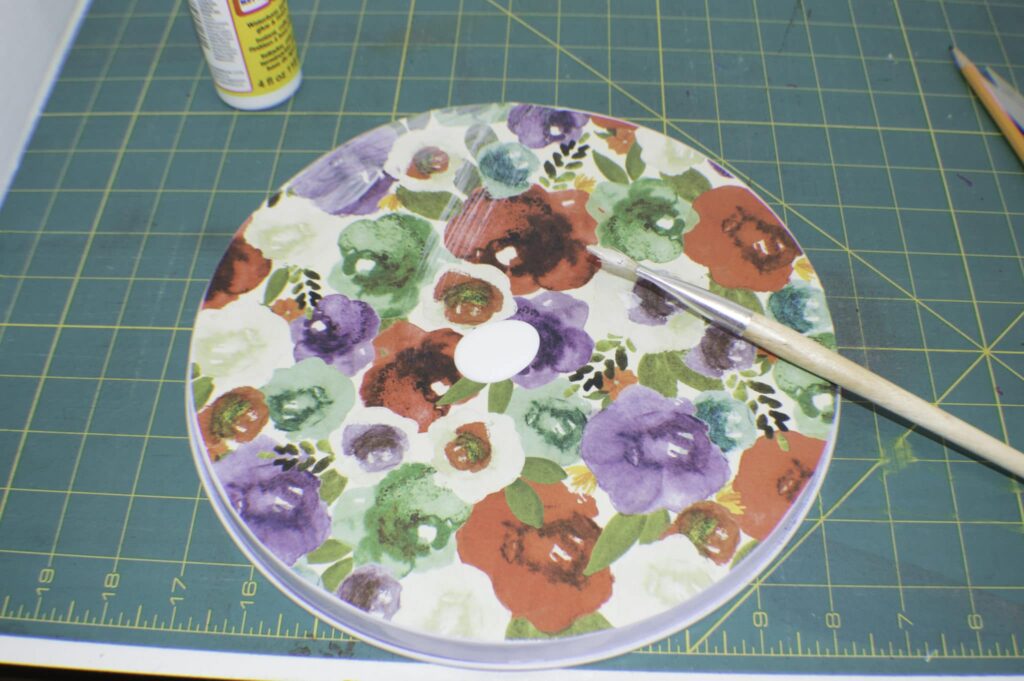
Brush some of the decoupage medium onto the range cover and and place your fabric or paper onto the top. Let the paper or fabric dry completely.
Step 3: Upcycle Store Range Covers/Magnet Board
Once the paper or fabric has dried brush additional decoupage medium over the top. Let it dry and add a second coat.
Step 4: Upcycle Store Range Covers/Magnet Board
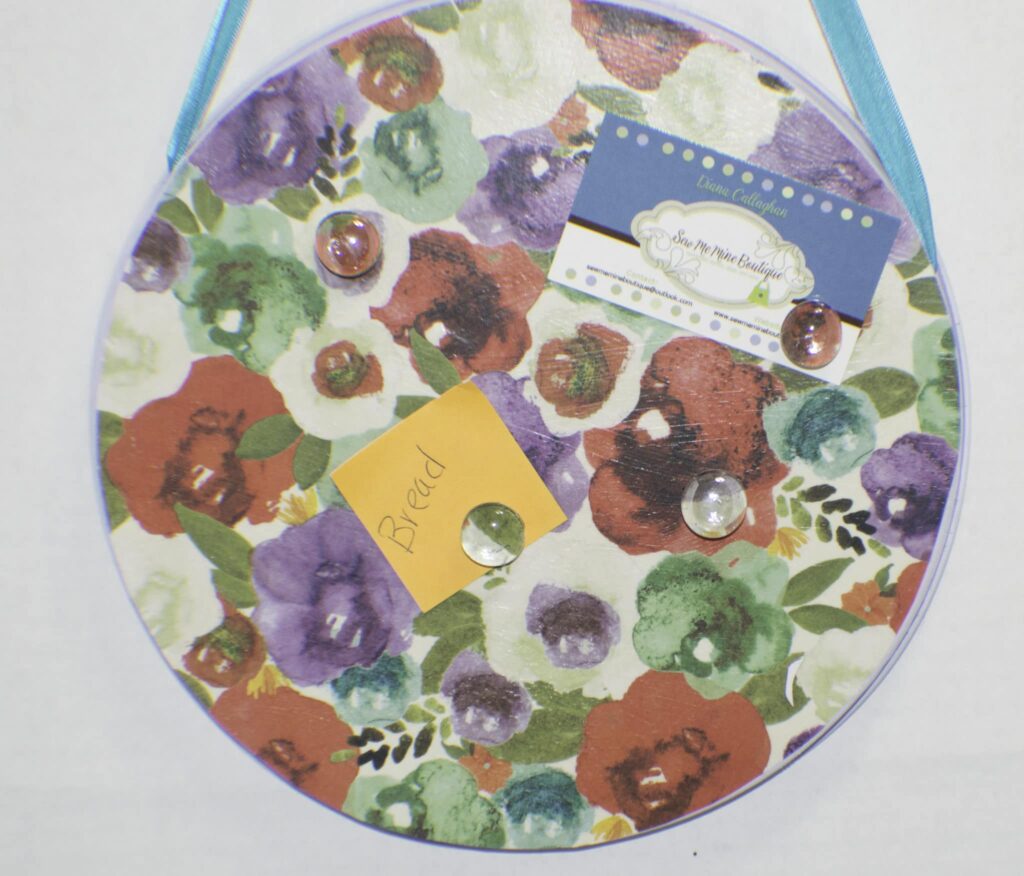
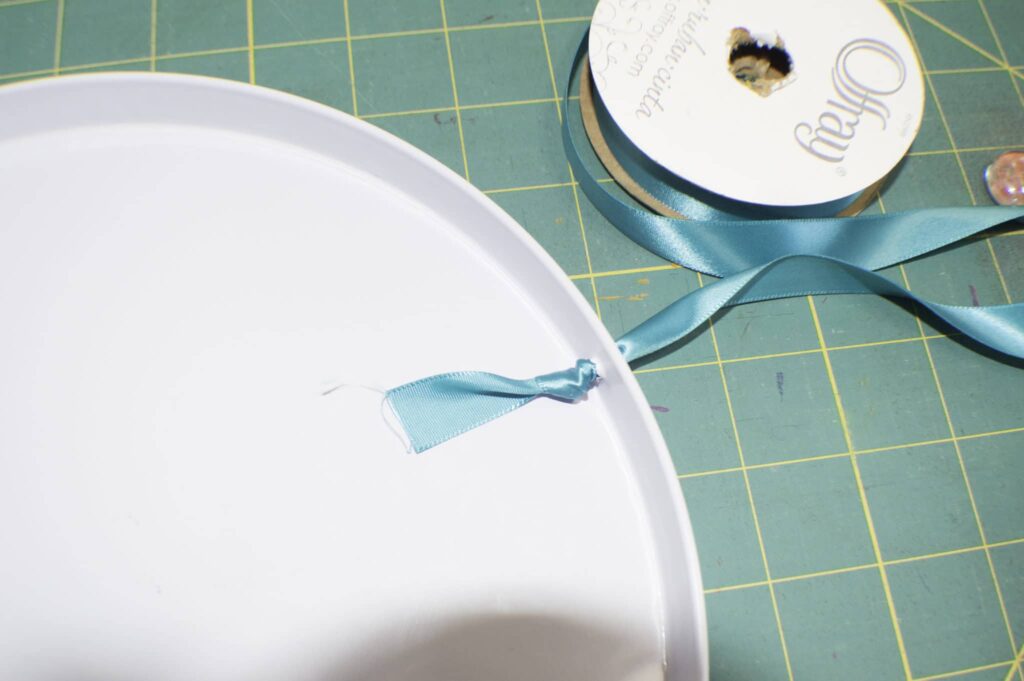
Drill two holes into the sides of the cover. Insert the ribbon through the holes and tie a knot on each side so that the ribbon will hold up the magnet board.
Step 5: Upcycle Store Range Covers/Magnet Board
Make the magnets. Using the gems as a template, cut out bits of the same fabric or paper you used for the magnet board and glue them to the clear glass gems with a glue that dries clear. The decoupage medium worked fine for me. Once the gems are dry glue the magnets to the gems and you have matching magnets to go with your knew magnet board. This idea came from http://rosyscription.com/2011/01/magnetic-memo-boards-made-from-dollar.html

