Perfect Picnic Patterns
Perfect Picnic Patterns
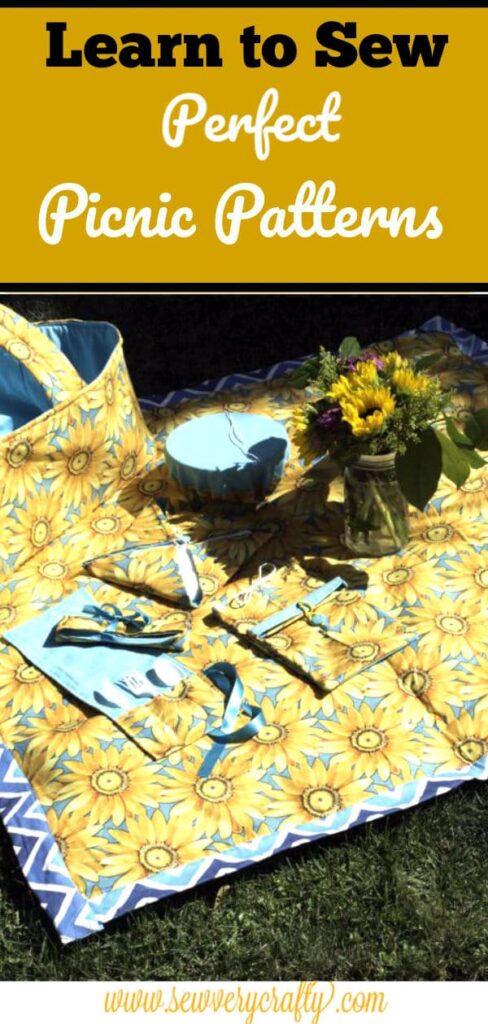
Perfect Picnic Patterns. There is nothing like dining outside whether it is a picnic at the park or having fine beach eats with the waves crashing and the sun shining. With some inspiration from Simply Sewing magazine, I have put together a few perfect picnic patterns to make dining al fresco easy and fun. Each of these projects is easy to make and fit in the perfect picnic basket. There are complete patterns and tutorials in this post that should help you create your own perfect picnic.
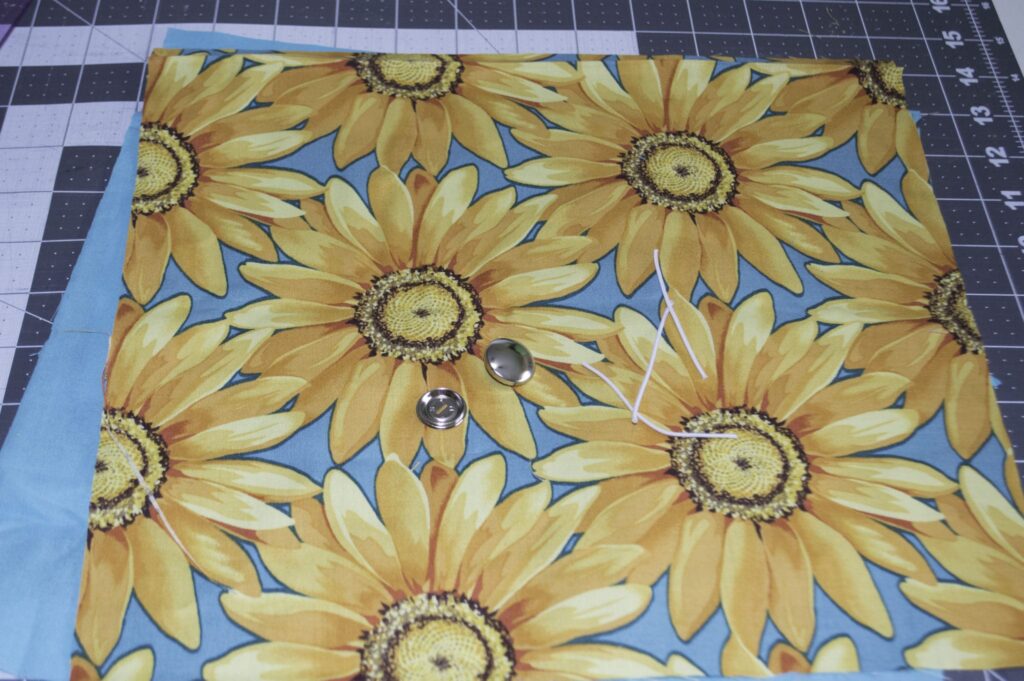
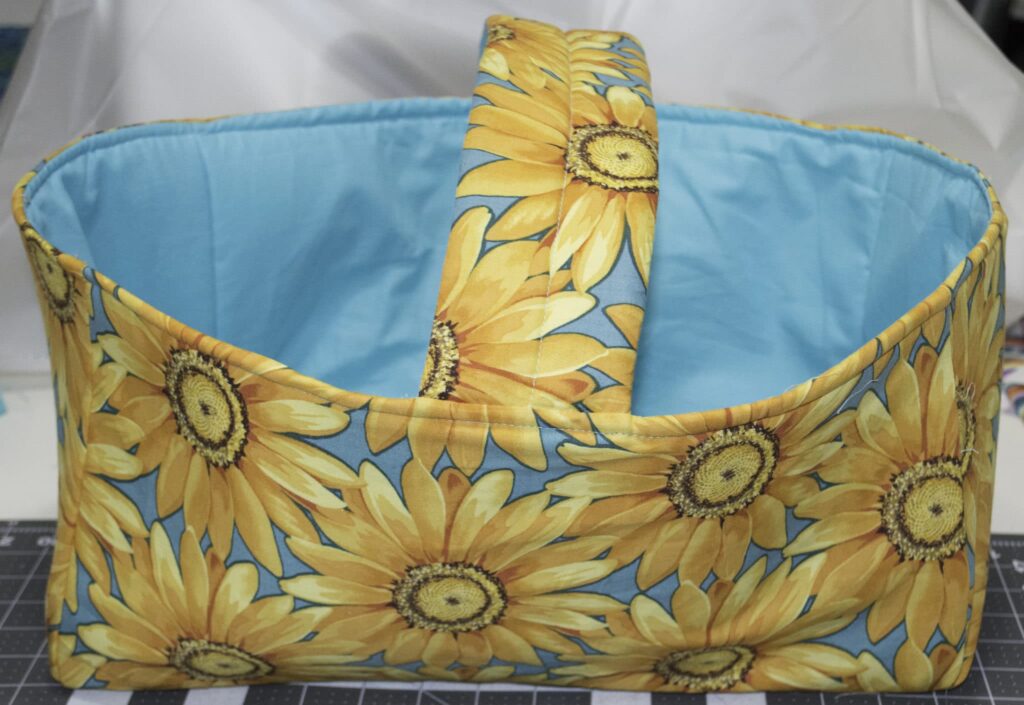
I actually purchased fabric for this project and I loved this sunflower pattern. I do not think that this fabric is available any more but you can find something similar at Fabric.com or Hobby Lobby. This is simple quilting cotton that is both beautiful and easy to work with. I hope you give some of these projects a try and let me know how your picnic patterns turn out.
Roll Up Picnic Blanket
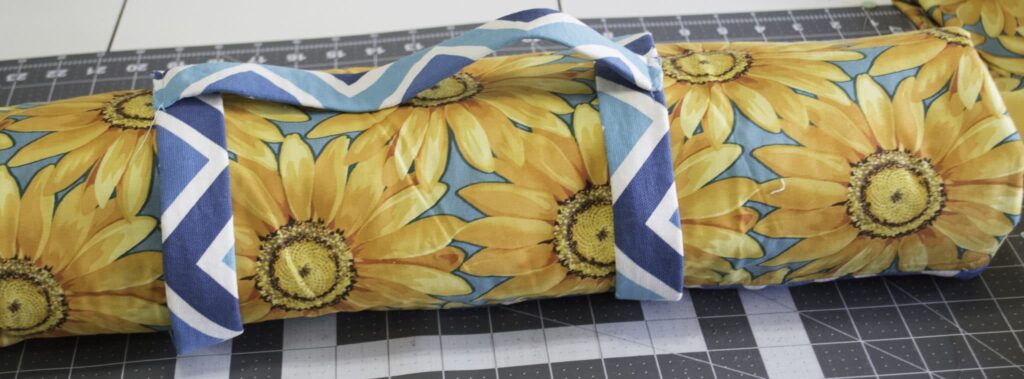
One of the main items to make your picnic neat and tidy is a roll up, easy to carry picnic blanket and this one is easy to make and perfect for beach eats and picnic provisions.
What You Will Need:
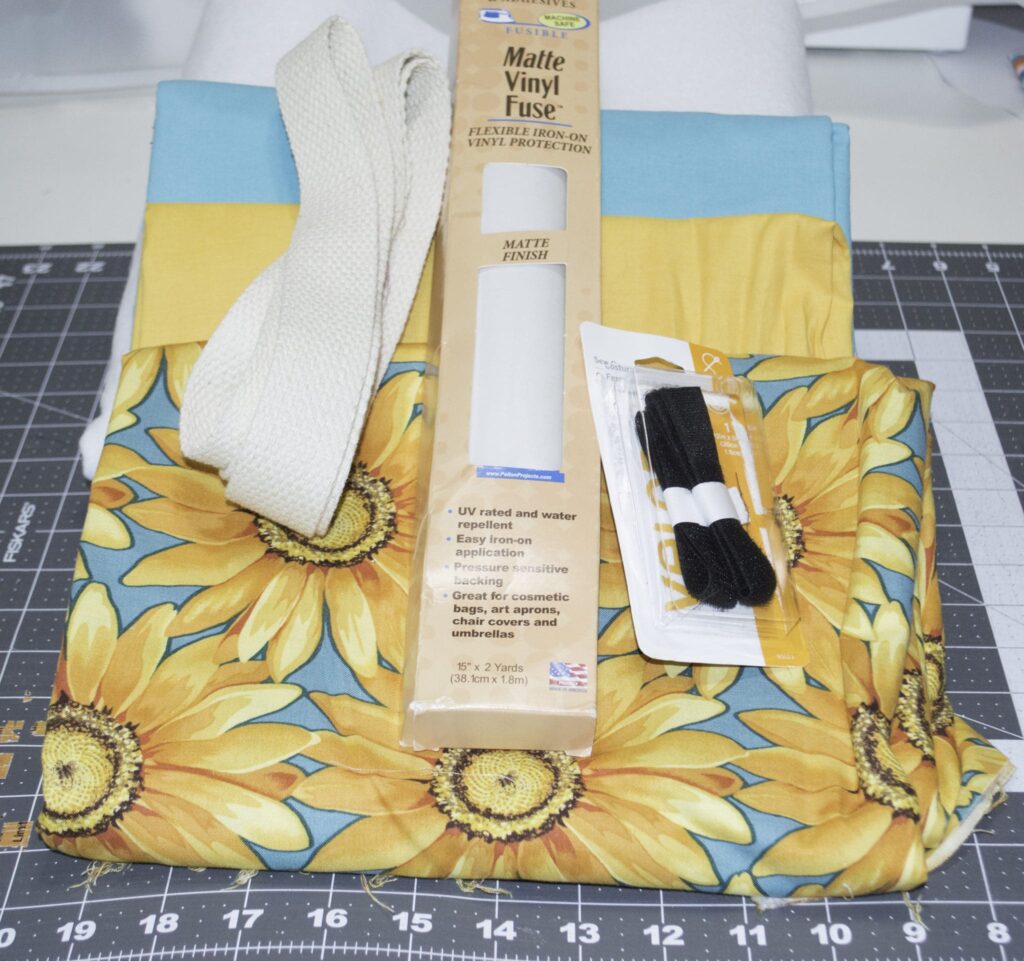
- Main Outer Fabric 40″ x 40″
- Contrast Fabric 55″ x 44″
- Fusible Fleece 40″ x 40″
- Waterproof Backing Fabric 40″ x 40″
- Webbing Tape 1 1/4″ x 51″
- Sew on Velcro 3/4″ x 4″
- Standard Sewing Supplies
Step 1:
Cut out all of the pieces in the above dimensions. For the contrast fabric you will cut 5 pieces of blanket binding 9 1/2″ x 44″, 2 straps 3 1/8″ x 19 3/4″ and one handle 3 1/8″ x 10 5/8″. Cut the webbing. Two strips for the straps 18 7/8″ and one for the handle measuring 10 5/8″.
Step 2:
Place the water proof fabric right side down then place the fleece right side up then the main outer fabric right side up on top of the fleece making sure that all pieces are aligned. Sew the three layers together using 3/8″ seam allowance all the way around. For my water proof fabric I chose an outdoor fabric but you could use any fabric you like and use Matte Vinyl Fuse by Pellon. The vinyl fuse is easy to iron onto any fabric and makes the fabric water-repellent and UV protected. You can purchase it at most fabric stores or by clicking one of these links Vinyl Fuse 15×2 Yds or Pellon Vinyl Fuse – 15″ x 2 yard package – Matte Finish
.
Step 3:
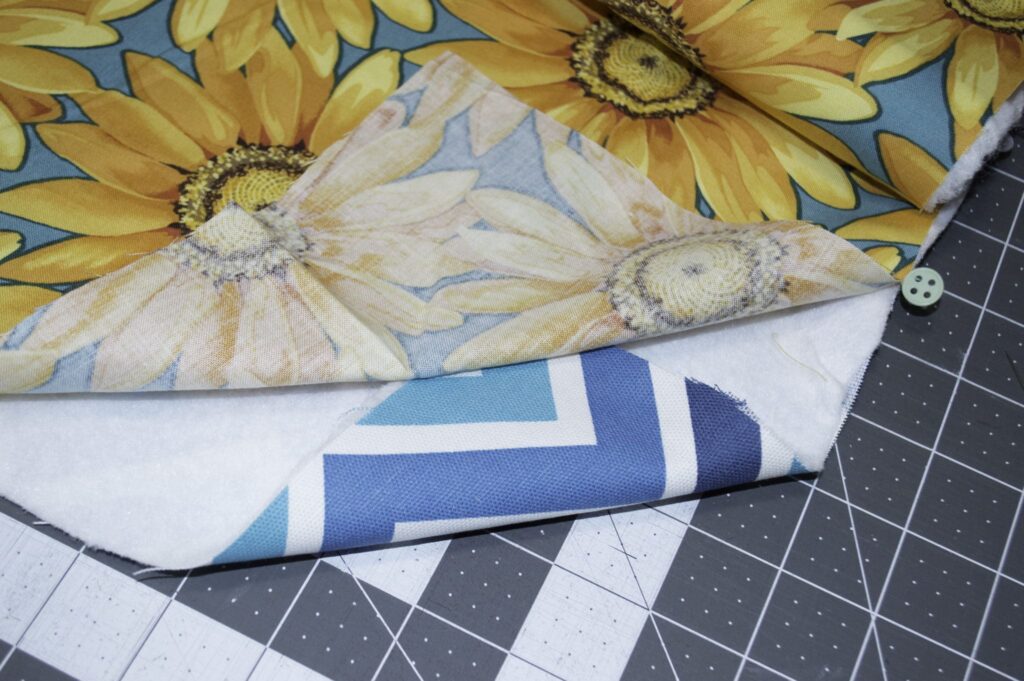
Now it is time to make the binding, First, place 2 of the binding strips right sides together so that one is vertical and the other is horizontal and stitch them at a 45º angle. Join the rest of the strips together in the same way so that you have one long strip. draw a stitching line 2 3/8″ from the raw edge on the wrong side all along the length of the strip. Turn one short edge over by 1/4″ to the wrong side and press.
Step 4:
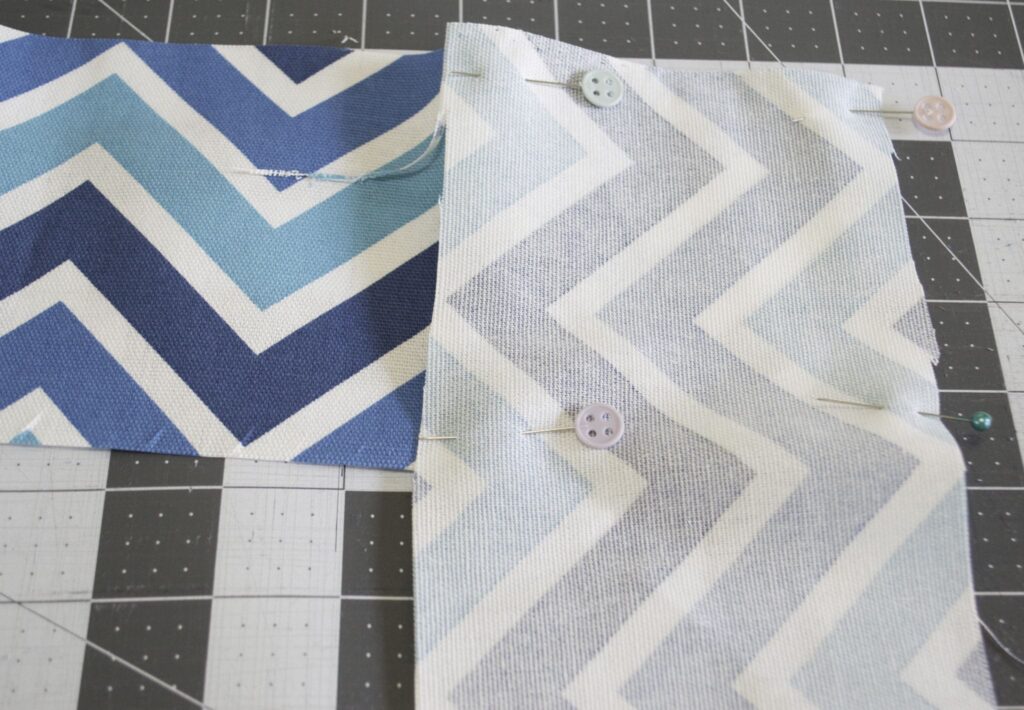
Now that you have completed making the binding it is time to bind the blanket. Match the raw edge of the blanket with the raw edge of the binding right sides together. Make sure that the folded over short edge is in the center of one of the sides. Stitch the strip to the blanket. Fold the strip upward at the corners creating a 45º angle.
Step 5:
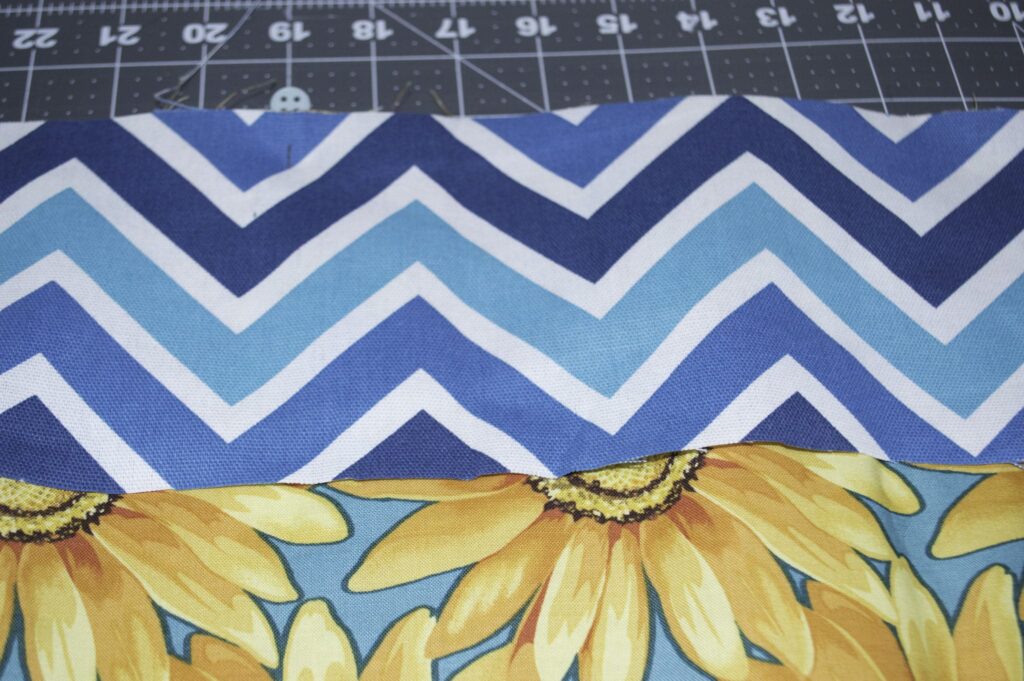
Cut each of he corners diagonally to clear out some of the bulk. Fold the binding over to the backing fabric and fold the long raw edge under so it just covers the line of machine stitching. Make diagonal folds in the corners. Top stitch the binding into place all the way around. Slip stitch the mitered corners.
Step 6:
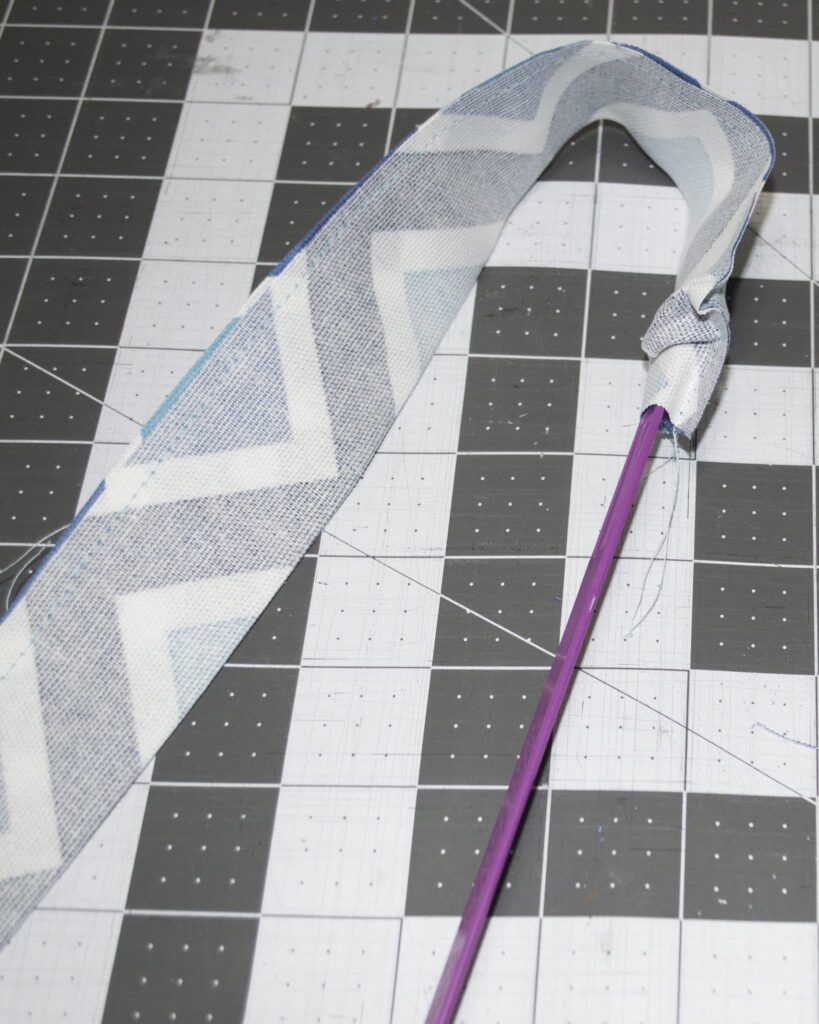
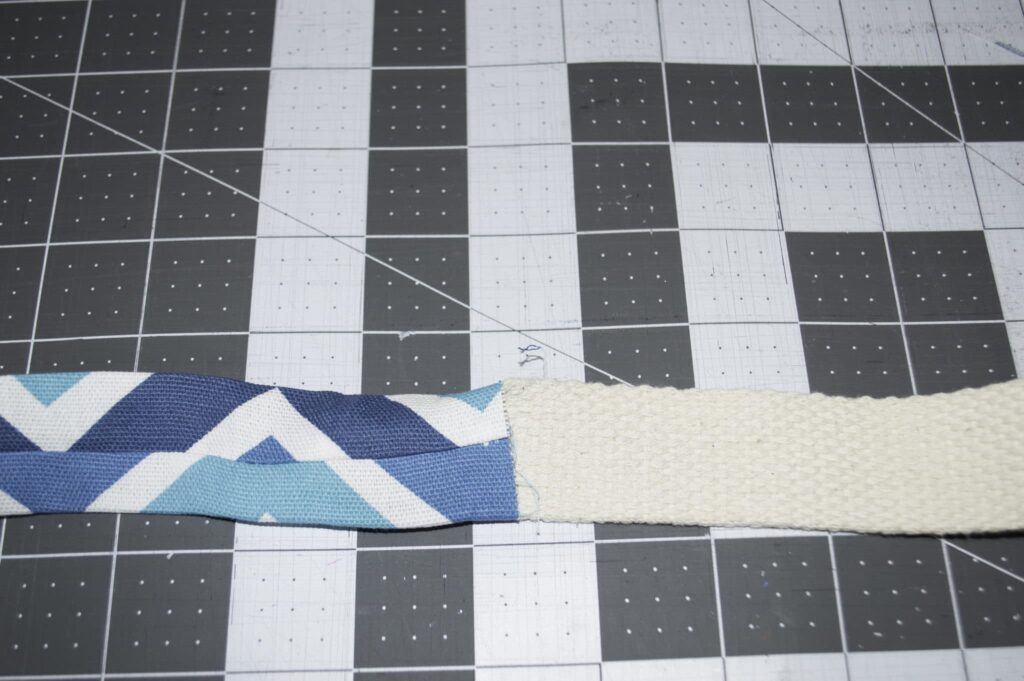
To make the straps, fold one strap in half lengthwise with right sides together sew down the long edge. This creates a tube. Insert the webbing and turn under the short ends 3/8″ and slip stitch closed. Repeat for the second handle.
Step 7:
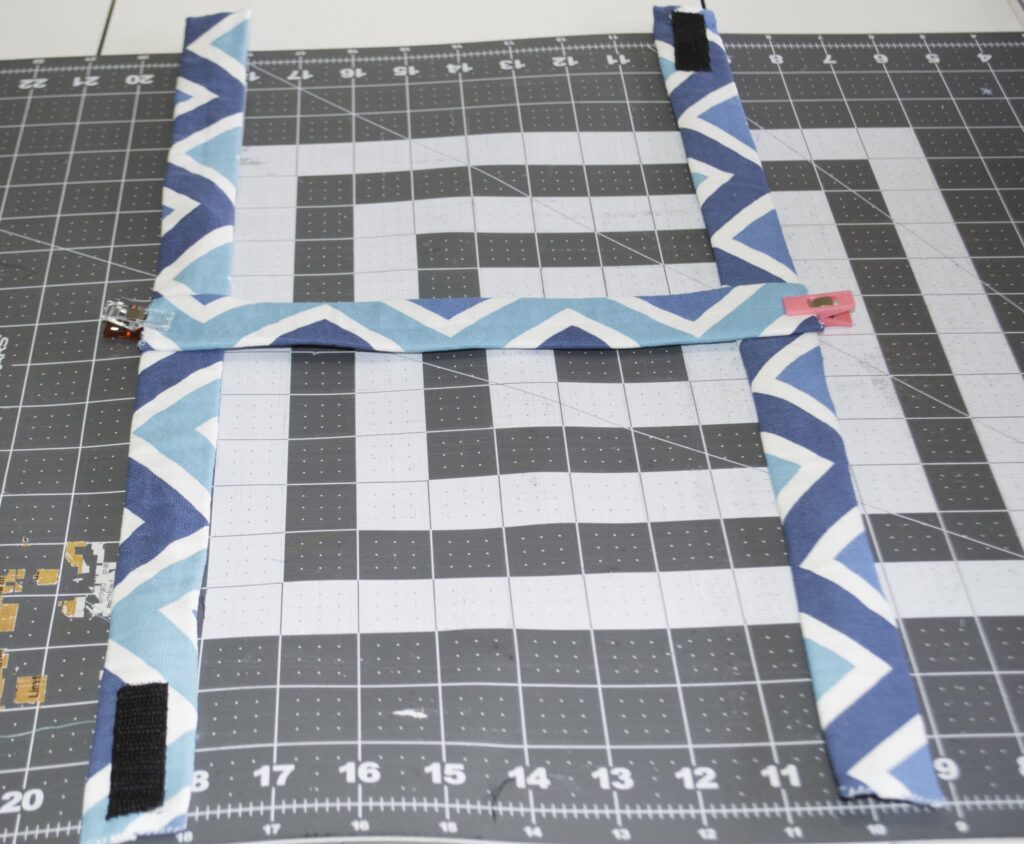
To join the straps stitch a 2″ long piece of the Velcro to either end of the straps so that the hook part is on one side and the loop part is on the other. Mark the center of the two straps. Place the handle on top so either end of it sits on top of the center of the straps. Sew into place at each end. Fix the straps around the blanket.
Easy Sew Picnic Basket
What You Will Need:
- Main Outer Fabric 24″ x 44″
- Contrast Fabric 24″ x 44″
- Foam 30″ x 28″
- Standard Sewing Supplies
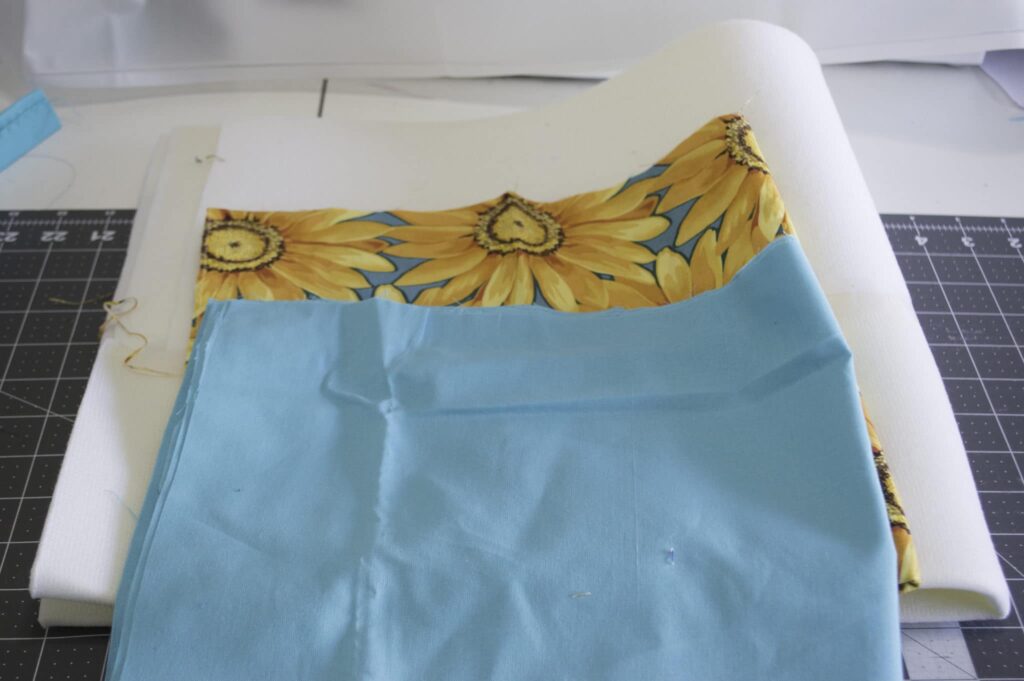
Step 1:
Cut out the shapes as follows:
- Outer, Lining, and Foam Fabric Sides 9 1/8″ x 17″
- Outer, Lining, and Foam Fabric Ends 9 1/8″ x 9 1/8″
- Outer, Lining, and Foam Fabric Bottom 9 1/8″ x 17″
- Outer Handle 3 1/8″ x 21″
- Standard Sewing Supplies
Step 2:
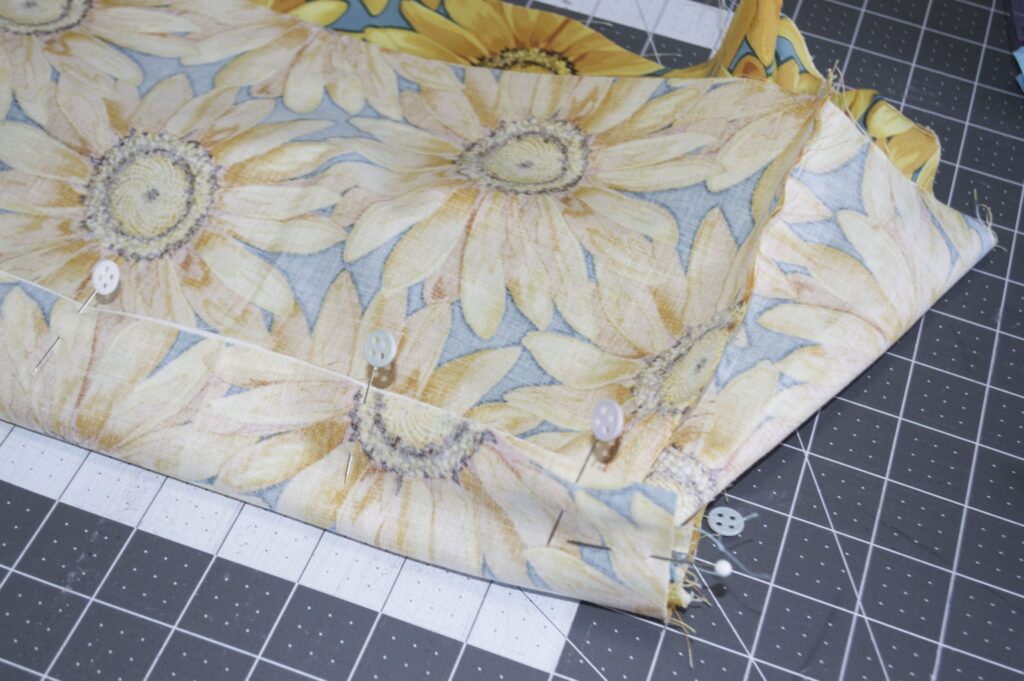
Using 1/2″ seam allowance sew the sides and the ends together creating a box shape. Then sew on the bottom completing the box. Next, baste the lining pieces to the foam pieces. Starting with the handle sew the outer fabric right sides together with the lining and foam piece leaving the ends open. Turn the handle so that the foam is inside the outer and lining fabrics. Sew a line down the middle of the handle. Set aside.
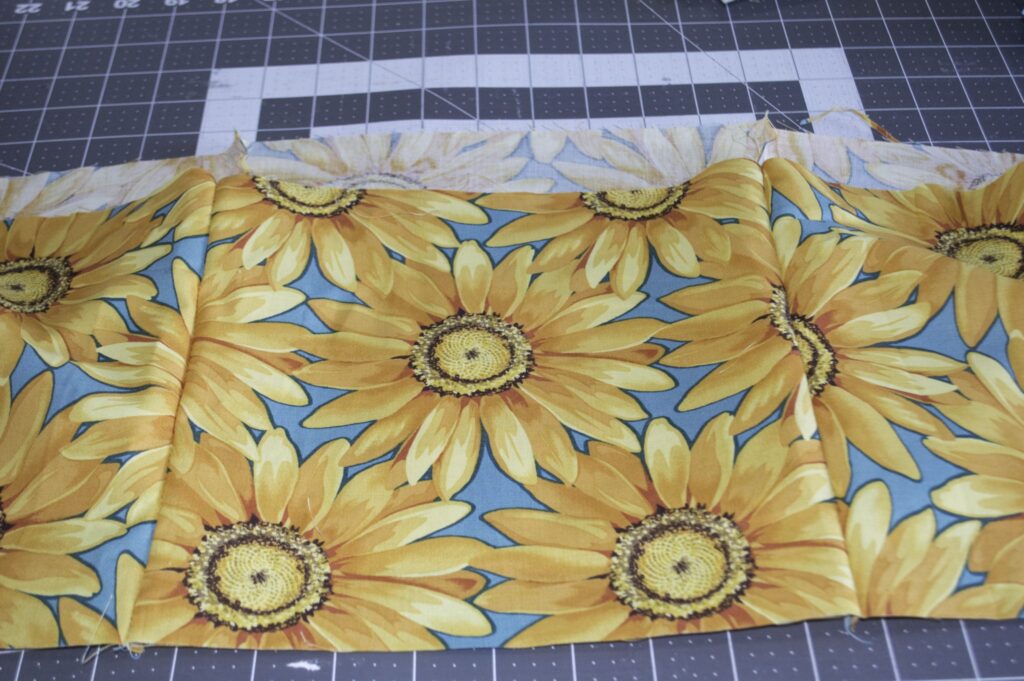
Step 3:
Next, sew the remaining pieces in the same way that you sewed the outer bag pieces leaving an opening for turning the basket. You should now have two completed bags. One outer shell and one lining with foam. Place the outer bag shell into the lining/foam piece right sides together. Measure 7 1/2″ from the seam on each side and center your handle. Make sure that your handle is in between the two layers. Sew completely around the top making sure to sew the handles using 3/8″ seam allowance.
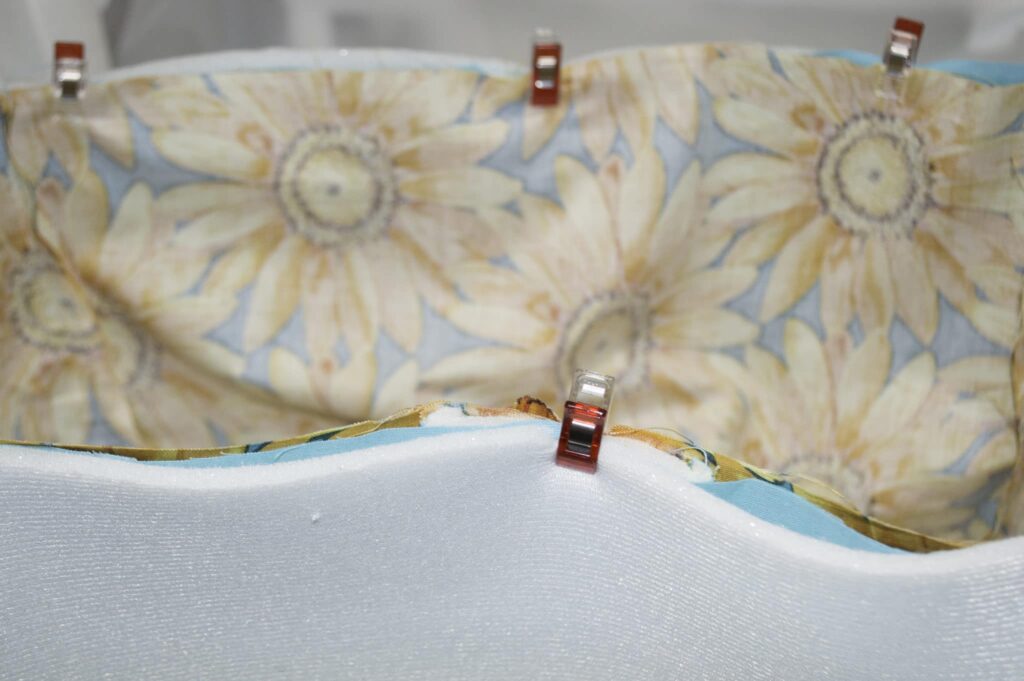
Step 4:
Once the outer bag and the lining/foam have been joined together, turn the bag through the opening you left in the lining. Push the lining into the outer bag so that the right side of the bag is facing out and the right side of the lining is also facing out while the foam is in between. Slip stitch the opening closed. You now have a completed picnic basket with handles but you should take the extra step of top stitching around the rim of the basket to give it a more finished look. Once this final step is finished so are you. This basket will carry all of your picnic essentials.
Reusable Sandwich and Snack Bags
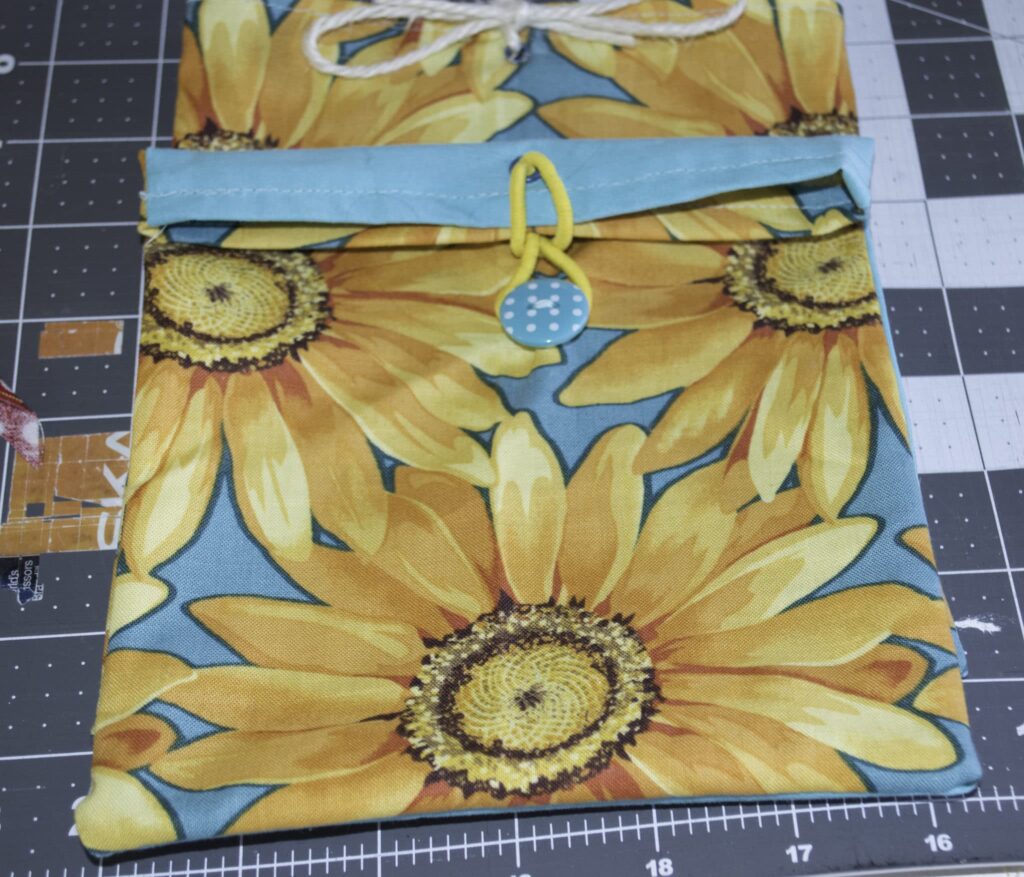
What You Will Need:
- 2 pieces of laminated cotton or other water-resistant fabric that measures approximately 7 1/2″ x 16 1/2″
- 2 eyelets
- 1 hair tie
- 1 craft button
- Heat & Bond Iron on Vinyl Laminate
- Standard Sewing Supplies
Step 1:
Choose your fabric. You will need one for your outer fabric and the other for the lining. Make sure your lining is made from laminated cotton or you can use, as I did, Heat & Bond Iron on Vinyl Laminate. Unlike the Pellon fusible vinyl, the Heat & Bond is safe around food and children. Cut the outer fabric and the lining 7 1/2″ x 16 1/2″.
Step 2:
Fuse the Heat & Bond to the side of the lining fabric that will be touching the food. You can keep the outer fabric plain or you can fuse that as well. It is entirely up to you. I chose to laminate mine as it is easier to clean. Place the two pieces right sides together and sew around three sides leaving one short side open. You should not pin these pieces together because the pin holes will stay on the piece with vinyl. I suggest using fabric clips or binder clips.
Step 3:
Turn the rectangle so both pieces have right sides facing out. Fold the short open edges in about 1/2″ and top stitch to close the remaining short end and to close the raw edges. Lightly press using a pressing cloth so as not to melt the vinyl. Turn the rectangle so both pieces have right sides facing out.
Step 4:
Fold the short open edges in about 1/2″ and top stitch to close the remaining short end and to close the raw edges. Lightly press using a pressing cloth so as not to melt the vinyl. I placed 2 eyelets 3 1/2″ from the edge and 1/2″ from the top on each side of the bag and a button on one of the sandwich bags to use as a closure. On the other sandwich bag I added the eyelets and used a piece of twine. You could also use Velcro as a closure if you want something easy for the kids.
Utensil Carriers
What You Will Need:
- 18 1/2″ x 6″ piece of outer fabric x the number of carriers you would like to make
- 18 1/2″ x 6″ piece of lining fabric x the number of carriers you would like to make
- 20″ piece of ribbon
- Standard sewing supplies
Step 1:
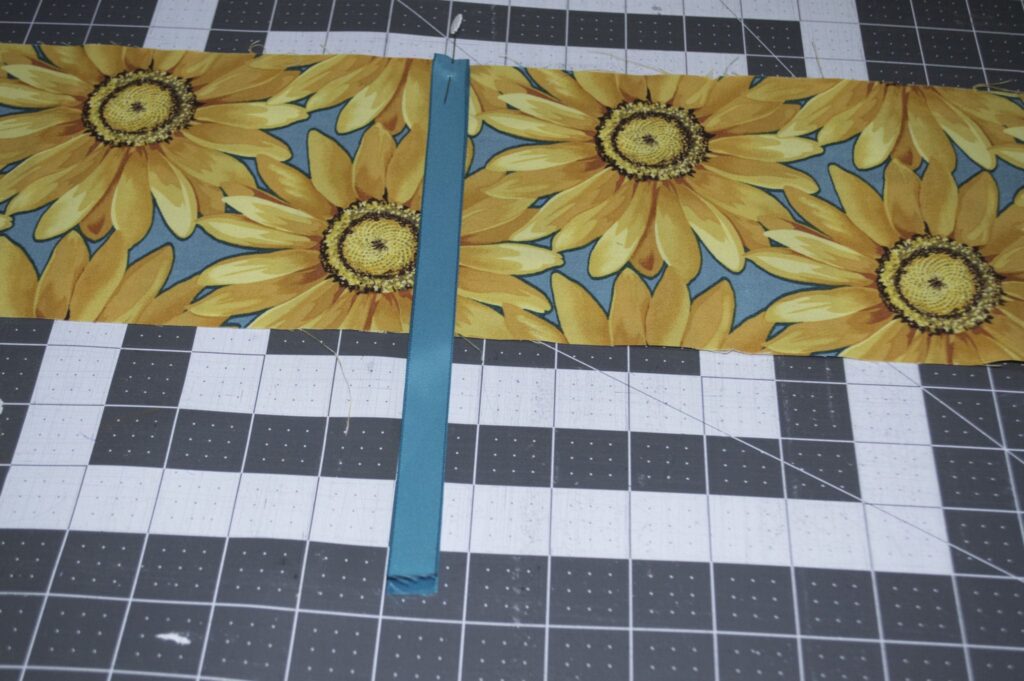
Place the outer fabric right side up and measure 7 1/2″ from the bottom. Take the 20″ piece of ribbon and fold it in half and place the folded edge on the raw edge of the outer fabric and pin. Place the right side of the lining fabric on top of the right side of the outer fabric and ribbon. Make sure to tuck the ribbon in so that you do not catch it in future sewing steps.
Step 2:
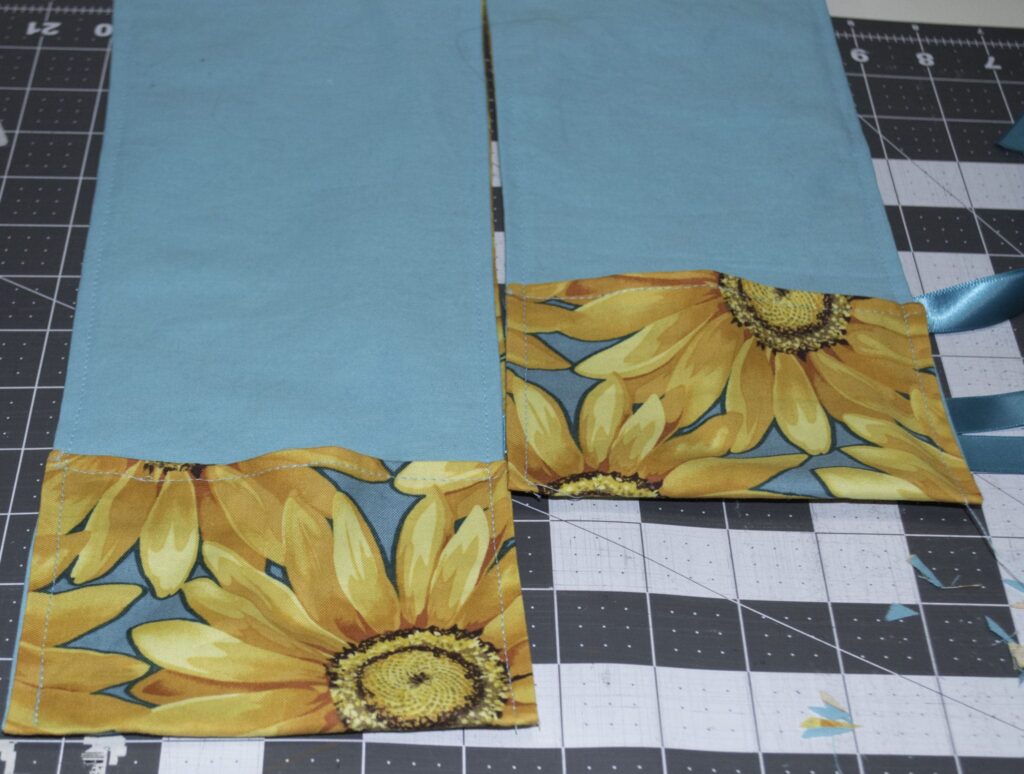
Sew the two pieces including the ribbon together leaving a 3″ opening on one end for turning. Clip all of the corners for sharp edges and turn. Press. Top stitch the bottom nearest to the ribbon. Fold the bottom up 3 5/8″ so that the outer fabric is on the lining fabric. Pin.
Step 3:
Stitch from the bottom of the fold all the way around the fabric. Taking a Frixion pen or some other disappearing pen mark two lines to separate the pocket so that your utensils will have individual spaces. Top stitch down the lines and press so that your lines disappear. Insert your utensils, fold over the long end then roll up and tie with the ribbon. These utensil roll ups are super simple to make and enjoy on your next picnic outing.
Bowl Covers
What You Will Need:
- Outer fabric x the number of bowl covers you would like to make
- Binding fabric x the number of bowl covers you would like to make
- Elastic cord
- Standard sewing supplies
Step 1:
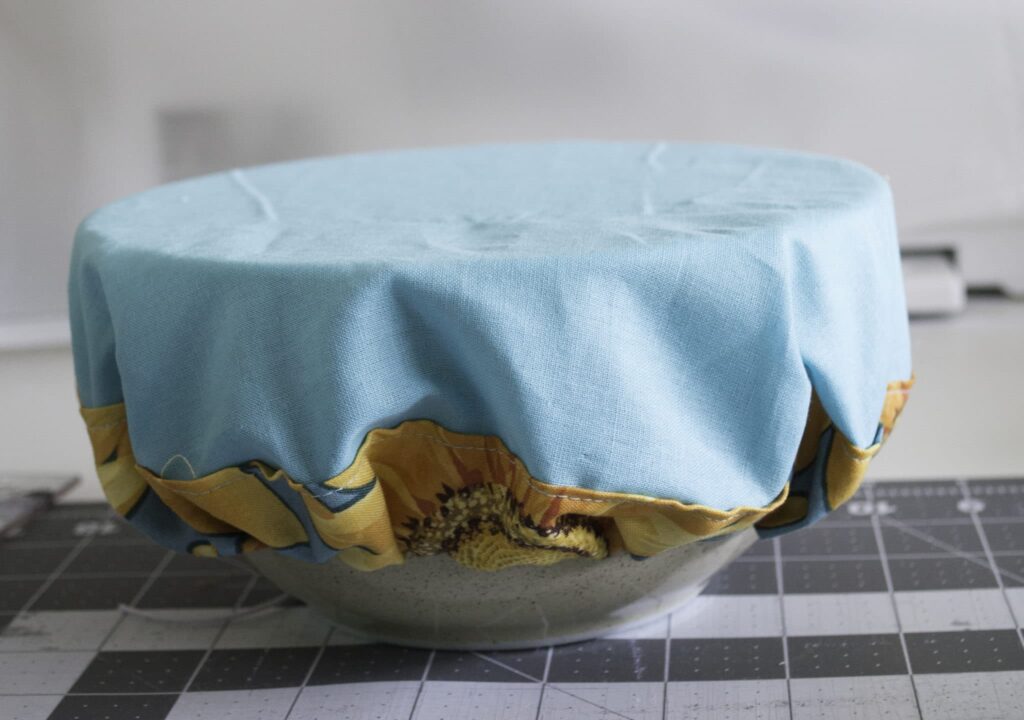
Cut the circle and the binding fabric. Start by folding one short end of the binding fabric 3/8″ to the wrong side. Pin the binding fabric to the circle and sew starting at the turned over end. Sew all the way around the circle. Overlap the ends by 3/8″

Step 2:
Fold the raw ends of the binding over and press like a hem. Fold the binding over so that it covers the previous stitching. Sew around the binding so that there is self binding all the way around.
Step 3:
Using a bodkin, thread the elastic cord through opening created in the binding. Pull the elastic just tight enough that the cover fits snugly but is easy to remove. Slip stitch the opening closed.
Napkin Holders
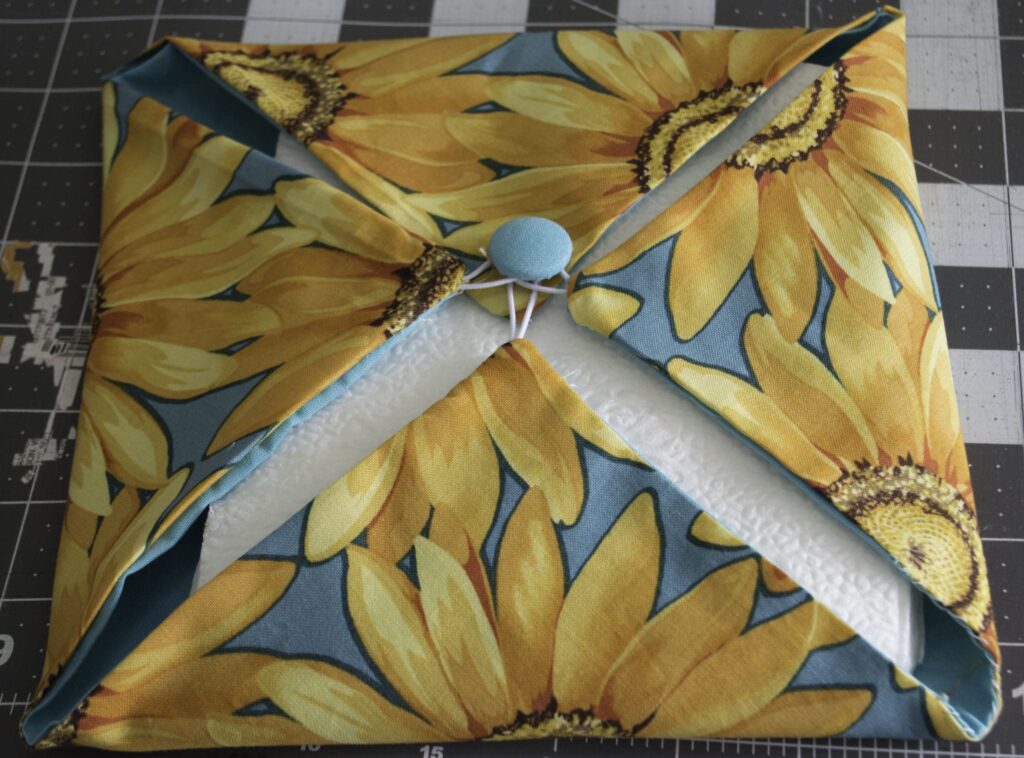
What You Will Need:
- 12″ x 12″ piece of outer fabric
- 12″ x 12″ piece of inner fabric
- Elastic cord
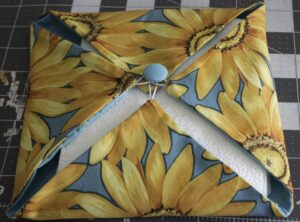
- 3/4″ self covered button
- Standard sewing supplies
Step 1:
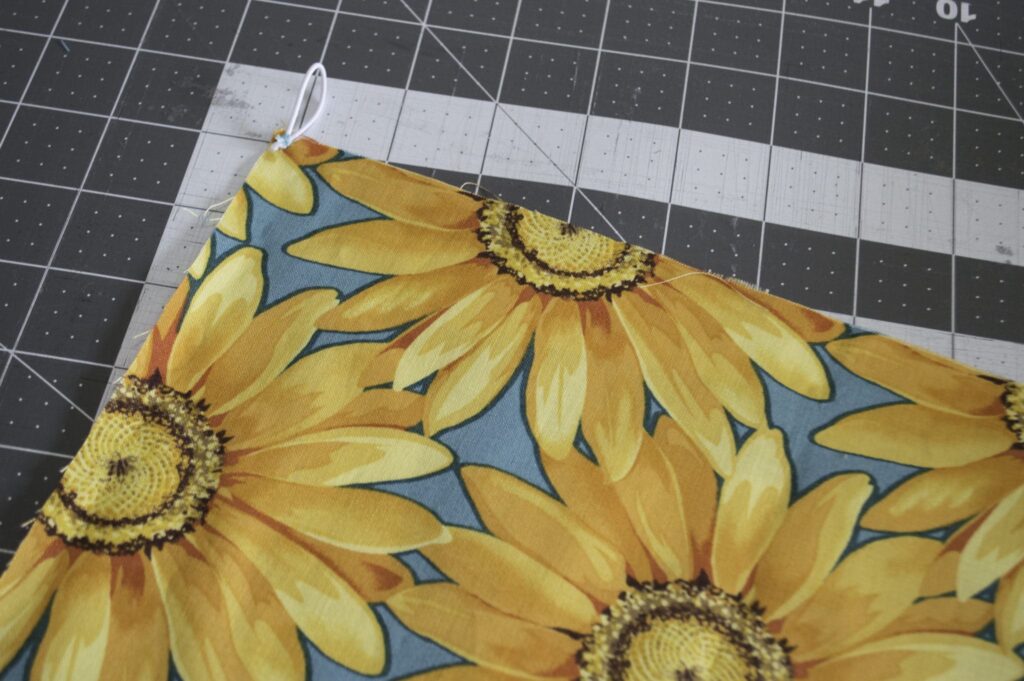
Cut the elastic into three 2 3/8″ pieces. Fold the three pieces of elastic in half and tack the ends together. Sew each folded cord to the raw edges of the corners. Place the outer fabric and the inner fabric right sides together. Sew around the perimeter using 3/8″ seam allowance making sure to just catch the corners of the elastic. Leave an opening for turning.
Step 2:
Clip the corners and turn the napkin holder right sides out. Press. Cover a self cover button and sew it onto the corner without the elastic. Place two of the elastic pieces around the button and insert your napkins close the final elastic piece to enclose the napkins and you are finished.
