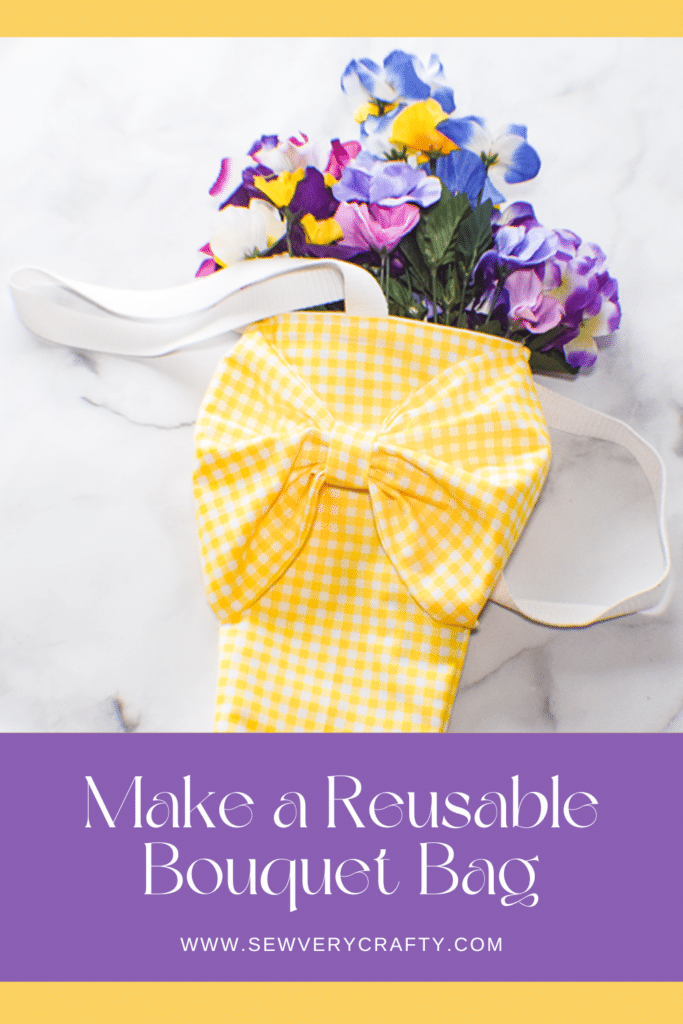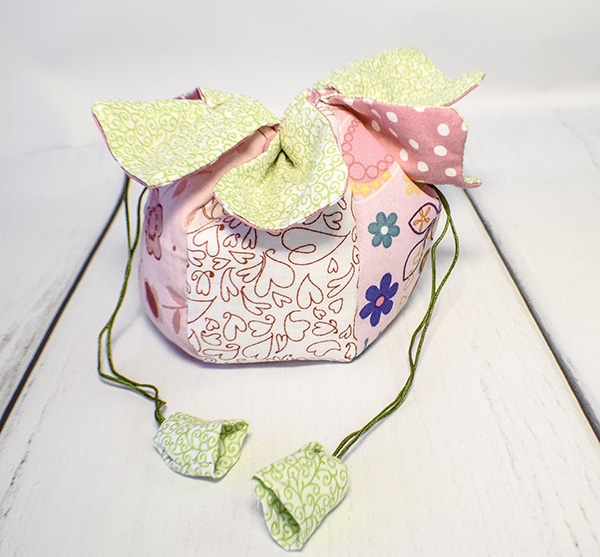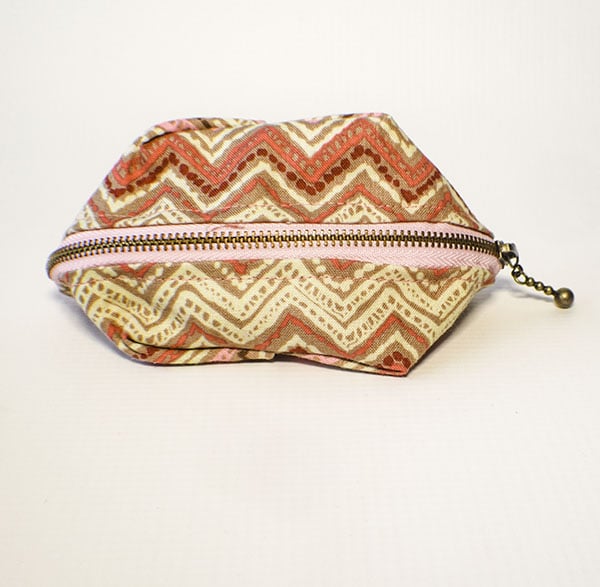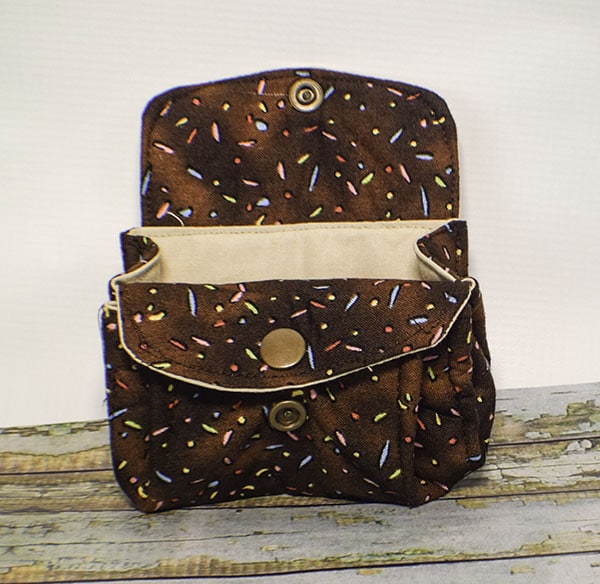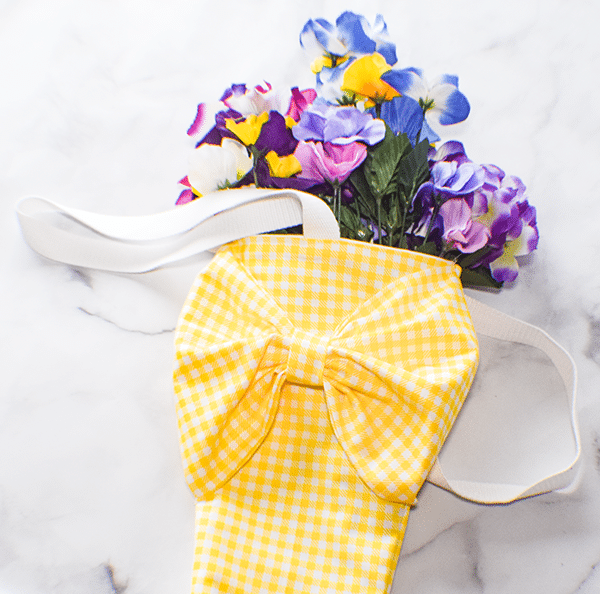
I saw this project on the Joann.com website and thought it was really cute. I was not pleased with the instructions and there were no photos so I thought I would recreate it here for you. This project is a reusable bouquet bag that is perfect for holding stemmed flowers. I have been looking for some unusual projects and came across this one. Once I figured out how to make it I realized that it was easier than expected.
This post contains affiliate links that if you click on them and make a purchase I will receive a small commission at no extra cost to you. As an Amazon Associate I earn from qualifying purchases.
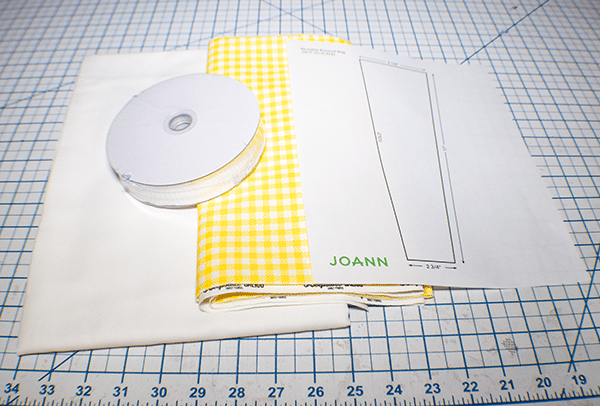
What you will Need: How to Make a Reusable Bouquet Bag
- Reusable Bouquet Bag Template
- 1/2yd White Canvas
- 1yd Printed Cotton Fabric
- 1 1/3yd Cotton Webbing
- Basic Sewing Supplies
- Sewing Machine
- Hot Glue (Optional)
Step 1: Cut your Fabrics
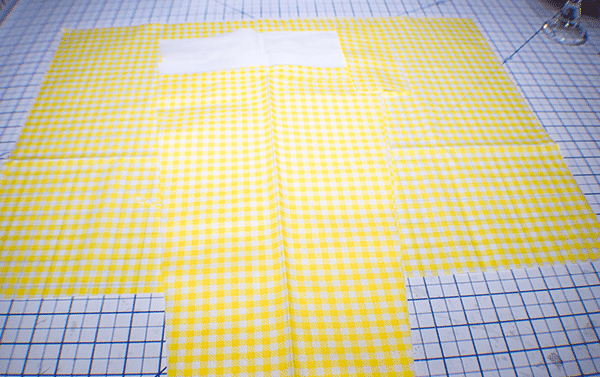
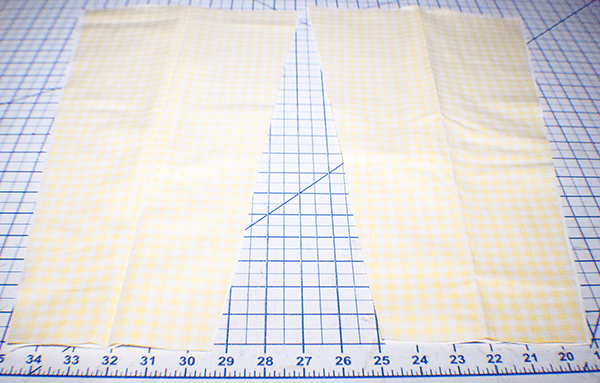
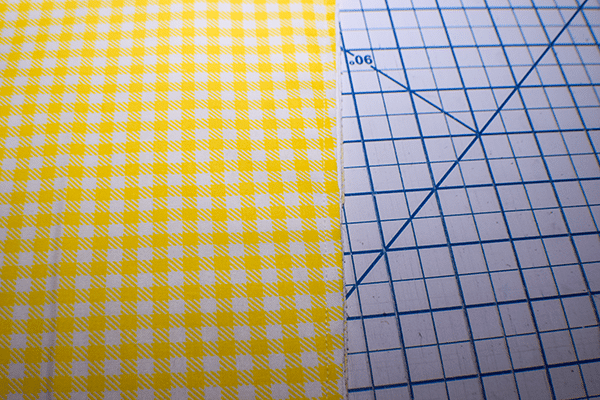
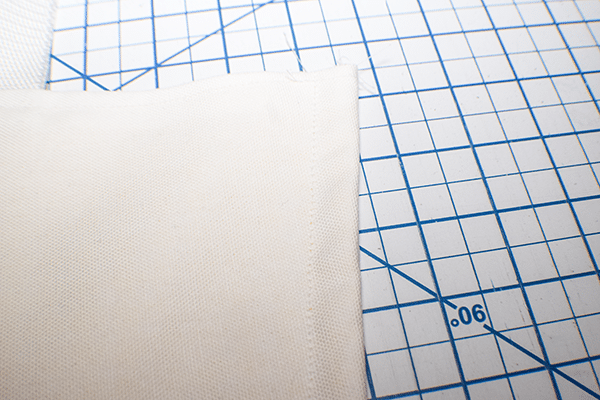
Use the template measurements and either draw them out on the fabric using an erasable pen or create your own pattern. I created my own pattern using exam room paper or other large sheet of paper. Place the pattern on the fold and cut two pieces of white canvas and two pieces of printed cotton. Cut two pieces of strapping that measure 24″ long. Cut a 15″ x 22″ rectangle and a 2.5″ x 6″ rectangle out of the printed fabric.
Step 2: Add the Strapping
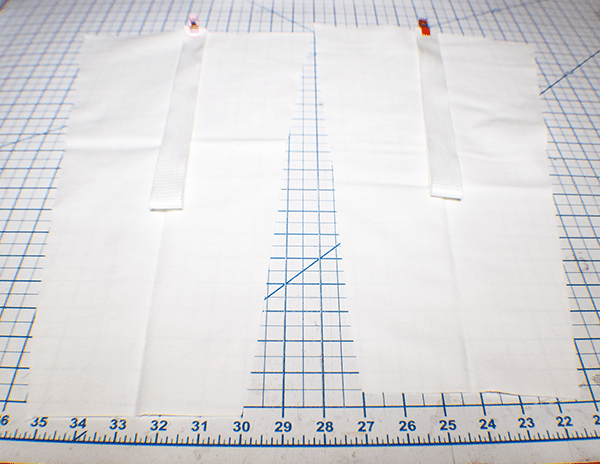
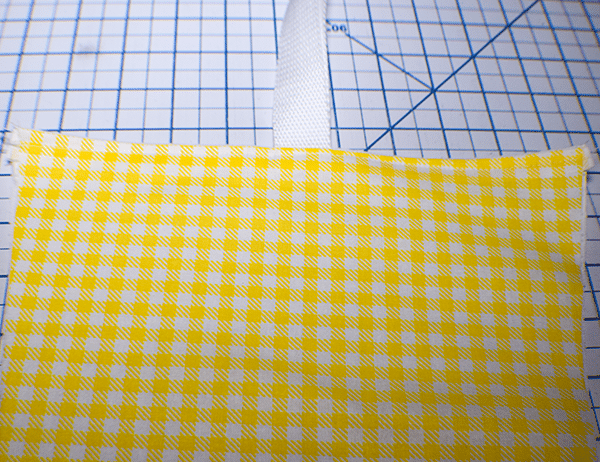
Fold the straps in half. Place the ends together. Then, place the ends on the center point of the top edge of each canvas piece. Baste the straps to the canvas.
Step 3: Add the Printed Cotton
With the straps laying flat on the canvas lay the printed cotton right side down on top. Stitch the pieces together at the top and bottom using a 1/2″ seam allowance. Leave the side open. Do this for both pieces.
Step 4: Turn Right Sides Out
Turn the pieces right sides out through the opening in the sides. Press. Topstitch along the top and bottom using a 1/4″ seam allowance.
Step 4: Stitch the Two Pieces Together
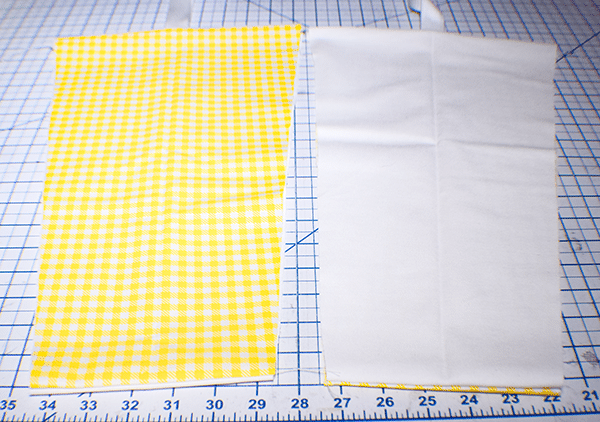
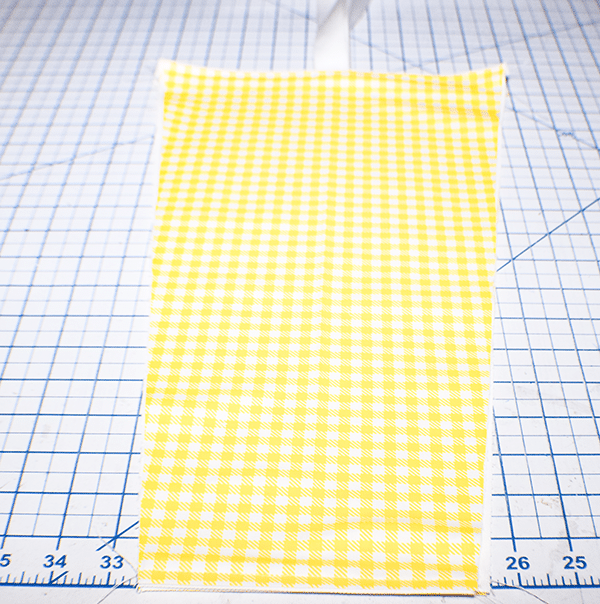
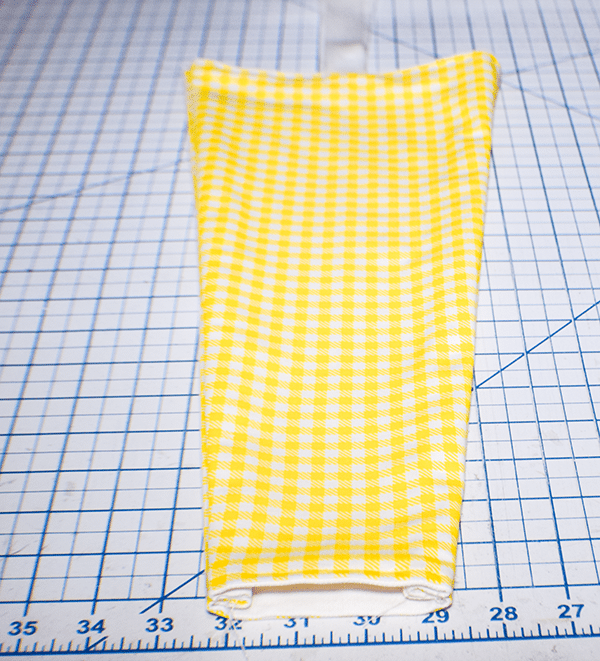
For this process you are going to create a French seam. This is a simple process so don't be intimidated by it. Place the two pieces wrong sides together — the canvas sides together. Stitch the sides together using a 1/4″ seam allowance. This may seem wrong because the stitching is on the printed side of the cotton but it is right. Turn the piece so that the canvas side is now on the outside. Press. Stitch the sides again. This time use a 1/2″ seam allowance. Turn right sides out and press.
Step 5: Create the Large Bow Piece
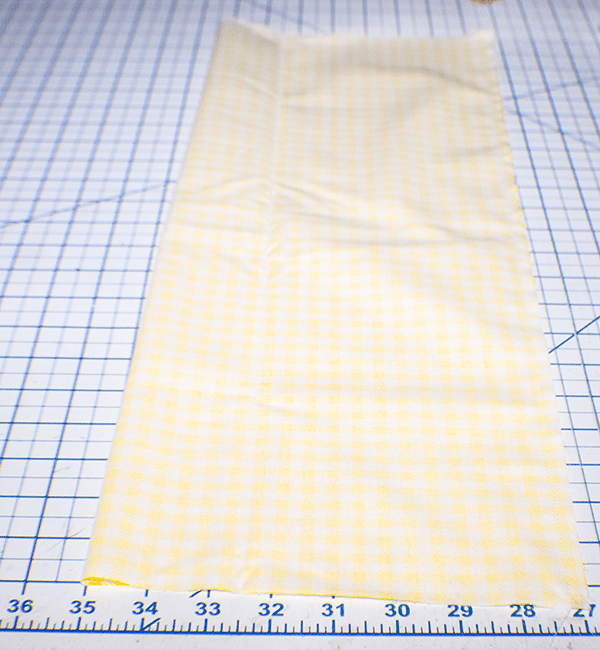
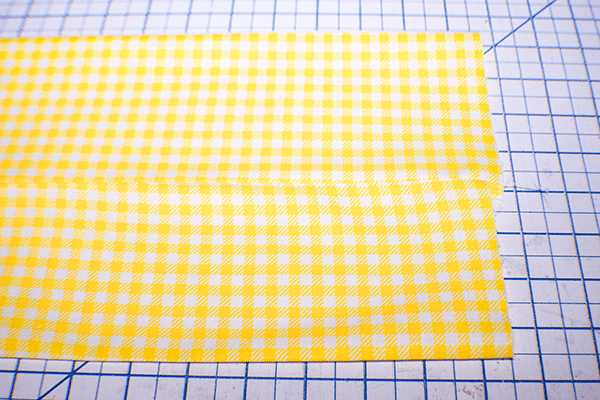
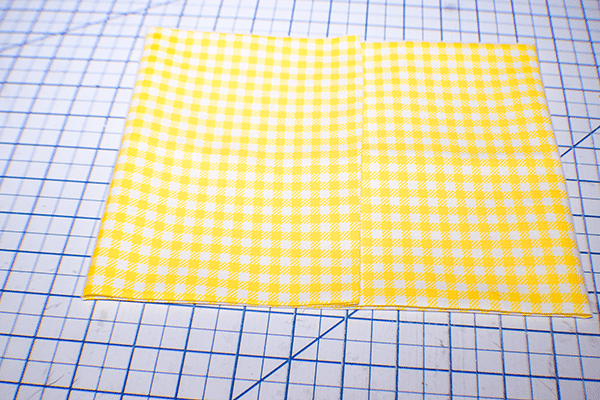
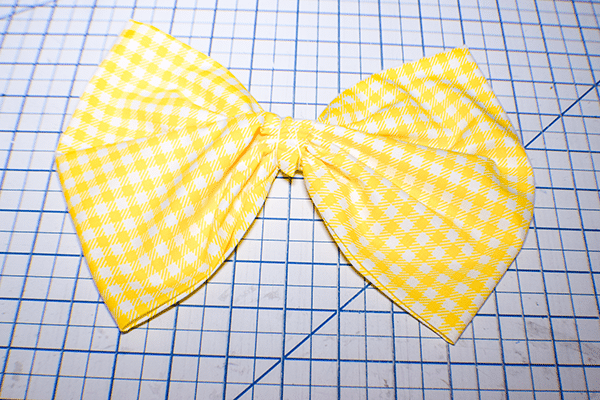
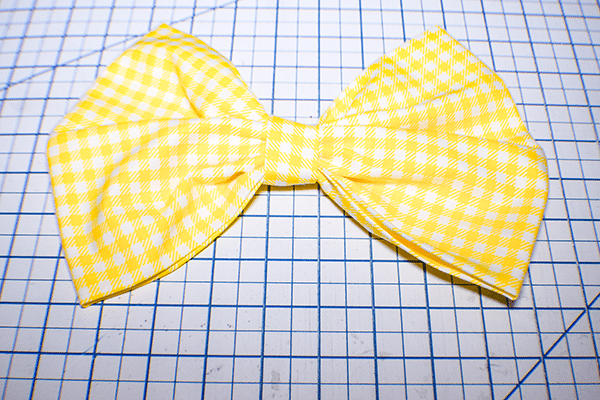
With right sides together, fold the large rectangle in half. Stitch the long raw edge using a 1/4″ seam allowance. Turn right sides out and press the seam to the center. Fold the short edges to the center. Overlap the short ends by 1/2″ and press. Using a running stitch sew the pieces together. Make sure the thread is doubled and knotted. Pull the thread to create pleats in the bow. Arrange the folds and wrap thread around the center and knot.

Step 6: Create the Small Bow Piece
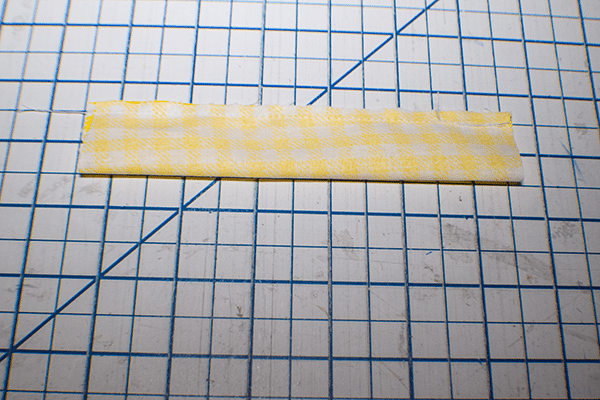
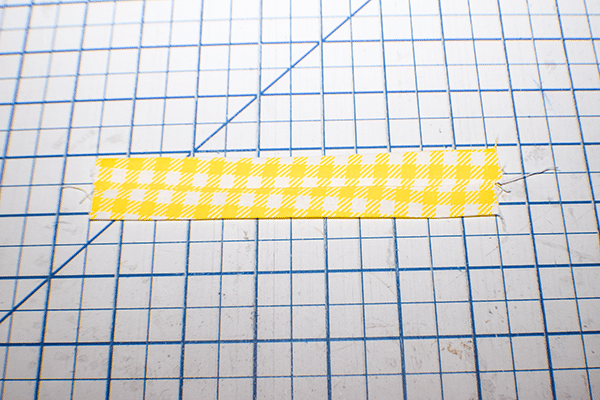
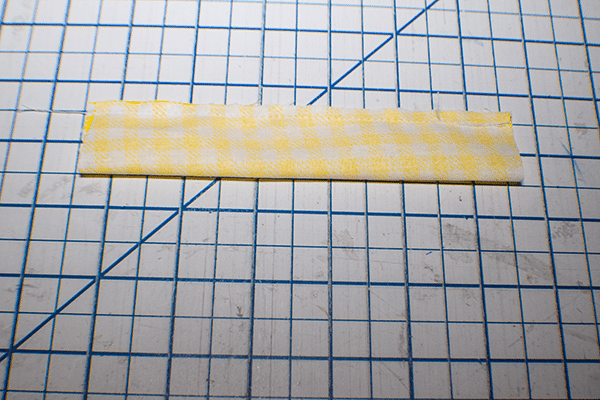
Fold the small rectangle piece in half lengthwise right sides together and stitch using a 1/4″ seam allowance. Turn right sides out. Press so that the seam is in the middle. Fold over one raw edge by 1/2″ and press.
Step 7: Add the Short Bow Piece to the Large One
Wrap the small rectangle around the center of the large bow piece overlapping the folded edge over the raw edge. Trim excess off any raw edge as needed. Hand stitch the small bow piece to the large bow piece onto the back of the bow. You have finished creating the bow.
Step 8: Add the Bow to the Bouquet Bag
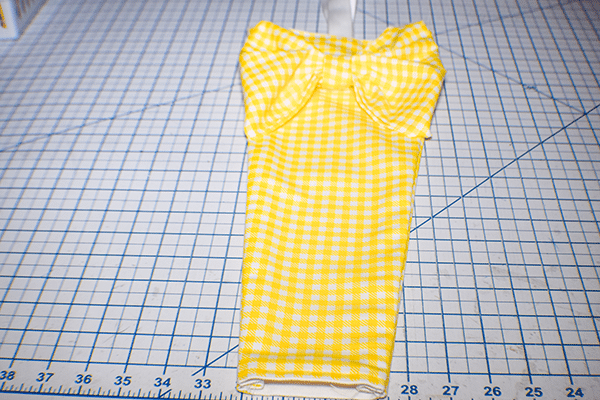
Center the bow on the top of the bouquet bag and hand stitch the center in place. Hand stitch the top and bottom tips of the bow into place on the bag. You could attach the bow using hot glue if you want. Once the bow is attached you have finished your reusable bouquet bag.
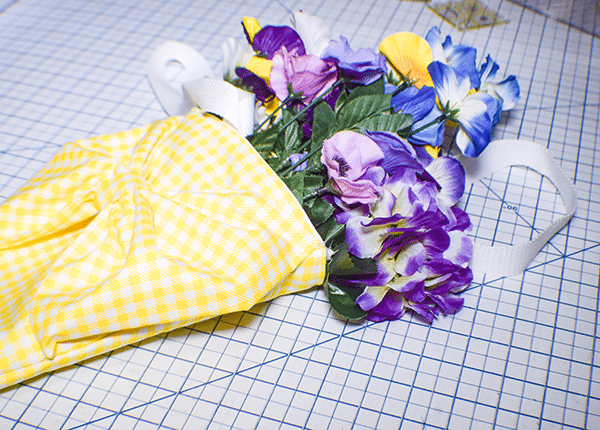

I hope you enjoyed this simple reusable bouquet bag. If you would like more sewing and crafting projects subscribe to our free newsletter and receive access to pour free printables library.
If you would like video tutorials of some of Sew Very Crafty's most popular posts subscribe to our free YouTube channel here.
