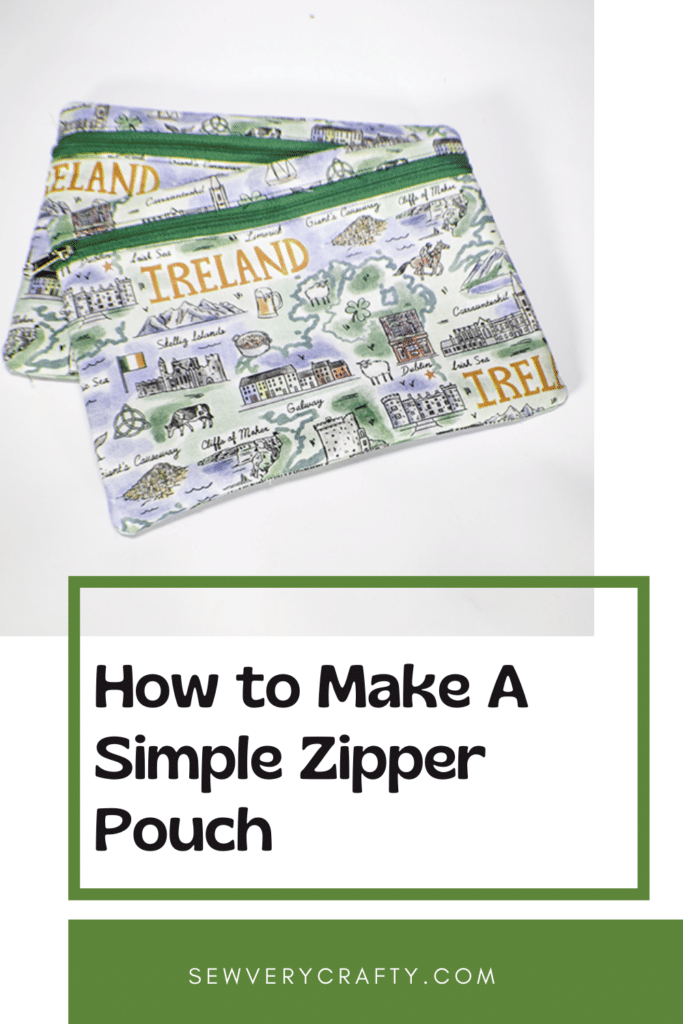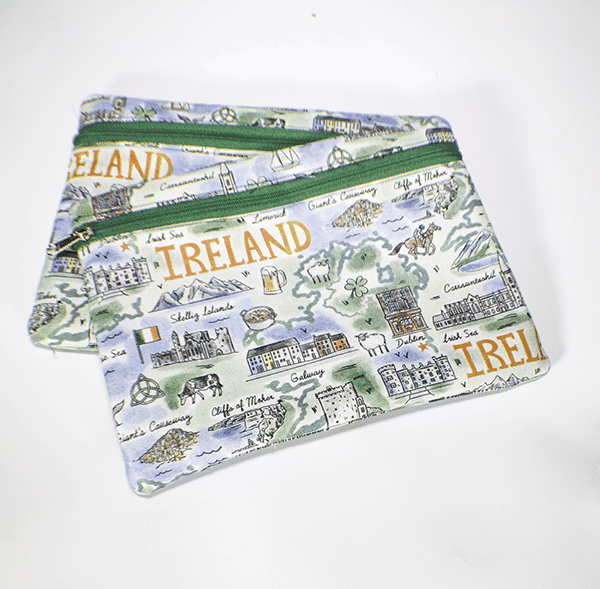
I decided that I needed a simple zipper pouch for my upcoming trip to Ireland to put my miscellaneous stuff in. This pouch is a super simple little project to make. Any beginner can make this project even though I t has French seams. Believe me French seams are not difficult at all to stitch. You will be amazed at just how easy they are. I just loved putting together this really simple sewing project. If you would like more zipper pouch projects check out my other simple zipper pouches.
I used my Ireland travel fabric that I purchased from JOANN Fabric & Craft Stores![]() for this project but you could head to
for this project but you could head to
If you would like a video tutorial of this project head over to YouTube and check out my video. While you are there subscribe to my free YouTube channel.

What you will Need: How to Make a Simple Zipper Pouch
- 1/4 yd outer and lining fabric
- 1/4 yd fusible fleece
- 12″ or longer zipper
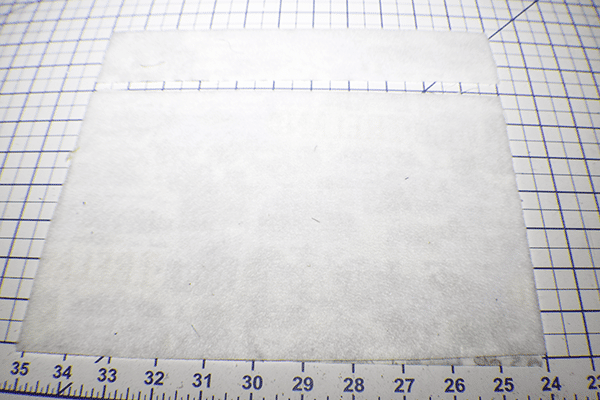
Step 1: Cut your Fabrics
You can make this project any size that you want. There are the measurements for my pouch. Cut one outer, lining and fleece pieces that measure 11″ x 7″ and one of each that measure 11″ x 2″. Then cut one outer, lining and fleece piece that measures 11″ x 9″
Step 2: Fuse the Fleece
Fuse the fleece to the wrong side of the outer fabric pieces following the manufacturer's instructions and using a hot iron.
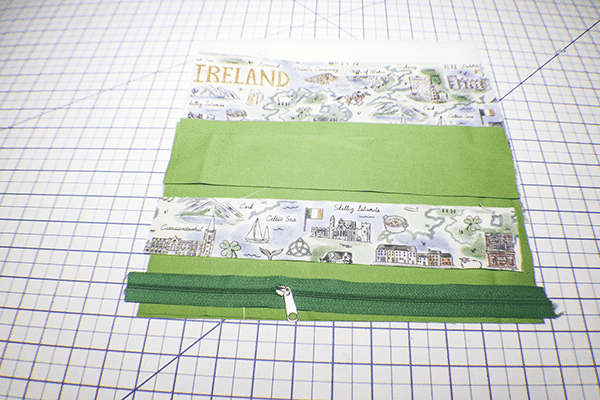
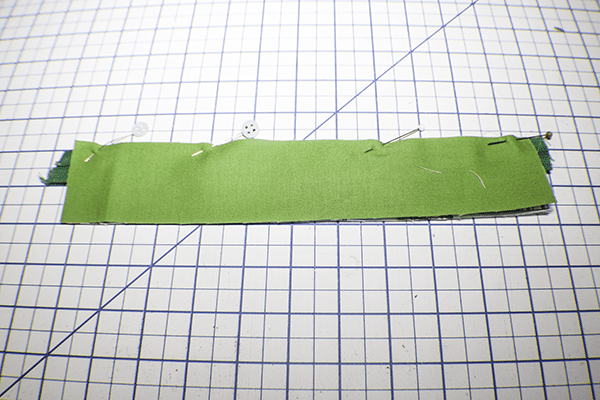
Step 3: Stitch First Half of Zipper
Take the 2″ x 11″ piece of outer fabric and place it right sides ip on your work surface. place the zipper right sides down on your fabric. Then, place the 2″ x 11″ piece of lining right sides together on top of the zipper. Stitch the zipper through all layers. Turn right sides out and top stitch along the zipper.
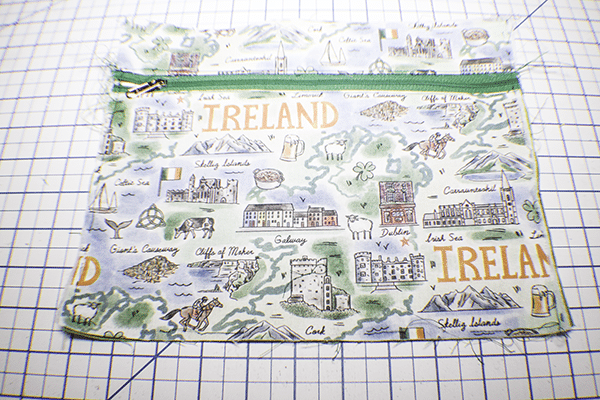
Step 4: Stitch Second Half of Zipper
Take the 11″ x 7″ outer fabric piece and place it right sides up on your work station. Place the other side of the zipper right sides down on the outer fabric piece and the lining piece right sides down on the zipper. Stitch in the same way that you stitched the first half of the zipper. Turn right sides out and top stitch along the zipper.
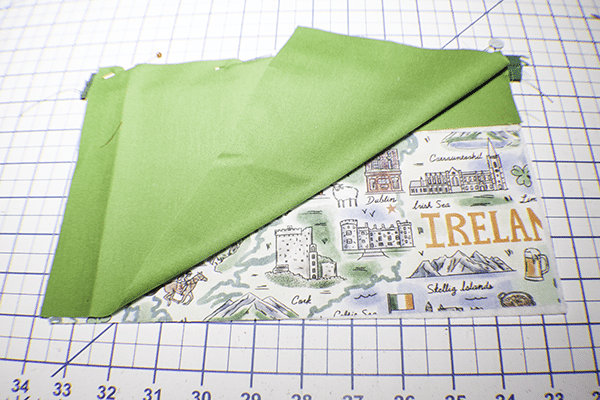
Step 5: Stitch Pouch Together
Place the 11″ x 9″ pieces wrong sides together. Then place them wrong sides together with the zipper front so that the two lining pieces are right sides together. Stitch along the right side through all layers using a 1/4″ seam allowance. Trim the seams. Turn the bag to the lining side.
Step 6: Stitch the Lining Side of the Pouch
Using a 3/8″ seam allowance stitch all the way around the bag. Turn the Pouch rides sides out and press. you are now finished with your simple zipper pouch using French seams.
I hope you enjoyed this simple zipper pouch. If you would like more sewing and crafting projects subscribe to our free news letter and receive your free eBook of 15 handbag patterns and tutorials taken from the blog
If you would like video tutorials of some of Sew Very Crafty's most popular posts subscribe to our free YouTube channel here