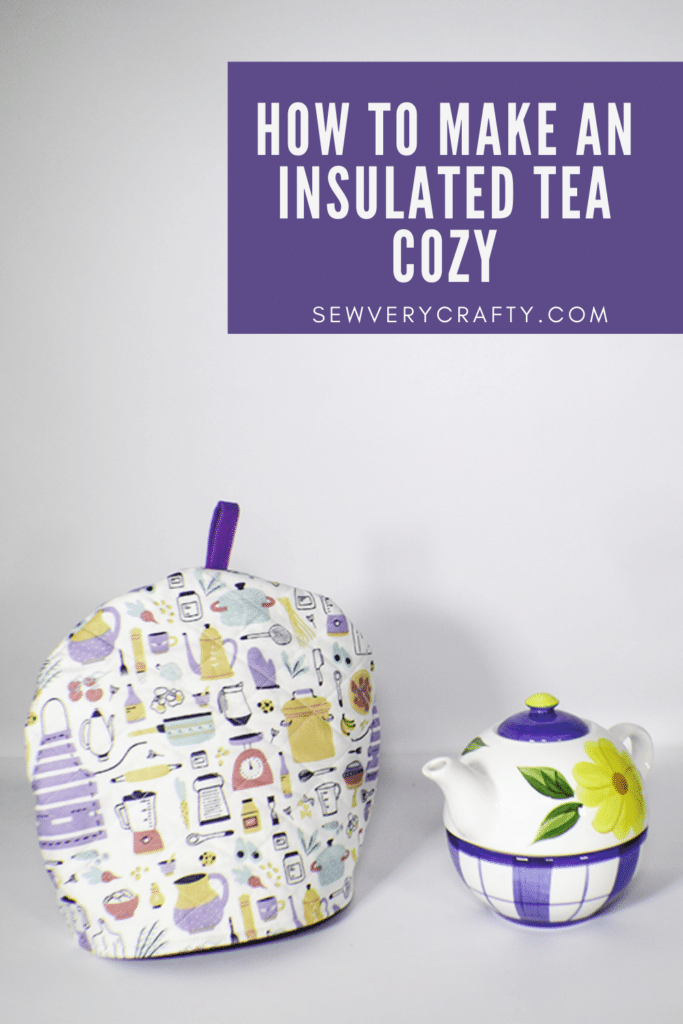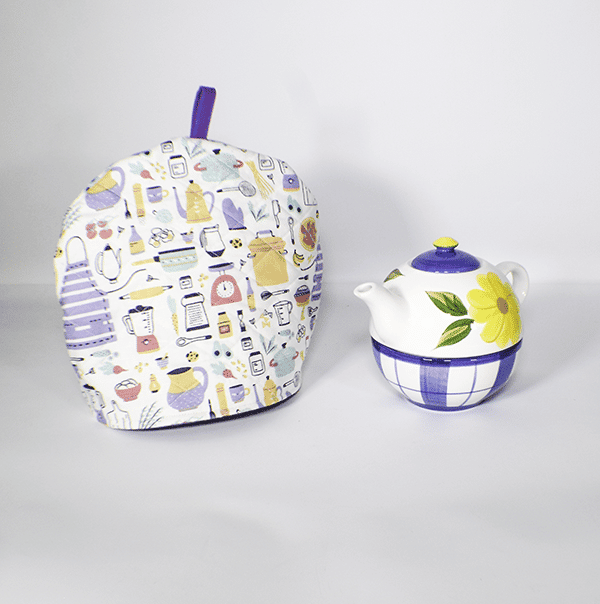
My husband is from England and loves his tea. I thought I would make an insulated tea cozy in homage to his drinking habit. My little teapot and teacup combination was a perfect template for this project. I decided to quilt this tea cozy as well so it is also a simple little quilting project. This is a beginner sewing and quilting project that anyone with basic sewing skills can make. If you would like more simple quilting projects check out my quilting projects here.
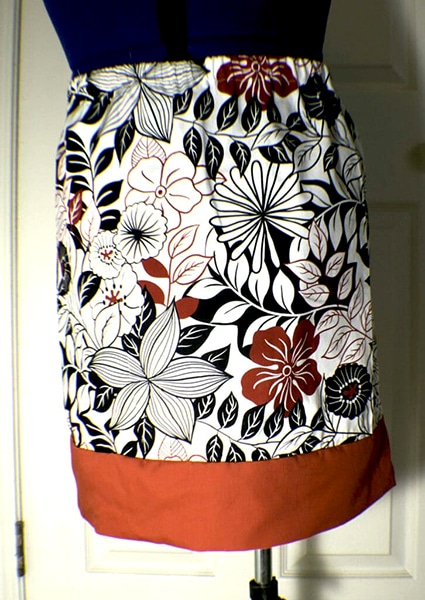
I used some fun kitchen themed fabric that I had on hand for this project. I purchased it at Joann's and used it for my reversible apron project. Of course you could head to Fabric.com or onlinefabricstore.net to get exactly what you want for your tea cozy project. This post contains affiliate links that if you click on them and make a purchase I may receive a small commission at no extra cost to you.
What you will Need: How to Make an Insulated Tea Cozy
- Pattern you can get by clicking on this link
- 1/4 yd outer and lining fabric
- 1/4 yd insul-bright
- Standard Sewing supplies
- Sewing Machine
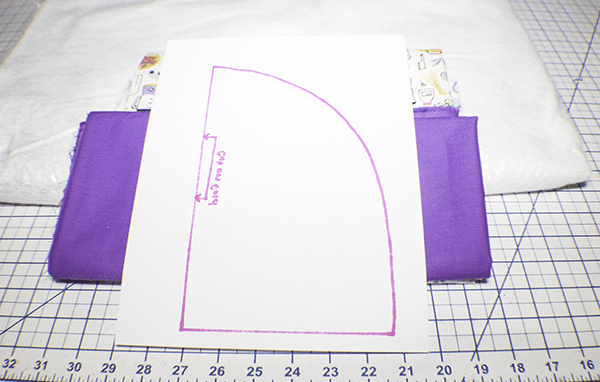
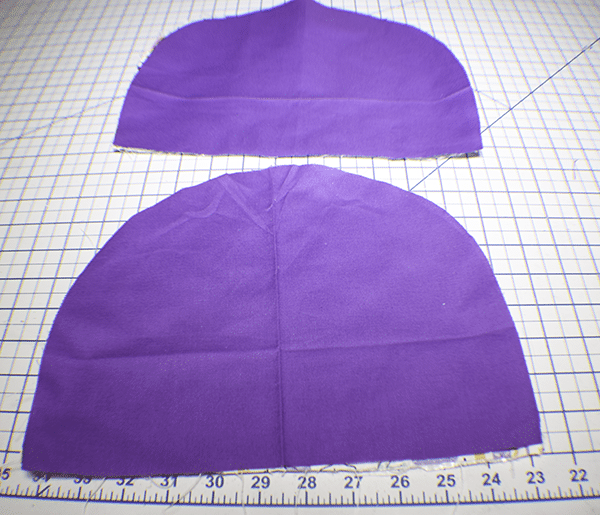
Step 1: Cut your Fabrics
Using the pattern piece cut two outer, lining and insul-bright pieces on the fold. Cut a rectangle that is 2″ x 4″ for the top holder.
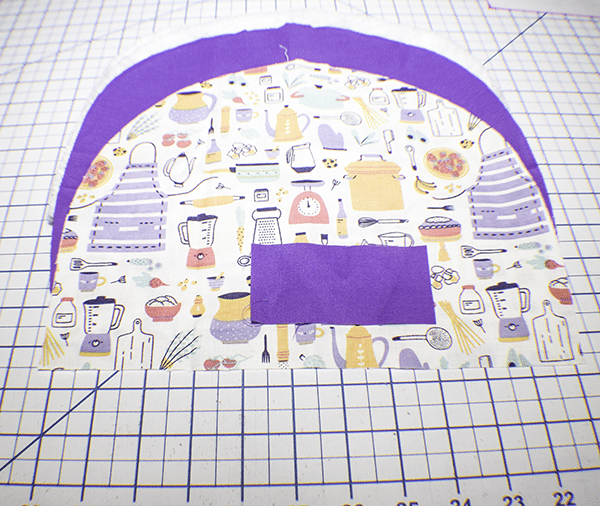
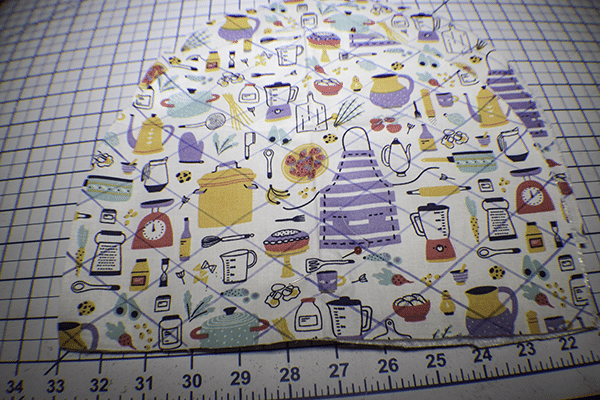
Step 2: Quilt the Outer Fabric
Place the outer fabric wrong side together with the insul-bright. Draw diagonal lines about 1 1/2″ wide across the outer fabric using and erasible pen. Stitch along the lines you just drew to quilt the outer fabric to the insul-bright.
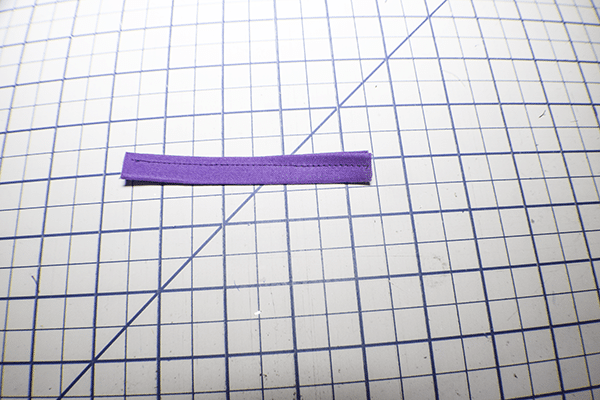
Step 3: Create the Holder
Take the 2″ x 4″ piece of fabric and fold the long edges in to the center and press. Fold in half to enclose the raw edges and stitch down the center.
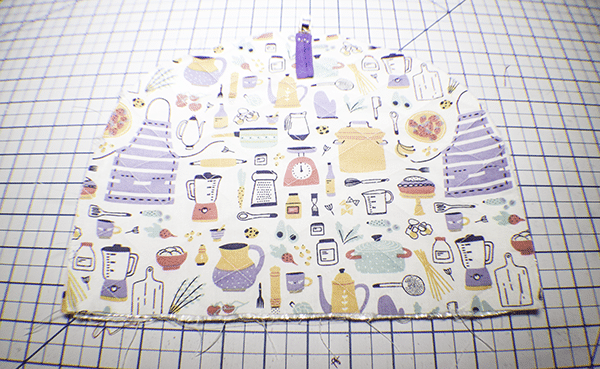
Step 4: Add the Lining
Place the lining right sides together with the outer pieces and stitch along the bottom only.
Step 5: Add the Holder
Fold the holder in half and place it in the center of the top of one of the outer pieces and stitch in place.
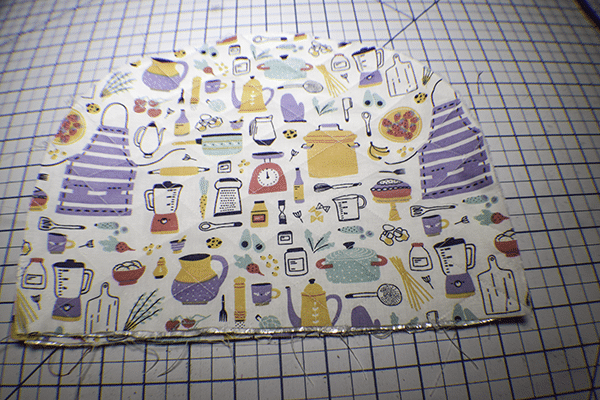
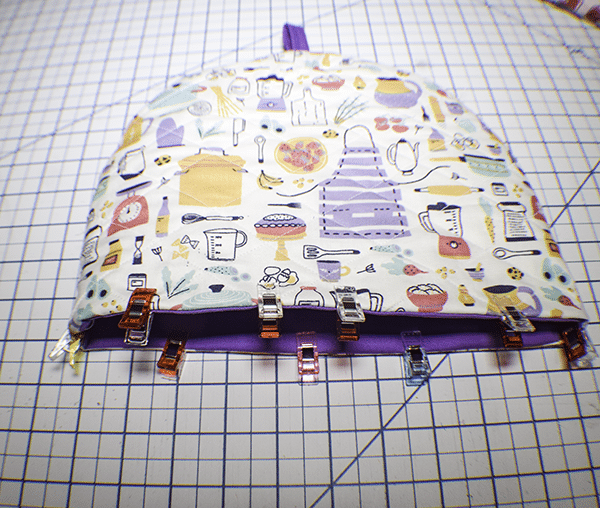
Step 6: Stitch the Sides Together
Place the outer sides right sides together and the lining sides right sides together and clip or pin. Stitch all the way around leaving an opening in the lining for turning.

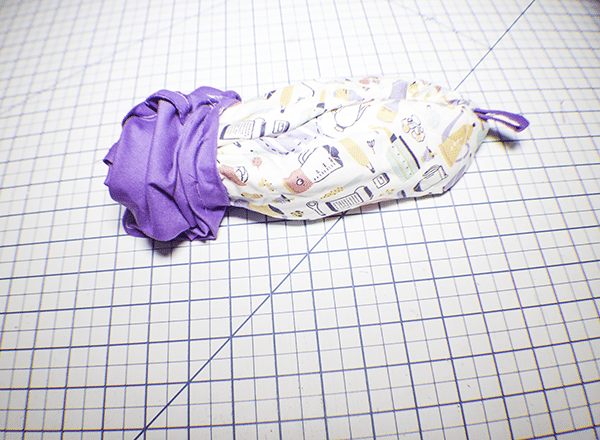
Step 7: Turn Right Sides Out
Reach into the opening and turn the tea cozy right sides out. Stitch the opening closed using ladder stitch or your machine.
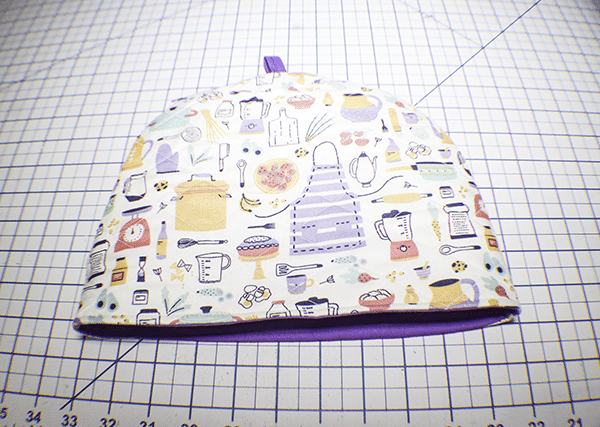
Step 8: Finish the Tea Cozy
Push the lining into the outer tea cozy and press. Topstitch around the bottom. Tack the top to the lining so it doesn't slip down and you have finished your insulated tea cozy.
I hope you enjoyed this insulated tea cozy project. if you would like more sewing and crafting tutorials subscribe to our newsletter and receive access to our free printables library.
If you would like video tutorials of some of Sew Very Crafty's most Popular posts subscribe to our free YouTube channel here.