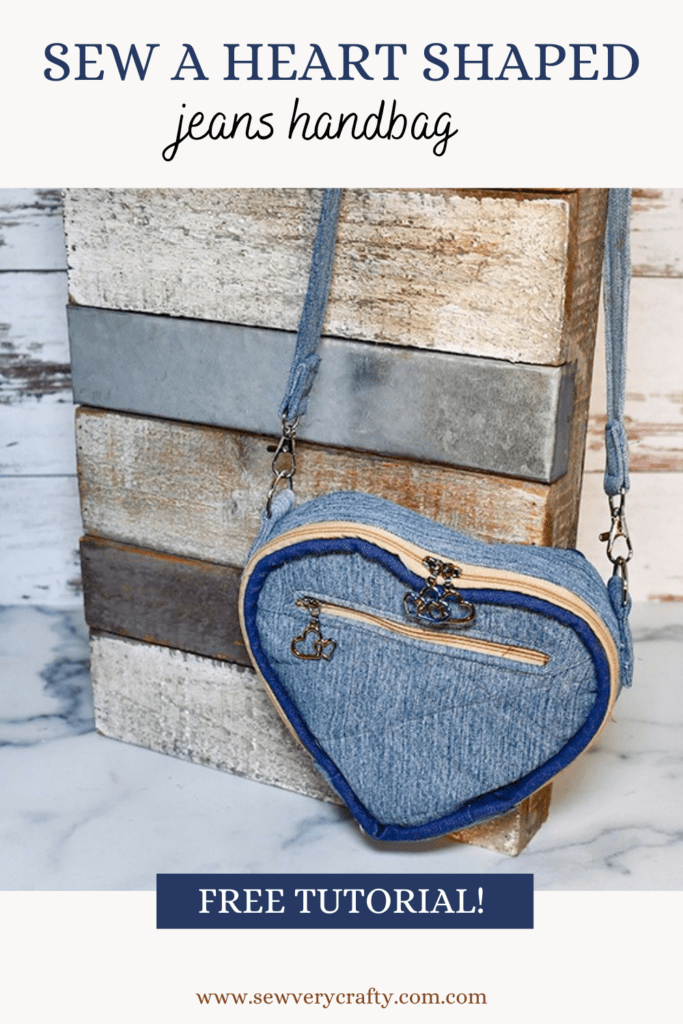
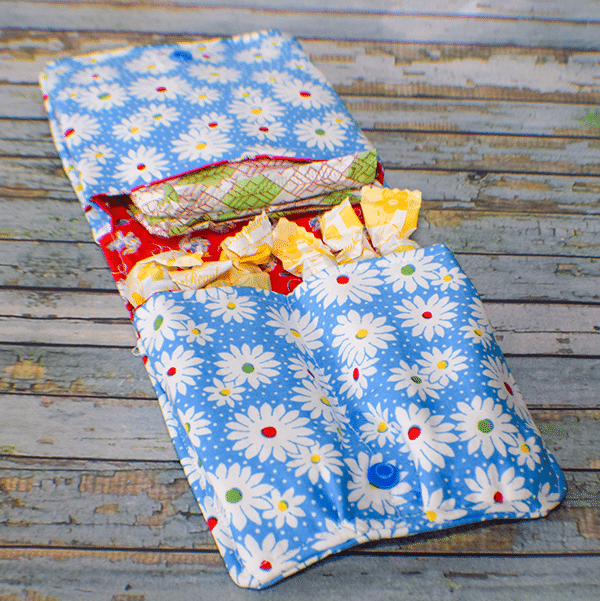
I recently made a heart shaped backpack for Valentine's day. I came across a heart shaped handbag on YouTube and thought it would make a great companion to that. This one is made from old jeans and is pretty easy to make for those of you with basic handbag making skills. This bag is quilted and very sturdy so I hope you like it and give it a try. If you would like more handbag making projects head over to my handbag page for many more.
Note: This post contains affiliate links that if you click on them and make a purchase I will receive a small commission at no extra cost to you. As an Amazon Associate I earn from qualifying purchases.
What you Will Need: How to Sew a Quilted Up-Cycled Jeans Heart Shaped Handbag
- Pattern you can get by clicking on this link
- 1 old pair of jeans
- 1/2 yard lining and backing fabric
- 1/4 yd blue fabric
- Piping
- 1/2 yd batting
- 2 1″ D-rings
- 2 1″ swivel clips
- 2 grommets
- Continuous zipper
- Sewing machine
- Standard sewing supplies
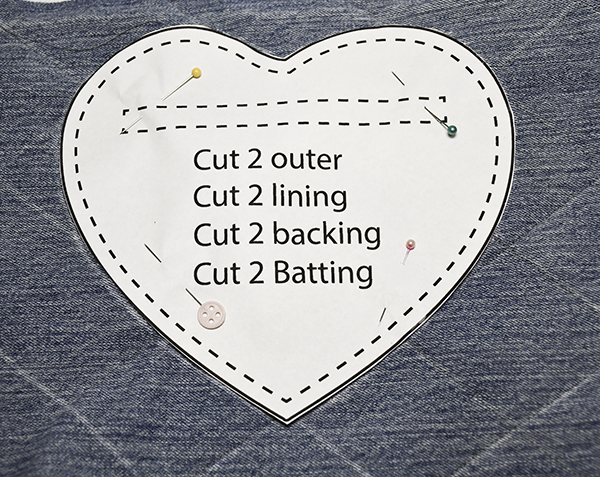
Step 1: Print out the pattern
Print the pattern in full size. Seam allowances are included. Seam allowance is 1/4″ unless otherwise specified.
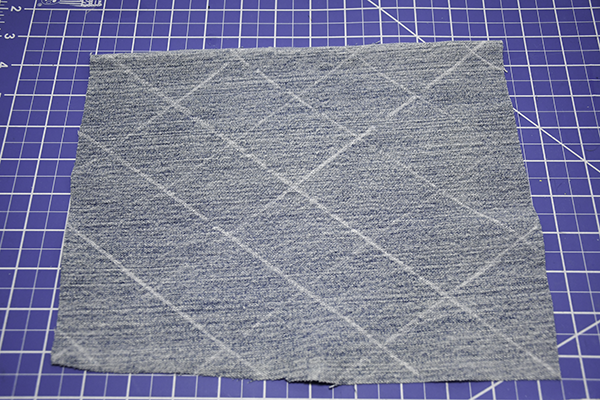
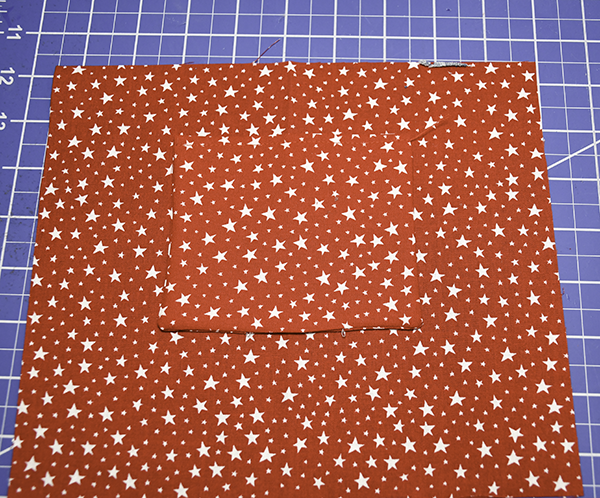
Step 2: Cut out the Fabric
Start by cutting out rectangles of the jeans, batting, backing and lining fabrics that measure 9″ x 10″. Following the non-heart shaped pattern pieces cut out the fabrics as directed on each piece.
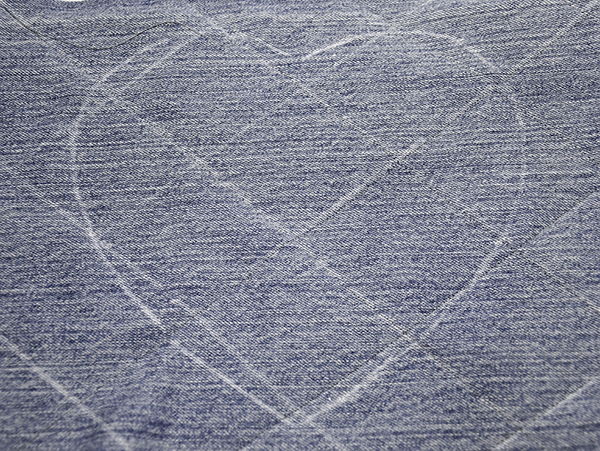
Step 3: Mark the Quilt Lines
Using a piece of tailor's chalk or an erasable pen draw diagonal lines across both jeans rectangles. Then draw diagonal lines in the opposite direction to create a diagonal pattern.
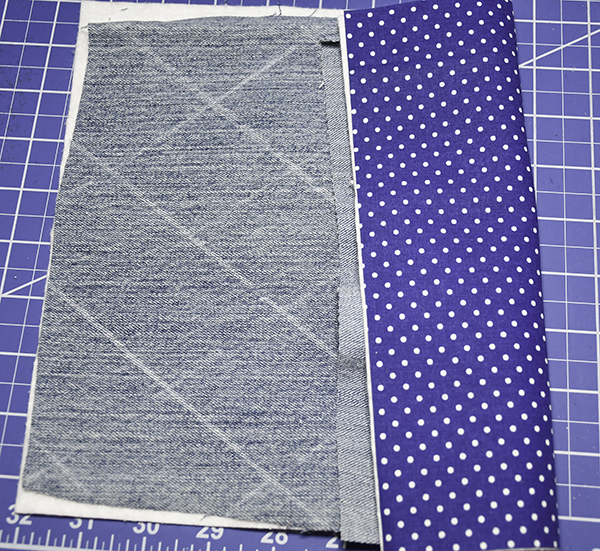
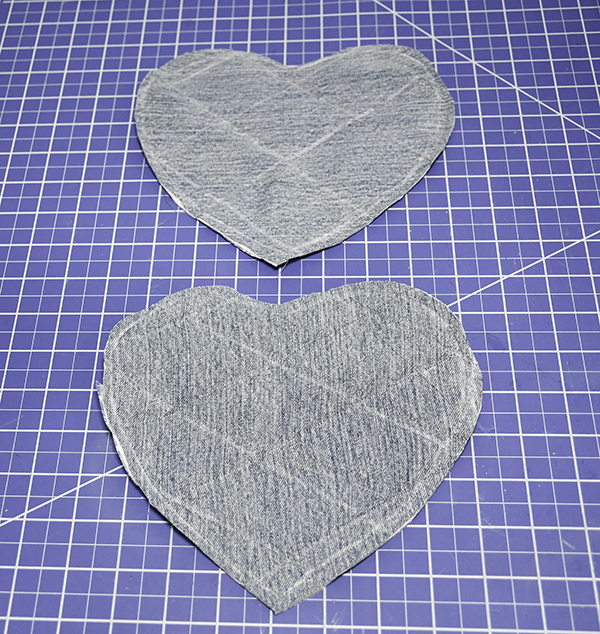
Step 4: Layer the outer bag fabrics
Place the outer rectangles shaped jeans piece then the quilt batting and the backing pieces. Pin the pieces together so they do not slip while quilting.
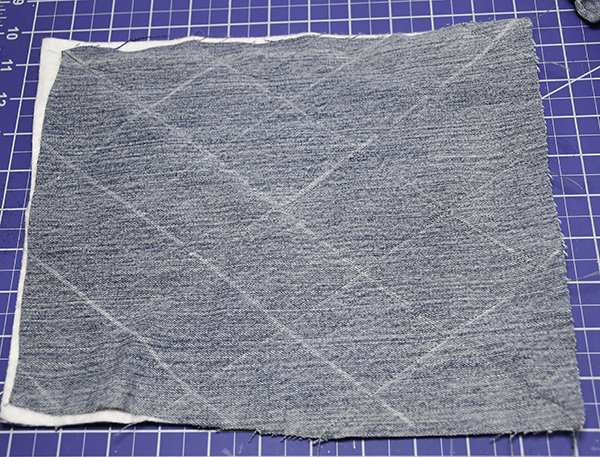
Step 5: Quilt the Rectangles
Stitch the outer rectangle pieces along the quilting lines the you previously drew through all layers.
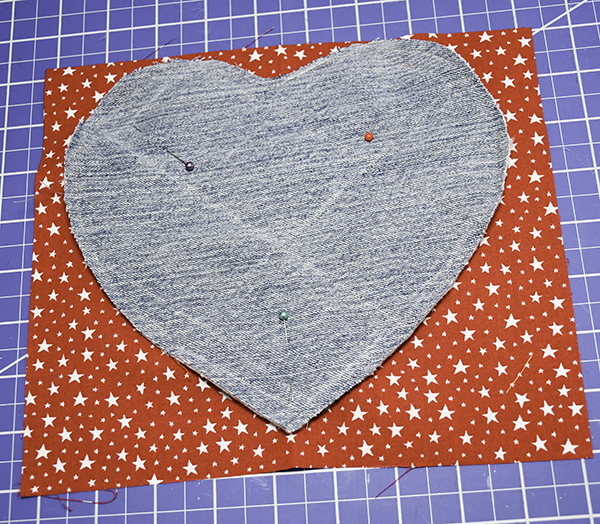
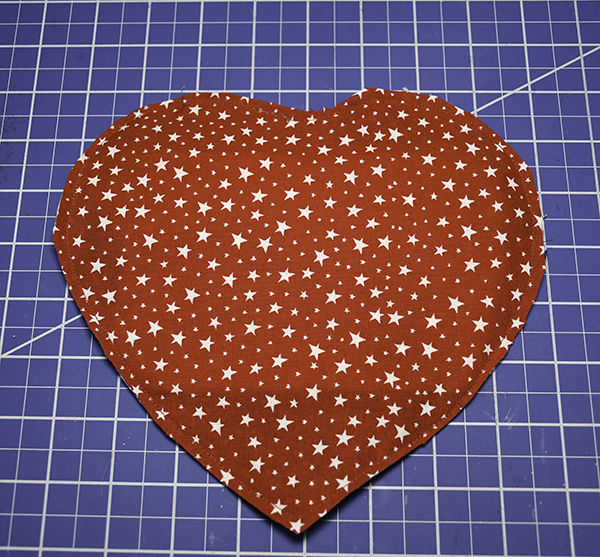
Step 6: Create the Heart shape
Pin the heart shaped pattern piece onto the quilted rectangles and trace using tailor's chalk or an erasable pen. Stitch all the way around the heart through all layers. Cut out the heart pieces just outside the stitching line.
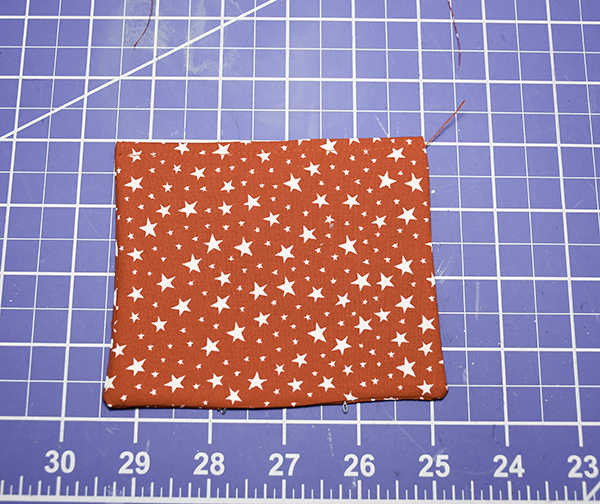
Step 7: Create the Inner pocket
Take a lining piece that measures 5″ x 8 ‘. Fold the piece in half widthwise right sides together. Stitch along the bottom and sides leaving an opening on the bottom for turning. Turn the pocket piece right sides out and press.
Step 8: Add the Inner pocket
Find the center of the inner pocket piece and make a mark. Take a lining rectangle and find the center. Place the pocket piece on the center and stitch along the sides and bottom making sure to enclose the bottom opening as you go..
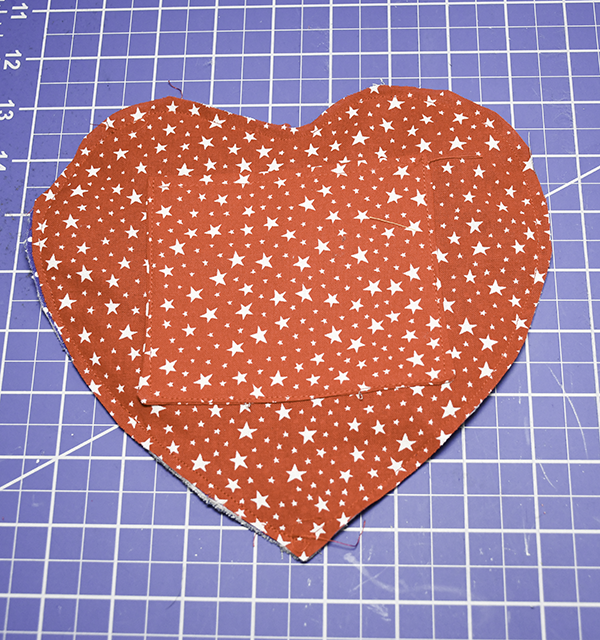
Step 9: Add the Lining to the Outer Heart
Place the outer quilted heart piece wrong sides together on the lining rectangle with the pocket. Stitch all the way around through all layers. Trim off the excess lining fabric. Do this for just one piece.
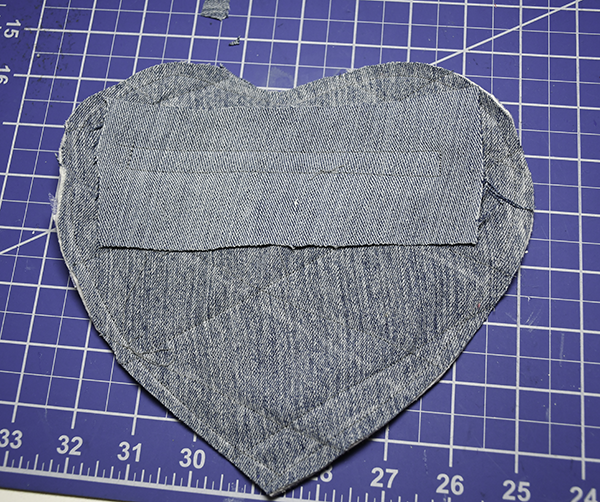
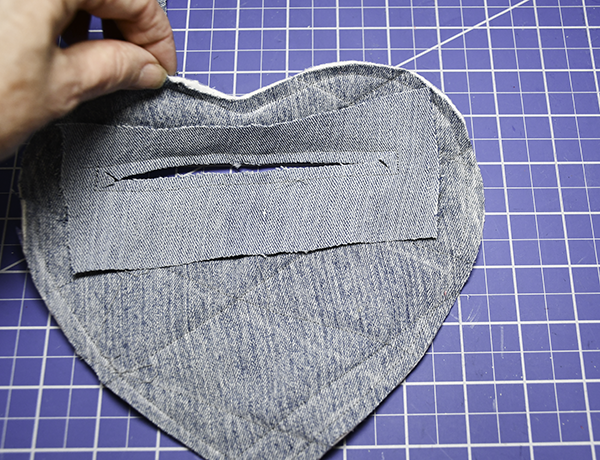
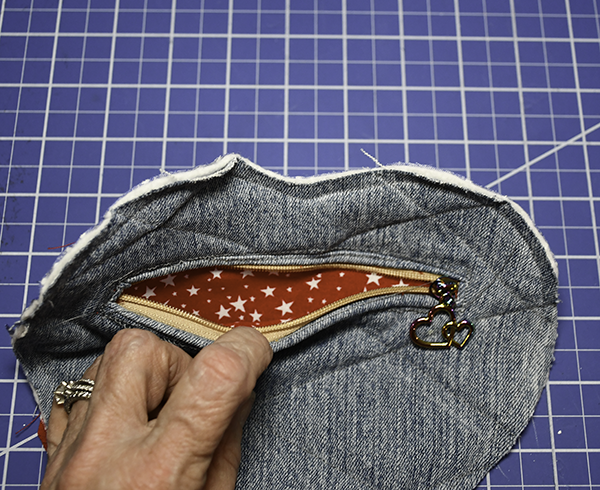
Step 10: Add the Outer zipper pocket
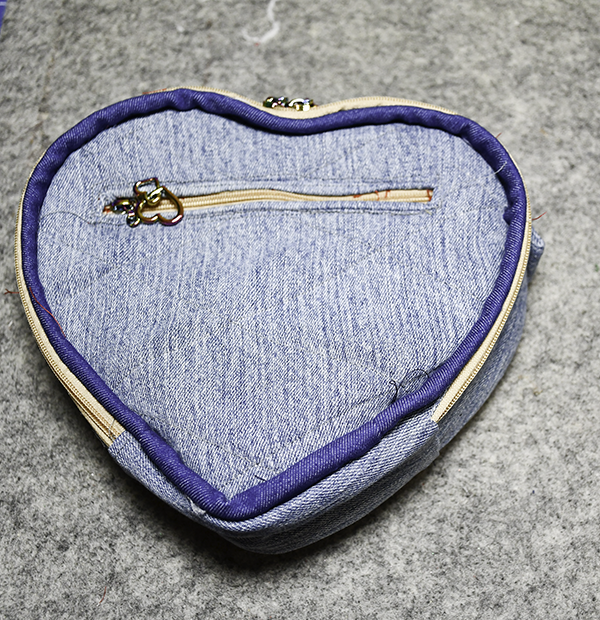
Place the jeans part of the zipper pocket pattern piece right sides together with the other heart shaped piece. Place it on the upper part of the heart in the center. Stitch along the outer stitching line through all layers. Cut the center line just on the drawn lines. Push the stitched piece through the opening you just created and press. Hand baste around the opening. Place a zipper that measures 6 1/2″ to on top of the right side short end of the lining pocket piece and onto the wrong side of the heart so that it appears through the opening. Topstitch all the way around to secure the zipper.

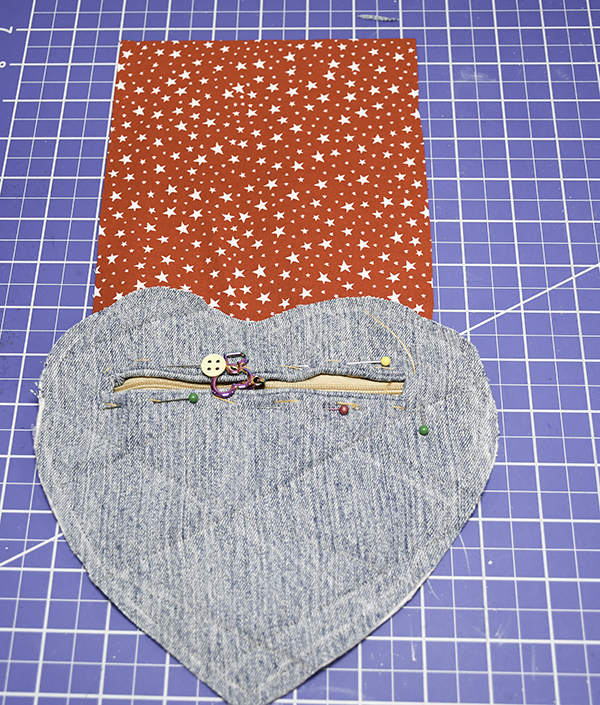
Step 11: Stitch the pocket
Fold up the lining pocket piece so that it matches the top of the zipper placard. Stitch along the top and sides of the outer part of the zipper through all layers. The pocket piece will extend below the heart. Mark the extended part of the pocket along the heart shape and cut that part off. Stitch along the sides and cut part of the lining pocket piece.
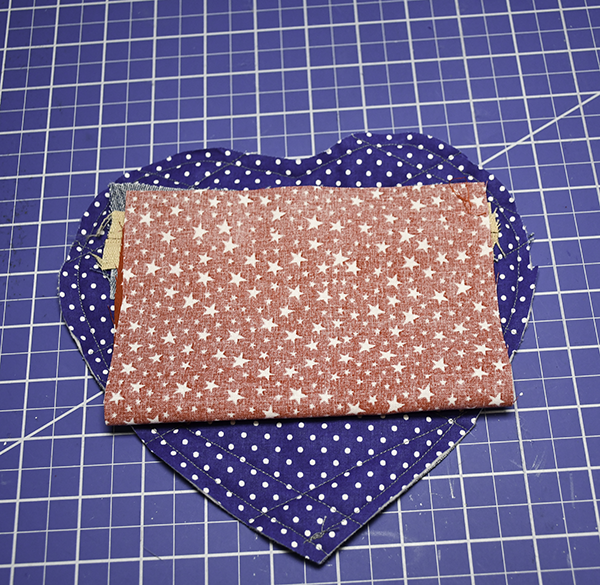
Step 12: Add the Lining
Cut two heart shapes from the lining. Place the lining pieces to the back of the outer hearts and stitch all the way around.
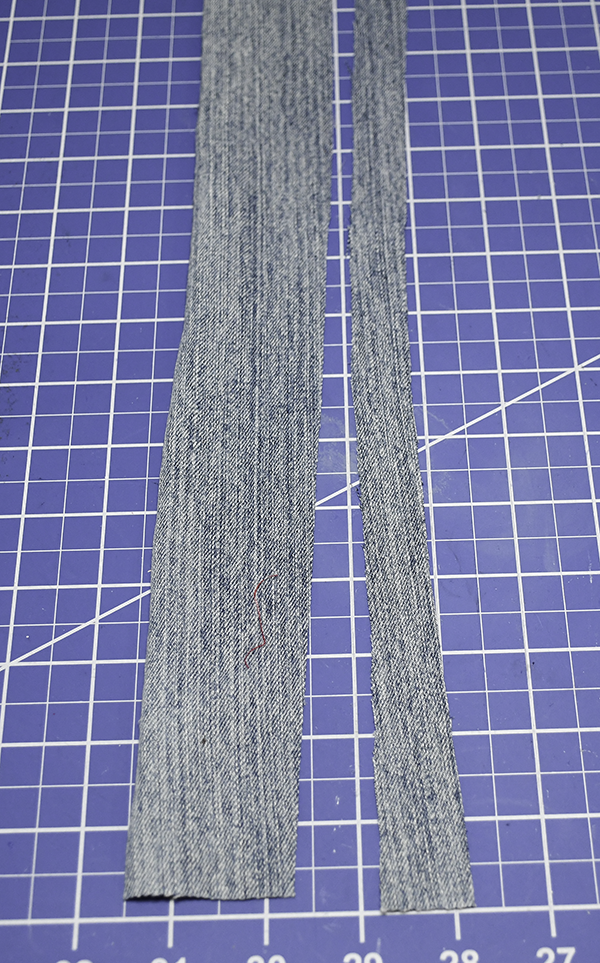
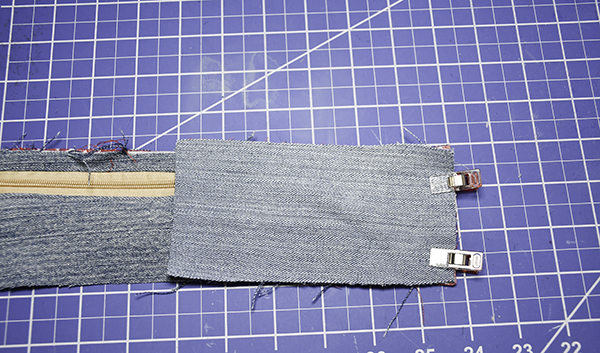
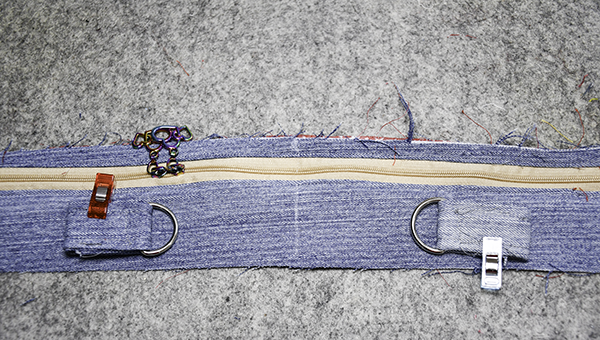
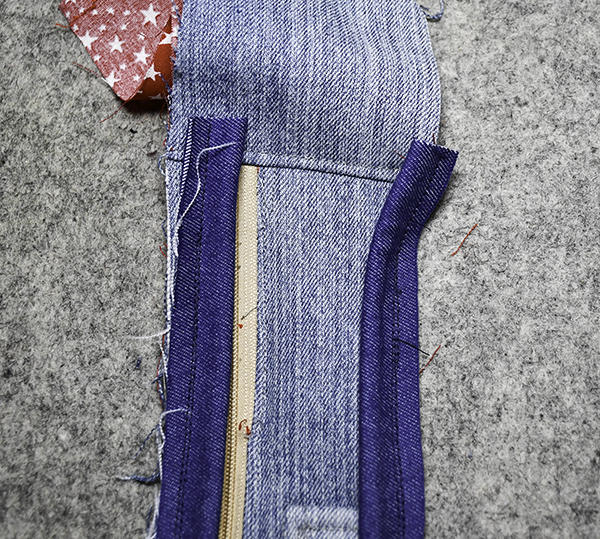
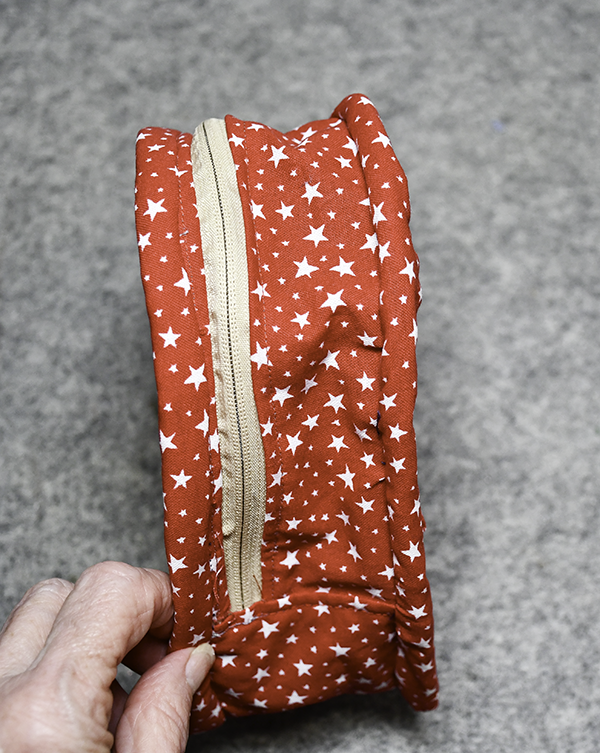
Step 13: Create the Zipper Panel
Cut the zipper panel along the cut line located on the pattern. Lay the lining piece right sides up on your work station. Place the 20″ zipper with two zipper pulls facing each other right sides up on top of the lining piece and the jeans piece right sides down like a zipper sandwich. Stitch along the top through all layers. Open the pieces and exposing the zipper. Press. Topstitch along the zipper. Repeat for the other side of the zipper using the wider jeans and lining pieces.
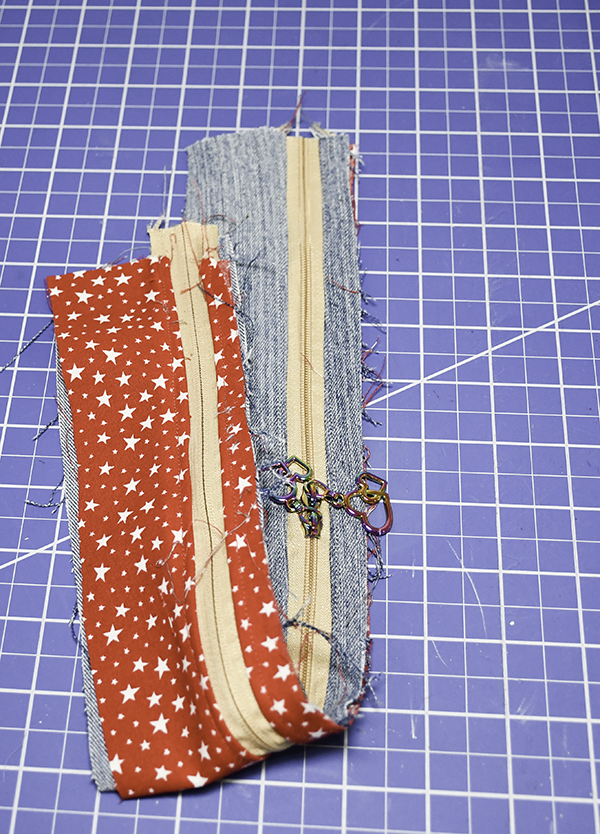
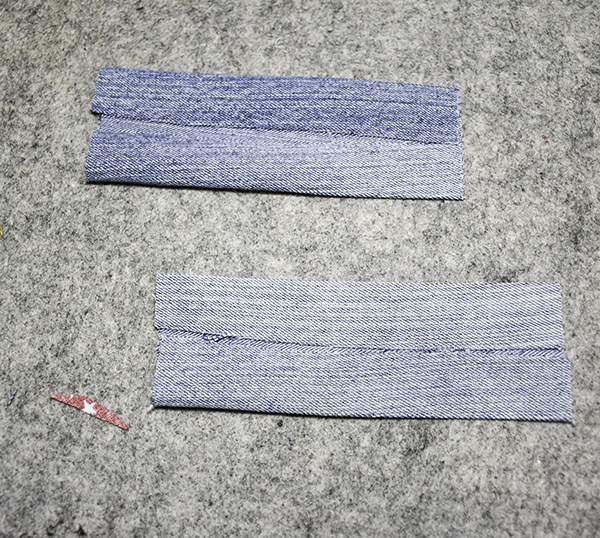
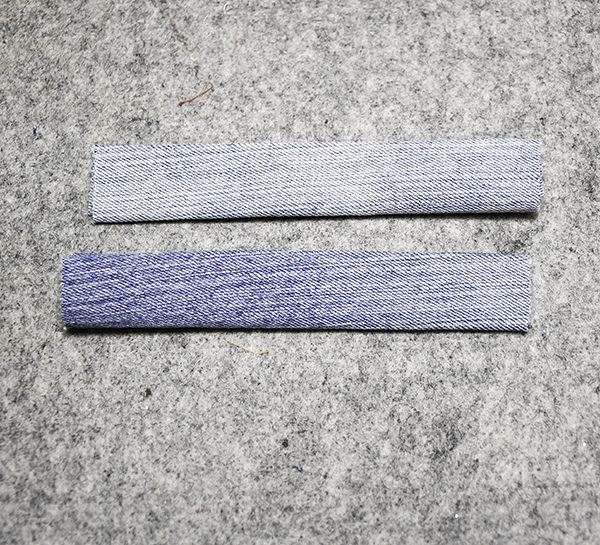
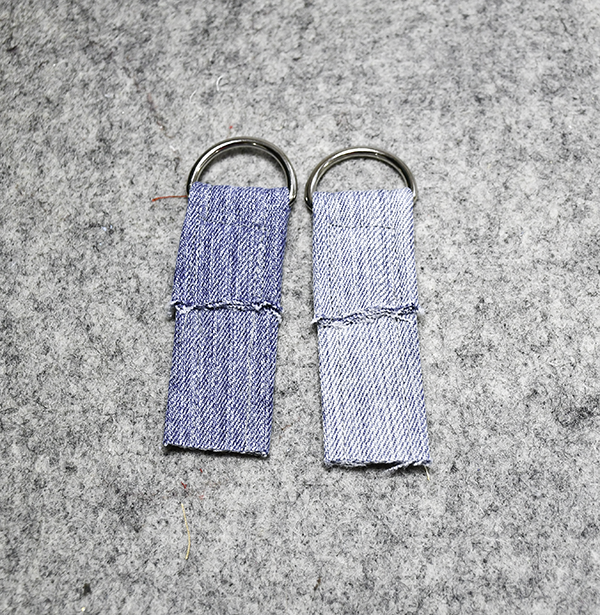
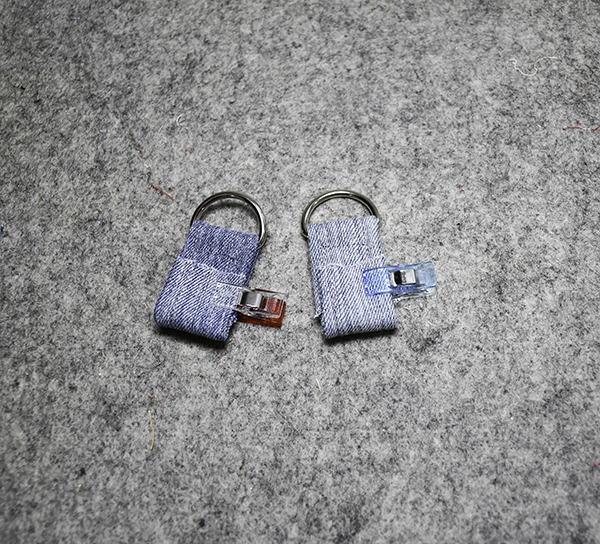
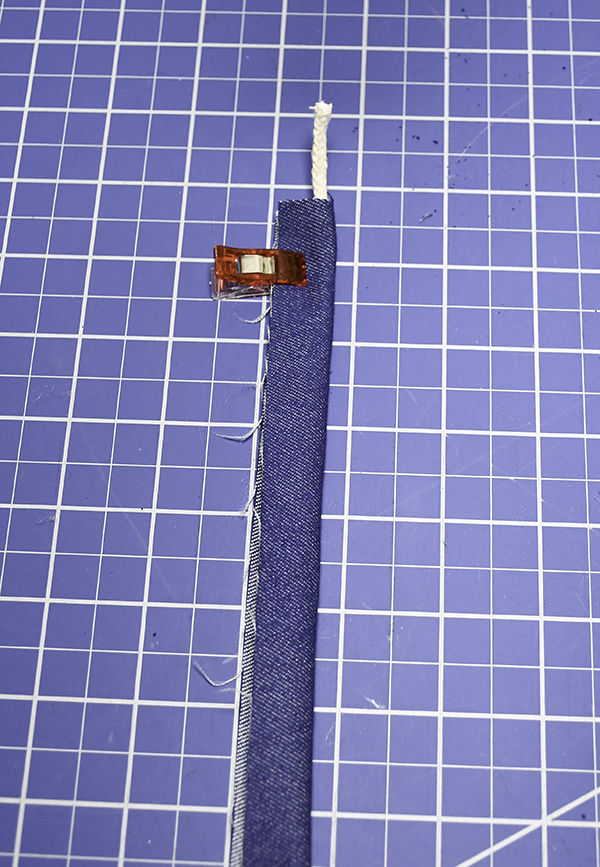
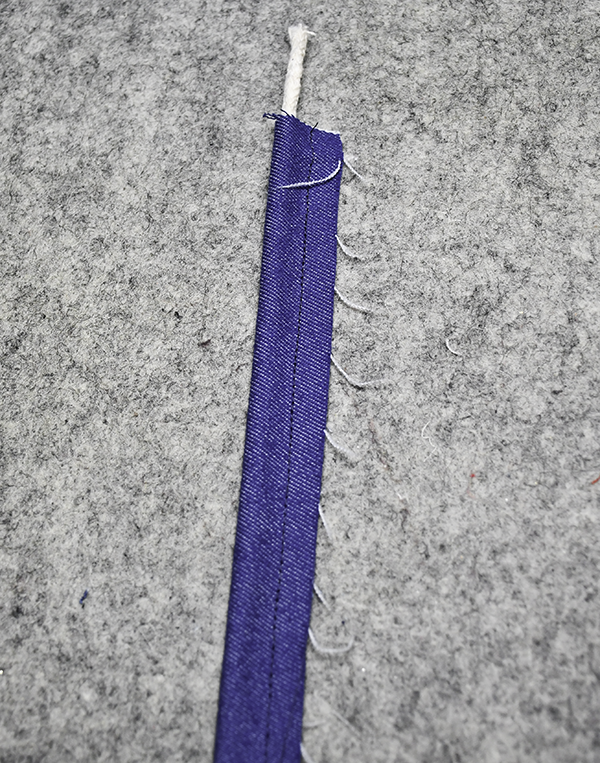
Step 14: Create The D-Ring Tabs
Take the D-Ring tab and fold the long raw edges to the center and press. Fold in half lengthwise and press again. Insert the tabs through the D-Rings so that the tab is about 2/3 of the way to the bottom. Stitch along both long sides. Fold up the extra part of the tab. and clip using a wonder clip.
Step 15: Add the Tabs to the Zipper Panel
Fold the zipper panel in half to find the center. Make a mark. Measure 3 2/3″ on either side of the center mark and mark those locations. Place the D-Ring tabs so the D-Rings are over the mark toward the center but the tab is on the other side. Stitch the tabs to just the jeans part of the zipper panel.
Step 16: Stitch the Panel
Make sure that the jeans and lining are even. Stitch along both long raw edges through the two layers. Add the bottom pieces. Sandwich one of the panel short ends between the bottom pieces with the jeans piece right sides together with the jeans part of the panel and the lining piece right sides together with the jeans piece. Stitch along the short raw edges. Fold out the bottom pieces. Press and topstitch along the seam.
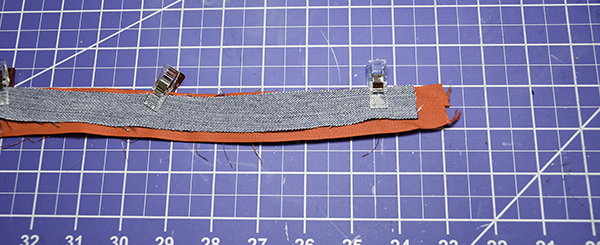
Stitch 18: Create the piping
Take a piece of blue fabric that measures 1 1/8″ x 27 1/2″. Fold the fabric over the piping matching the long raw edges. Stitch along the piping to secure. You can use pre-made piping if you like.
Step 19: Add the Piping
Place the piping to the thinner side of the zipper panel matching the long raw edges. Stitch the piping to the panel. starting 1″ from the seam you made when you added the bottom piece and ending an inch before the end. Repeat for the other side.
Step 20: Finish the Zipper Panel
Place the short ends right sides together. Roll up the entire panel leaving the lining bottom straight. Once the panel is rolled up, place the lining bottom and the jeans bottom right sides together and stitch. Pull the panel taut. Topstitch along the seam. Join the piping ends together. To do this overlap the piping ends. Open the fabric exposing the piping. Cut the piping so that the ends meet. Fold under the short raw edges of the fabric and cover the piping. Stitch the piping fabric to the panel to finish it off. Turn the panel wrong sides out.
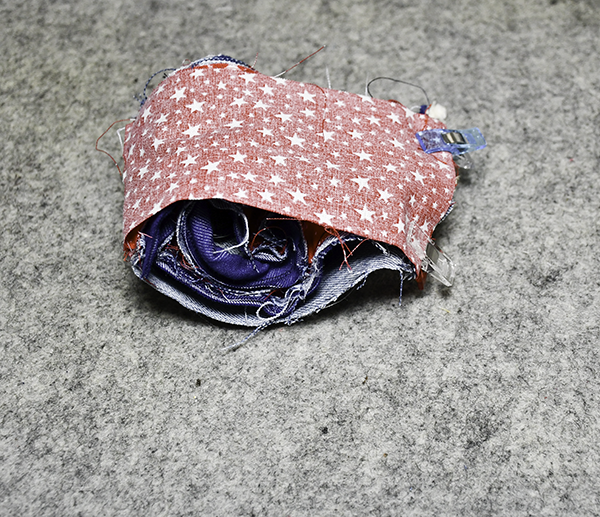
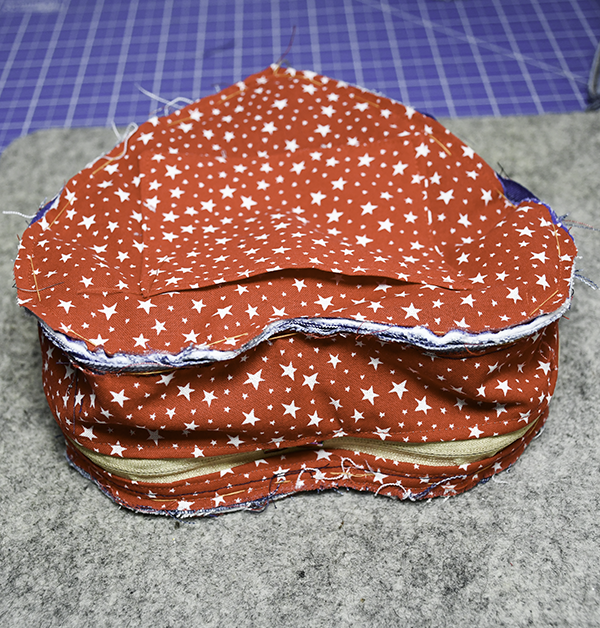
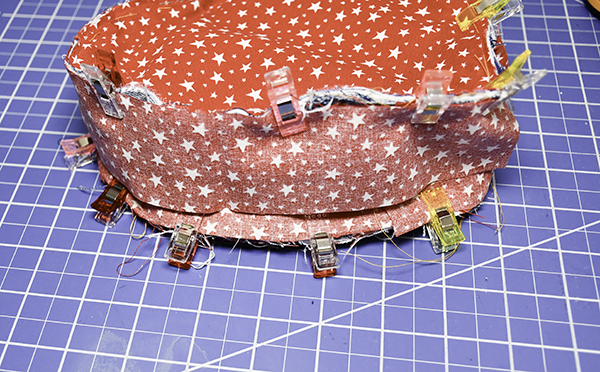
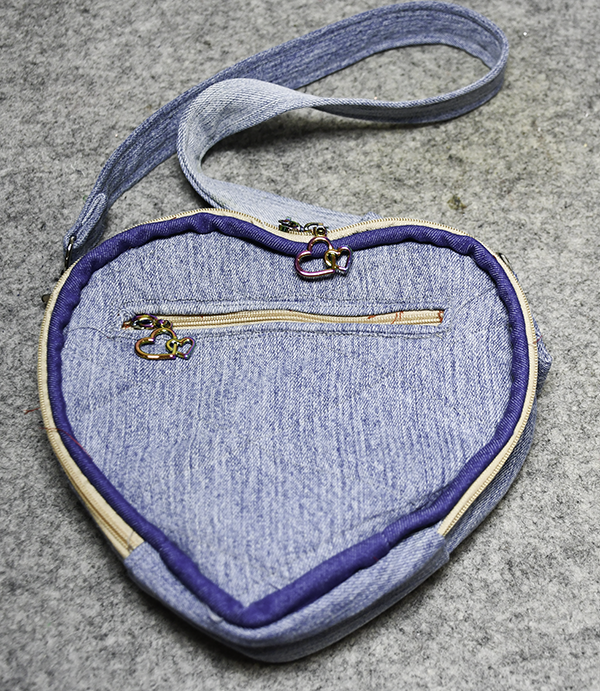
Step 21: Add the Outer Hearts
Place one of the outer hearts so that it is right sides together with the panel. The center of the top of the heart should be even with the center of the zipper. Hand bast the heart to the panel. Cut a long strip of lining fabric 2″ wide. Fold under one short end. Place it right sides together with the lining side of the panel starting at the bottom point of the heart and clip all the way around using wonder clips. Stitch through all layers. Trim off any excess binding. Double fold the binding over the raw edges and clip. Hand stitch the binding folded edges. Repeat for the other heart. Turn the bag right sides out.
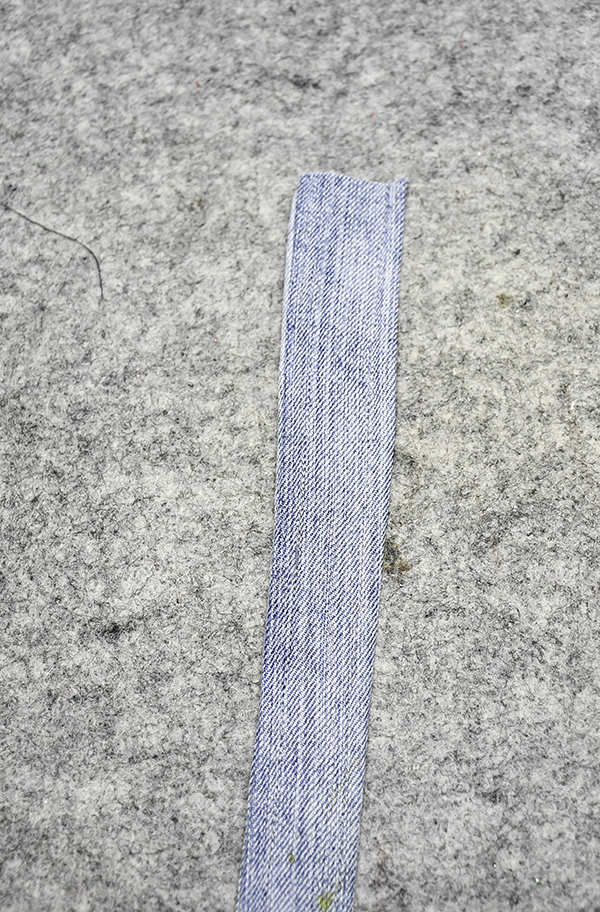
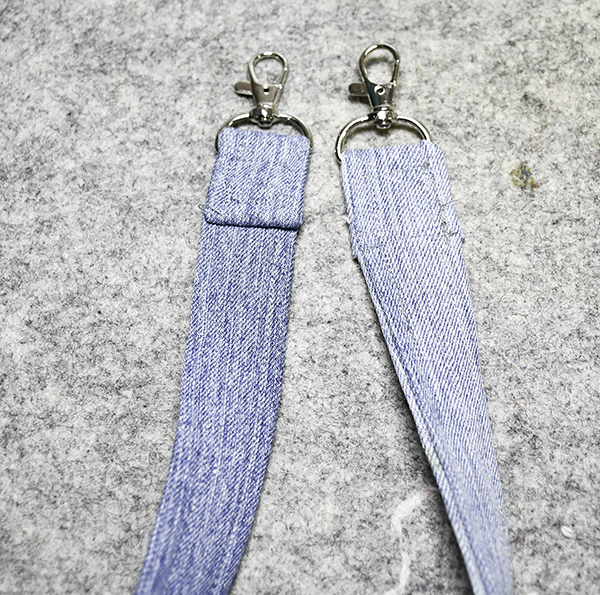
Step 22: Create the Strap
Cut the longest piece of jeans fabric you have so that it is 4″ wide. Fold the long raw edges to the center and press. Fold in half lengthwise and stitch along both long edges. Add the swivel clips to each end. Fold under the raw edges. Clip to the D'Rings and you have finished your up-cycled quilted heart shaped handbag.
Step 23: Add the Binding
Cut the binding and stitch it to the raw edges of the bag. Double fold the binding to enclose the raw edges. Hand stitch the folded side of the binding.
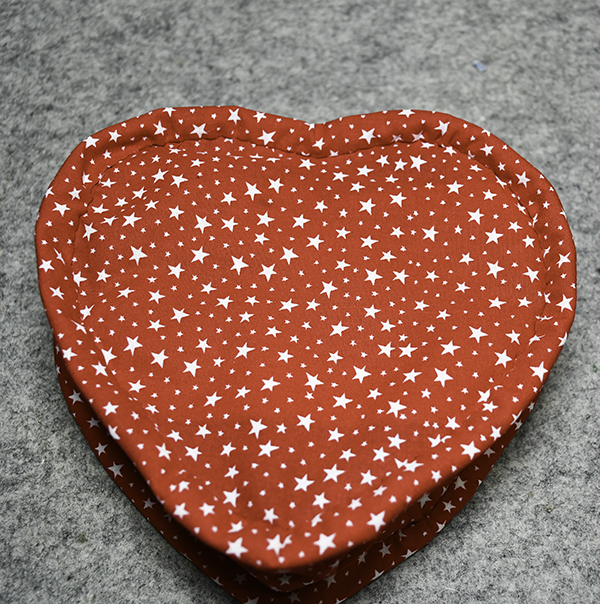
Step 24: Finish the Handbag
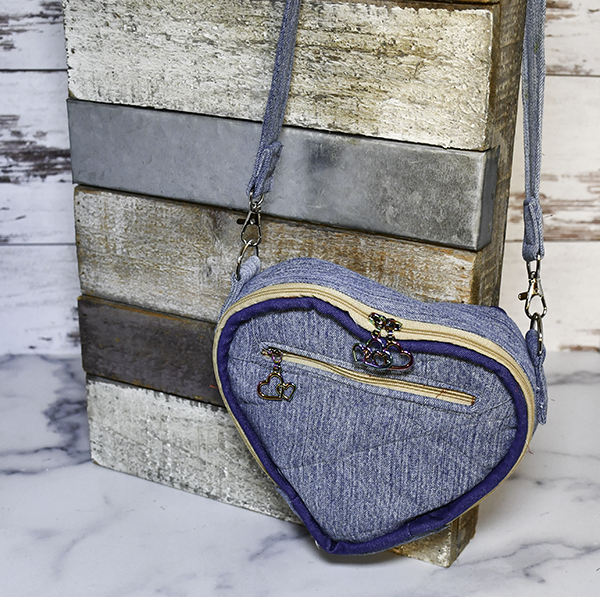
I hope you enjoyed this heart shaped purse project. If you would like more sewing and crafting projects subscribe to our free newsletter;etter and receive your free handbag eBook.
Subscribe to our Free YouTube Channel!
Join our Sew Very Crafty Fans Facebook group
If you want to ask questions and share your projects join our Facebook group here. The community will help to achieve your sewing and crafting dreams.