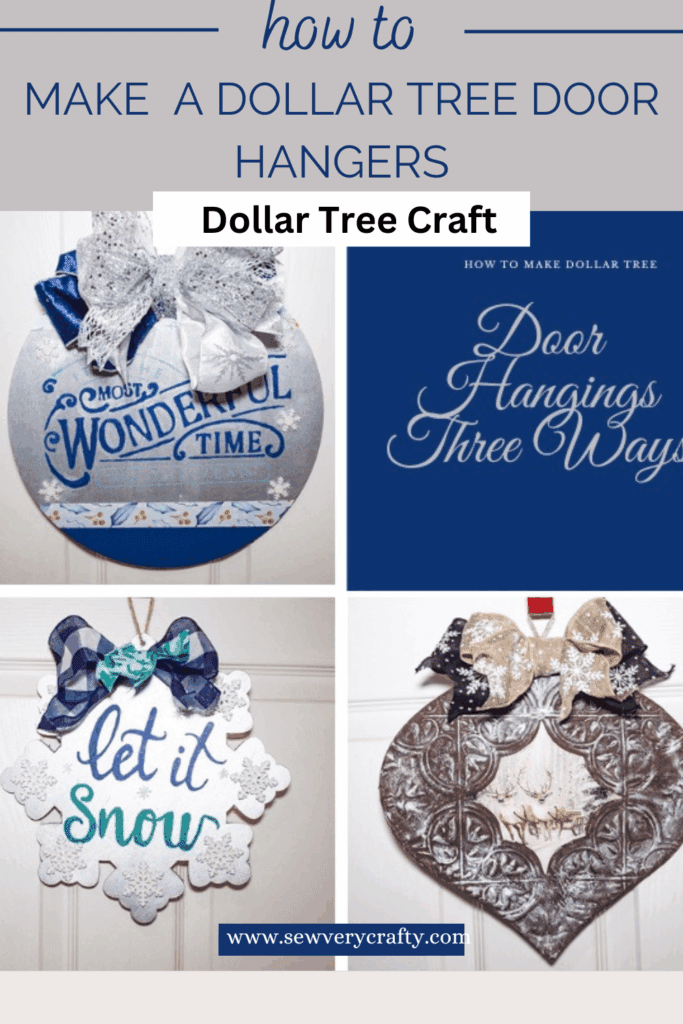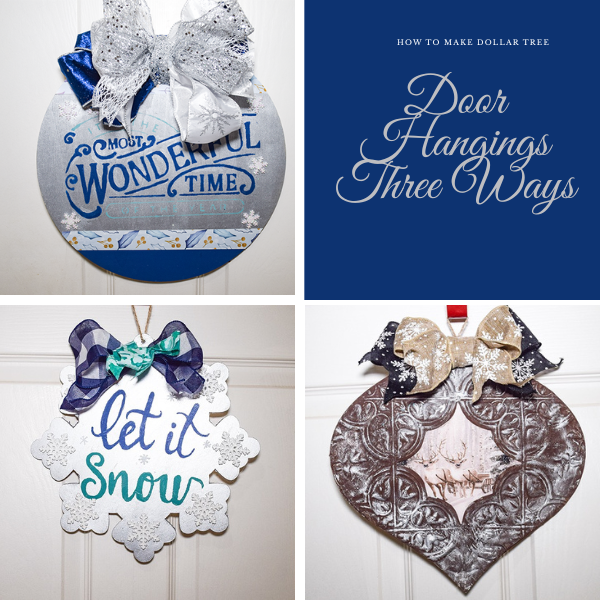
I saw these wood cutouts at Dollar Tree and wondered what to do with each. All three are different and use different techniques to create them. Deciding which I like the best is difficult so try them all out. For these projects I used the snowflake, round and ornament shapes for my door hangers. I decided to use the blue and silver Christmas color theme for these door hangings but you can choose any color you like. If you would like more Dollar Tree crafts head over to my Dollar Tree page. For more holiday sewing and crafting projects check out my holiday project vault.
What you will Need: How to Make a Dollar Tree Door Hanger three ways
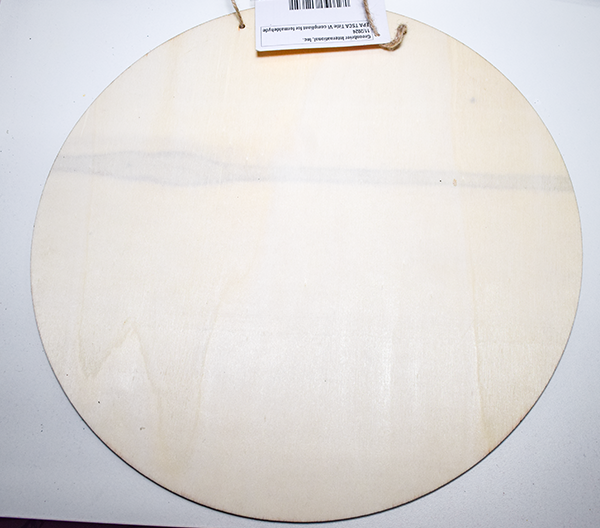
- Wood Round
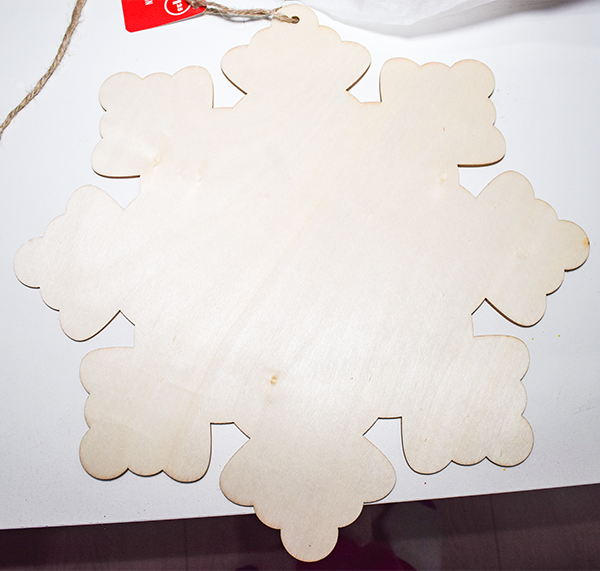
- Snowflake Cutout
- Ornament Cutout
- Blue Chalk Paint
- Silver Acrylic Paint
- White Chalk Paint
- Brown Chalk Paint
- Clear Glitter Paint
- Dollar Tree Stick on Tile
- Dollar Tree Christmas Gift Bag
- Let It Snow Stencil
- The Most Wonderful Time of the Year Stencil
- Blue, Silver and White Ribbon
- Dollar Tree Battery Operated Lights
- Permanent Vinyl
- Bowdabra
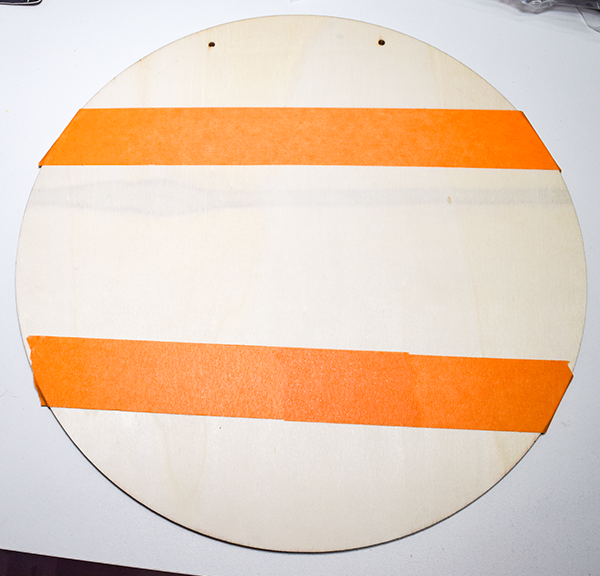
Step 1: Paint the Cutouts
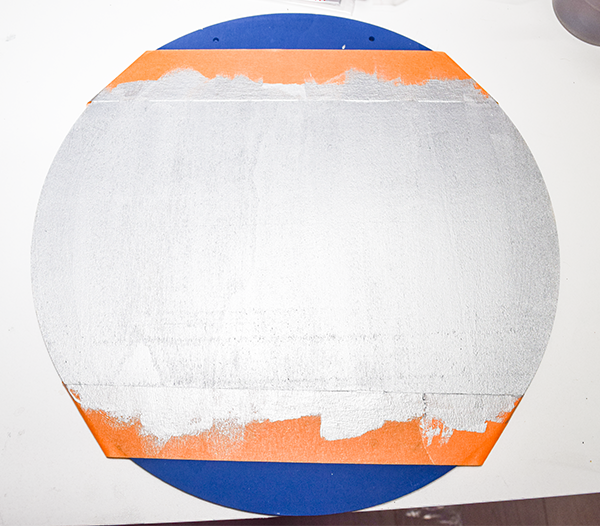
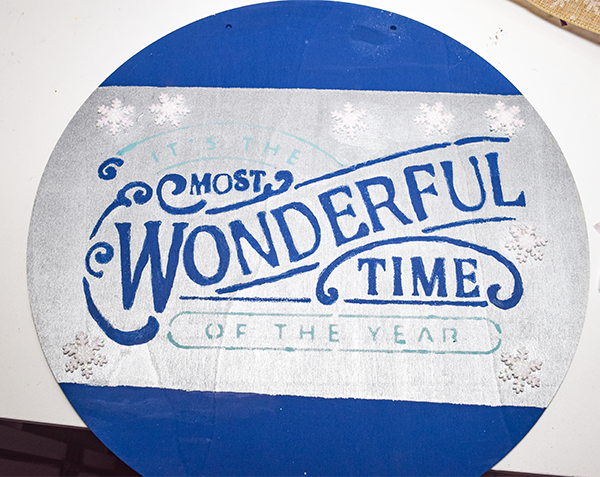
- Wood Round
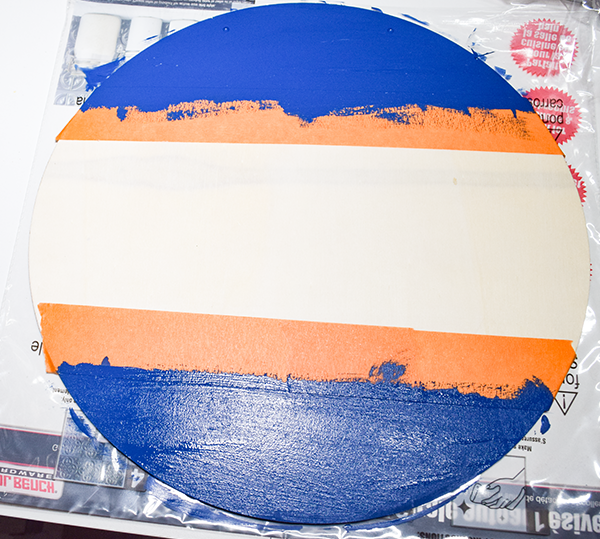
- Tape off the top and bottom 2 1/2″ from each edge. Paint the top and bottom blue
- Once the blue has dried, paint the center silver
- Snowflake
- Paint the entire snowflake silver
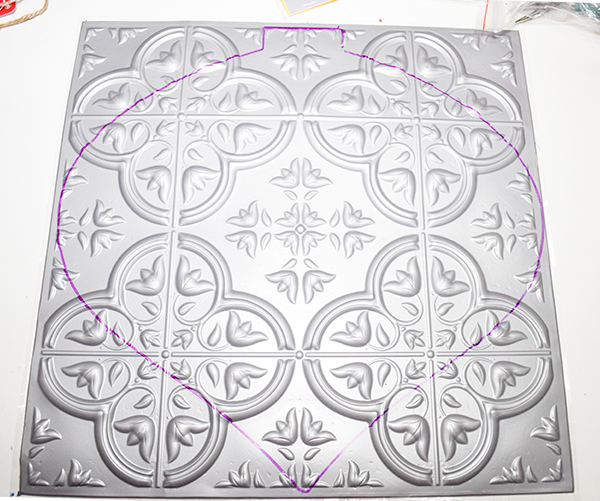
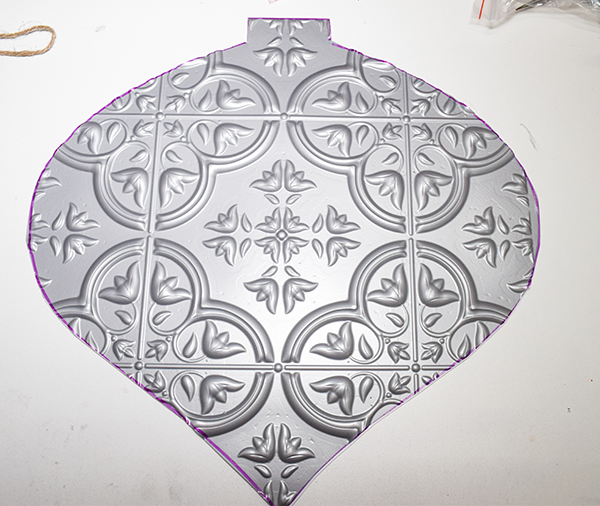
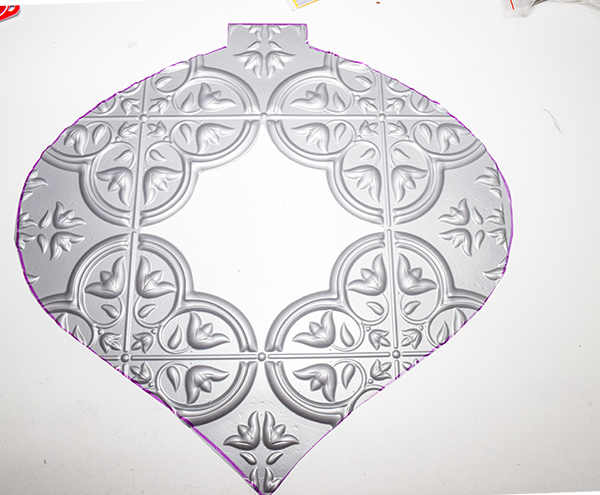
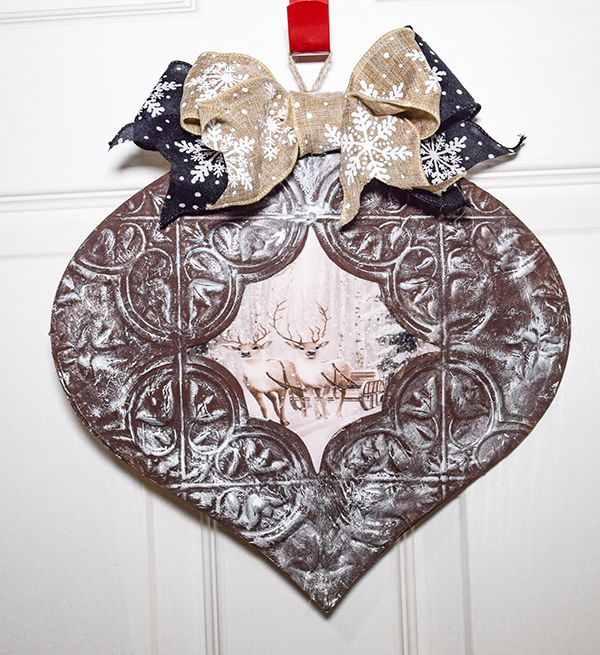
Step 2: Cut the Stick on tile
Trace the ornament cutout onto the stick on tile making sure that the center of the tile is on the center of the cutout. Cut all the way around. Next, cut out the center of the tile to create a window.
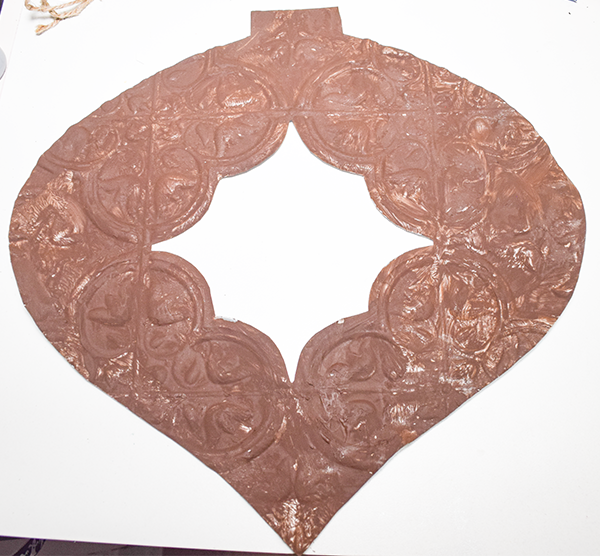
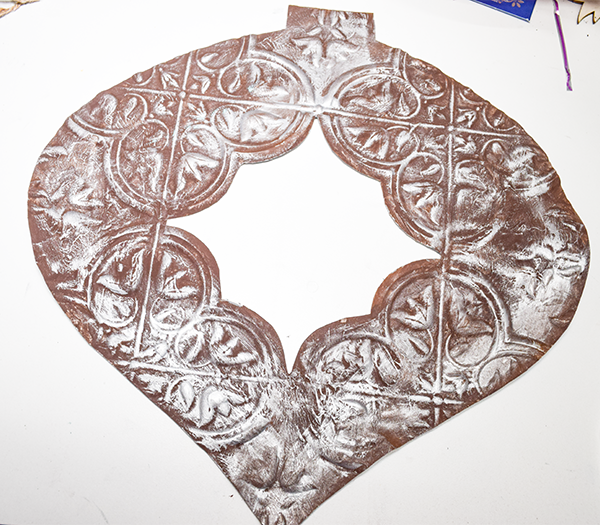
Step 3: Paint the tile
Paint the tile blue. Once the tile has dried dry brush it with silver paint.
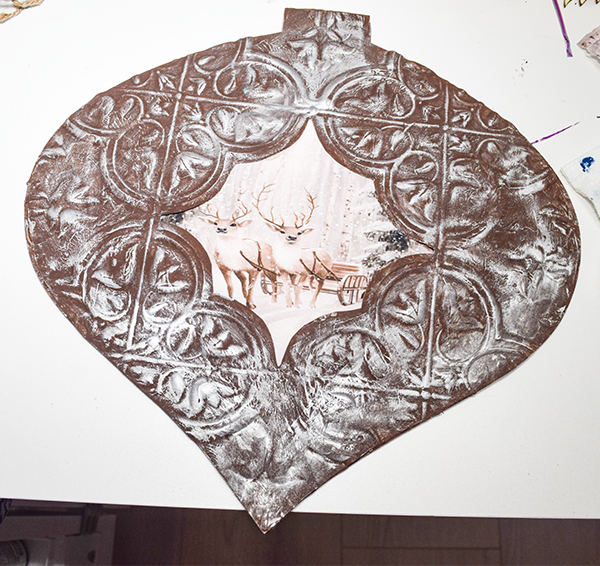
Step 4: Cut out the Gift Bag
Cut the scene from the gift bag or some panel fabric that you want to appear through the window you create in the tile. Glue it to the ornament.

Step 5: Add the Tile
Peel off the paper backing. Add a hot glue to the back of the tile and attach the tile so that the gift bag scene appears through the window.
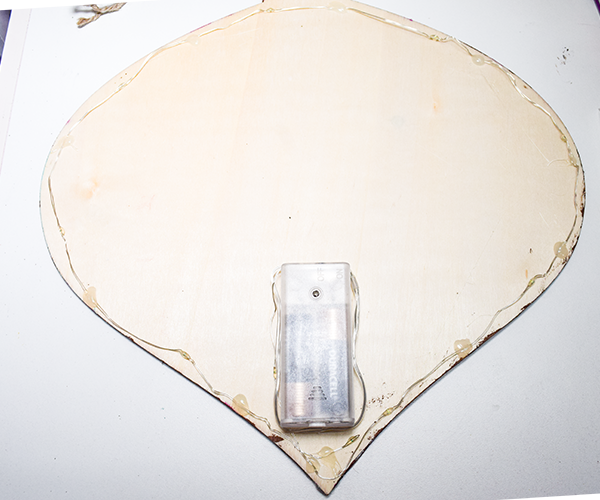
Step 6: Add the Lights
Hot glue the battery pack to the back of the ornament cut out. String the lights around the cutout hot gluing them as you go.
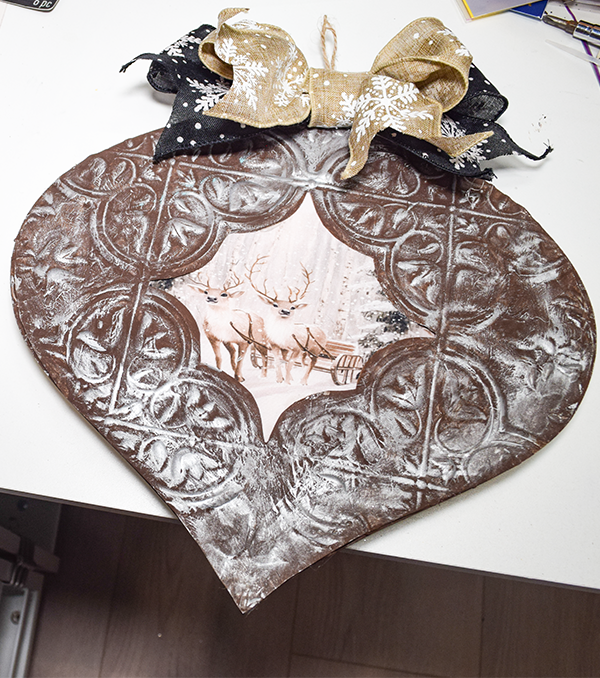
Step 7: Create and attach a Bow
Using a Bowdabra or other bow making tool create a black and tan bow or whatever colors match your theme. Attach the bow to the top of the ornament cutout. Do not cover the hole in the top. Add the twine that you took off before you began adding the tile but poking a hole through the tile. You have now finished the Ornament cutout door hanging
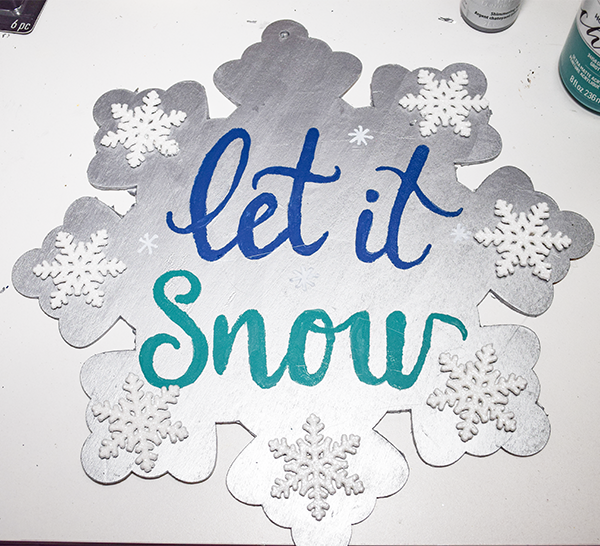
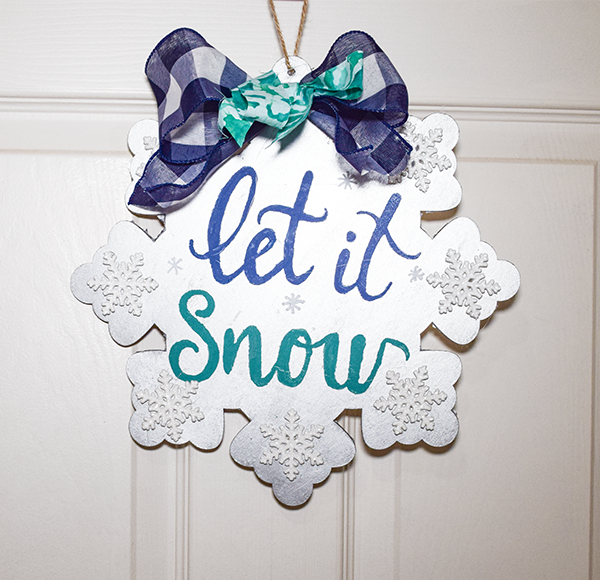
Step 9: Stencil the Snowflake
I found a stencil that says Let it Snow. Tape it securely to the snowflake. Stencil the words to the snowflake using the blue paint. My stencil also had snowflakes on them. I added them around the snowflake cut out.

Step 10: Add the Snowflakes
Hot glue the snowflakes around the cutout.
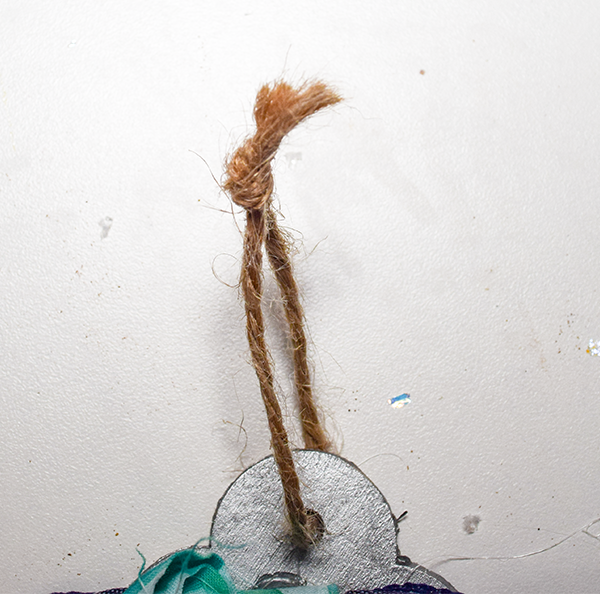
Step 11: Add the Hanger
Insert the twine into the hole of the snowflake and tie to act as the hanger for the cutout.
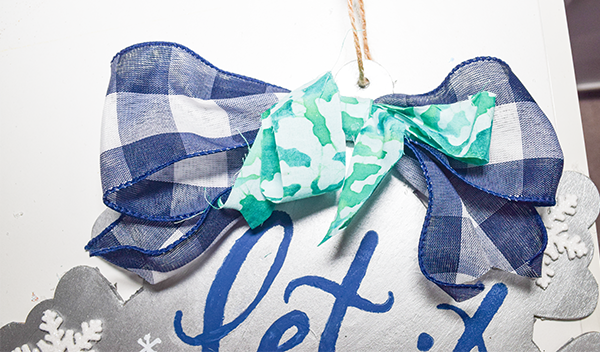
Step 12: Add the Bow
Create a very simple bow to add to the top of the cutout. If you are not comfortable making a bow you can take the bow making class offered by Southern Charm Wreaths or purchase a Bowdabra. This is just a simple bow so give it a go.
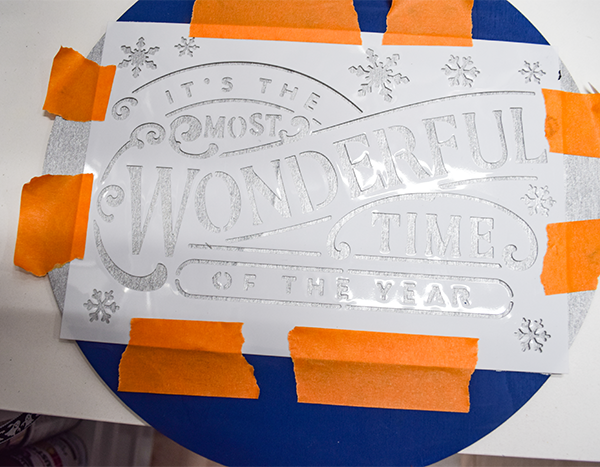
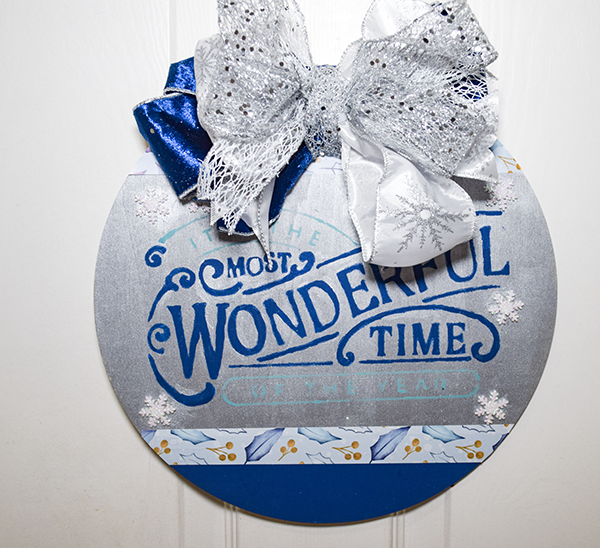
Step 13: Stencil the Oval
Place the stencil onto the center of the oval. I used dark blue and turquoise for the words. Spray the back of the stencil with Pixy Spray and then tape it to the round. Use chalk paste or paint with a dabber to fill in the stencil.

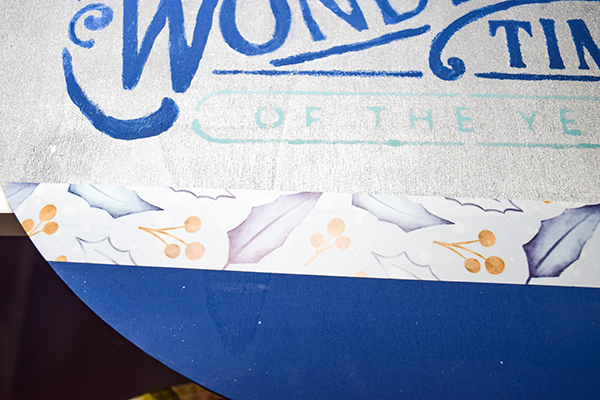
Step 14: Add the Snowflakes and Vinyl
Hot glue the snowflakes to the round. Remove the paper backing from 1″ wide strips of vinyl and place the pieces onto the seams of the paint.
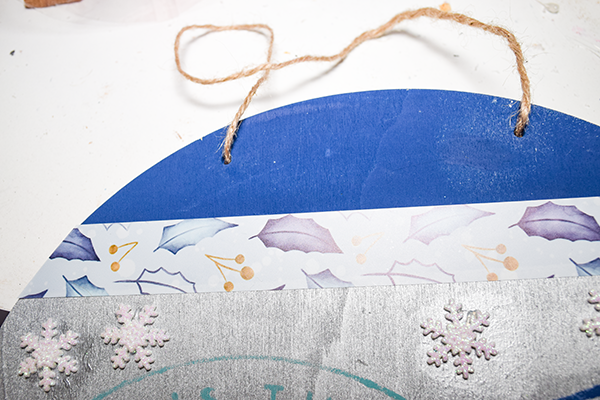
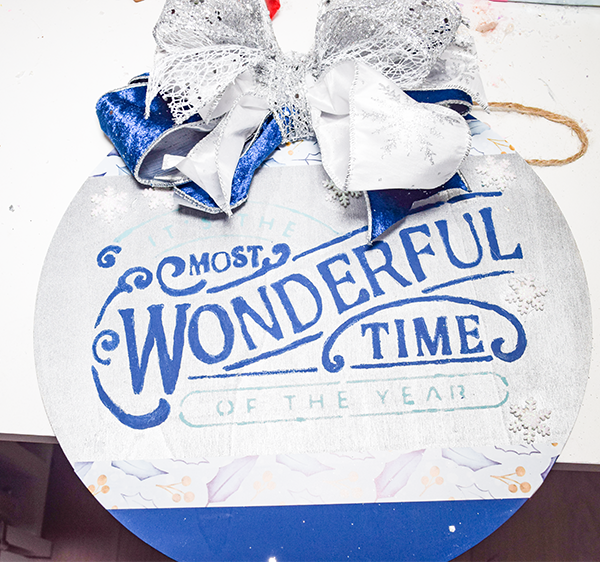
Step 15: Add the Bow and Hanger
Replace the twine hanger and knot the ends to secure. Hot glue the bow to the round.

I hope you enjoyed this three part Dollar Tree project. If you would like more sewing and crafting projects subscribe to our free newsletter and receive your free Dollar Tree holiday eBook.
If you would like video tutorials of some of Sew Very Crafty's most popular posts subscribe to our free YouTube channel here.
Join our Sew Very Crafty Fans Facebook group
If you want to ask questions and share your projects join our Facebook group here. The community will help to achieve your sewing and crafting dreams.