I dipped into my Dollar Tree stash and found some gold plastic bells and was wondering what I could do with them and came up with this Dollar Tree Hanging Christmas Bells craft. You will need a variety of different Dollar Tree craft supplies but when put all together they make a great Christmas craft. If you would like more Dollar Tree crafts head over to my Dollar Tree page. For more holiday sewing and crafting projects head over to my holiday project vault.
Note: This post contains affiliate links that if you click on them and make a purchase I will receive a small commission at no extra cost to you. As an Amazon Associate I earn from qualifying purchases.
What you will Need: How to Make Dollar Tree Hanging Christmas Bells
- Dollar Tree Christmas bell ornament
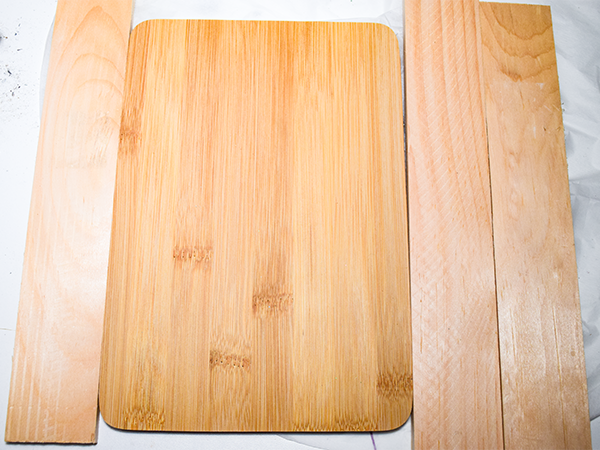
- Three Dollar Tree 2″ x 12″ wood slats
- One Dollar Tree Wood cutting board
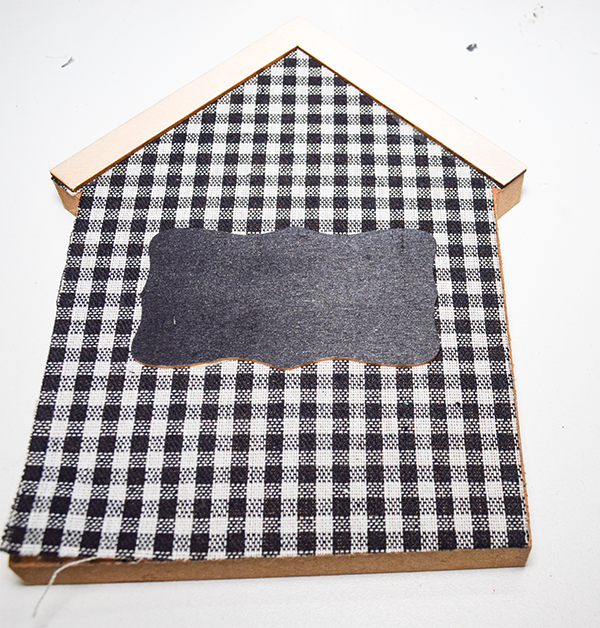
- One Dollar Tree flat wood house shapes
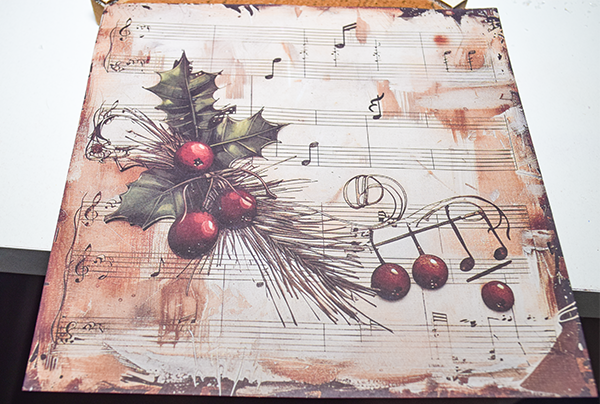
- Paper or napkin for decoupage
- Mod Podge
- Wood Stain
- Black spray paint
- Six small screws
- Hot glue
- one cup hook
- 2 large jingle bells
- Twine
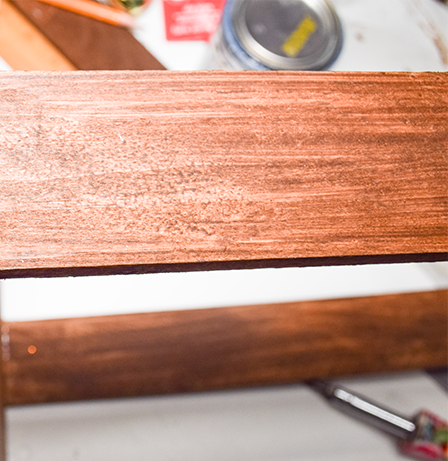
Step 1: Stain the wood
Take each of the wood pieces and the peak of the house and stain them to a darker shade. You can use wood stain or diluted brown paint. Rub the stain into the wood and let dry.
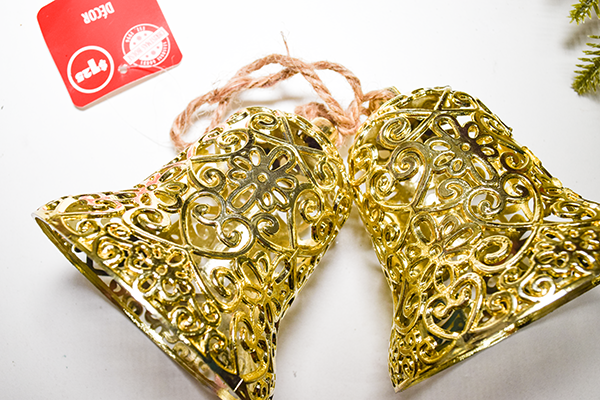
Step 2: Paint the Bells
Remove the bow and greenery. Spray paint the bells black using light even stokes.


Step 3: Add the Jingle Bell
Add some jute to the large jingle bell and thread it through the top of the bell and tie a knot. Repeat for both bells.
Step 4: Create the wood structure
Measure down the short ends of the cutting board 3″ from the curved end and mark. Place the center of the wood slat on the 3″ mark. Hot glue the slat to the cutting board. Screw the slat in using two of the small screws. Repeat for the other side. Place a cup hood in the center of the third slat. Hot glue the third slat to the top of the two side slats with the cup hook hanging down.

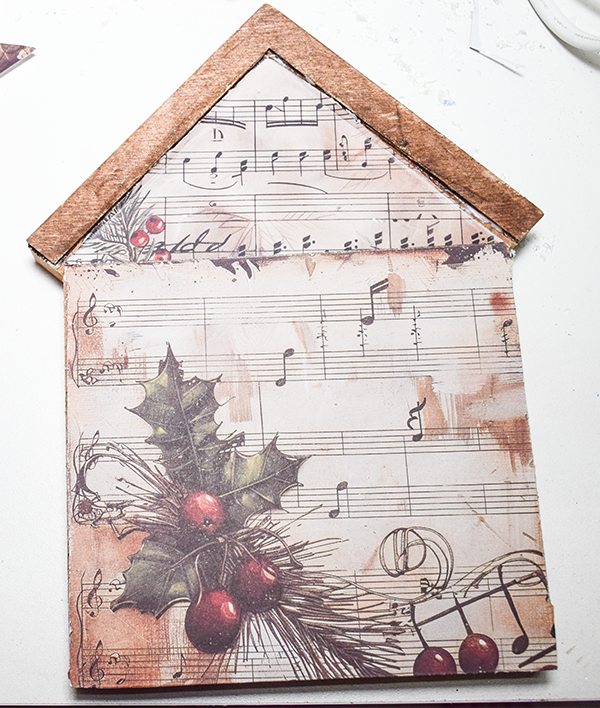
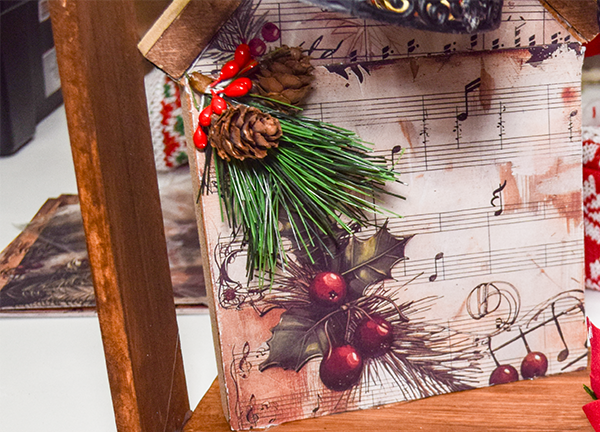
Step 5: Decoupage the house
The house that I have is covered with fabric and a label. Remove those. Sand the house using sand paper. Remove any excess dust. Cover the front of the house with Mod Podge. Let it dry. Place your paper on top of the dried Mod Podge. Place a piece of parchment paper on top and press with a hot iron so that the Mod Podge adheres the paper and the paper is nice and smooth. Place a small piece of paper or adhesive vinyl across the top end of the house where the peak meets the front. Cover with a coat or two of Mod Podge.
Step 6: Add the House to the Wood Structure
Place the decoupaged house toward the back of the structure. Hot glue the house to the cutting board. Add some screws to the bottom to secure.
Step 7: Embellish the Bells
Take the bow and greenery and add it to the bells using hot glue. You can create our own bow if you like.
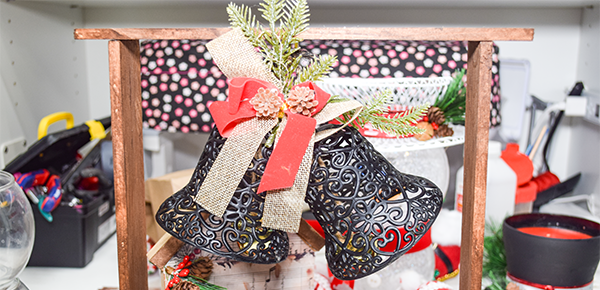
Step 8: Add the Bells
Hang the bells from the cup hook. You have now finished your Dollar Tree Hanging Bells.
I hope you enjoyed this Dollar Tree project. For more sewing and crafting projects subscribe to our free newsletter and receive your free Dollar Tree holiday eBook.
If you would video tutorials of some of Sew Very Crafty's most popular posts subscribe to our free YouTube channel here.
Join our Sew Very Crafty Fans Facebook group
If you want to ask questions and share your projects join our Facebook group here. The community will help to achieve your sewing and crafting dreams.