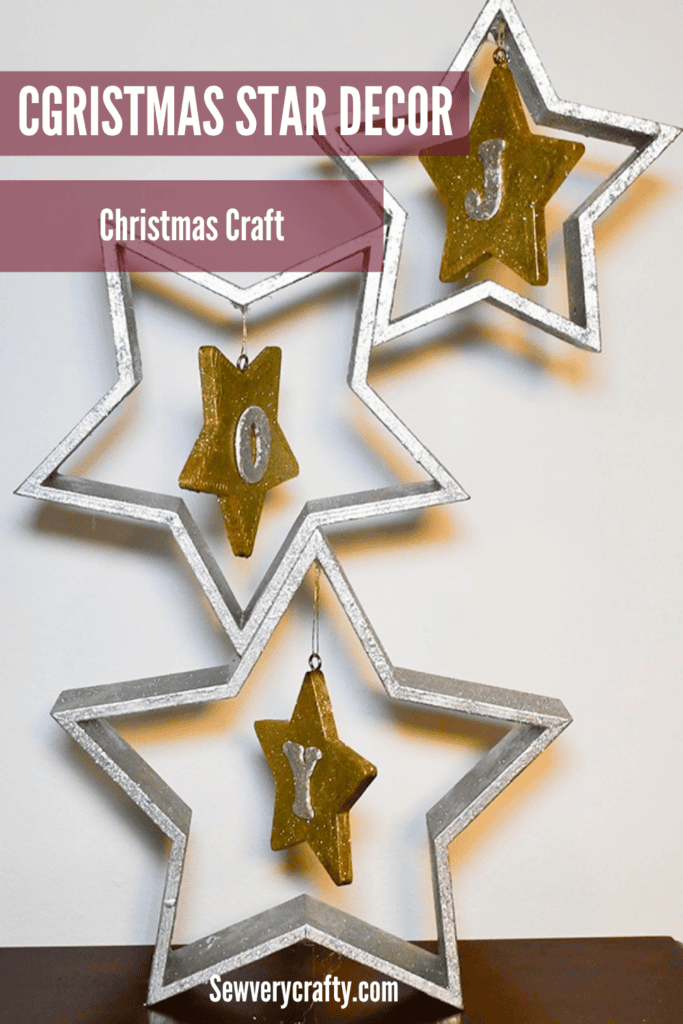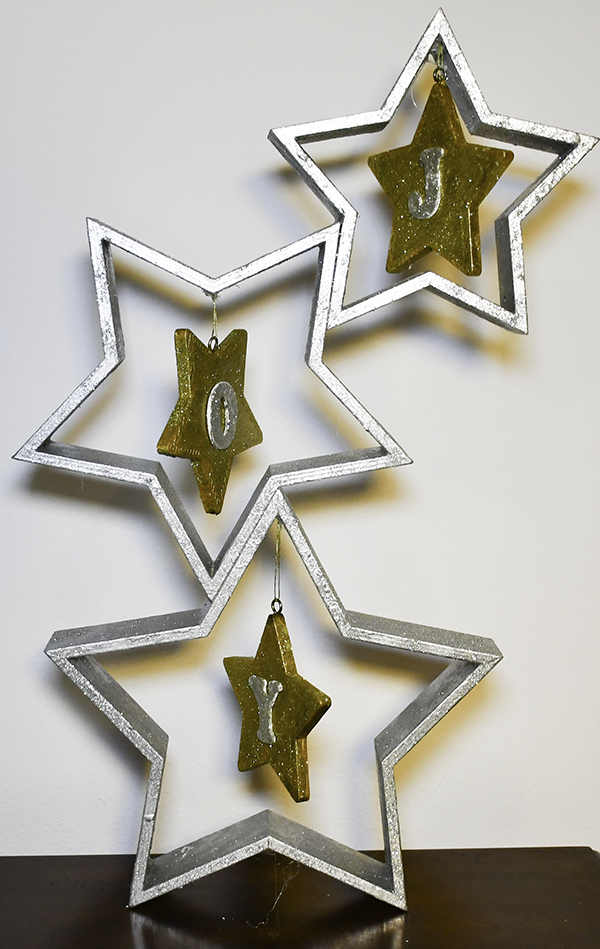
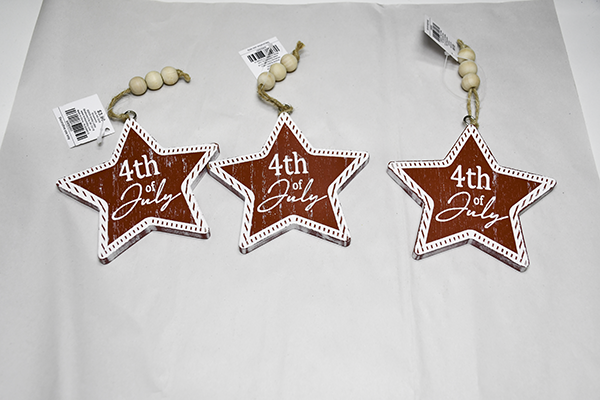
I know it is surprising that I am making Christmas projects this time of year but Christmas will be upon us sooner than you think. I delved into my stash for this one. The tabletop stars were purchased last year from Amazon. The stars were purchased at the 4th of July sale at Hobby Lobby for 70% off. Such a deal. I had the wood letters which I purchased from Michaels. Putting them all together to make a minimalist Christmas decor piece was a snap. If you would like more holiday sewing and crafting head over to my Holiday project vault. For more crafting check out my Dollar Tree page.

Note: This post contains affiliate links that if you click on them and make a purchase I will receive a small commission at no extra cost to you. As an Amazon Associate I earn from qualifying purchases.
What you will Need: How to Make Christmas Star Tabletop Decor
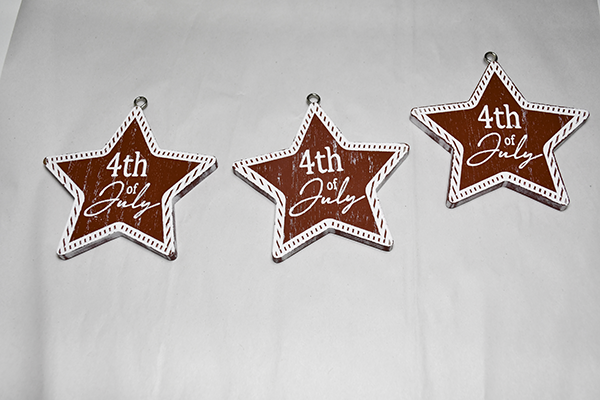
Step 1: Prepare the 4th of July Stars
Start by removing the hangers. Once they are removed. Fill in the 4th of July message using spackle or wood filler. Sand until smooth.
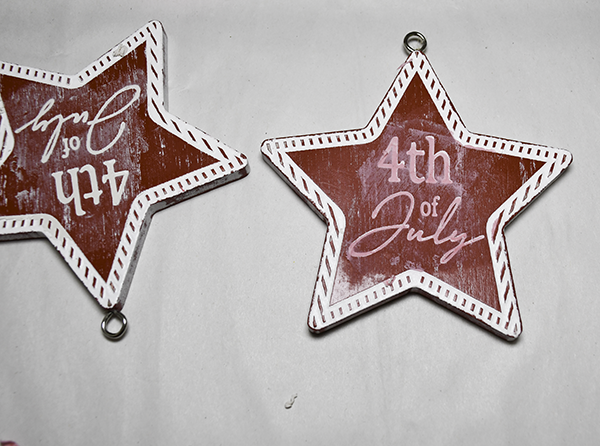
Step 2: Paint the Stars
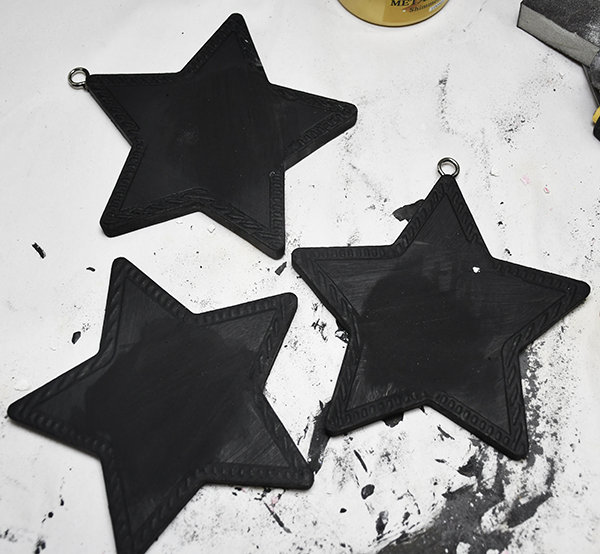
Start by painting the stars black. I felt black was a good base for the gold paint to follow. Once the black has dried cover the stars with three coats of gold paint. I used a sponge to dab on the paint instead of a brush for better coverage.
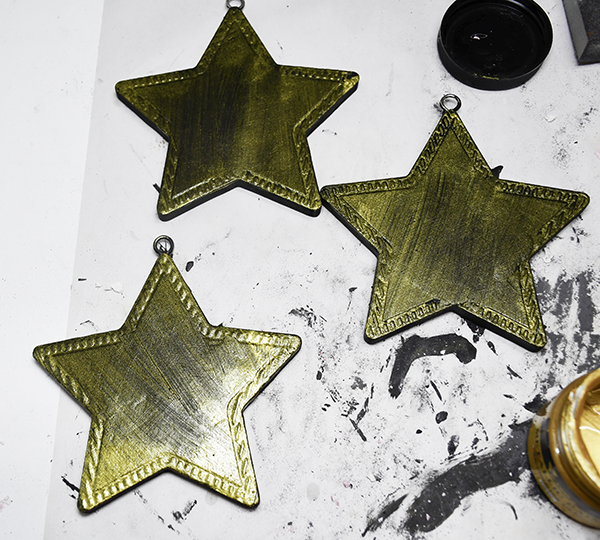
Step 3: Cover the stars with glitter
While the third coat of gold paint is still wet cover the stars with gold glitter.
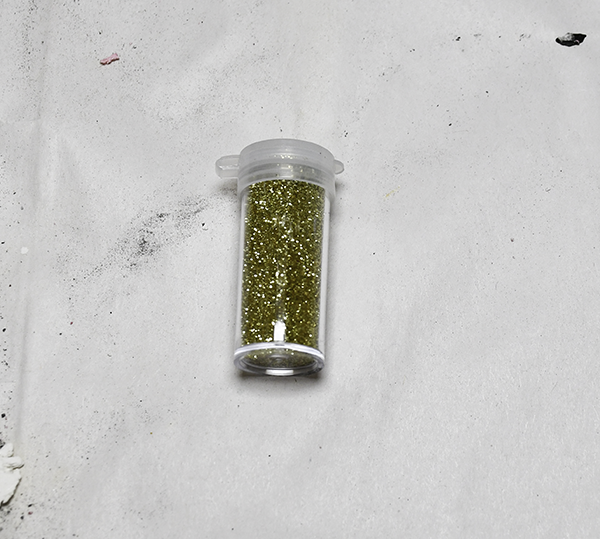

Step 4: Paint the stackable stars
First, screw the stars together in the configuration you would like. Paint the stars using three coats of silver paint. On the third coat while it is still wet ass the silver glitter.
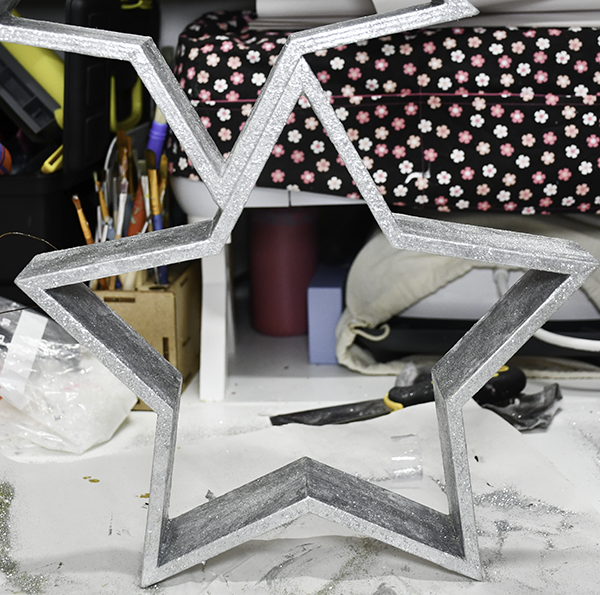
Step 5: Cover the Stars with Mod Podge
Cover the stacked stars and the 4th of July stars with Mod Podge to seal in all of that glitter so that it does not get all over your house.
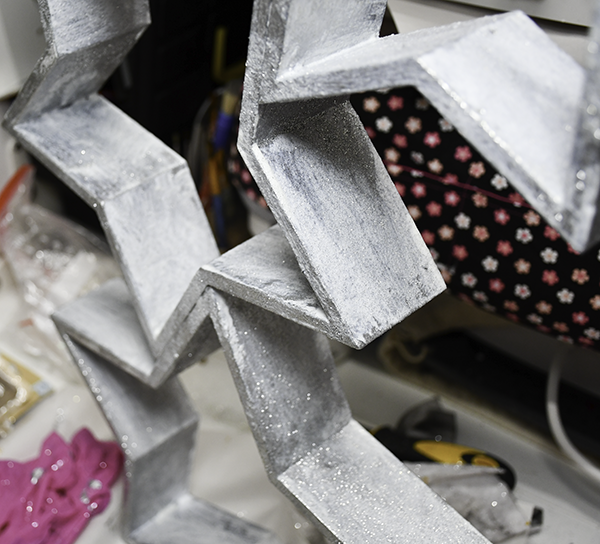
Step 6: Paint and Add the Letters
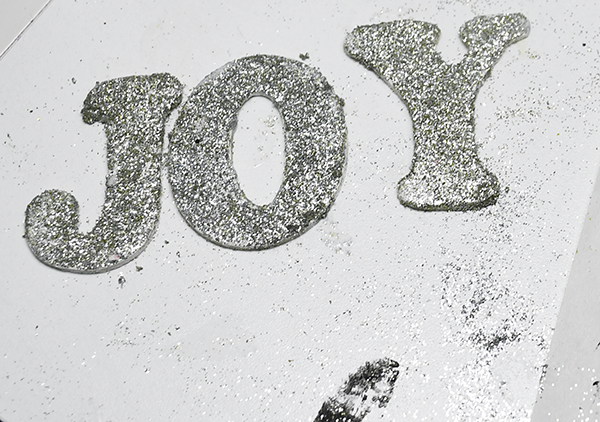
Paint the letters white and while wet add additional silver glitter. Once dried at the Mod Podge
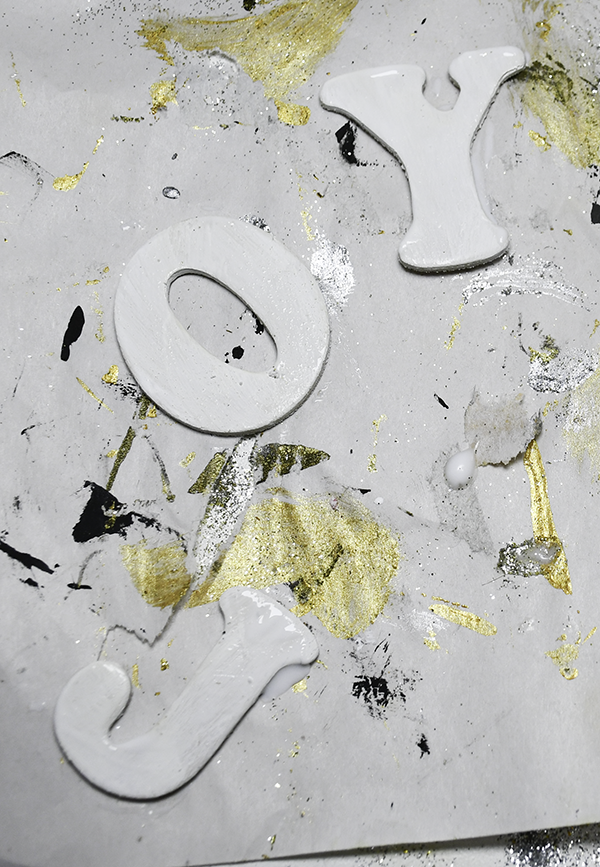
Step 8: Glue the letters to the stars
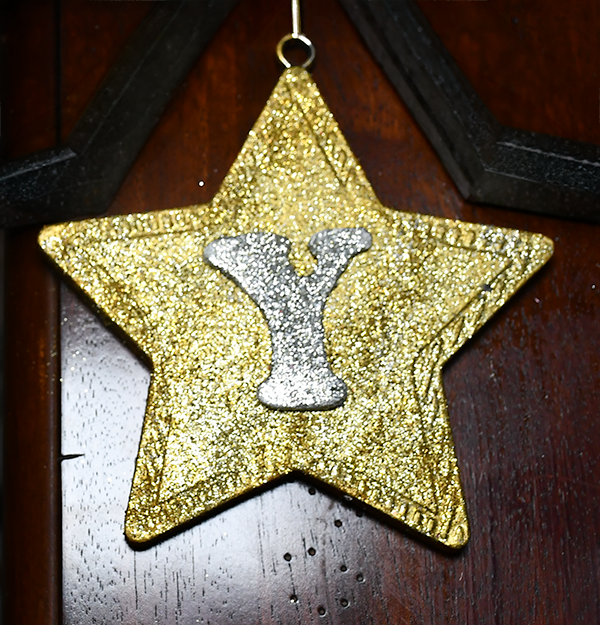
Using Hot glue, attach the letters to the 4th of July stars.
Step 9: Add the Stars
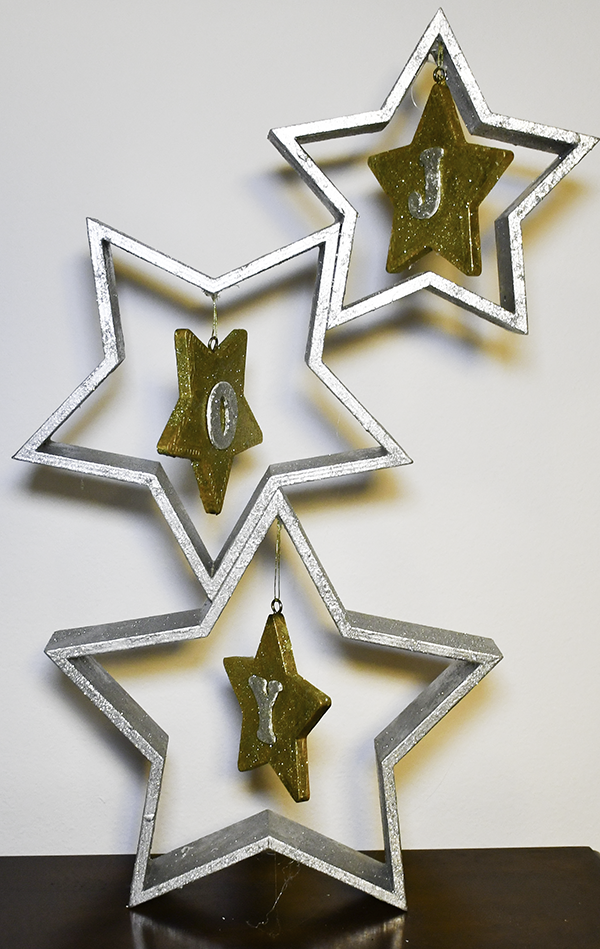
Replace the hangers with gold twine. Figure out how far you want the stars to hang end tie a knot. Using hot glue attach the hangers to the underside of the stackable stars so that the hang in the center each one. Once they are adde you have finished. You could embellish this further if you like but I wanted to stick with the minimalist look for this project.
I hope you enjoyed this very simple Christmas decor project, If you would like more sewing and crafting projects subscribe to our free newsletter and receive you free Dollar Tree Holiday eBook.
Join our Sew Very Crafty Fans Facebook group
If you want to ask questions and share your projects join our Facebook group here. The community will help to achieve your sewing and crafting dreams.

Subscribe to our Free YouTube Channel!