
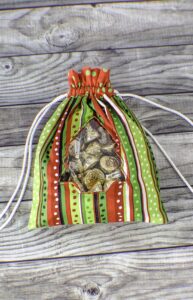
How to Make a Christmas Treat Bag

I love giving treats for Christmas and what better way than to make these adorable little see through treat bags. This is a simple sewing project that can be made for anytime of the year but I love this project for Christmas. The Christmas tree cut out makes it perfect to give a little peek into the treats inside. These make perfect teacher's gifts or party favors. You can also keep them for yourself for jewelry or other trinkets. I fell in love with this project the minute I saw it and couldn't wait to share it with you. This idea came from Rebekah at Twinkle and Twine.
This project is all about the fabrics and the little cut out center. I obtained my fabrics JOANN Fabric & Craft Stores![]() but you could head to Amazon Fabrics or Onlinefabricstore.net to get exactly what you need for this project. I used plain cotton novelty fabric for this project. It is easy to work with and comes in a variety of colors and patterns. This post contains affiliate links that if you click on them and make a purchase I may receive a small commission at no extra cost to you. JOANN Fabric & Craft Stores
but you could head to Amazon Fabrics or Onlinefabricstore.net to get exactly what you need for this project. I used plain cotton novelty fabric for this project. It is easy to work with and comes in a variety of colors and patterns. This post contains affiliate links that if you click on them and make a purchase I may receive a small commission at no extra cost to you. JOANN Fabric & Craft Stores
If you would like a video tutorial of this project head over to YouTube and check out my video. While you are there subscribe to my free YouTube channel.

![]()
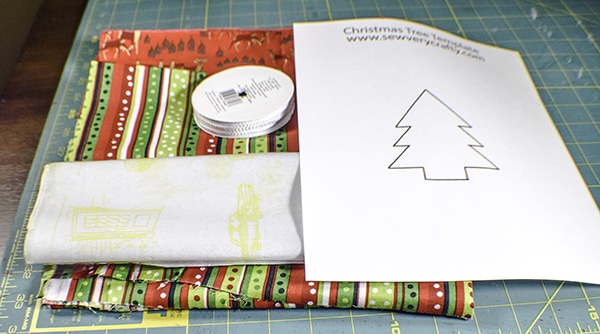
What you will Need: How to make a christmas treat bag
- Pattern you can Get here
- Exterior fabric 7″ x 16″ rectangle
- Interior fabric 7″ x 21″ rectangle'
- 1 yd.cording
- Clear vinyl – 5″ x 5″
- Frixion Pen or tailor's chalk
- Standard sewing supplies
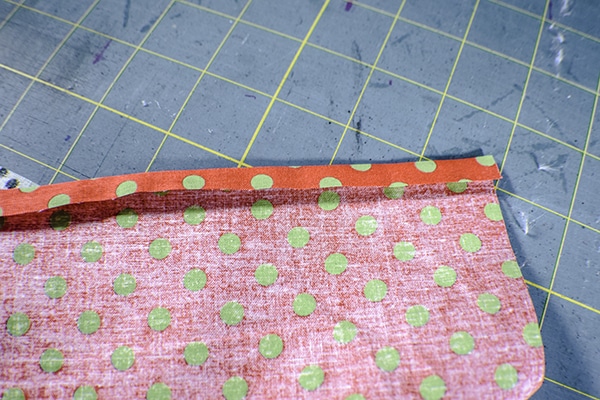
Step 1: Iron the Fabrics
Turn the short ends of the large rectangle under by 1/4″ and press.
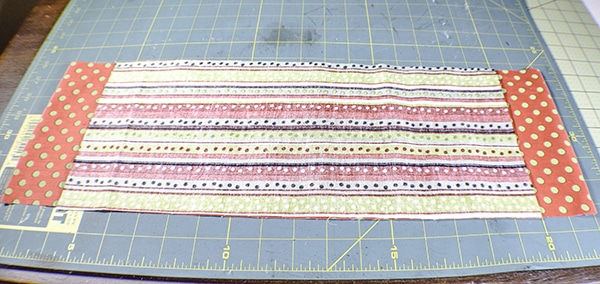
Step 2: Add the Smaller Rectangle
Lay the smaller rectangle on top of the larger rectangle right sides together. Center the smaller rectangle so that you have about 2″ of larger fabric on each side of the smaller fabric.
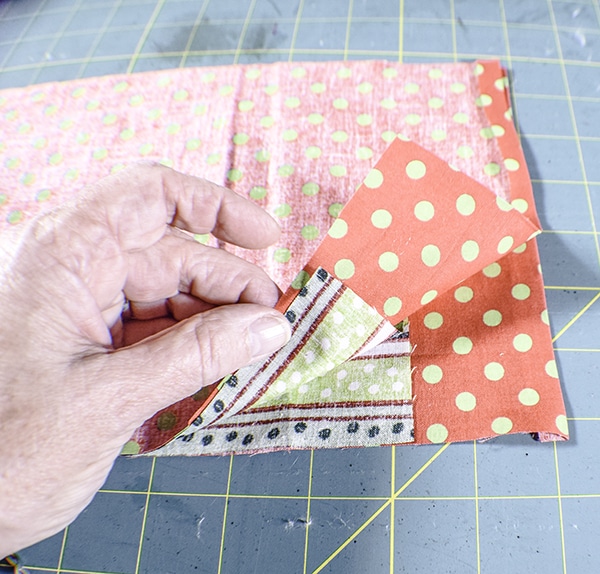
Step 3: Fold
Fold your rectangle in half so that the short ends of both rectangles align. Press so that you have a nice crease.
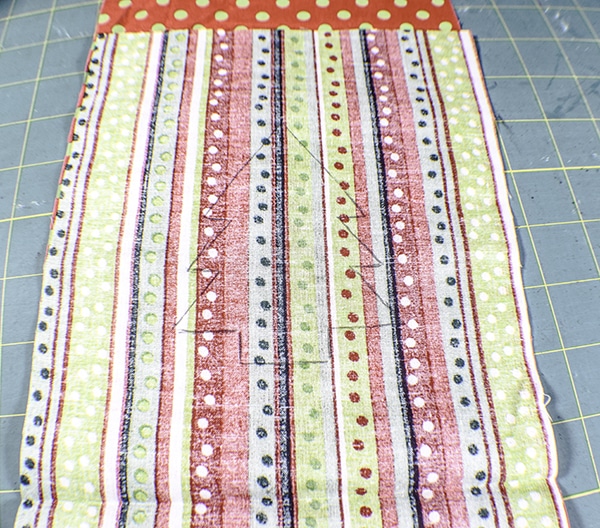
Step 4: Pin the template to the Fabric
Open up the folded rectangles. You will have a crease in the center that you obtained when you pressed the fabrics. Center the tree template 1 1/4″ up from the crease as shown. Trace around the template using your Frixion or tailor's chalk.
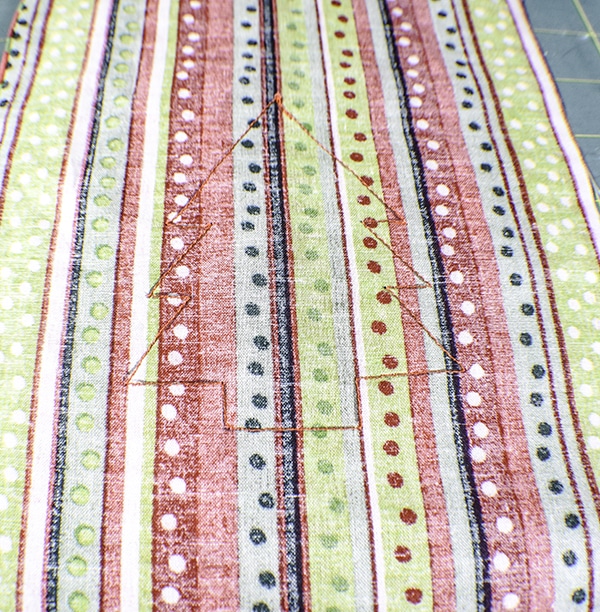
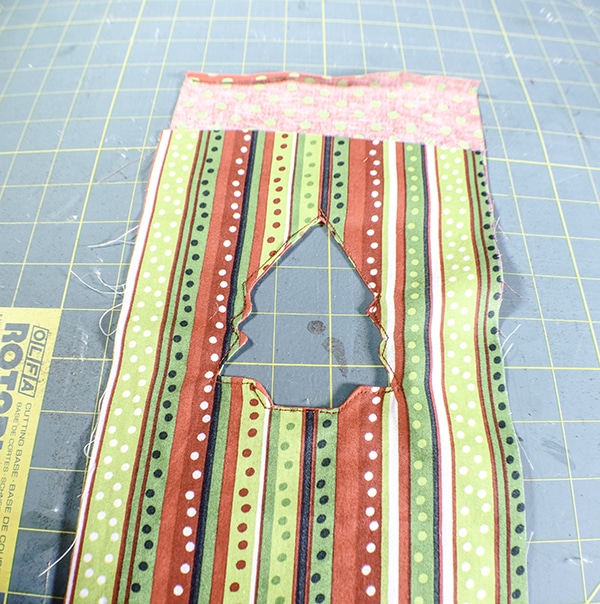
Step 5: Sew Around the Tree
Sew around the tree through both layers of fabric following the lines you just drew.
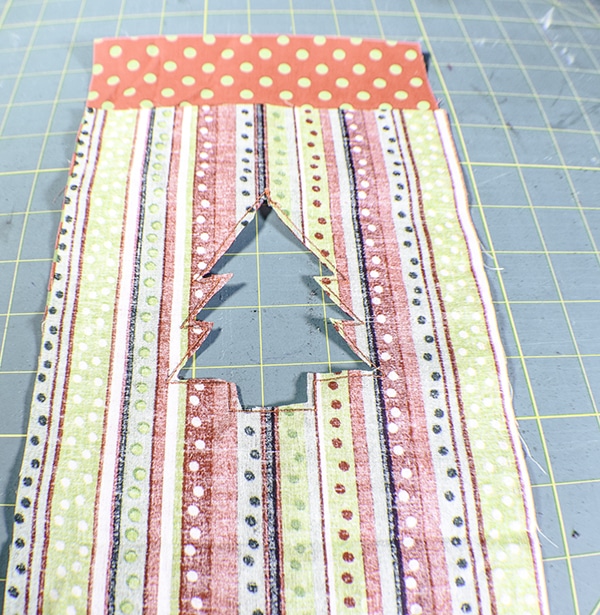
Step 6: Cut out the Tree
Cut out the tree shape through both layers of fabric inside the stitching line. Do not cut through the stitches. I used a small pair of very sharp scissors for this part as the corners are fidgety.
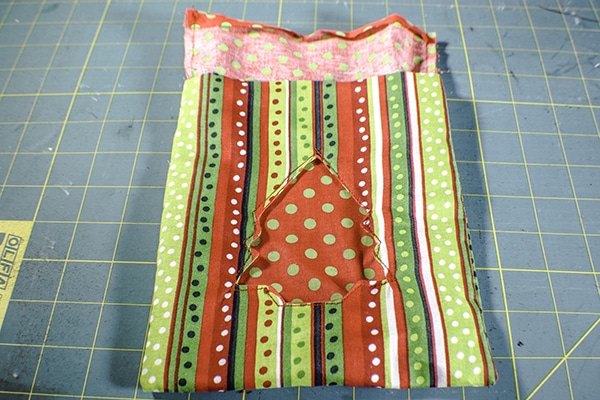
Step 7: Turn the Fabrics right side out.
Turn the fabrics right side out by pushing the exterior fabric through the opening you just created. You may need to use a poking tool to push out the points of the tree and the base. I used That Purple Thing that you can get in my Amazon shop for this purpose. Press.
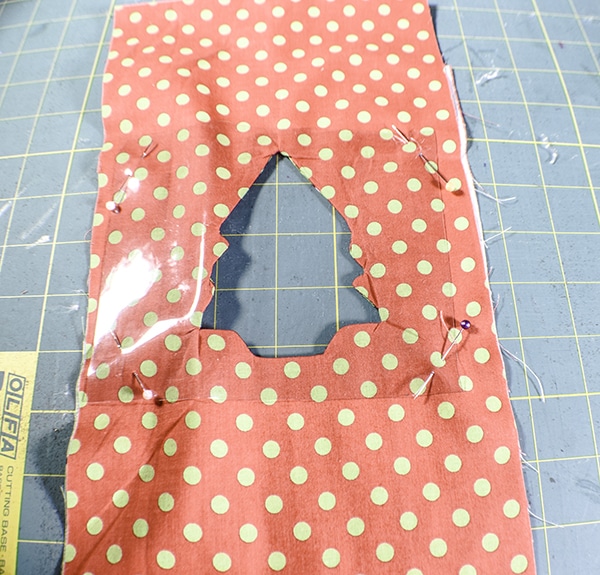
Step 8: Add the vinyl
Add the vinyl to the lining side of the rectangles by pinning just the corners to the fabric.
Step 9: Sew the Vinyl
Turn the piece so that the exterior side is up. Sew around the tree about 1/8″ from the edge making sure that you are sewing the fabrics and the vinyl together. Remember to stop at each corner and point with your needle down and turn the fabric to keep the corners crisp. Trim the excess vinyl to about 1/8″ from the stitching.
Step 10: Create the Bag
Fold each of the two fabric rectangles in half, with the right sides together. You will create two bags. One will be the lining and one will be the exterior bag. Sew the matching fabrics right sides together along the sides. Turn the exterior bag right sides out pushing the lining inside. You will see that the lining is longer than the exterior bag.
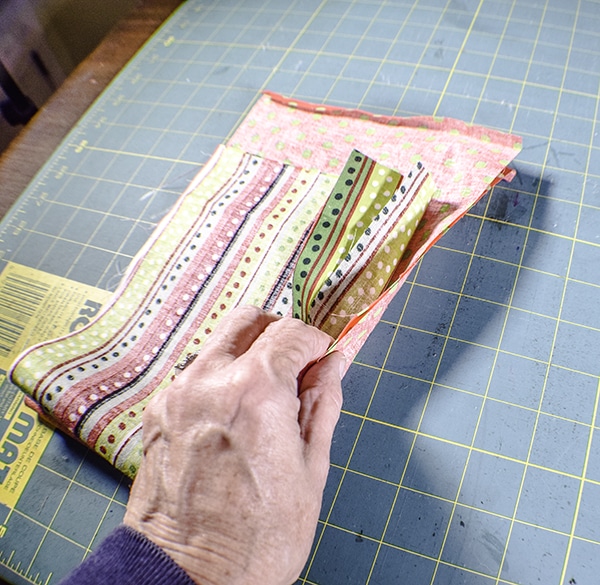
Step 11: Make the Cuff
Fold down the excess lining to create the lining cuff and press. Make sure to match the side seams.
Step 12: Stitch the Cuff
Stitch the cuff 1/8″ from the bottom edge. Sew a second row of stitching about 3/4″ above the first set of stitching. This creates a channel for the cording to go through.
Step 13: Open Seam
Using a seam ripper, open the seam between the two lines of stitching on each side of the bag through just the outer fabric. This opens a small hole that you can slide your cording through.
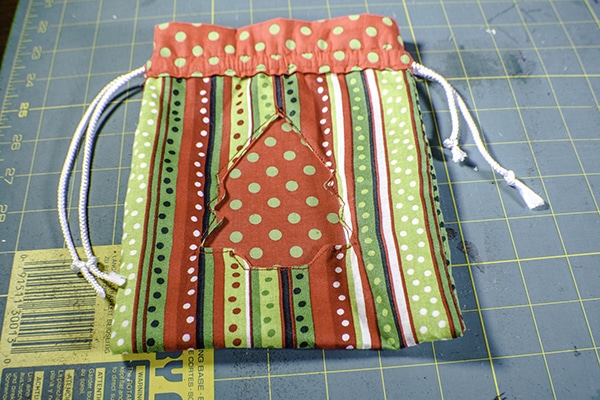
Step 14: Add the cording
Cut the cording in half. Thread it through the opening you just created with your seam ripper so that it goes in the hole and around the bag and out of the same hole. Repeat on the other side. You can do this by attaching a safety pin to the cording or you can use a bodkin if you have one. Once you have added both pieces of cording you have finished your Christmas treat bag. Just fill it with treats and give it as a gift.

I hope you enjoyed this project. If you would like more sewing and crafting projects sign up for our news letter and receive your free Ebook filled with 15 handbag patterns and tutorials.
If you would like more holiday crafting ideas check out our Holiday Projects Vault for Holiday sewing and crafting ideas and tutorials.

