

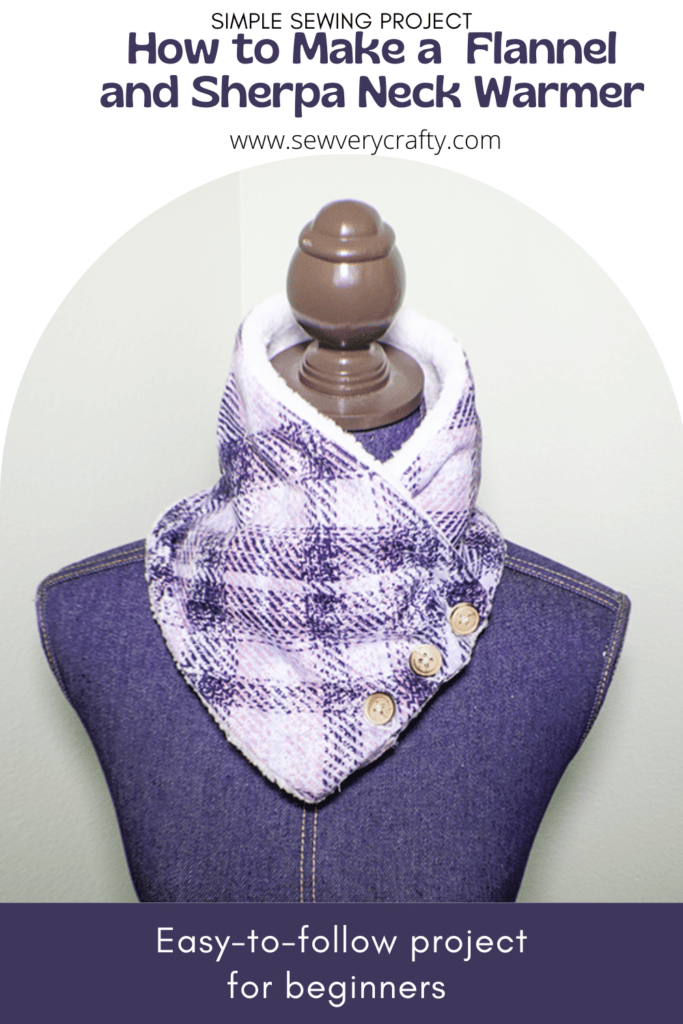
Winter is here. Even though I live in California I thought I would make something for places where it get's cold. This neck warmer came to mind. It is a very simple sewing project and I am going to show you two ways of completing it. One is easier than the other. I came across the second way of completing this simple project on the Kam Snap website. You all know how much I love using Kam Snaps. They make my life so much easier. The other came from multiple sources and an old post of a wrap scarf that I did years ago. If you would like to see that project you can check it out here.
For this project I used flannel and Sherpa that I purchased online and picked up in store at joann's but you could head to Amazon fabrics or onlinefabricstore.net to get exactly what you need for your project. This post contains affiliate links that if you click on them and make a purchase I may receive a small commission at no extra cost to you. As an Amazon Associate I earn from qualifying purchases.
If you would like a video tutorial of this project head over to YouTube and check out my video. While you are there subscribe to my free YouTube channel.

What you will Need: How to Make a Flannel and Sherpa Neck Warmer
- 1/4 yd Sherpa fabric
- 1/3 yd Flannel
- 3 3/4″-1″ buttons
- Standard Sewing Supplies
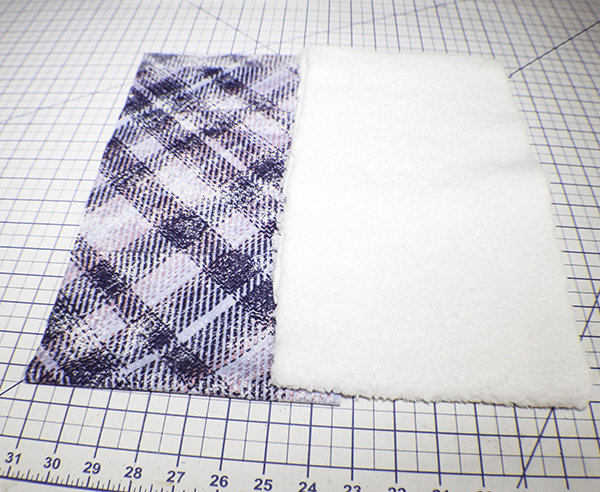
Step 1: Cut your Fabrics
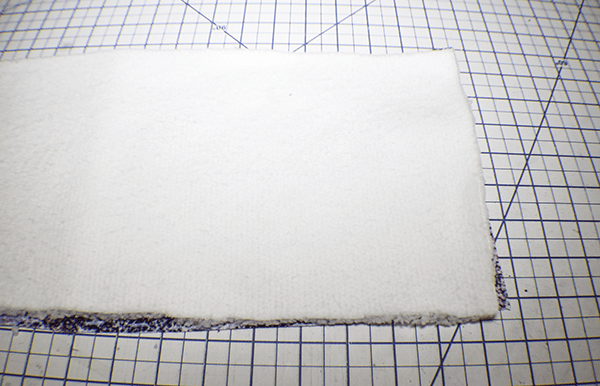
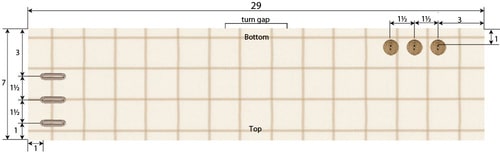
From the Sherpa cut an 8″ x 30″ piece. From the flannel also cut a 8″ x 30″ piece making sure that the plaid, if you are using a large plaid, line up top and bottom plaid lines so that they are straight. That is the reason for the extra fabric.
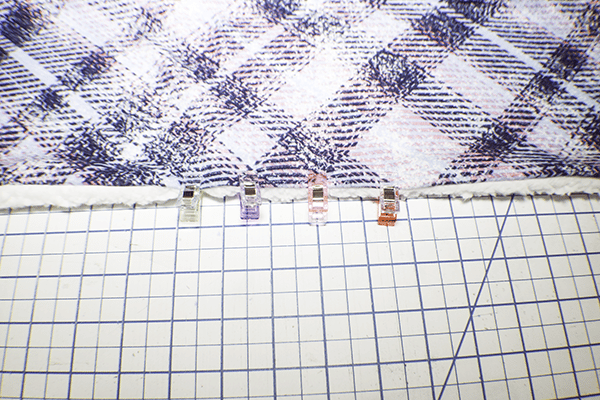
Step 2: Stitch the Fabrics
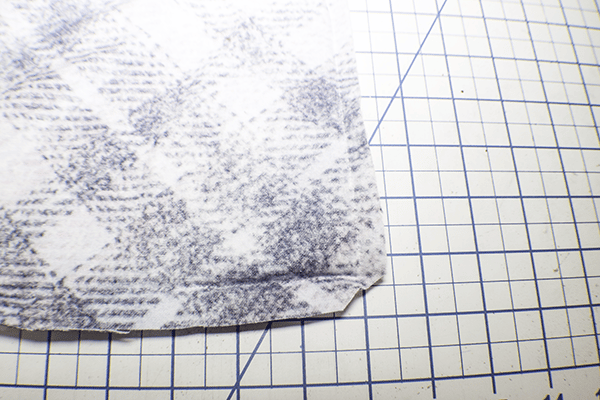
Place the two fabrics right sides together and stitch all the way around using a 1/2″ seam allowance and leaving about a 4″ opening for turning. Clip the corners without clipping through the stitching.
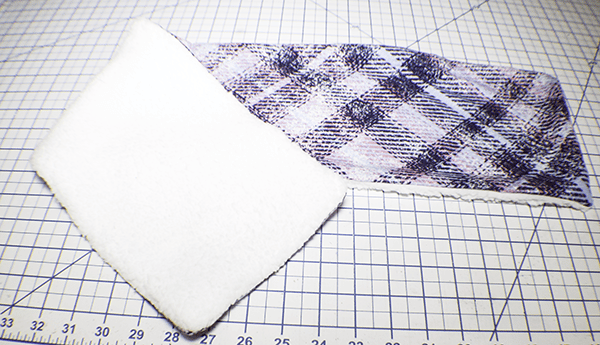
Step 3: Turn Right Sides Out
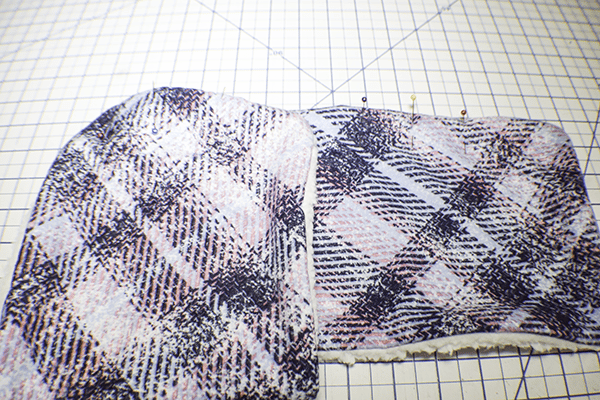
Turn the rectangle right sides out.
Step 4: Close the Opening
Close the opening using ladder stitch.
Step 5: Finish the Scarf Option 1
Add three button holes and three buttons. This finish option and diagram came from Sew4Home.

Step 6: Finish the Scarf Option 2
Instead of the button holes add three special engraved button Kam Snaps to snap the neck warmer together. Put them in the same places as the buttons and button holes in the previous steps. This idea came from the Kam Snap website here. You have now finished your flannel and sherpa neck warmer.
I hope you enjoyed this flannel and sherpa neck warmer. If you would like more sewing and crafting tutorials subscribe to my newsletter and receive access to my free printables library.
If you would like video tutorials of some of Sew Very Crafty's most popular posts subscribe to my free YouTube channel here.

Hello Dianna, would you happen to have the sizes for kids 3-6 years old? I would love to make these for my grandkids.
I do not have the exact size. However, This is really just a rectangle of two fabrics. You need to simply reduce the length of the rectangle to the size of the neck plus about 2.5″ to accommodate seam allowance and so that it is not too tight. Figure out the ratio of the neck size you want from the size of the pattern. To determine the ratio simple divide the neck size you want by the size of the pattern. So if the child’s neck size is 20″ divide that by 30″ to get .66″. You will use this ratio to determine the width of the rectangle. The pattern is 8″ and you want to multiply 8″ by .66 top get 5.28″. So if the child’s neck is 20″ the rectangle will be 22.5″ x 5.28″. You want to reduce the width by the same ration you reduced the length. Once you have the size rectangle you need add the buttons according to the instructions in the pattern. There may be an easier way but this is what makes sense to me. I hope this helps.