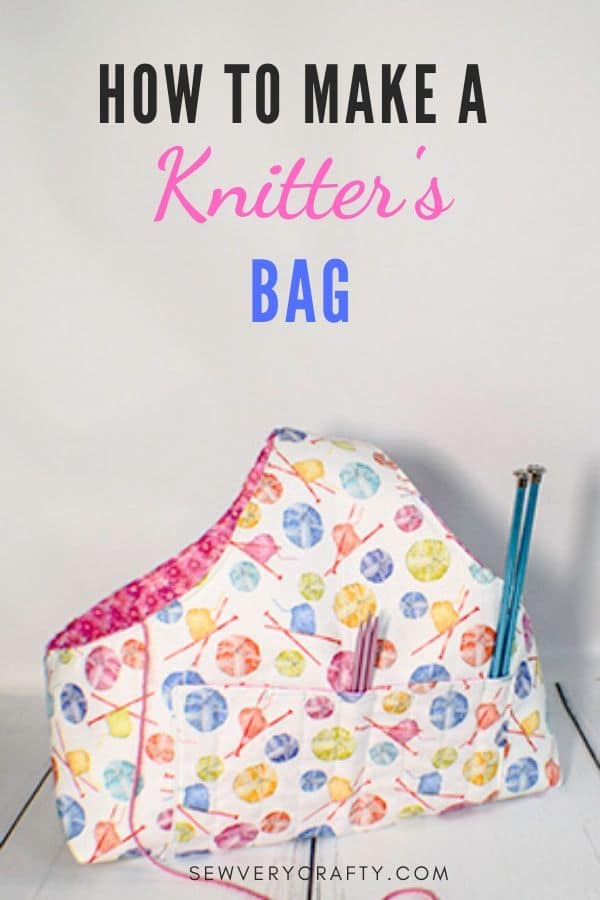
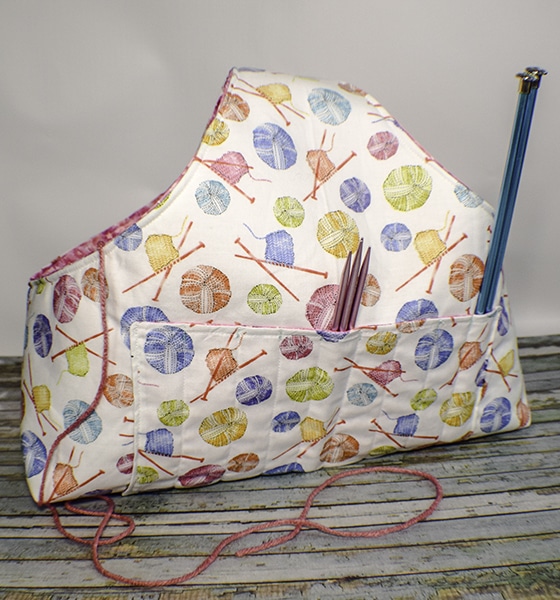
How to Make a Knitter's Bag
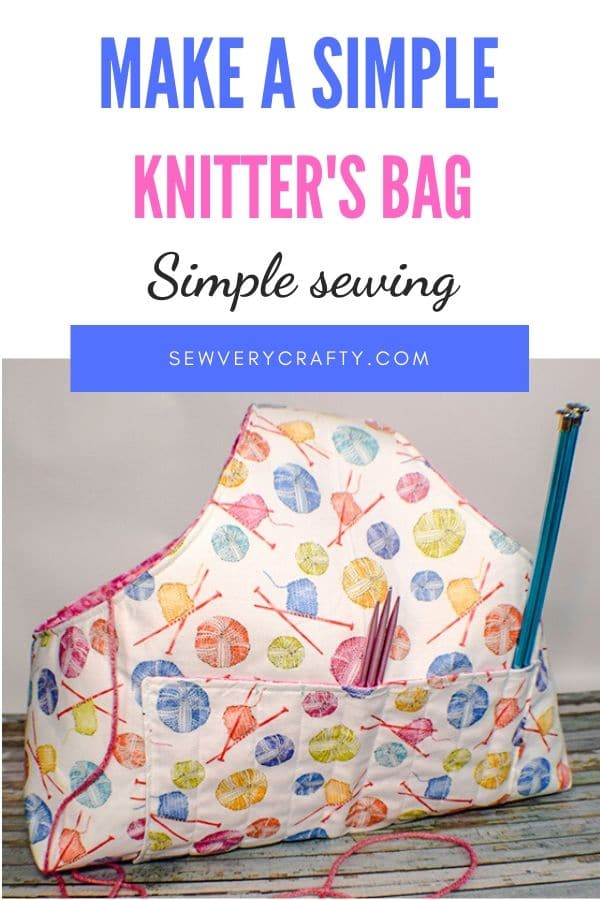
I have a lot of knitting supplies. I don't really knit much or very well but I have all the stuff and I needed a place to put it. So I decided on this bag as a good place to put my yarn and my needles to keep them all in one place. I thought this would be a simple but fun way for me to store everything I need, As those of you know who follow Sew Very Crafty I love designing and making bags of all sorts so this one was a natural. It is a super simple sewing project like most of the projects here. It is a great project to learn basic bag making skills too.
I found this fun fabric on Etsy but you could go to JOANN Fabric & Craft Stores![]() , Fabric.com or Hobby Lobby to get what you need for your project. I like using a fun fabric for this bag. It really makes it special. This post contains affiliate links that it you click on them and make a purchase I may receive a small commission at no extra cost to you. As an Amazon Associate I earn from qualifying purchases. If you do not knit but would like to learn how to check out the classes offered by NobleKnitsU
, Fabric.com or Hobby Lobby to get what you need for your project. I like using a fun fabric for this bag. It really makes it special. This post contains affiliate links that it you click on them and make a purchase I may receive a small commission at no extra cost to you. As an Amazon Associate I earn from qualifying purchases. If you do not knit but would like to learn how to check out the classes offered by NobleKnitsU
What you will Need: How to Make a Knitter's Bag
- Knitter's Bag Pattern you can Get Here
- 1 yd outer fabric and lining fabric
- 1 yd Pellon 987F fusible fleece interfacing
- Standard Sewing Supplies
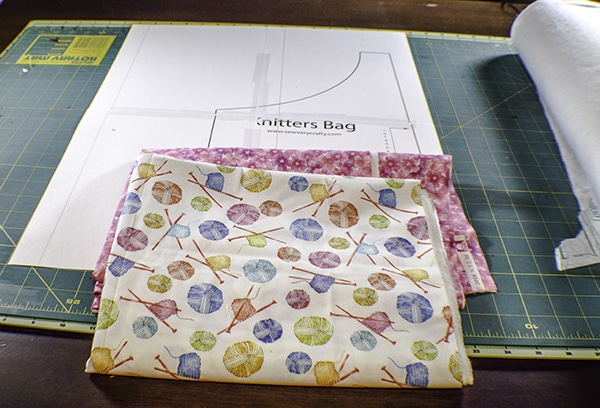
Step 1: Cut out Your Fabrics
Print out the pattern and tape the four pieces together. Using the pattern cut out two outer pieces, two lining pieces and two interfacing pieces. Cut 2 outer pocket pieces and two lining pieces that measure 6″ x 10″.
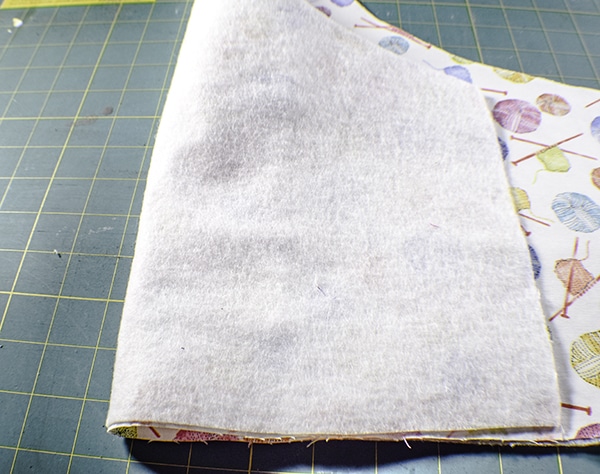
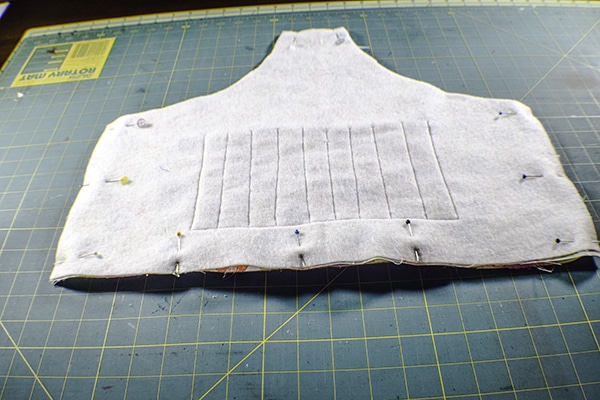
Step 2: Add the Fleece interfacing
Fuse the interfacing to the outer fabric pieces following the manufacturers instructions.
Step 3: Create the pockets
Take one outer pocket piece and one lining pocket piece and place them right sides together. Stitch all the way around using a 1/4″ seam allowance but leaving an opening in one of the long edges for turning. Clip the corners. Turn the pocket right sides out and press. Top stitch along the top long edge. Repeat for the other pocket piece.
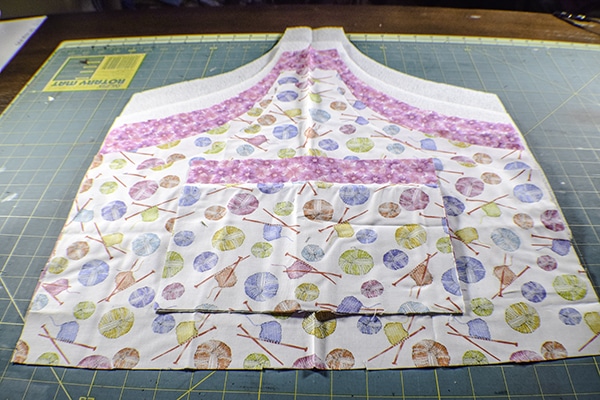
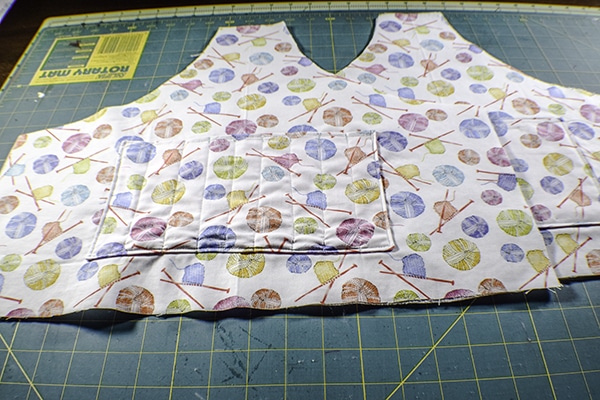
Step 4: Add your Pocket Pieces
Lay one of your outer bag pieces right sides up on your work surface. Measure up from the bottom of bag 2″ and place the bottom of your pocket piece centered on the bag and pin. Stitch the pocket piece to the outer bag piece along the sides and bottom. Repeat for the other side. On one of the sides stitch lines down the pocket piece 1″ apart for a dedicated space for your needles.
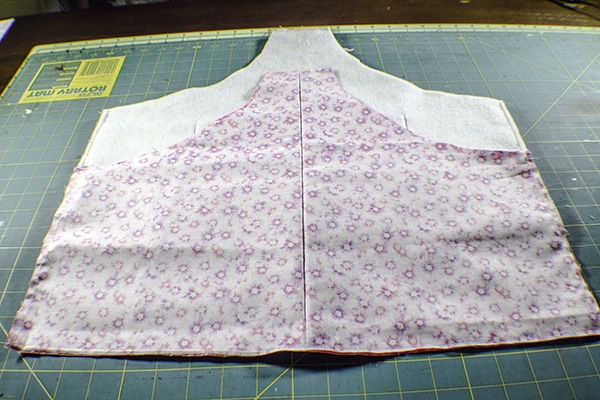
Step 5: Create the knitter's bag
Place the outer bag pieces right sides together on your work surface and pin. Stitch the top strap handle (not the curve), the sides and the bottom using a 1/4″ seam allowance. Create an identical piece using the lining fabric.
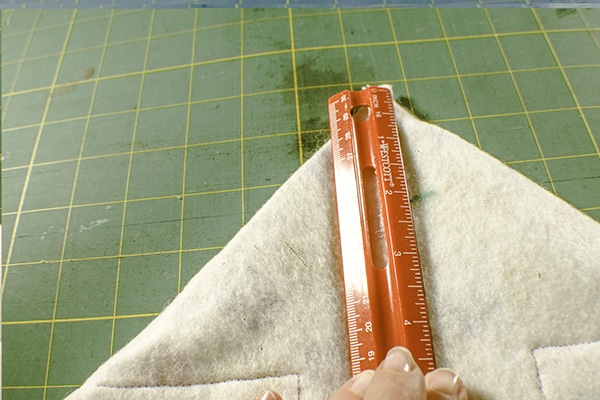
Step 6: Box the corners
In order to box the corners match the side seam to the bottom seam so that a little triangle is created. Measure down 2″ from the point and draw a line. Stitch along the line. Repeat for the other outer side and the lining. You should have 4 boxed corners. Turn the outer fabric right sides out while leaving the lining wrong side out.
Step 7: Add the lining to the outer knitter's bag
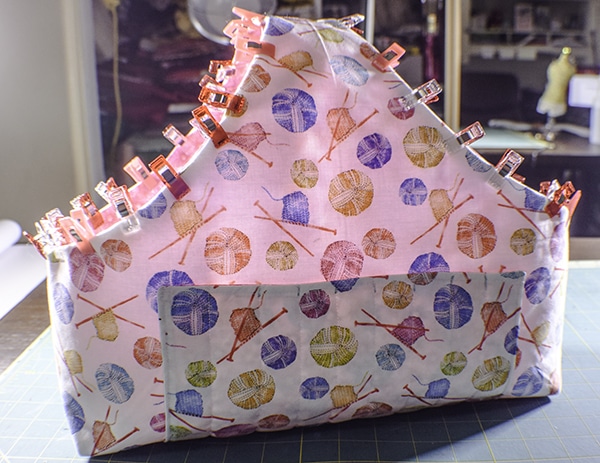
Fold the raw edges of the outer bag in 1/4″ to match your seam allowances and press. Fold the raw edges of the lining bag out 1/4″ to match your seam allowances and press. Place the lining inside the outer bag and match up all the handle edges and pin. Top stitch around the top and handle. You have now finished your knitters bag.
I hope you enjoyed this project. If you would like more sewing and crafting projects sign up for our news letter an receive access to our free eBook of 15 handbag patterns and tutorials taken from the blog.
If you would like video tutorials of some of Sew Very Crafty's most popular posts subscribe to our free YouTube Channel Here.