
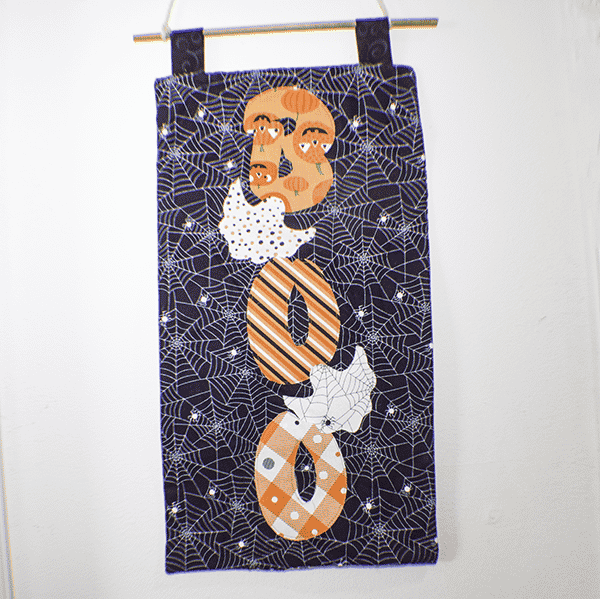
I have been in a Halloween mood lately and decided to make this simple Halloween wall hanging. This is a super simple appliqué and quilting project that anyone with basic sewing skills can make in no time. It is a terrific way to decorate your home or your front door. This halloween wall hanging is perfect to decorate your home thiss Halloween season. If you would like more Halloween projects check out my holiday page for many more fun spooky projects.
I used Moda fabrics from the too cute to spook line for this wall hanging project and it came out really cute. Of course you could head to JOANN Fabric & Craft Stores![]() ,
,
What you will Need: How to Make a Halloween Wall Hanging
- Appliqué Pieces
- 1/4 yd Black fabric for background and hangers
- 1/4 yd fabric for backing
- 1/8 yd Wunder Under
- Scraps of orange fabrics for letters
- Scraps of fabrics for ghost appliqué
Step 1: Cut your Wall Hanging Fabrics
Cut a piece of black background fabric that measures 12″ x 22″. I used a spider web fabric that came with the fat quarter bundle that I used. Cut pieces of batting and backing fabric that also measure 12″ x 22″. Cut two pieces of black background fabric that measure 2″ x 10″ for the hangers.

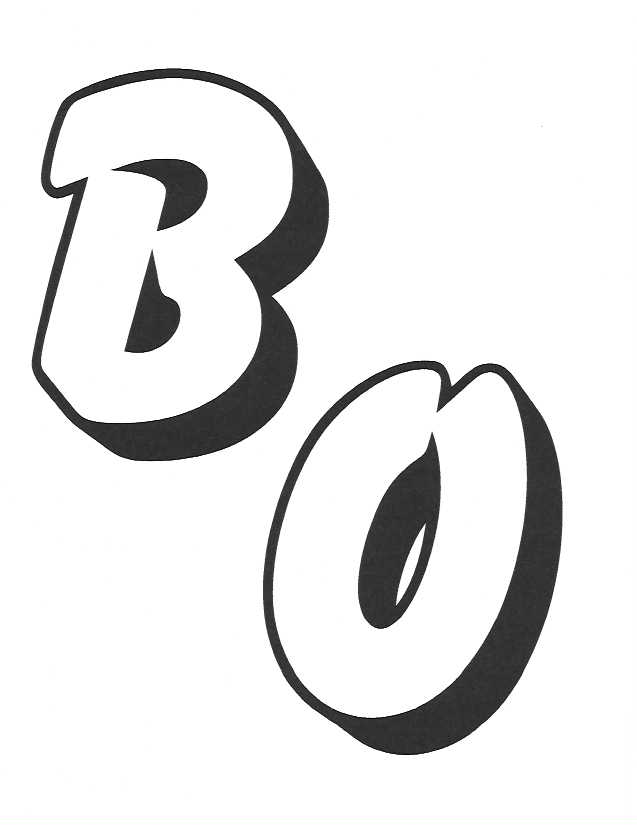
Step 2: Create the Appliqué
To create the appliquéd letters turn them over and trace them onto the paper side of the Wunder Under. Trace the ghost appliqué pieces on the paper side as well. Cut out each piece separately and fuse them onto the fabric of your choice. I used orange fabrics but fused my pumpkins upside down oops! Cut out the pieces.

Step 3: Fuse the Appliqué Pieces
Remove the paper backing from the pieces by scoring the paper with a seam ripper to scissors. Peel off the paper backing. Line up the Letters on the black background and fuse them again using a hot iron. Fuse the ghost appliqué onto the black background anywhere you like.

Step 4: Create the Hangers
Take the two hanger pieces and fold them in half widthwise. Stitch along the sides. Turn right sides out. Press. Stitch along the sides.

Step 5: Add the Hangers
Fold the hangers in half so the short ends meet. Measure in 1 1/2″ from each edge and place the hangers. Stitch into place using a 1/8″ seam allowance to secure.

Step 6: Layer the Wall Hanging
Place the batting on your work surface. Then lay your wall hanging on top right sides up. Place your backing fabric right sides down and pin the layers together.

Step 7: Stitch the Wall Hanging Together
Stitch all the way around the wall hanging but leaving an opening at the bottom for turning.
Step 8: Turn Right Sides Out
Turn the wall hanging right sides out through the opening you left at the bottom. Stitch the opening closed using ladder stitch.

Step 9: Quilt the Halloween Wall Hanging
Start by stitching around the appliqué letters and ghosts. Once you have done that, randomly quilt the background of the wall hanging. Make sure that your thread matches your fabric even if that means your bobbin thread is a different color than your spool.

Step 10: Finish the Halloween Wall Hanging
Add a dowel or rod through the hangers and tie some twine to the ends so that you can hang the piece on the wall or on the door. Have a happy halloween!!

I hope you enjoyed this simple wall hanging project. If you would like more sewing and crafting projects subscribe to our newsletter and receive access to our free printables library
If you would video tutorials of some of Sew Very Crafty's most popular posts subscribe to our free YouTube channel here.


