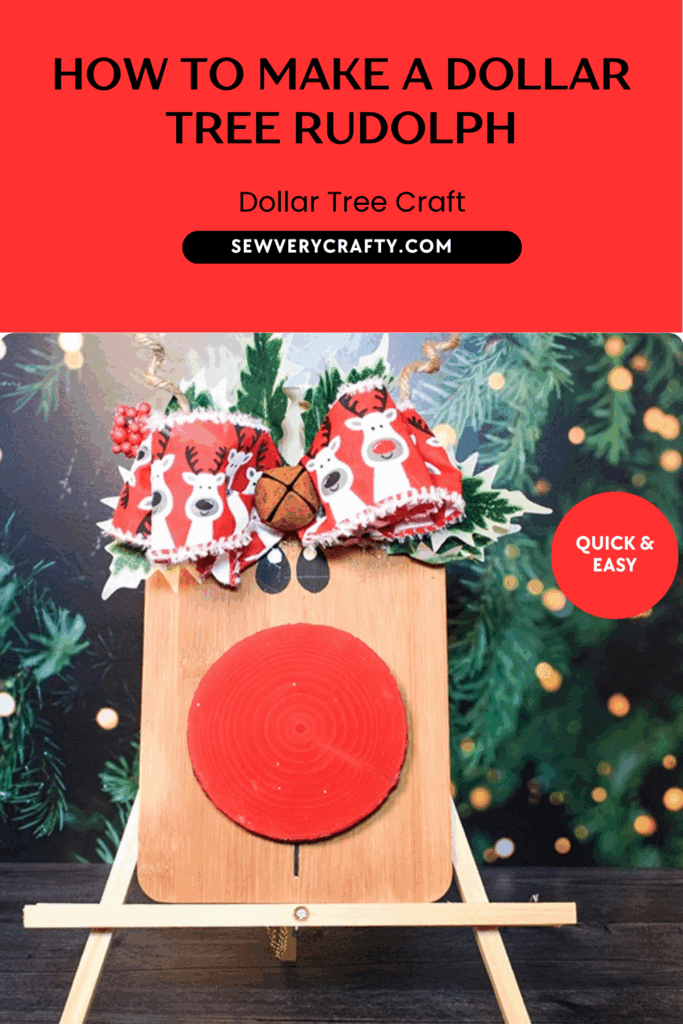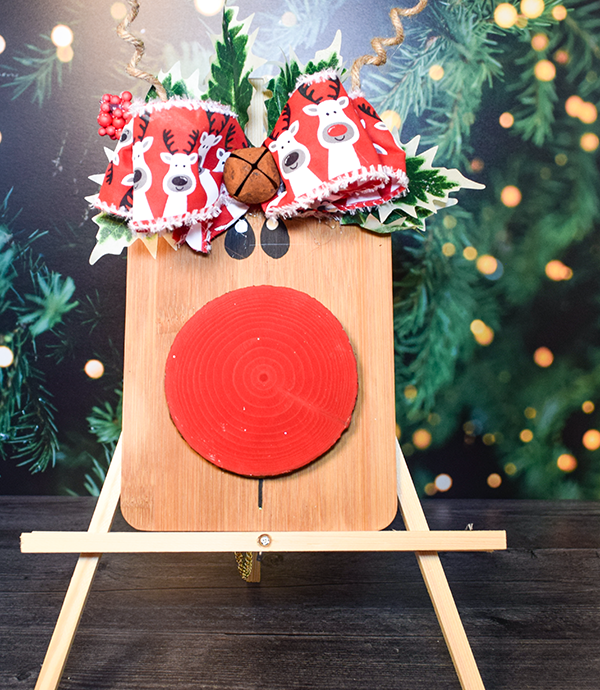
In the past year or so I have really enjoyed doing the Dollar Tree crafts. Today's project is a standard Dollar Tree craft that I think is just adorable and perfect to add Christmas charm to your home's decor. I was inspired by some ribbon I bought at Michael's. Not much is needed for this project and it can be put together in minutes so head over to Dollar Tree to get the components of this fun Dollar Tree craft. If you would like more Dollar Tree crafts check out my Dollar tree page. For more holiday sewing and crafting head over to the holiday project vault.
Note: This post contains affiliate links that if you click on them and make a purchase I will receive a small commission at no extra cost to you. As an Amazon Associate I earn from qualifying purchases.
What you will Need: How to Make a Rudolph Shelf Sitter
- Dollar Tree wood cutting board
- Rusted Jingle Bell
- Wood Round
- Craft stain
- Red chalk paint
- Black Chalk paint
- White chalk paint
- Dollar Tree wired jute
- Wired ribbon
- Dollar Tree Christmas greenery
- Hot glue
- Wood Glue
- Bowdabra
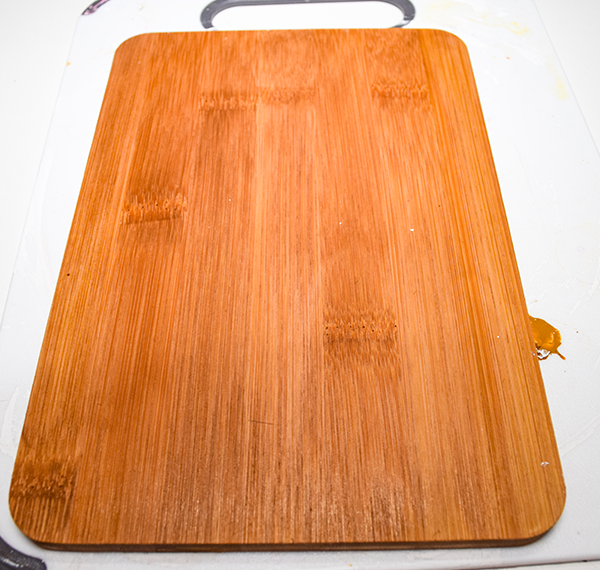
Step 1: Stain the Cutting board
Using the craft stain cover all sides of the cutting board. You can use a baby wipe to spread it for a nice even coat. Wipe off any excess.
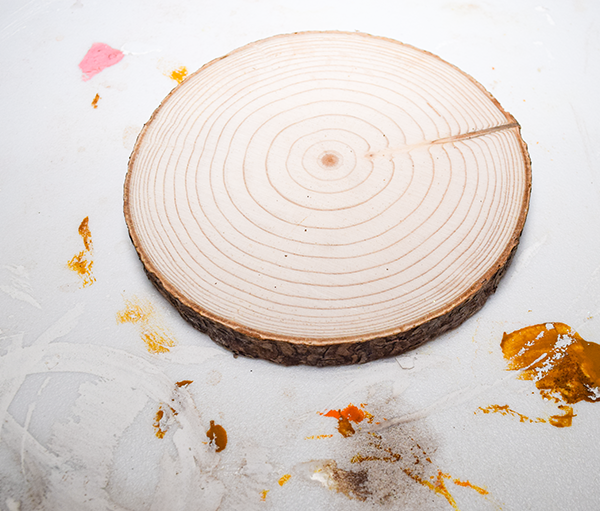
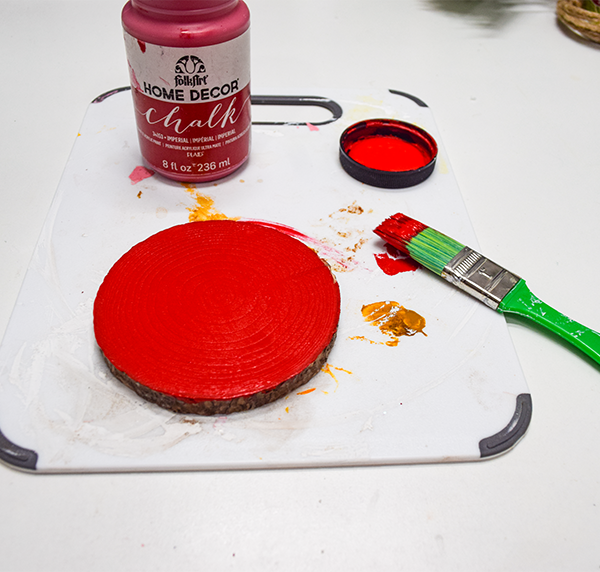
Step 2: Paint the Wood Round
I used a natural wood round that I purchased at Michael's for Rudolph's nose. Any wood round will do so long as it is less than 3.87 in diameter. You want it relatively large but not overwhelming. Using the red chalk paint cover the round with a nice even coat.
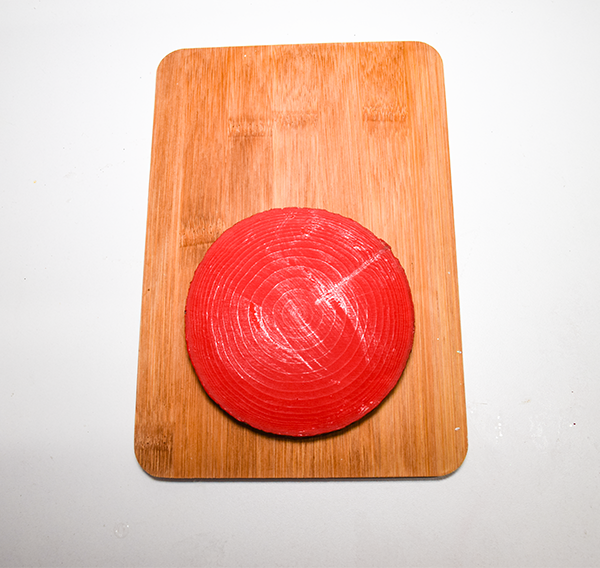
Step 3: Glue on the Wood round
Using a combination of hot glue and wood glue attach the wood round to the bottom center part of the cutting board.
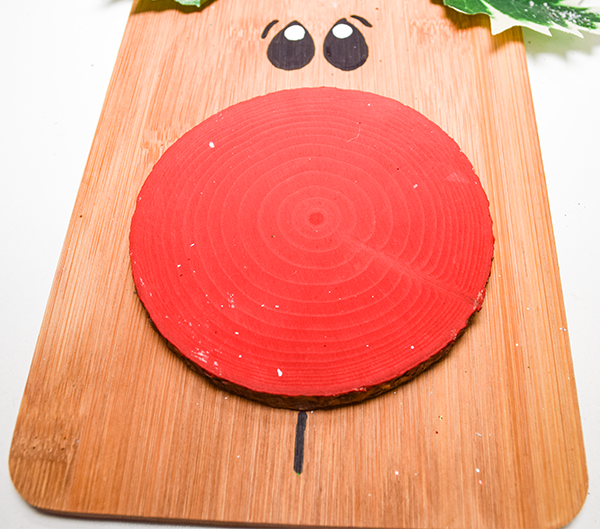
Step 4: Paint the Face
Using the black chalk paint paint the eyes. I chose to use oblong eyes that are reasonably close together. You can draw them with a pencil if you like. Paint the eyes black. Add some eyebrows to the top sides of the eyes. Once the black paint has tried at some small circles in white inside the black eyes. Finally, paint a small line just below the nose.
Step 5: Create the Bow
Choose any Christmas themed wired ribbon for the bow. If you have difficulty with creating bows head over to Southern Charm Wreaths and take their bow making course. You can also use a Bowdabra. I chose a bow with two loops on either side. Dovetail to ends of the ribbon.

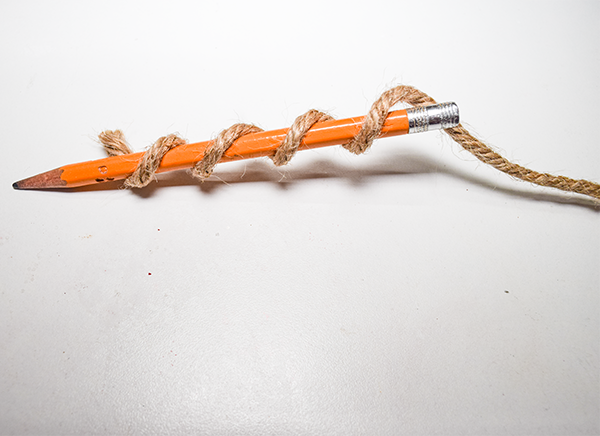
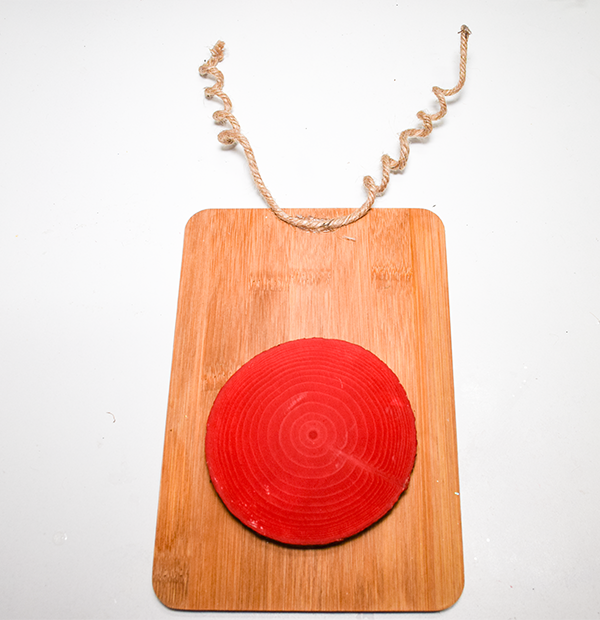
Step 6: Create the Antlers
Wrap the wired jute around a pencil to make spirals. Fold the jute in half to create each side of the antlers. Hot glue the antlers of the top of the cutting board.

Step 7: Add the Greenery and Bow
Take some Christmas greenery and hot glue it to the center of the antlers as shown. Hot glue the bow to the top front of the cutting board. Finally, glue on the rusted jingle bell.


I hope you enjoyed this simple Dollar Tree craft. if you would like more sewing and crafting projects subscribe to our free newsletter and receive your free Dollar Tree holiday eBook.
If you would like video tutorials of some of Sew Very Crafty's most popular posts subscribe to our free YouTube channel here.
Join our Sew Very Crafty Fans Facebook group
If you want to ask questions and share your projects join our Facebook group here. The community will help to achieve your sewing and crafting dreams.