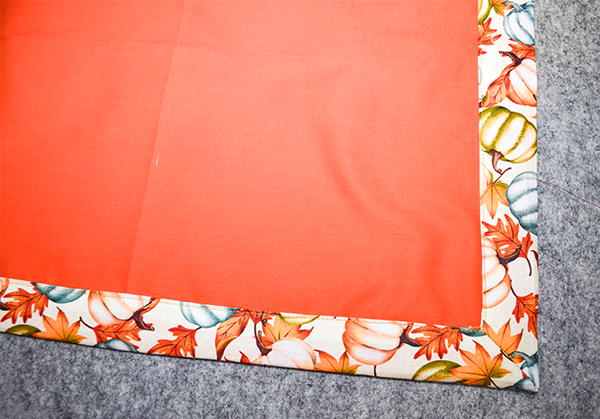
Nothing speaks of holiday meals like cloth napkins. They are super simple to make but can really add a splash at any holiday meal. These holiday fabric napkins can be made in no time with basic sewing skills. You can use a splash of color or make them tone on tone. Either way you will be adding a touch of elegance. If you would like more holiday sewing and crafting projects head over to the holiday project vault for many more.
Note: This post contains affiliate links that if you click on them and make a purchase I will receive a small commission at no extra cost to you. As an Amazon Associate I earn from qualifying purchases.
What you will Need: How to Make Holiday cloth napkins
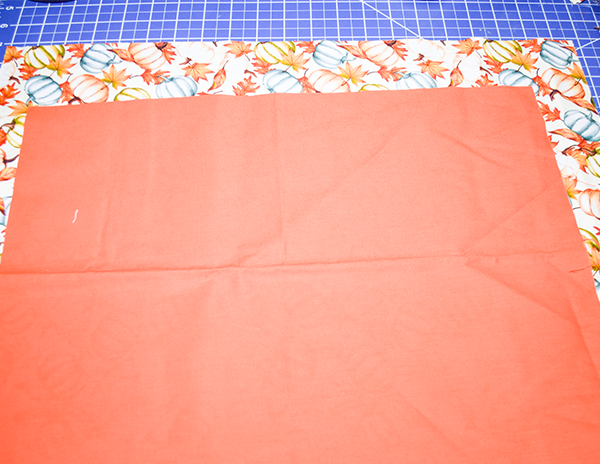
Step 1: Cut the Fabrics
This tutorial demonstrates how to make an 18″ square napkin. Determine how many napkins you would like to make and cut that number of 21″ squares for the front. For the back cut the number of napkins you would like in 17 1/2″ squares.
Step 2: Fold over the raw edges
Fold the front fabric raw edges over by 1/2″. Press. Fold again by 1″ and press.
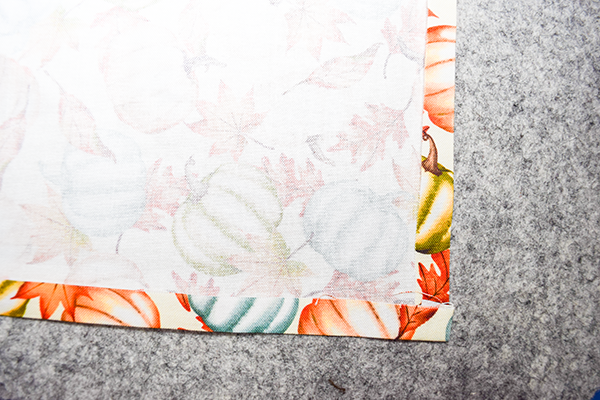
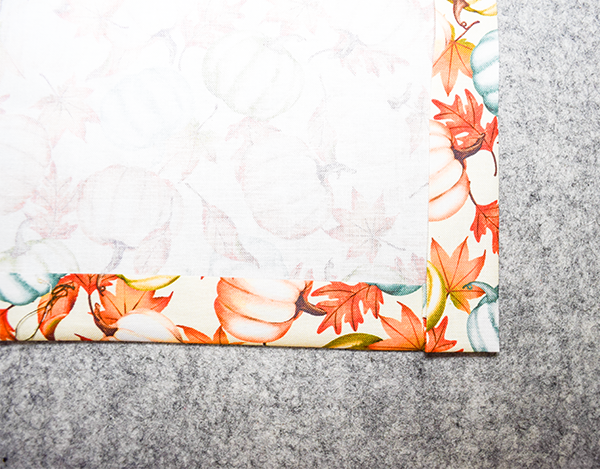
Step 3: Create the mitered corners
Start by opening the second fold. Measure 2″ from each corner and make a mark. Draw a line connecting the marks at each corner. Fold the corners in half diagonally with wrong sides out. Line up the two marks and pin.

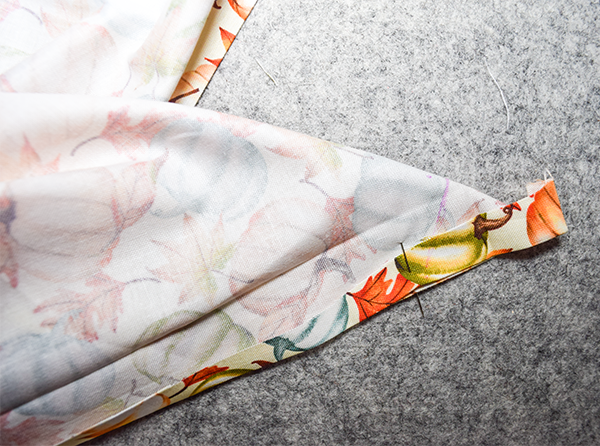
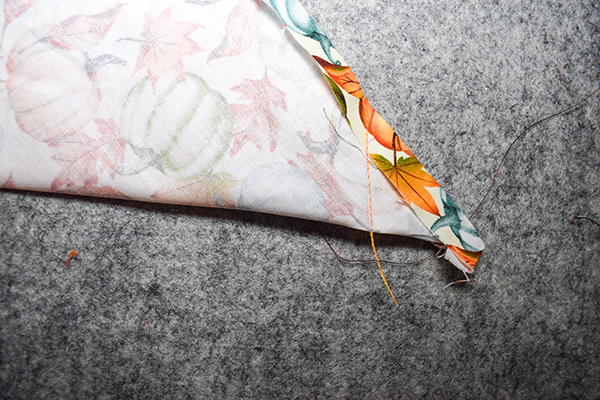
Step 4: Stitch the miters
Stitch the line to each edge and backstitch at the start and end of the line. Cut off the excess leaving a 1/4″ seam allowance. Repeat for all corners.
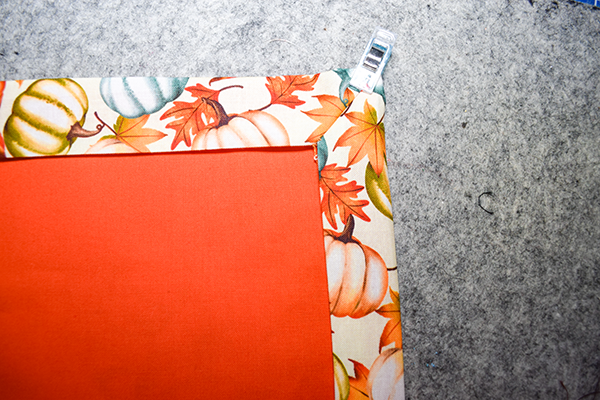
Step 5: Add the back fabric
Turn the front fabric miters right side out. Tuck the fabric into the miters so that the wrong sides are together. Pin or clip the fabrics together. Topstitch all the way around the napkin using a 1/8″ seam allowance. After the top stitching you have completed your holiday cloth napkins.

Bonus Content
If you would like to make the napkin ring shown in this post here it is.
You will Need
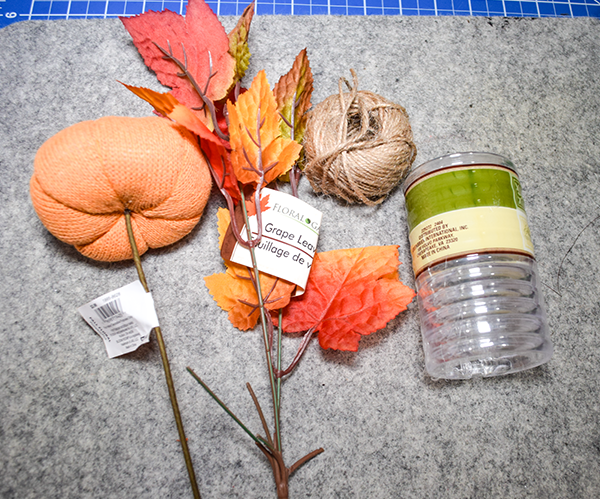
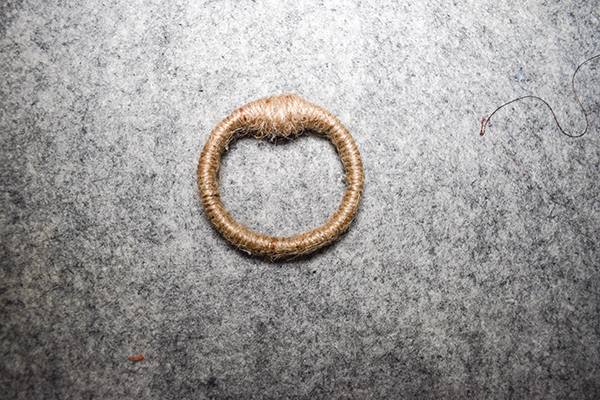
Step 1: Cover the Shower Curtain Rings
Wrap the twine around the shower curtain ring. Start by adding some hot glue then the end of the twine. Wrap the twine around the ring adding some hot glue as you go. Secure with a dab of hot glue.
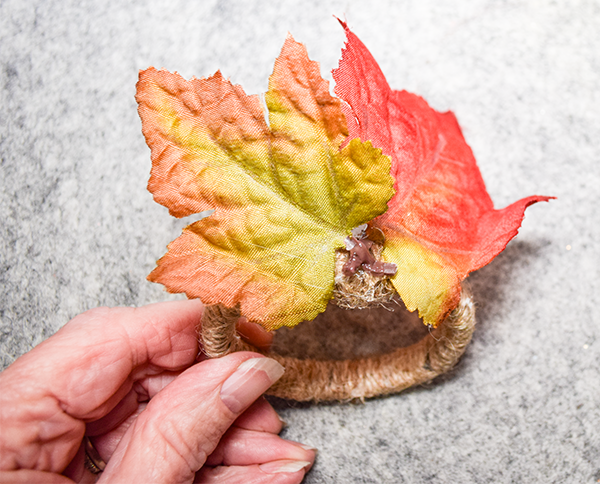
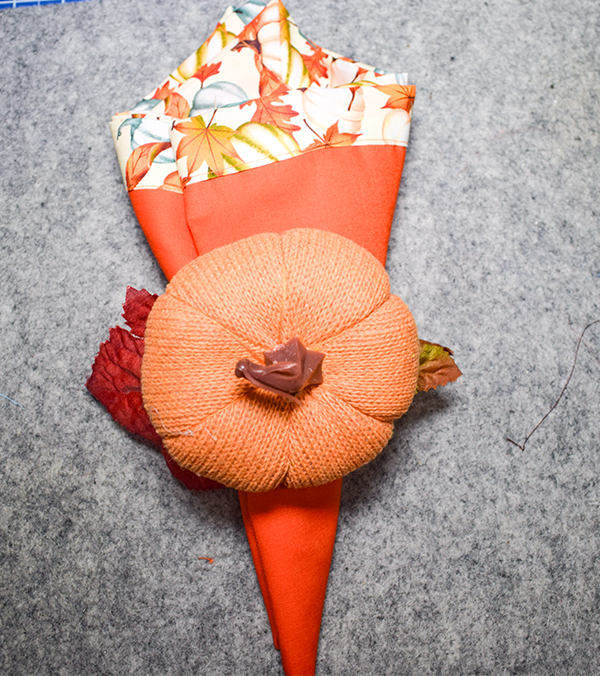
Step 2: Add the leaves
Hot glue two Dollar Tree autumn leaves to the shower curtain ring.
Step 3: Add the pumpkin
Hot glue a Dollar Tree pumpkin on top of the leaves. Once that is done so are you. enjoy.
I hope you enjoyed this simple sewing project. If you would like more sewing and crafting projects subscribe to our free newsletter and receive access to our free printable library.
If you would like video tutorials of some of Sew Very Crafty's most popular posts subscribe to our free YouTube channel here.
Join our Sew Very Crafty Fans Facebook group
If you want to ask questions and share your projects join our Facebook group here. The community will help to achieve your sewing and crafting dreams.