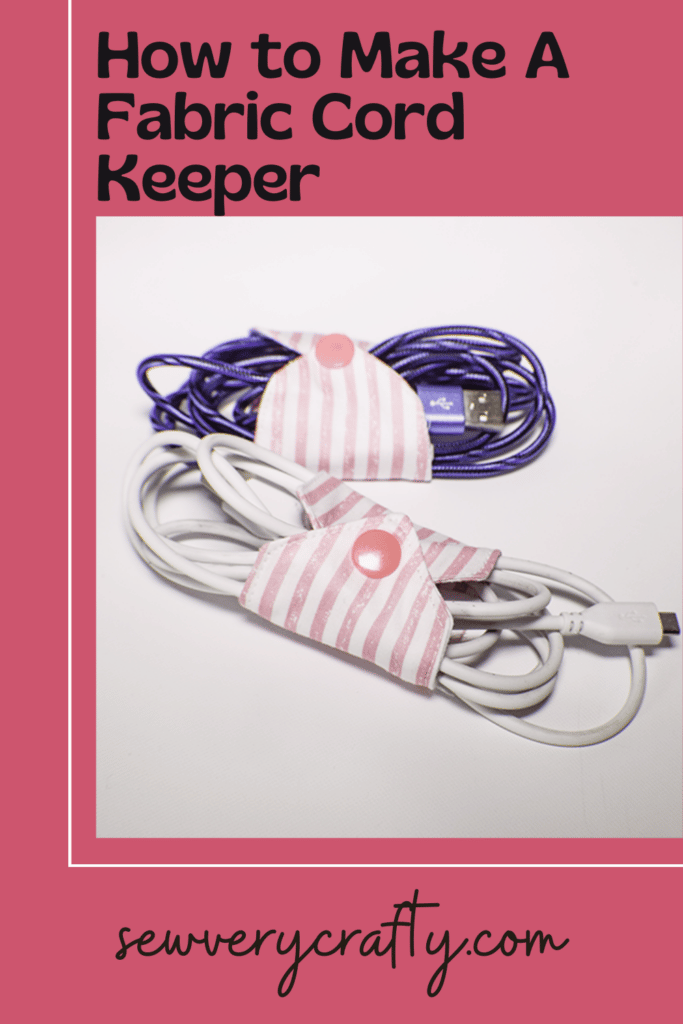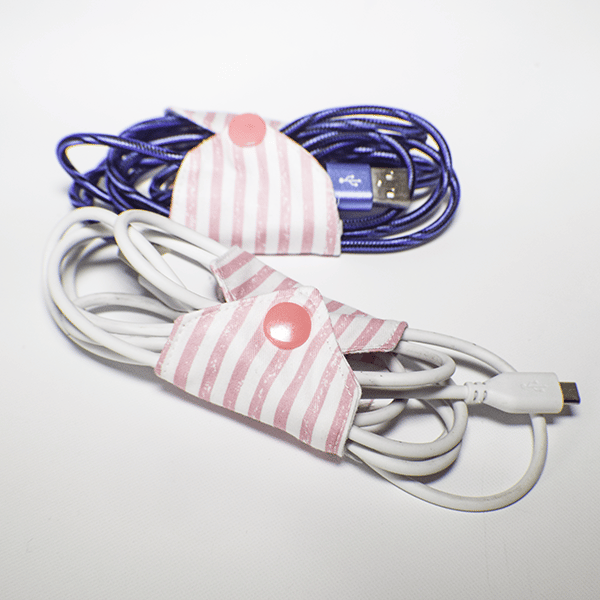
I have iPhone cords, Kindle cords, and other small cords that are constantly in my way. I decided to make this simple cord carrier to store them away when I am not using them. This is a super simple sewing project that anyone with beginner sewing skills can make in minutes. It is super practical and well worth spending a few minutes to make so let's get started. If you would like more practical projects like this one check out my home decor patterns here.
I used basic cotton fabric, some interfacing and a Kam snap for my project today. This is a great scrap busting project so you can delve into your scrap pile for this or head to JOANN Fabric & Craft Stores![]() for some remnants if you want to make a lot of them. This post contains affiliate links that if you click on them and make a purchase I may receive a small commission at no extra cost to you. As an Amazon Associate I earn from qualifying purchases.
for some remnants if you want to make a lot of them. This post contains affiliate links that if you click on them and make a purchase I may receive a small commission at no extra cost to you. As an Amazon Associate I earn from qualifying purchases.
What you will Need: How to Make a Fabric Cord Keeper
- Pattern you can get by clicking on this link
- Scraps of fabric
- Scrap of Pellon SF101 or 808
- 1 Kam Snap
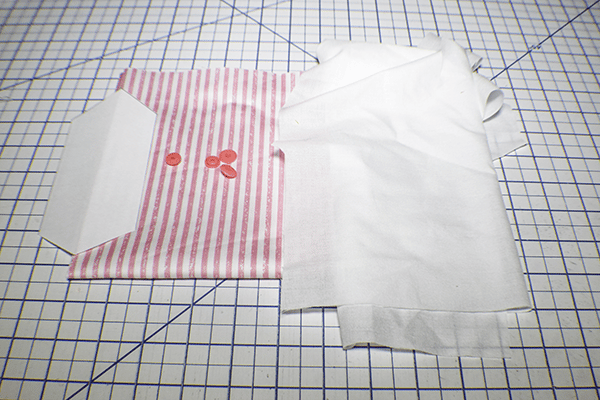
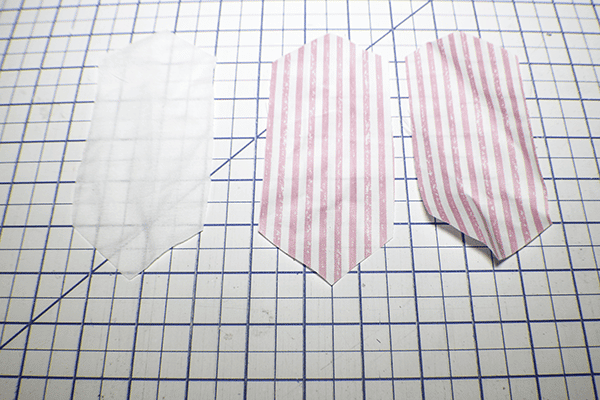
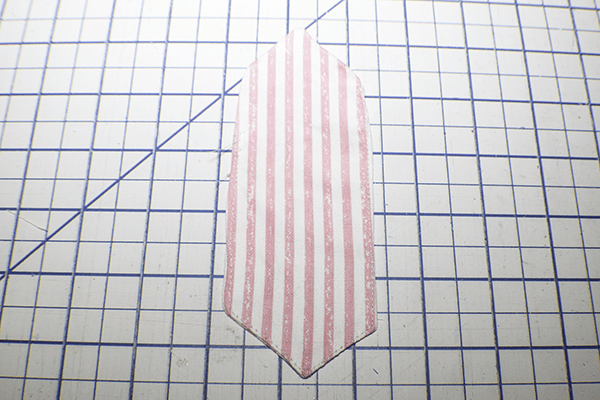
Step 1: Cut Your Fabrics and Interfacing
Using the pattern piece cut two pieces of fabric and one piece of interfacing.
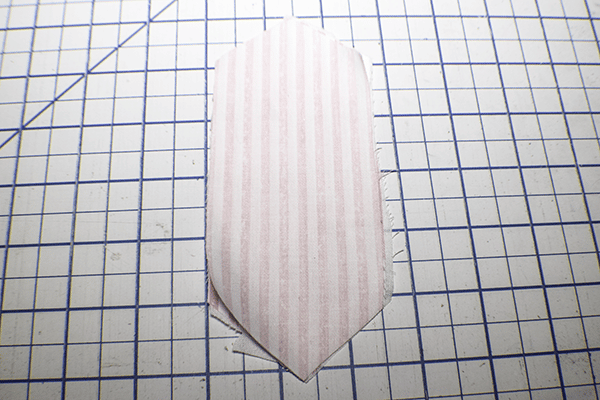
Step 2: Fuse the interfacing
Following the manufacturer's instructions and using a hot iron fuse the interfacing to the wrong side of one of the fabric pieces.

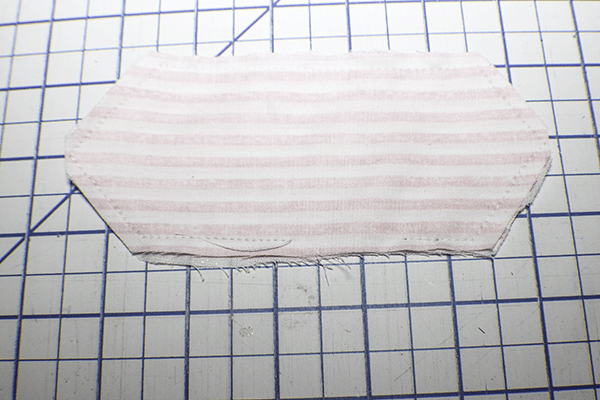
Step 3: Stitch the Fabrics Together
Place the two fabric pieces right sides together and stitch all the way around leaving an opening for turning on one of the sides. Clip the points without cutting through the stitching.
Step 4: Turn Right Sides Out
Turn the fabric right sides out using a poking tool like that Purple Thang to poke out the points. Press.
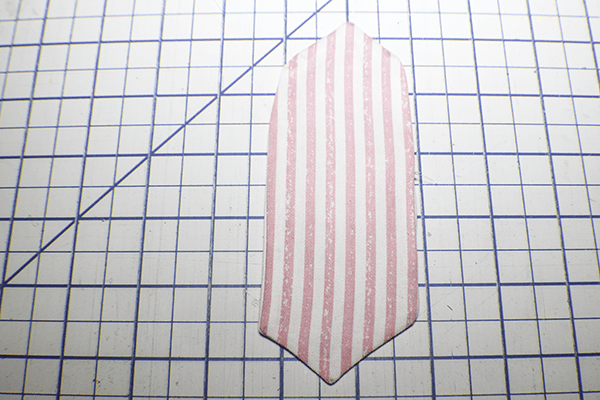
Step 5: Topstitch the Cord Keeper
Topstitch all the way around the fabric using a 1/8″ seam allowance closing the opening as you go.
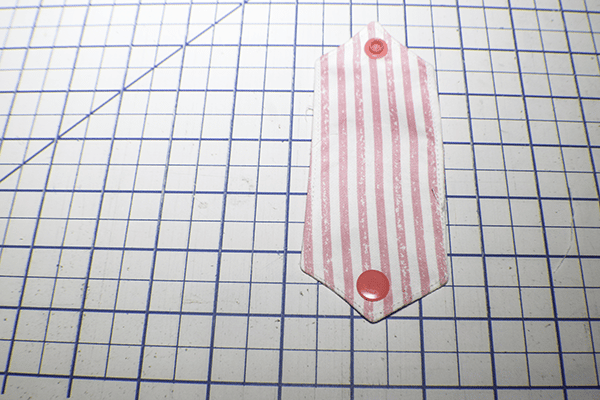
Step 6: Add the Kam Snap to the Cord Keeper
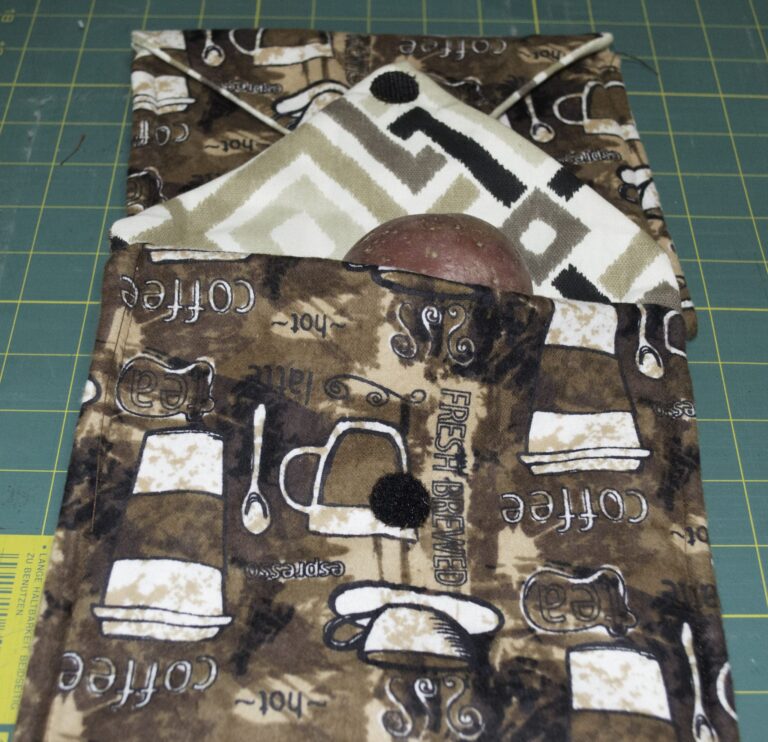
Measure down 1/2″ from each point and place each half of the Kam snap. Remember that the ends cross over each other so the Kam snap halves will be facing in opposite directions. Once you have added the cam Snap you have completed your fabric cord keeper.
I hope you enjoyed this beginner cord keeper project. if you would like more sewing and crafting tutorials subscribe to our newsletter and receive access to our free Printabes library
If you would like video tutorials of some of Sew Very Crafty's most popular posts subscribe to our free Youtube channel here.