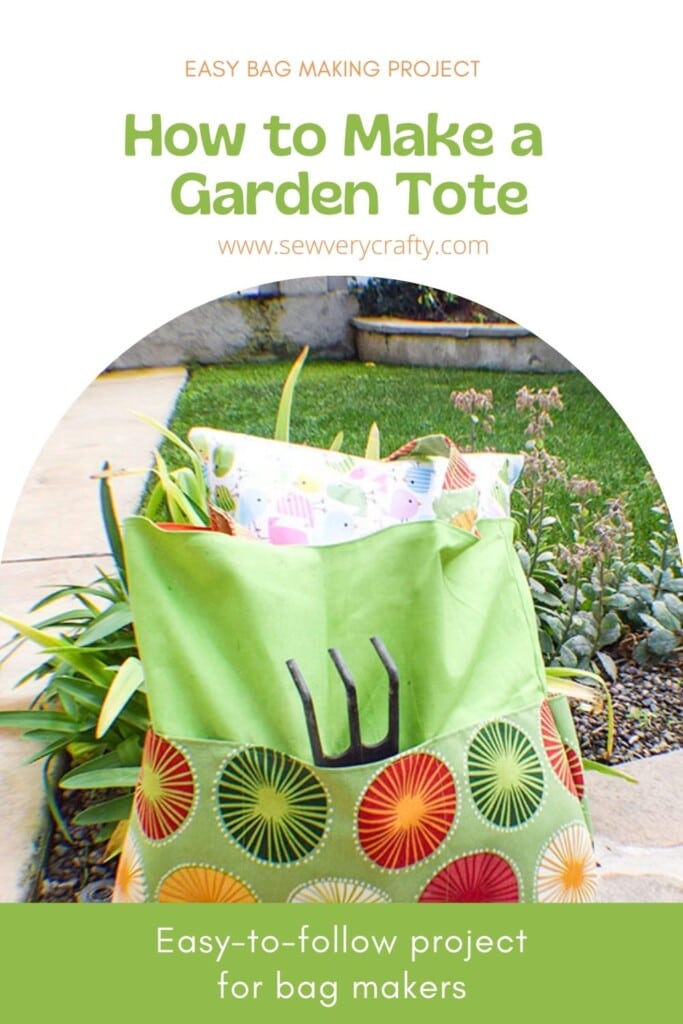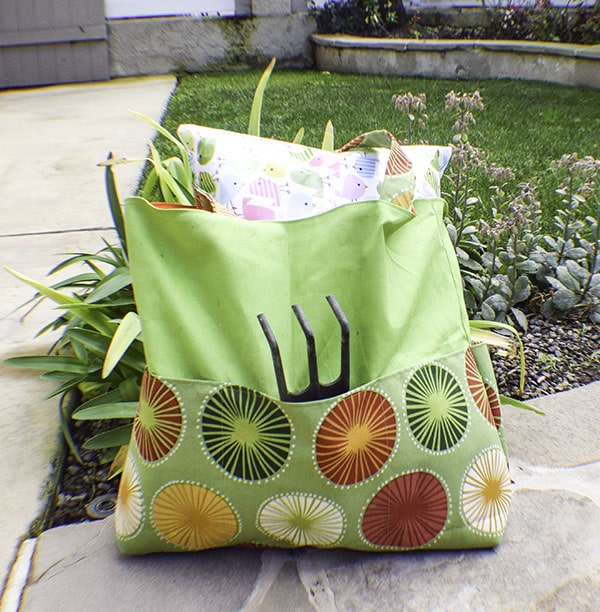
I have a friend who loves gardening. I thought I would make this terrific garden tote for her so that she can put all of her gardening tools in it and carry it to the garden with no hassle. This Garden tote has been modified from one that I saw on Northcott.com I changed a few things to make it more beginner friendly but generally used the measurements and style because I really liked it. The fabrics at Northcott are beautiful and if you get a chance to look at them head over to their site and take a gander. I have so many fabrics on hand that I didn't use any of theirs but you might want to take a look. If you would like to make the garden kneeler that is in the photo check out this post.
I used outdoor fabrics for the tote that I made to make it a little more user friendly. Some of the fabrics were purchased as remnants at JOANN Fabric & Craft Stores![]() and other's I purchased by the yard. You could head to JOANN Fabric & Craft Stores
and other's I purchased by the yard. You could head to JOANN Fabric & Craft Stores![]() or to Hobby Lobby, Fabric.com or onlinefabricstore.net for your fabrics if you like. You could also head to Northcott.com. This post contains affiliate links that if you. click on them and make a purchase I may receive a small commission at no extra cost to you.
or to Hobby Lobby, Fabric.com or onlinefabricstore.net for your fabrics if you like. You could also head to Northcott.com. This post contains affiliate links that if you. click on them and make a purchase I may receive a small commission at no extra cost to you.
What you will Need: How to Make a Garden Tote
- 1 1/4 yds of outer fabric
- 1 1/2 yds of pocket fabric
- 3/8 yd of handle fabric
- 1 1/4 yds lining fabric
- 1 1/4″ Fusible interfacing like Pellon 808 (Optional)
- Standard Sewing supplies

Step 1: Cut Your Fabric
- Outer Fabric — 2 Pieces 19″ x 23″
- Lining Fabric — 2 pieces 19″ x 23″
- Pocket Fabric — 1 Piece 23″ x 23″ and 1 Piece 27″ x 31 1/2″
- Handles Fabric — 2 Pieces 6″ x 26″
Step 2: Prepare the Outer Fabric
If you are using standard cotton you will need to use a fusible interfacing like Pellon 808 to add structure to the fabric. Fuse the interfacing to the wrong side of the outer fabric following the manufacturer's instructions. If you use outdoor fabric or canvas like I am doing there is no need to use the interfacing.
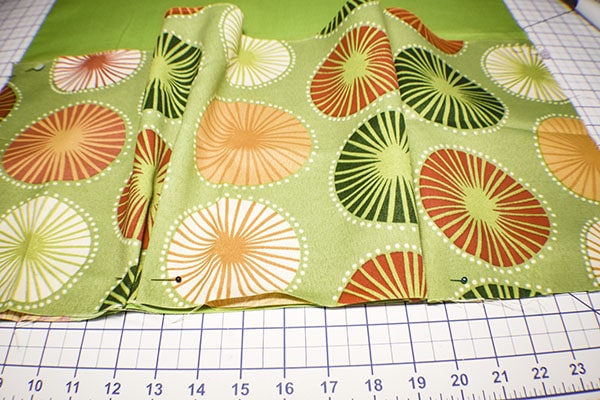
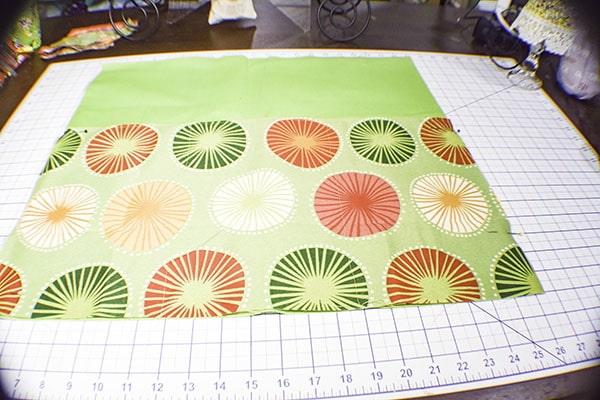
Step 3: Create the Pleated Pockets
For both pocket pieces fold the fabric in half lengthwise and press. Top stitch along the fold. There are two different sets of pockets. There are flat pockets and pleated pockets. For the pleated pockets pin the sides of the pocket piece to the sides of one of the outer pieces matching the bottoms. You will see that the pocket piece is much longer than the outer piece. You will pleat three pockets from the excess fabric. To do this measure 7″ from either side and make a mark. Make two pleats at those marks so that there is 7″ separating each of the pockets. Stitch along the bottom to hold the pleats in place. Next, stitch in between each pleat to create the pockets.
Step 4: Create the Flat Pockets
Place the other pocket piece together with the second outer piece and stitch along the bottom to hold in place. Stitch two vertical lines to create the pockets.
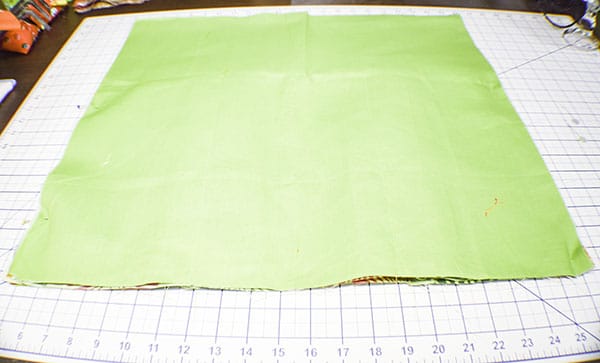
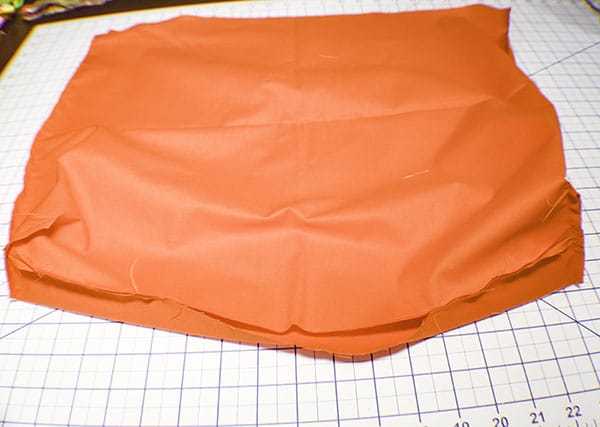
Step 5: Stitch the Outer Bag
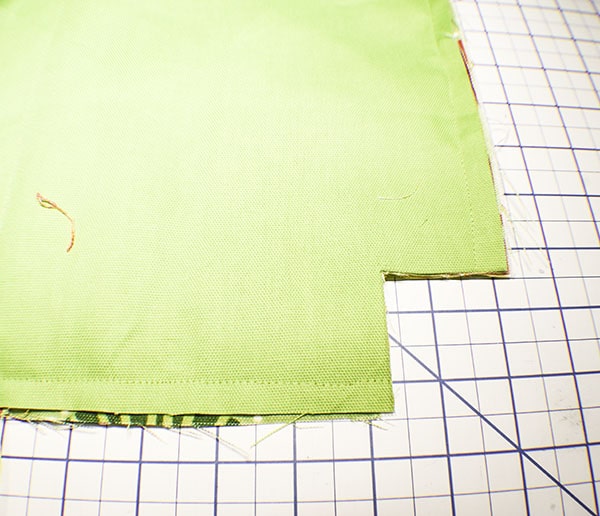
Place the two outer bag pieces right sides together. Stitch along the sides and the bottom using a 1/4″ seam allowance. Cut 2″ squares from each bottom corner.
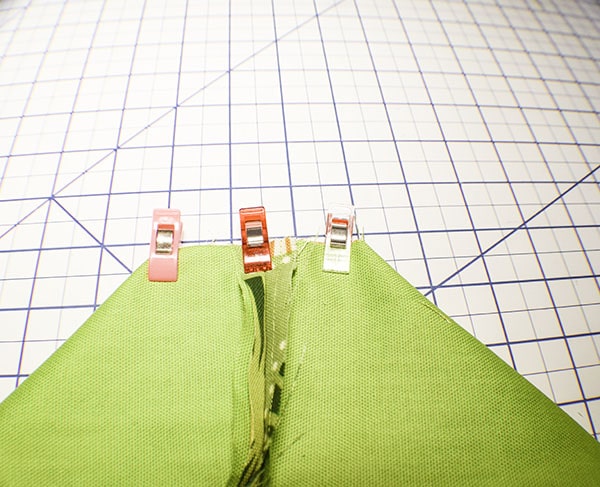
Step 6: Box the Corners
To box the corners fold the bottom edge so that the bottom seam meets with the side seam. Stitch across to create the boxed bottom using a 1/4″ seam allowance. Turn right sides out.
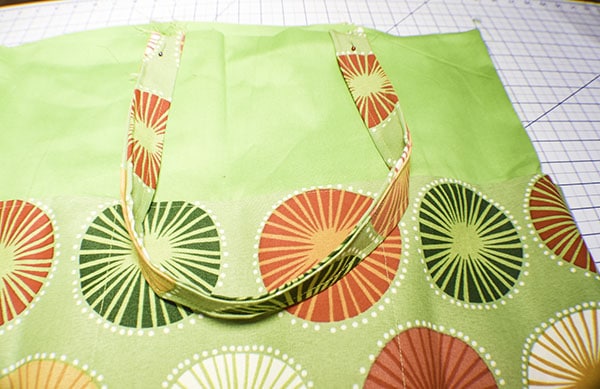
Step 7: Create the Handles
Fold the handle fabric in half lengthwise and press. Open up and fold the raw edges to the crease that you just created and press. Fold in half enclosing the raw edges and press again. Topstitch along both sides of the handle. Repeat for the other handle.
Step 8: Add the Handles to the Outer Garden Tote
Find the center of both sides of the outer bag. Place the handles 3 1/2″ from the center on each side and stitch in place.
Step 9: Create the Lining
Create the lining in the same way that you created the outer bag. Stitch the two pieces right sides together on both sides and on the bottom but leave an opening on the bottom for turning. Cut out the 2″ squares in the same way that you cut the outer bag and box the corners.
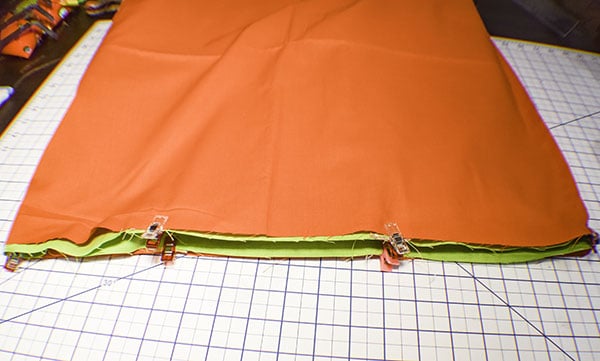
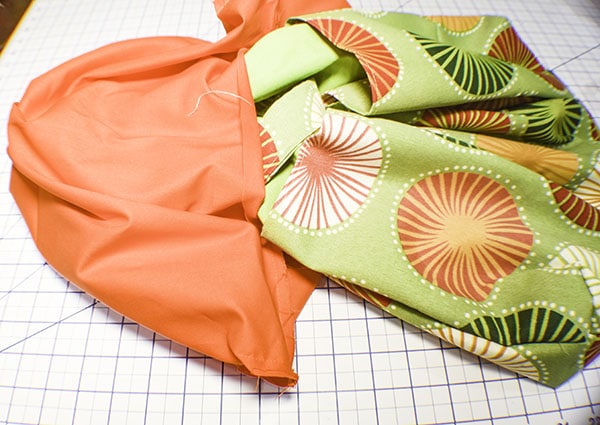
Step 10: Finish the Garden Tote
Place the outer bag inside the lining bag so that they are right sides together. Match the side seams. Tuck the handles in between the two layers. Stitch all the way around the top of the bag using a 1/4″ seam allowance. Turn the garden tote right sides out through the opening you left in the lining. Push the lining into the outer bag and press. Topstitch all the way around the top of the garden tote. Close the opening in the lining using ladder stitch. You have now finished your garden tote.
I hope you enjoyed this garden tote project. If you would like more sewing and crafting projects sign up for our newsletter and receive your free eBook of 15 handbag patterns and tutorials taken from the blog
If you would like video tutorials of some of Sew Very Crafty's most popular posts subscribe to our free YouTube channel here.