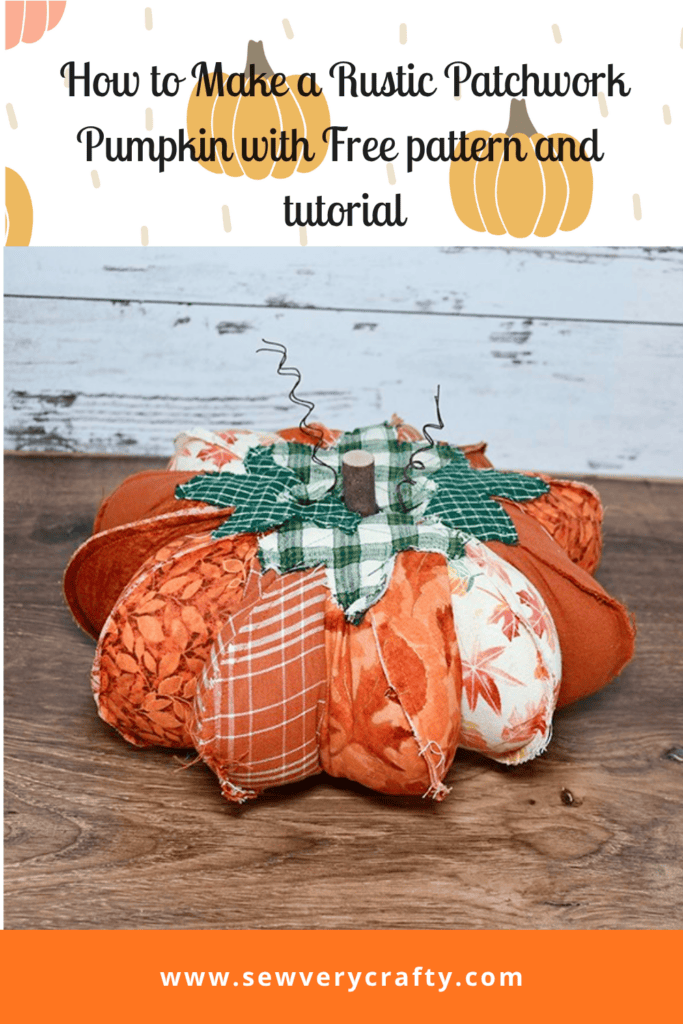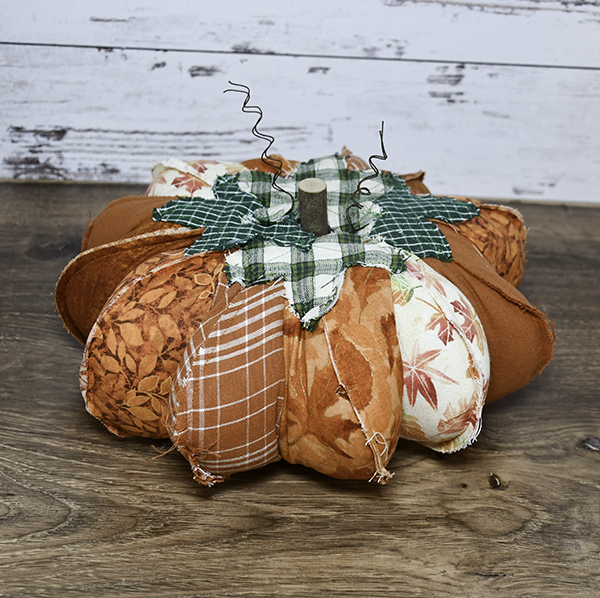
This is my version of the rag pumpkin for this autumn. Of course you can use Halloween fabrics if you want. I chose some autumn fabrics in my stash. You can use fat quarters for this project if you like. Of course, the patterned instructions are free so I hope you enjoy this simple swing project. For more holiday sewing and crafting head over to my Holiday Project vault for many more.

Note: This post contains affiliate links that if you click on them and make a purchase I will receive a small commission at no extra cost to you. As an Amazon Associate I earn from qualifying purchases.
What you will Need: How to Sew a Rag Strip Pumpkin with Free Pattern
Step 1: Print and cut Pattern
There are two pattern pieces; one is for the body of the pumpkin and one is for the leaves. Cut 12 pieces of different fabrics using the body fabric and eight pieces for the leaf pieces. Then, cut four pieces from the Pellon 808. Finally, cut two circles for the top and bottom.
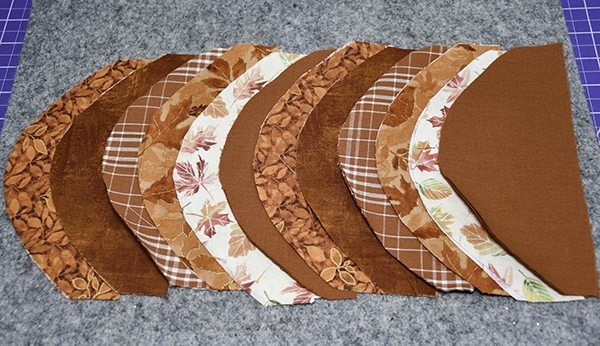
Step 2: Stitch the body pieces together
Start by placing two matching body pieces wrong sides together. Stitch them together along the curved part only using a 1/4" seam allowance. Continue to stitch the rest of the pieces in the same way.
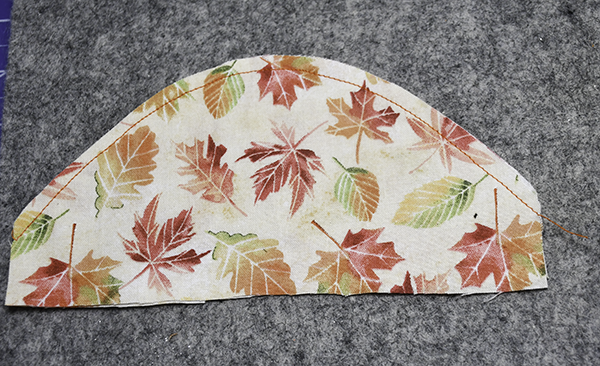
Step 3: Stitch the Sections Together
Place one section right sides together with another section and stitch one unstitched straight edge with the neighboring unstitched straight edge of the section with a different fabric. Continue stitching all the sections together in the same way until you have created the pumpkin shape. Make sure the curved seam is facing out.
When you get to the final pieces turn the sections wrong sides out to stitch the final section. You should have a hollow pumpkin shape with each section hollow as well. Turn the pumpkin right sides out.
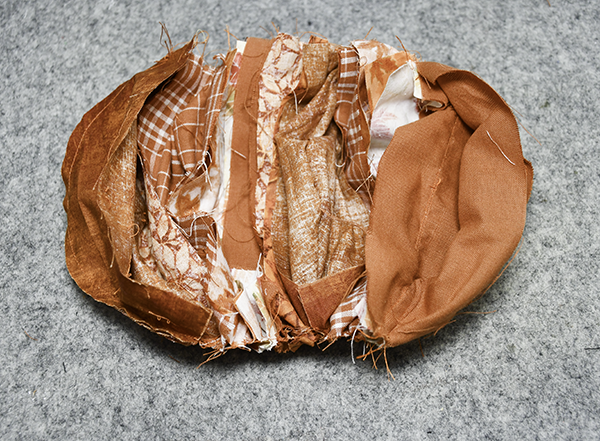
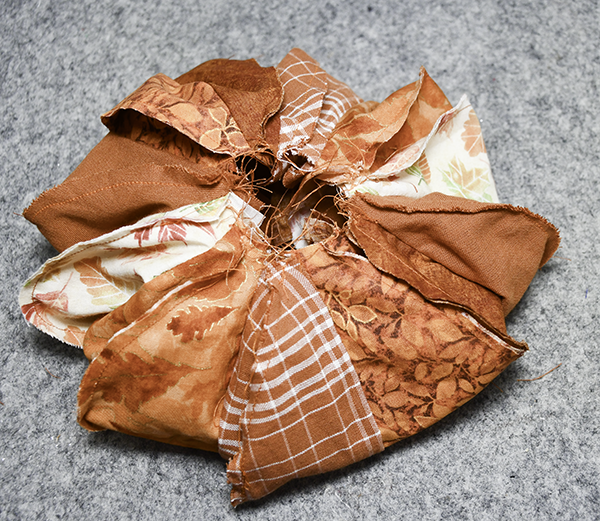
Step 4: Stitch a circle to the Bottom
Place one of the two circles you previously cut on the bottom of the pumpkin. Stitch all the way around.
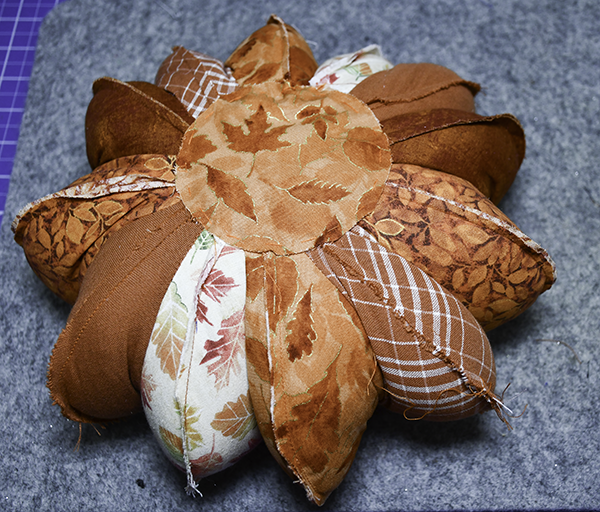
Step 5: Stuff the Pumpkin
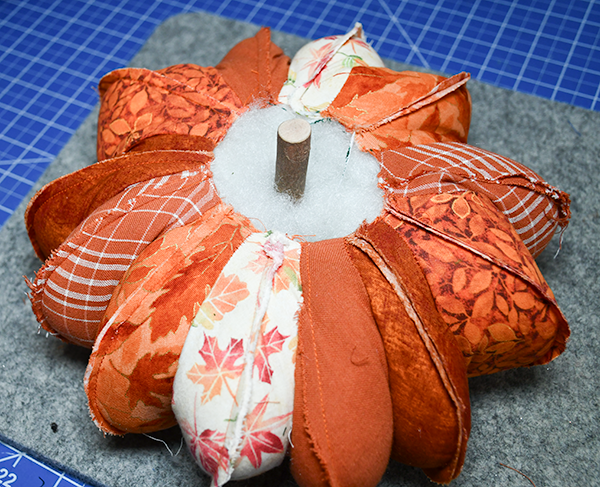
Using the polyester fiberfill stuff the pumpkin. Start stuffing the wedge sections first. Once they are fully filled,, stuff the remainder of the pumpkin.
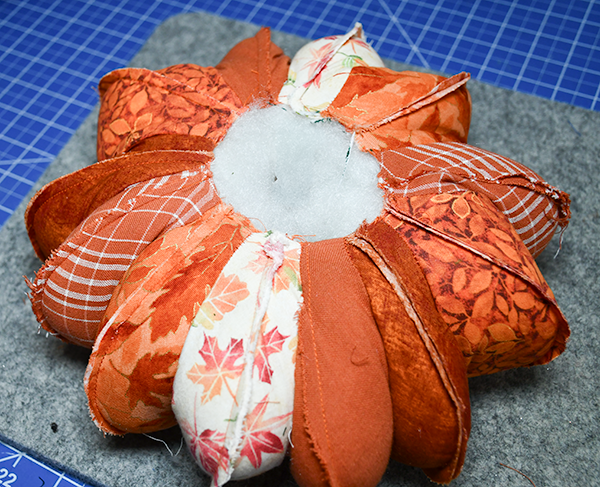
Step 6: Create the leaves
Start by fusing the Pellon 808 to the wrong side of one of the leaf pieces. Next, place the corresponding piece wrong sides together and stitch using a 1/4" seam allowance. Once the leaves have been stitched, topstitch down the center of each leaf and from the center line to each of the arms.
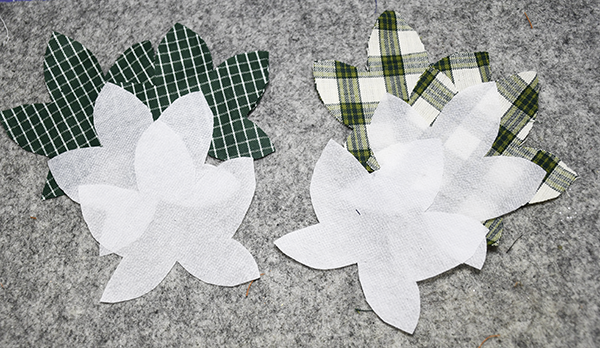
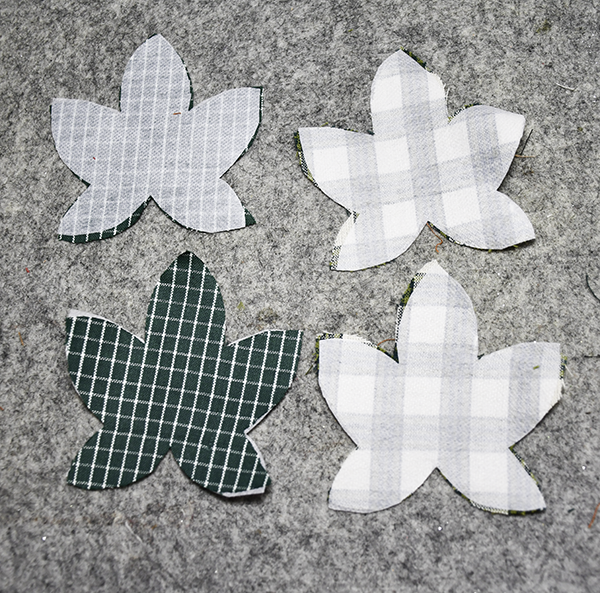
Step 7: Add the Stick
Insert the stick to the top of the pumpkin. You can add some hot glue to secure in you like.
Step 8: Stitch on the Leaves
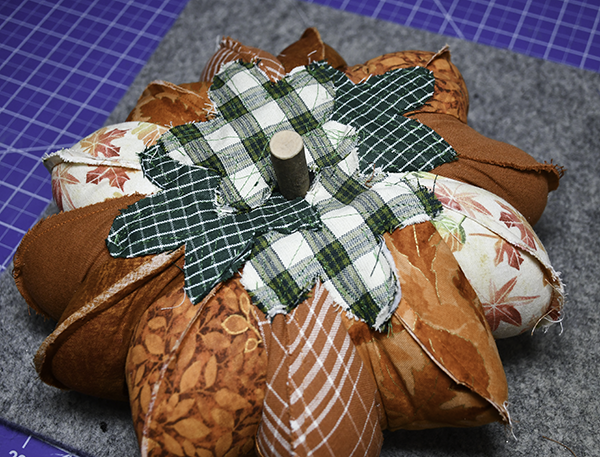
Place the leaves around the stick and attach using ladder stitch or invisible stitch or simply hot glue them.
Step 9: Add the Tendrils
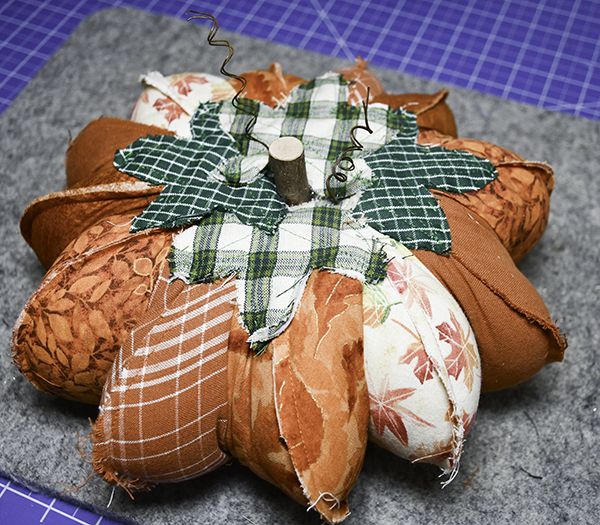
Take two pieces of rusted wire and wrap the ends around a pencil to create curls in the wire. Stick the wire into the pumpkin near the stem. Once the tendrils have been added the rag strip pumpkin is finished.
I hope you enjoyed this simple autumn project. For more sewing and crafting projects subscribe to our free newsletter and receive free access to our printable library.
Join our Sew Very Crafty Fans Facebook group
If you want to ask questions and share your projects join our Facebook group here. The community will help to achieve your sewing and crafting dreams.

Subscribe to our Free YouTube Channel!