I have a lot of card stock that I purchased when I got my Cricut. Rather than getting the card blanks I decided to create my greeting cards from scratch using just the card stock and my Cricut. It was a pretty simple procedure using basic functions of Cricut Design Space. With this process and the stock images on Design Space you can create a simple greeting card in minutes. If you would like another simple Cricut project check out my simple leather key fob.
What you will Need: How to Make a Greeting Card From Scratch on Cricut
- Cricut
- Cardstock
- Cricut Design Space
- Single Scoring wheel
- Fine Point Blade
- Cricut Pen
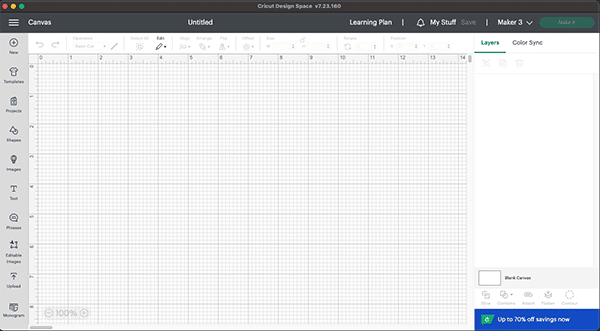
Step 1: Open Design Space
The first thing you need to do is head to Design Space and open a blank canvas.
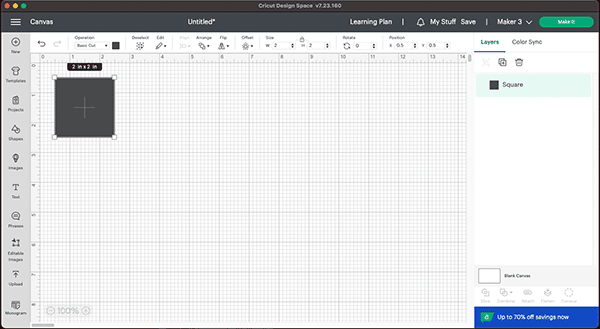
Step 2: Pick a Shape
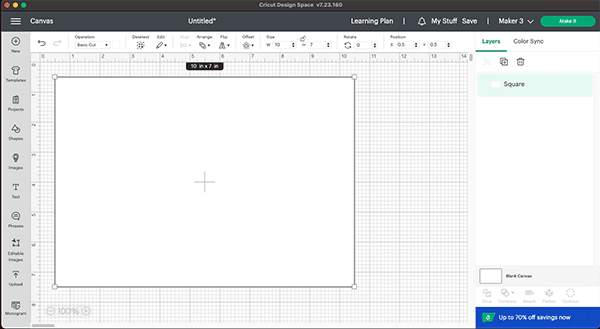
On the left menu click the “shapes” icon. Choose the basic square and place it on the canvas.
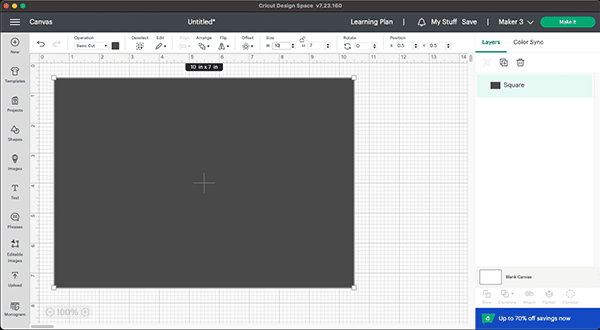
Step 3: Resize the Square
Go to the top bar of the canvas and go to “size”. Click the lock icon to unlock the scaling of the square. In the width box place 10 and in the Height box place 7. This will get you a 5″ x 7″ card. If you want a larger or smaller card just modify the measurements.
Step 4: Change the Color
Change the color of the card to anything you like. I have chosen white for this demonstration.
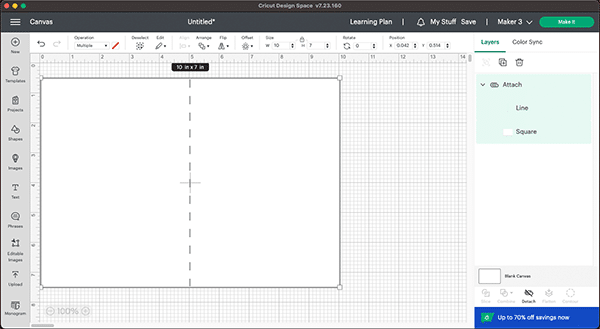
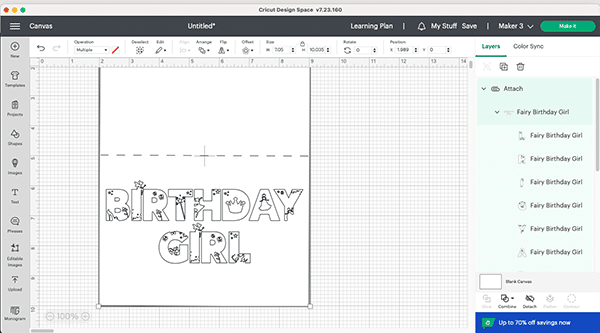
Step 5: Add the Scoring Line
Go back to the “shapes” icon and choose the straight line which is the scoring line and place it in the rectangle you have created. Pull the line so that it divides the rectangle. Center it. Make sure that it is a scoring line by clicking the line and choosing score from the operation dropdown menu. Highlight the scoring line and the rectangle and go to the bottom right and click “attach.” You have created the card itself.
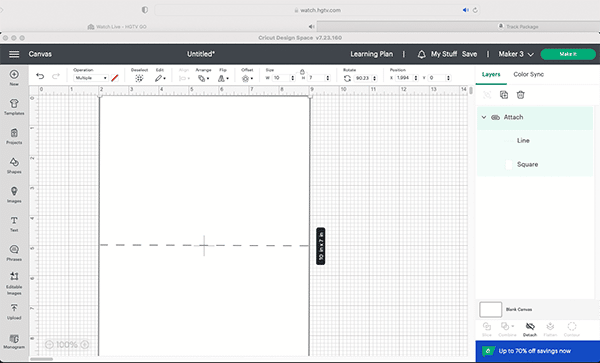
Step 6: Turn your Card (Optional)
Place your curser on a corner and you will see that there is a curved arrow. Click the curved arrow and reposition the card so that it opens from the top.
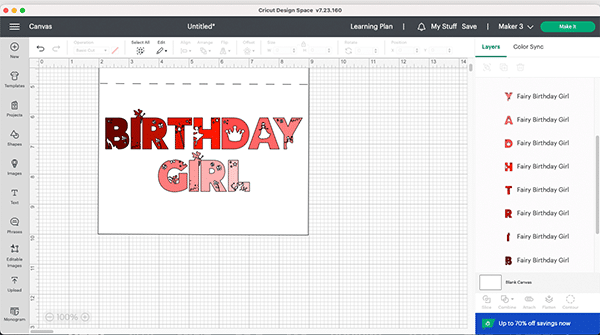
Step 7: Add the Decoration
You can create your own decoration, head to the “images” icon on the left menu or get one of the thousands of SVG files free on the internet. Find an image and place it on the canvas by highlighting image a clicking “place on canvas.” Once the image is on the canvas resize it by pulling or pushing a corner to get it the size you want. Place it on the right side of the card or on the bottom depending on how your card is oriented. You need to put it on there so that when it is folded the image will be on the top of the card. Click on the image and the card and click attach so that it is all one unit.
Step 8: Create a Separate rectangle (Optional)
Add another square and resize it to be 6.5″ x 4.5″. I plan to glue this piece to the inside of my card.
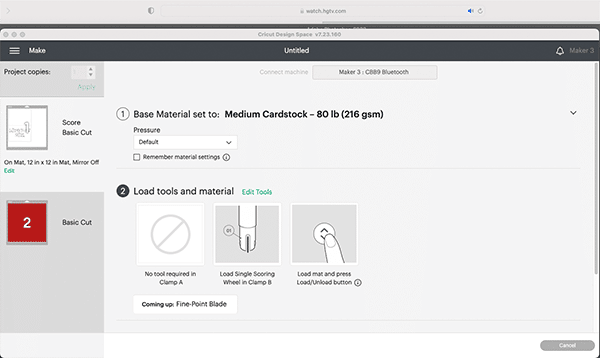
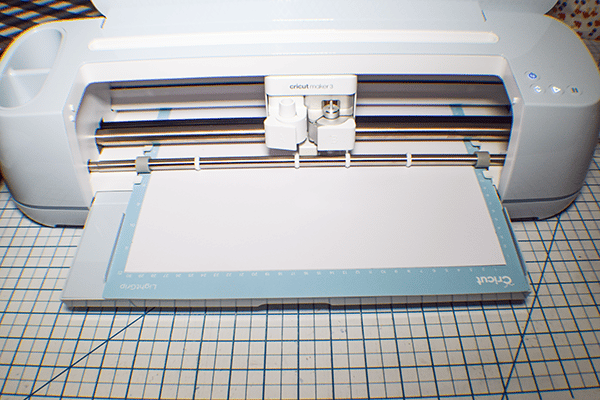
Step 9: Make It
Go to the top right and click “Make it.” Choose any mat. Two separate mats will come up. Choose the first one, then continue. Then choose the material which for my project is medium cardstock. Load the scoring blade on your Cricut. Once the line has been scored load the fine point blade and click go. The card will be cut out.

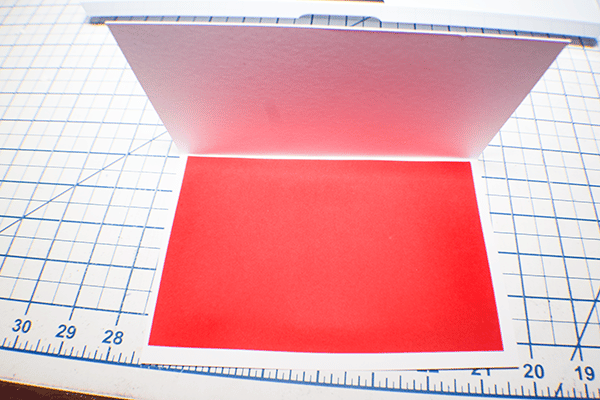
Step 10: Cut the Card Insert
Change the card stock and create the insert by clicking on the second mat on the screen and going through the same process.
Step 12: Glue the Insert
Glue the insert to the inside of the card so that the color shows through the cuts. You have now completed your greeting card from scratch on Cricut. If you want to Mae an envelope from scratch see my next post.
If you would like more sewing and crafting projects subscribe to our newsletter and receive access to our free Printables library.
If you would like video tutorials of some of Sew Very Crafty's most popular posts subscribe to our free YouTube channel here.