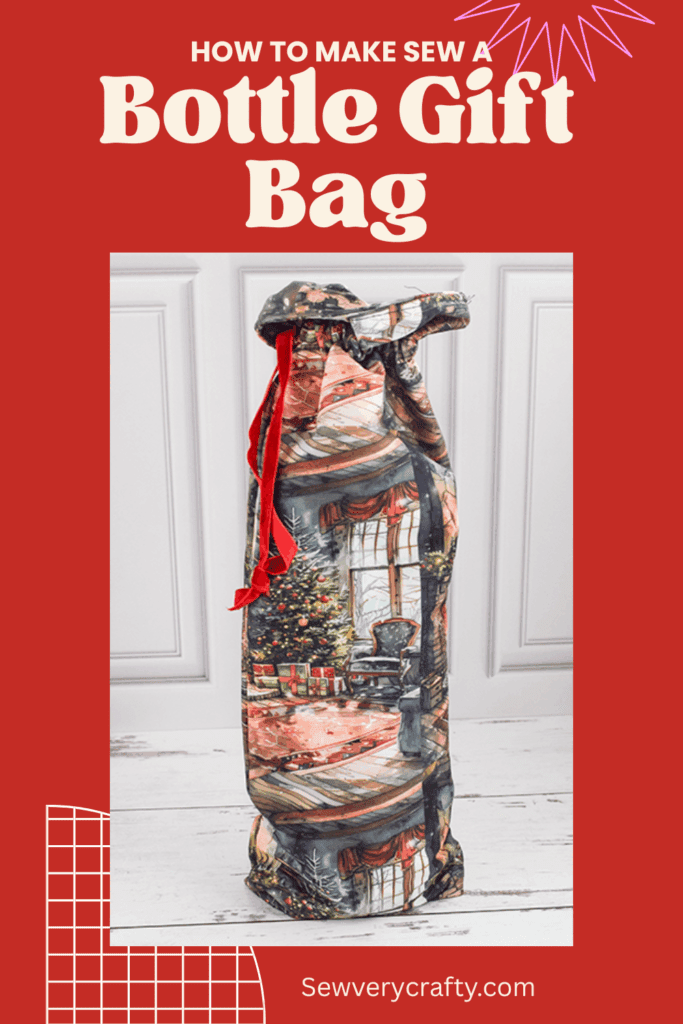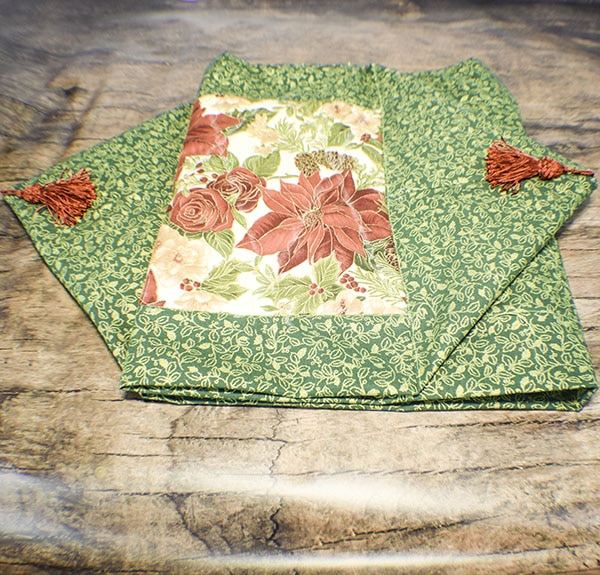
Here is another simple gift giving project that any beginner can sew. With Christmas just around the corner this gift bag holder is a great accompaniment to any bottled drink or condiment. I like the fact that this is a reversible gift bag to give you more options. If you would like more holiday projects check out our holiday project vault for many more.
Note: This post contains affiliate links that if you click on them and make a purchase I will receive a small commission at no extra cost to you. As an Amazon Associate I earn from qualifying purchases.
What you will Need: How to Make a Reversible Bottle gift Bag
- 1 fabric A fat quarter
- 1 fabric B fat quarter
- Pellon SF101
- Optional appliqué fabric
- Wonder under (optional)
- 30” piece of 3/8″ ribbon
- Bodkin
- Standard sewing supplies
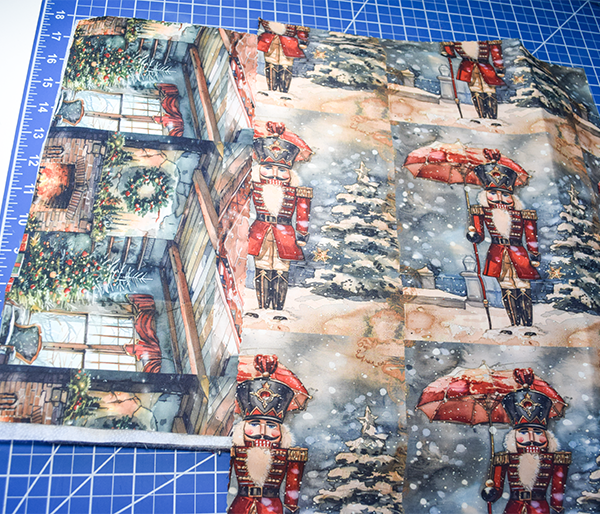
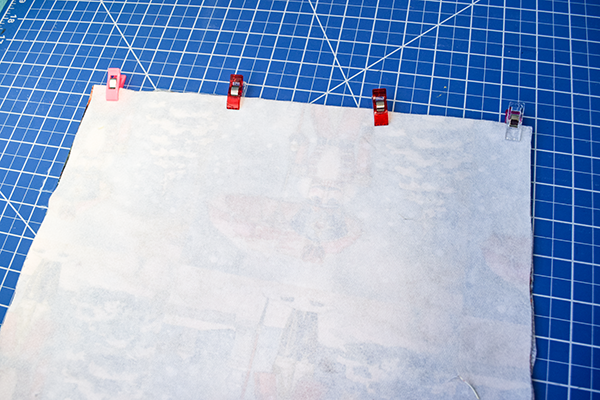
Step 1: Cut the Fabric
All you need is to cut each fabric 17 1/2” x 13 1/2”. I purchased some panel fabric from Amazon that I liked for this project. They weren't the cotton that I prefer but I liked the design and decided to make them work.
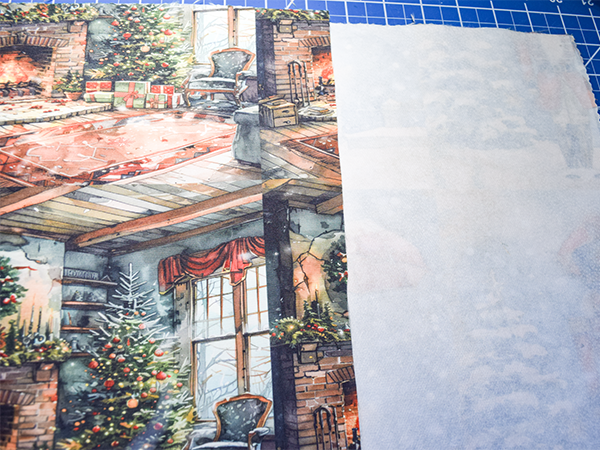
Stop 2: Fuse the Interfacing
I fused SF 101 to both the outer and inner bag because my fabric was not cotton. I needed to add a bit of structure to the fabric so I used the SF 101 for this purpose. Because I was not using cotton, I used a press cloth that was cotton to fuse the interfacing using a hot iron.
Step 3: Applique
This step is optional. I did not need to do this step since I was using very graphic fabric panels. If you would like to add some pizzazz to your bottle bag you can appliqué a design. To do this find any design you like and trace it onto the paper side of the wonder under. Remember to trace it in reverse so that when you fuse it to the fabric. Cut out the wonder under in the shape. Fuse the shape to the fabric using a hot iron. Remove the paper backing. Stitch around the appliqué using zigzag stitch or blanket stitch.
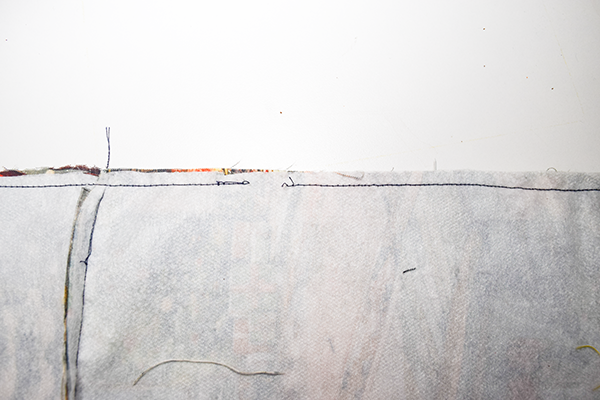
Step 4: Stitch the bottle bag
Place the A and B fabrics right sides together and stitch the top short ends together using a 1/4” seam allowance. Press the seam open.
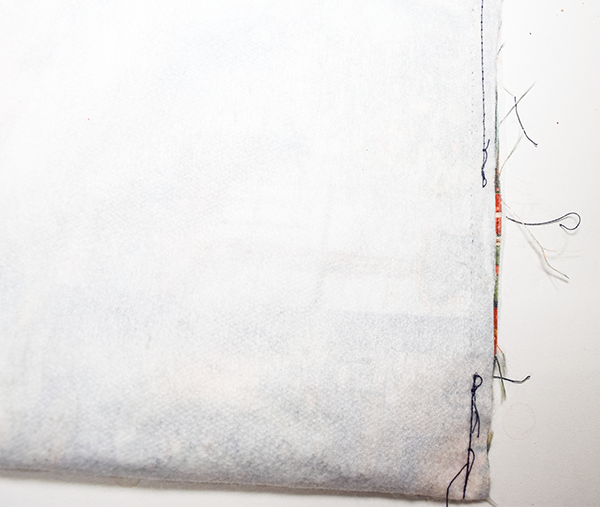
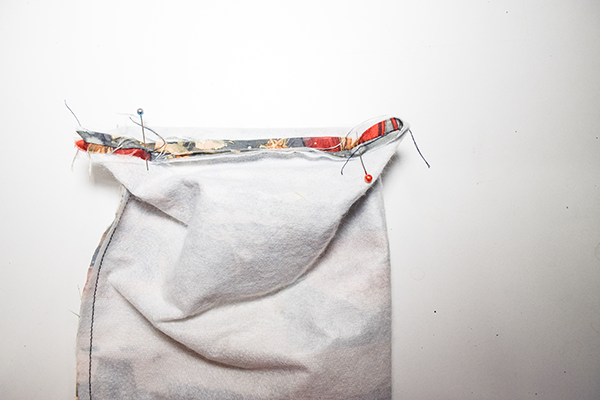
Step 5: Stitch the Remainder of the bag
Fold the entire bag right sides together lengthwise. Start by stitching on one short edge. Stitch two inches or so then leave an opening for turning. Continue to stitch the rest of the short edge and up the long edge until you reach 2 7/8″ from the top short edge seam you stitched in the previous step. Skip 7/8″ then continue stitching down an additional 4”. Skip 7/8″ then complete stitching the remaining raw edges. You will notice that there is a 7/8” opening to thread the ribbon through.
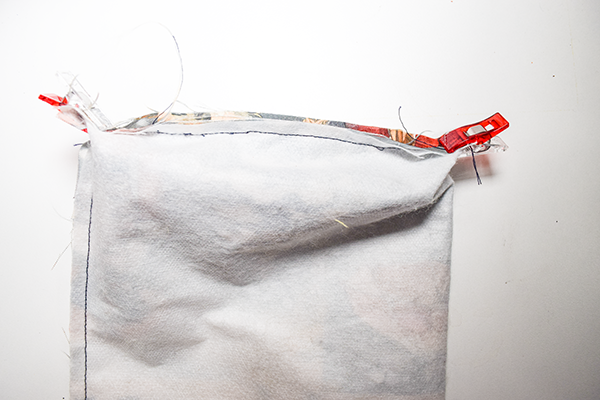
Step 6: Box the Corners
Box all four of the corners. To do this pinch the side seam to the bottom seam on the stitched side and the bottom seam to the folded side to create a triangle. Measure down about 1” from the tips. Stitch on the 1″ line. Cut off the excess fabric and turn right sides out through the opening in the bottom. Stitch the opening closed using ladder stitch. I like ladder stitch because it is invisible so if you want to use the other side you will not see where you closed the opening.
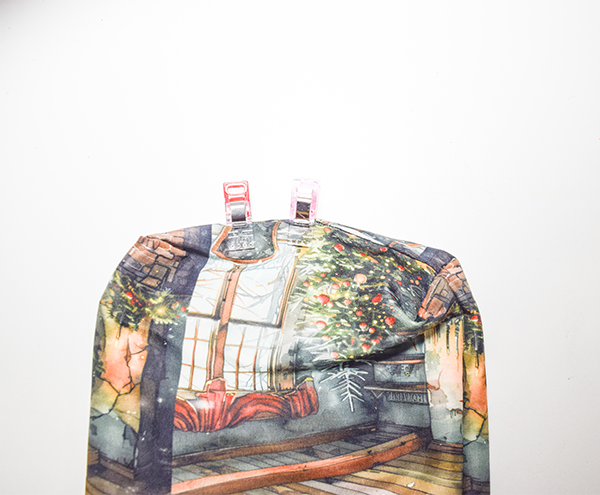
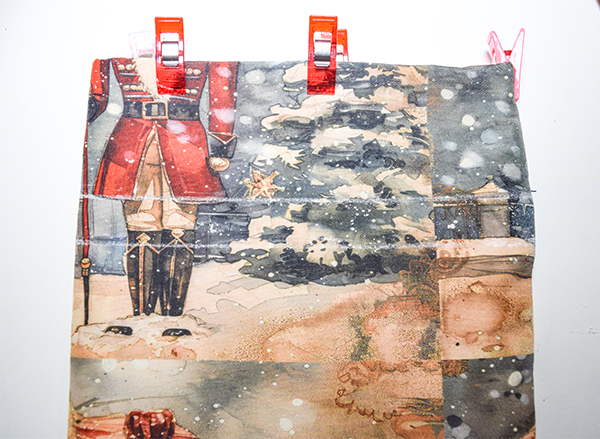
Step 7: Stitch the Casing
Turn the bag right sides out so that the short edge seam in the center is on the top edge. Push one side into the other. Take a ruler and an erasable pen or chalk and draw lines around the bag on the top and bottom of the opening. Topstitch on those lines to create the ribbon casing. Topstitch around the top.
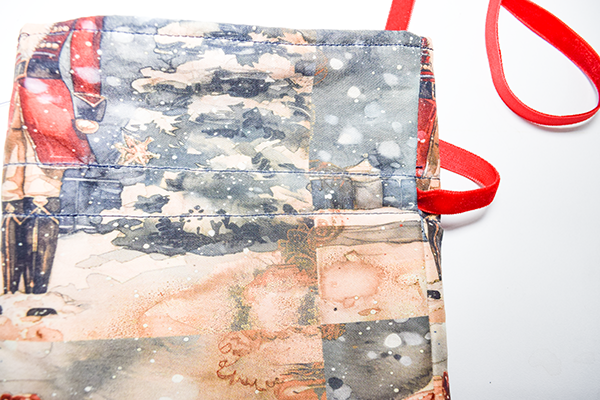
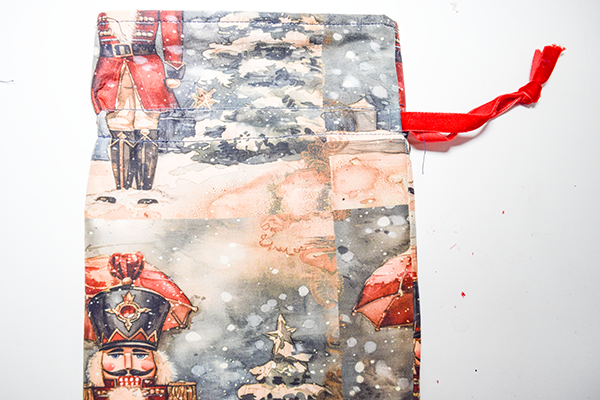
Step 8: Add the Ribbon
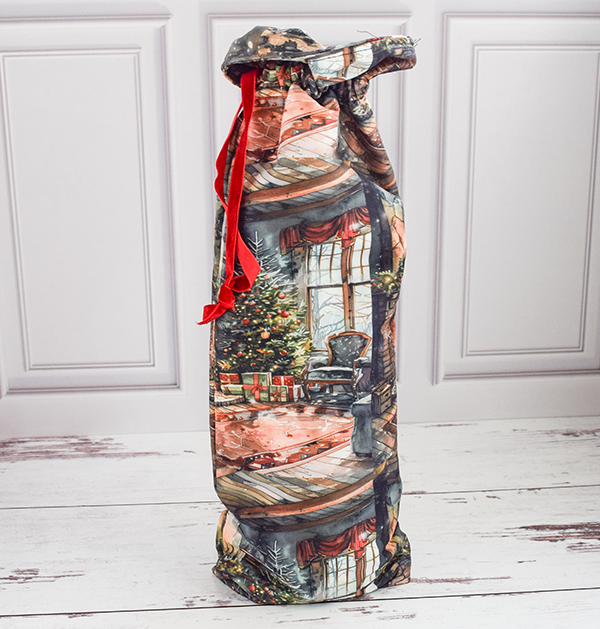
Using a safety pin or a bodkin thread the ribbon through the casing on both sides so that it is truly reversible. Once the ribbon is added you have finished your simple reversible bottle gift bag.

If you would like more sewing and crafting projects subscribe to our newsletter and receive access to your free ebook of 15 handbag patterns and tutorials.
If you would like more sewing and crafting projects subscribe to our free YouTube channel here.
Join our Sew Very Crafty Fans Facebook group
If you want to ask questions and share your projects join our Facebook group here. The community will help to achieve your sewing and crafting dreams.