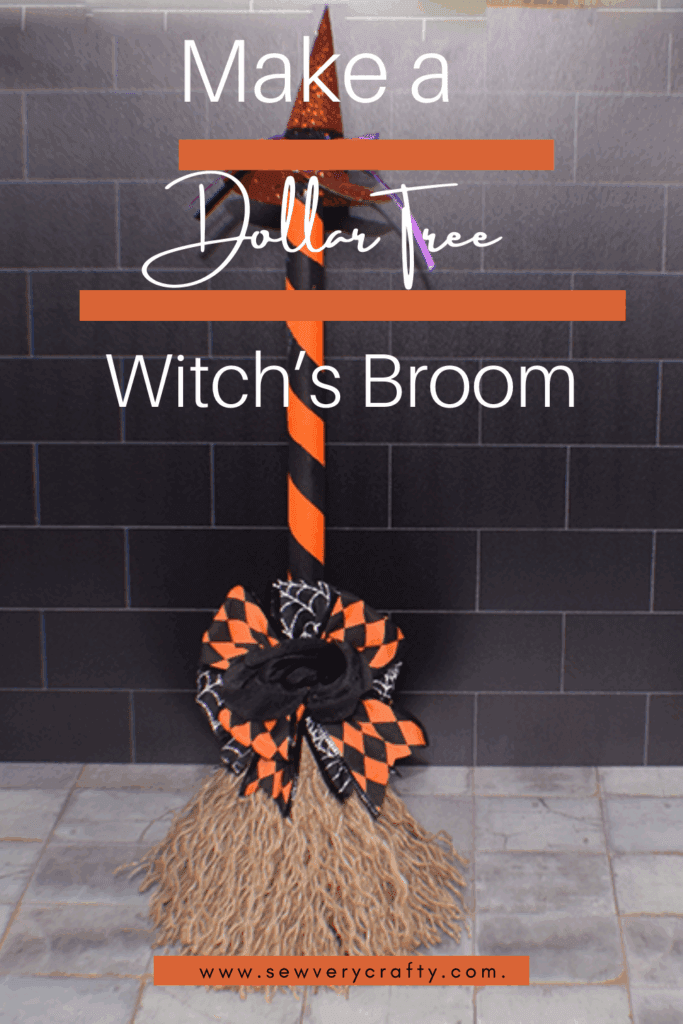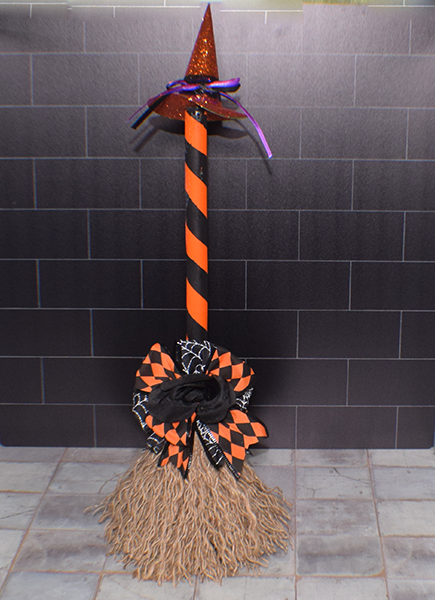
I can't believe it but it is almost Halloween. It seems this year has flown by. I have just returned from my trip to Ireland and am ready for holiday sewing and crafting. I thought this simple Dollar Tree witch's broom would be a great Halloween project to spruce up your porch or Halloween home decor. Of course, you will need to head to Dollar Tree for what you need for this project but once you have it this project comes together pretty quickly. If you would like more holiday projects take a look at our holiday project vault. For more Dollar Tree projects head over to our Dollar Tree page.
Note: This post contains affiliate links that if you click on them and make a purchase I will receive a small commission at no extra cost to you. As an Amazon Associate I earn from qualifying purchases.
What you Will need: How to Make a Dollar Tree Witch's Broom
- Dollar Tree plunger
- Rope
- Rubber bands
- Orange paint
- Black paint
- Clear glitter paint or at Amazon
- Hot glue
- Masking tape
- Halloween ribbon
- Witch hat pick
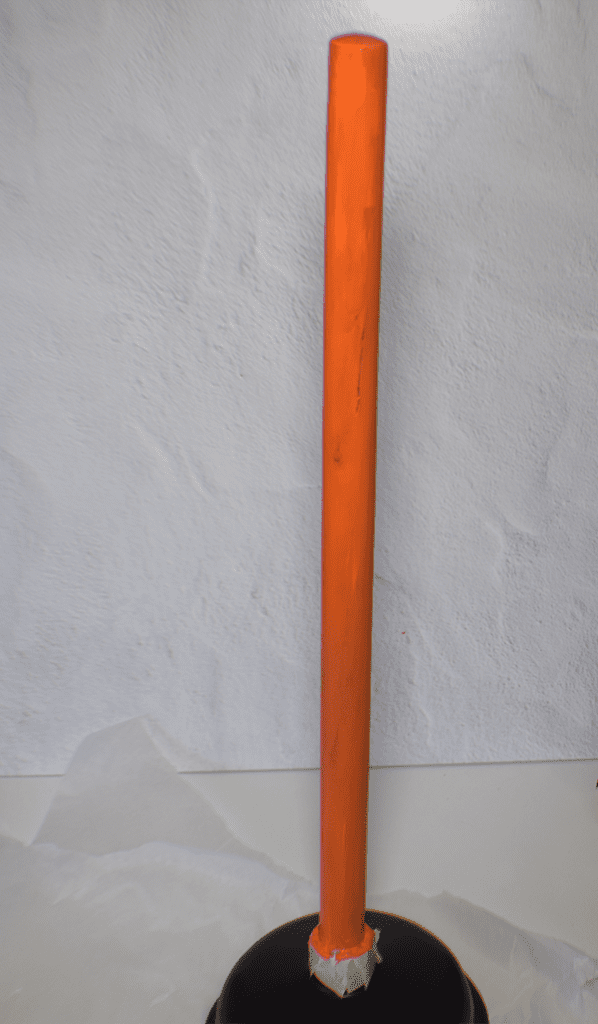
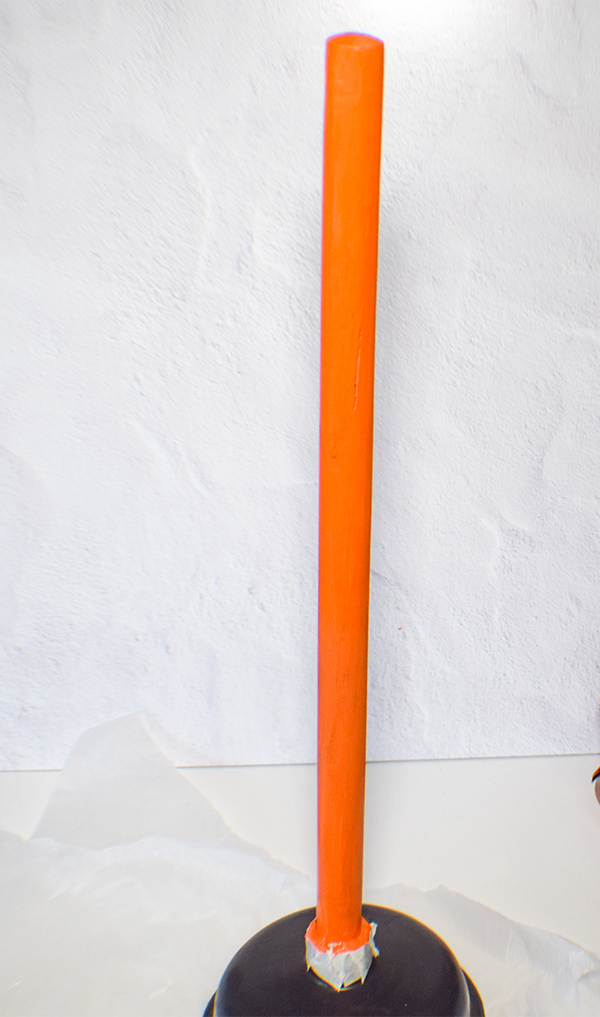
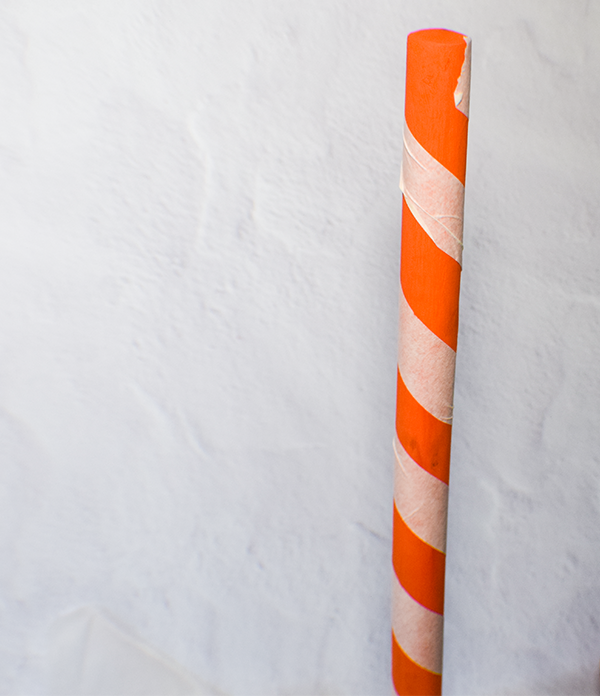
Step 1: Paint the Plunger Handle
Start by painting the plunger handle with your orange paint. I painted the entire handle with this color. Let dry thoroughly or use a blow dryer to help the drying along. Add an additional coat for full coverage.
Step 2: Mask Off the Handle
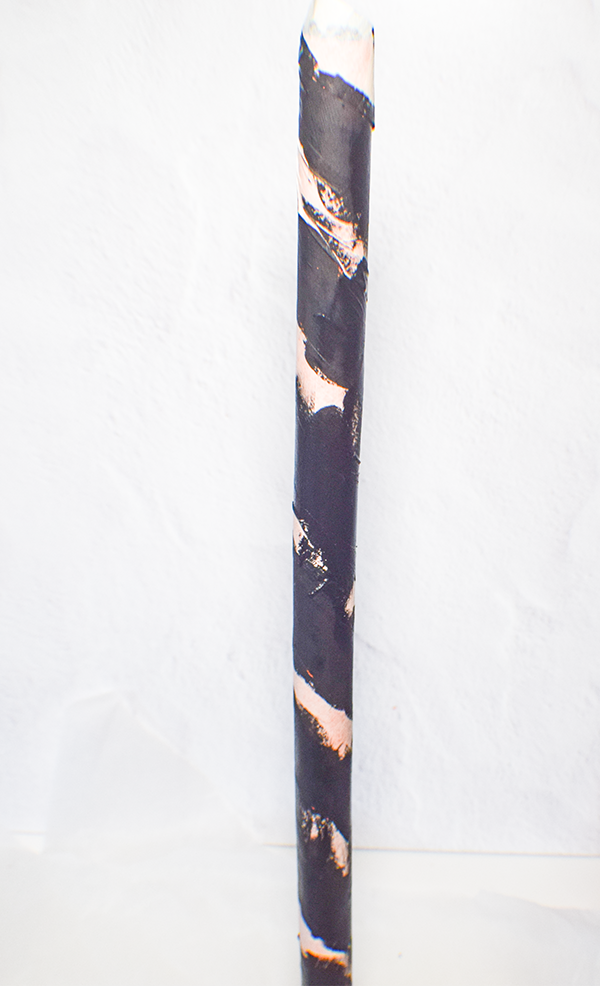
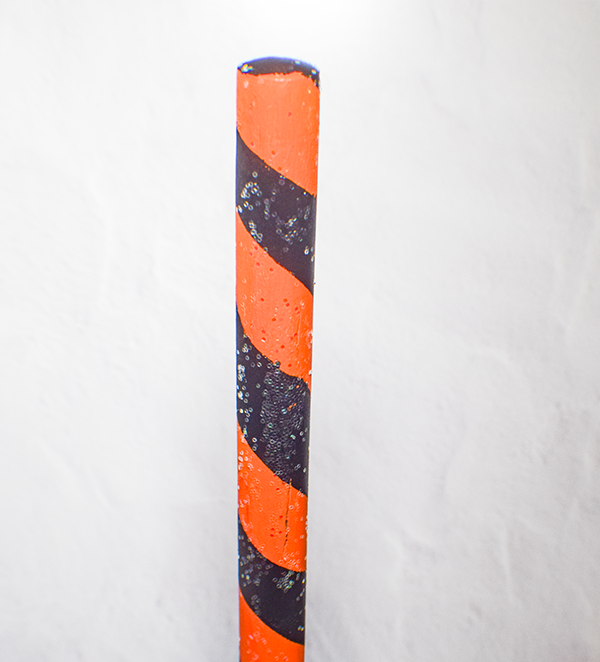
Using your masking tape, mask off the handle like a candy cane. I started at the top at an angle and just twirled the handle while holding the tape allowing the tape to wrap down the handle. Once you have masked off the stripes, paint the handle black. While the paint is still a bit wet remove the tape revealing the black and orange stripes. Let dry completely then add some clear glitter paint.
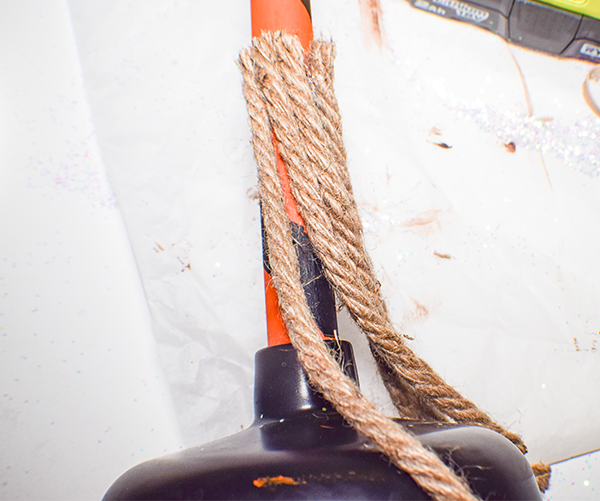
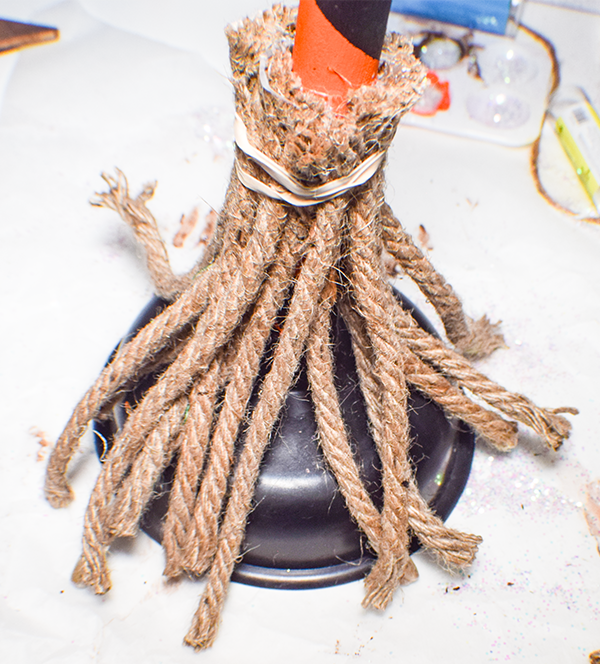
Step 3: Add the Rope
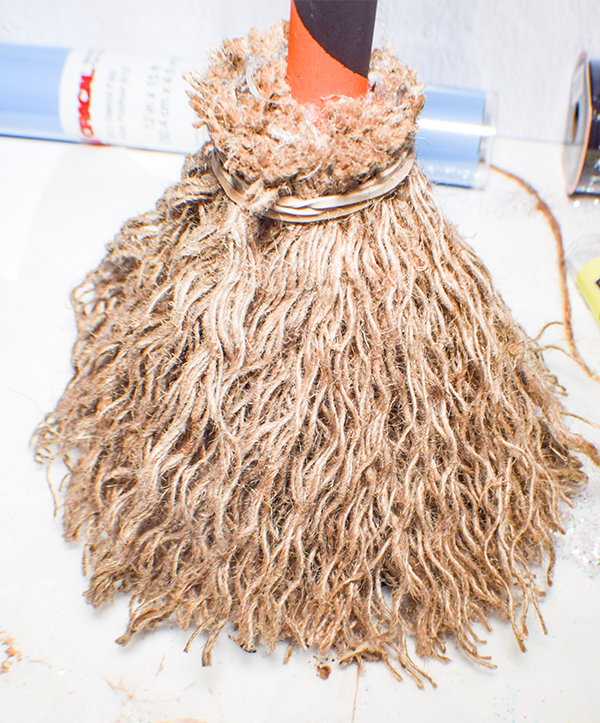
Cut the rope into 7″ pieces. Cut enough to go all the way around the handle. Hot glue the rope pieces to the plunger handle above the plunger head. Once the rope is glued, secure the pieces with some rubber bands. I did two layers of rope for a fuller appearance.
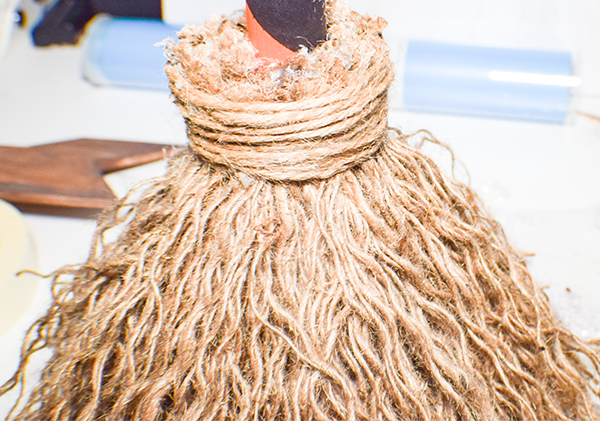
Step 4: Cover the Rubber Bands
Take some twine and wrap it around the rubber bands to cover them and to further secure them. Hot glue the twine along the way.
Step 5: Add the Bow
Create a bow using your Halloween ribbon. If you struggle with bow making check out Southern Charm Wreath's bow making course here. I took the course and highly recommend it. To make my bow, I also used a bowdabra for the perfect bow. Tie the bow to the plunger using twine.
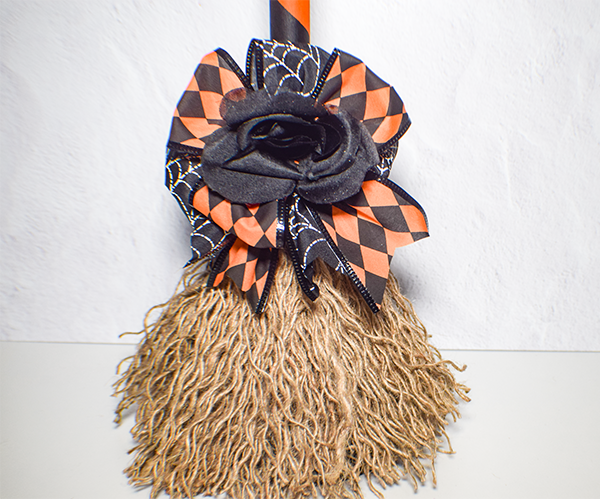
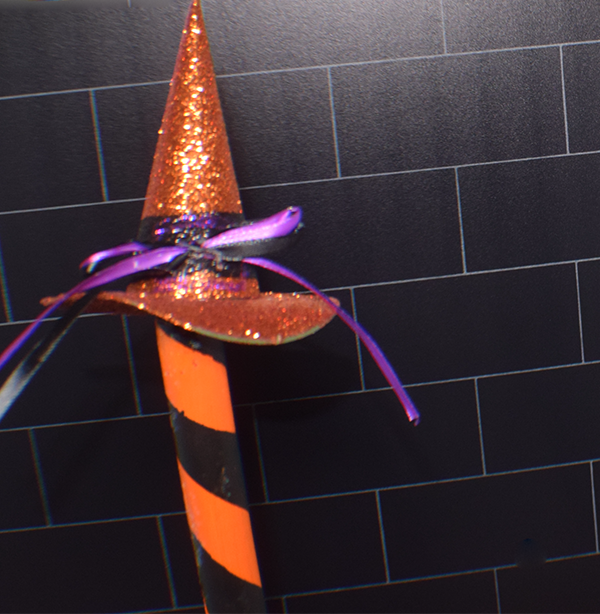
Step 7: Attach the hat pick
I added a Dollar Tree witch hat pick to the top of my witch's broom. To do this remove the stem by just pulling it out. Add hot glue to the bottom center of the hat and place it on the top of the handle at an angle. While holding it down add more hot glue to secure it. You have now finished your Dollar Tree witch's broom.
I hope you enjoyed this project. If you would like more sewing and crafting projects subscribe to our newsletter and receive your free Holiday Dollar Tree eBook.
If you would like video Tutorials of some of sew very crafty's most popular posts subscribe to our free YouTube channel here.