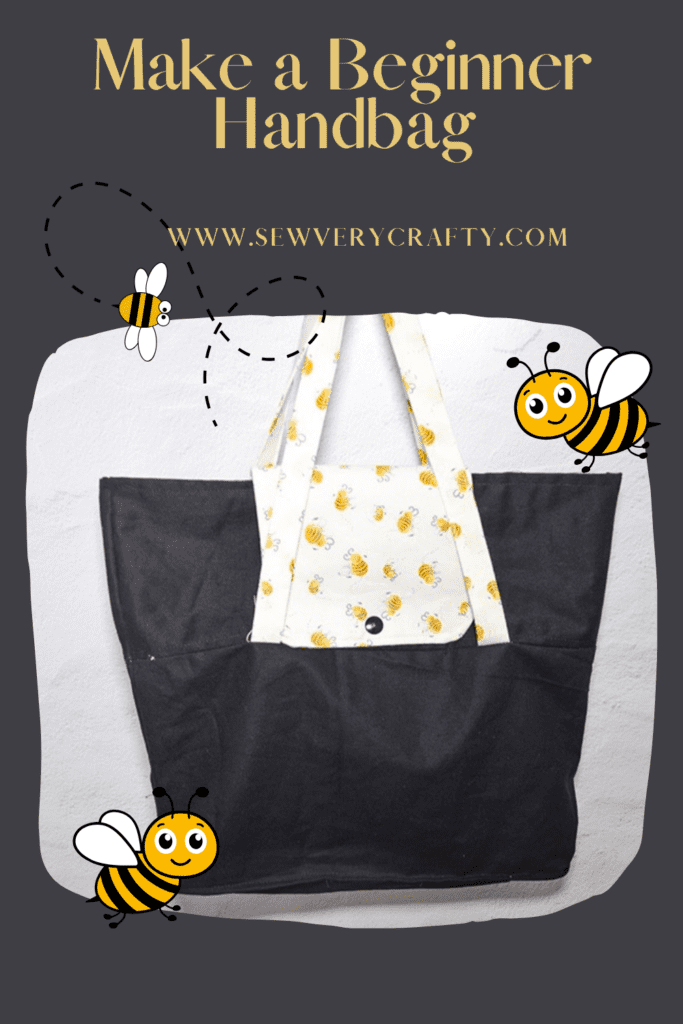
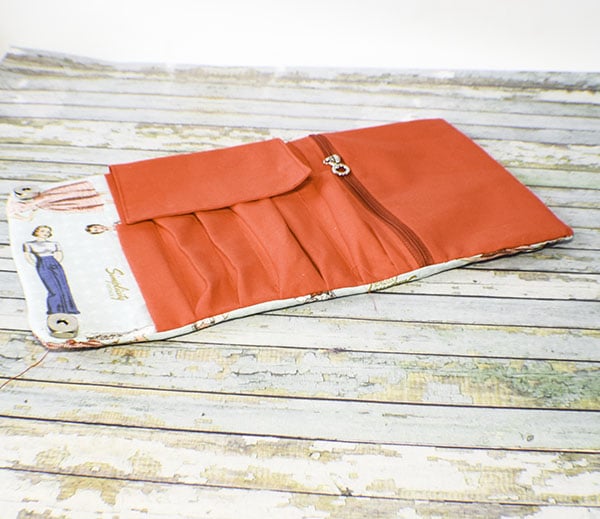
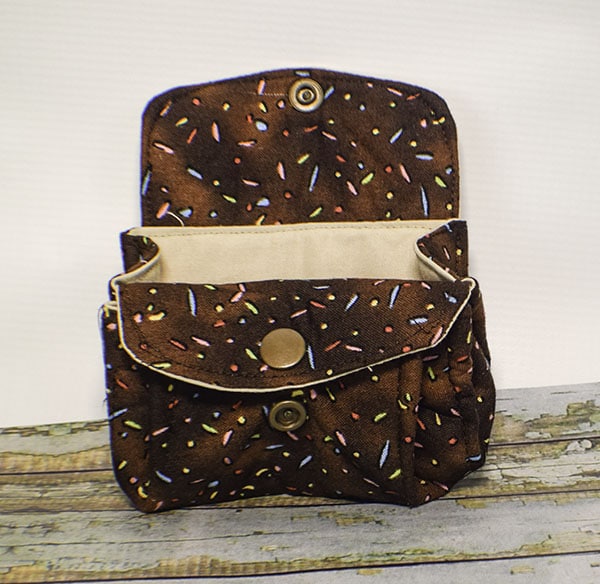
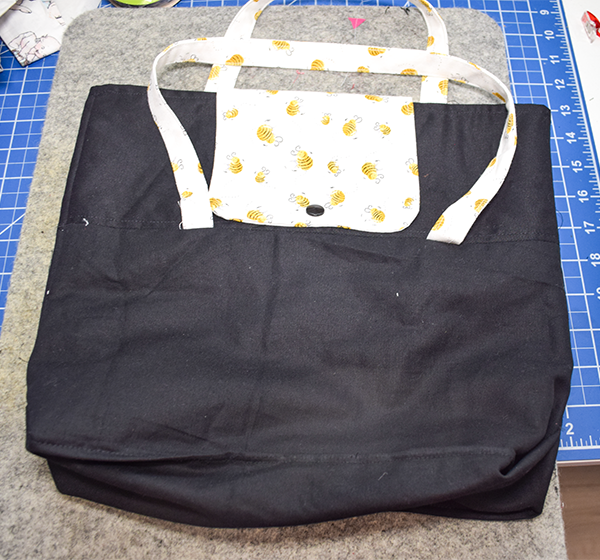
If you are new to making handbags this is the perfect project for you. This is a super simple basic handbag that any beginner sexist can make. Not only is this a quick handbag pattern it is stylish for a first bag making project. All you really need is a few pieces of fabric for this great design. I hope you enjoy making this handbag and if you would like more bag making projects head over to our handbag page for many more.
What you will Need: How to Make a Basic Handbag
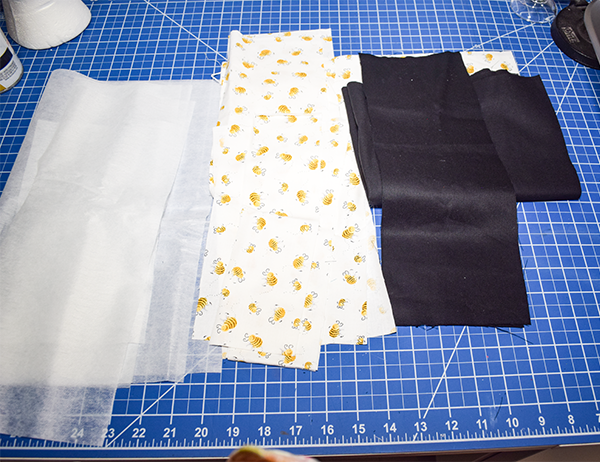
- 1/2 yd outer fabric
- 1/2 yd lining fabric
- 1/2 yd Pellon SF 101 interfacing
- 1 Kam Snap
- Standard sewing supplies
- Sewing machine
Step 1: Cut your fabrics
- 18″ x 14″ piece of outer fabric
- 5″ x 14″ piece of outer fabric x 2
- 10″ x 6″ piece of lining fabric x 2 for the flap
- 22″ x 3″ piece of lining fabric x 2
- 18″ x 14″ piece of lining fabric
- 5″ x 14″ piece of lining fabric x 2
- 18″ x 14″ piece of interfacing
- 10″ x 6″ piece of Interfacing x 2
- 5″ x 14″ piece of interfacing x 2
Step 2: Fuse the Interfacing
Using a hot iron and following the manufacturer's instructions fuse the interfacing to the wrong side of the outer fabric pieces and the small lining pieces.

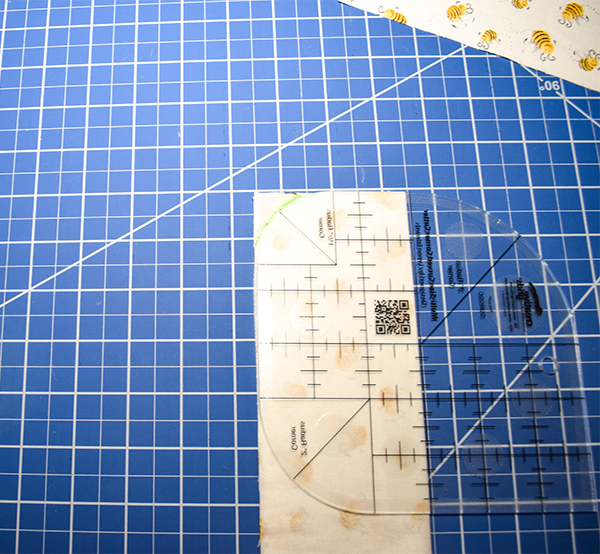
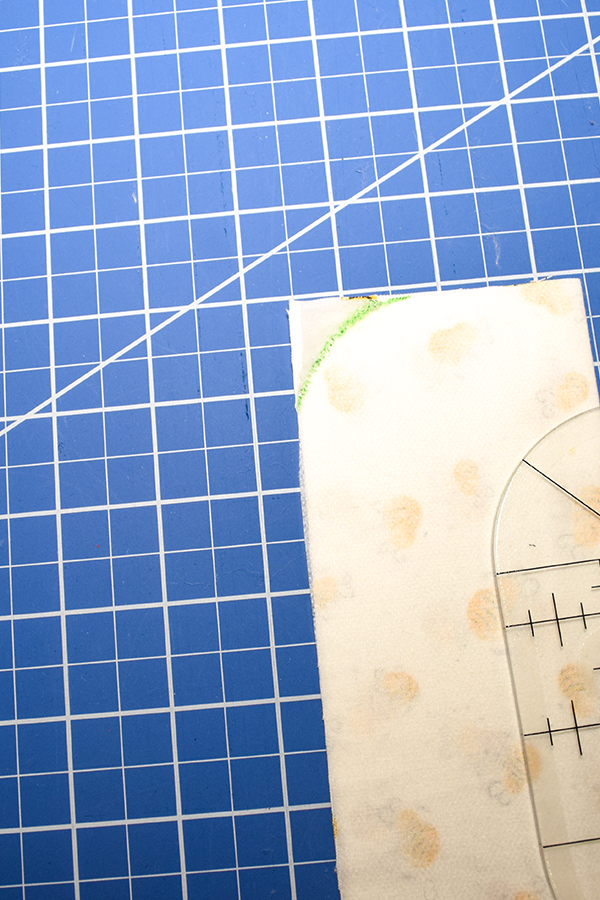
Step 3: Round the Flap Pieces
Fold the two small lining pieces in half lengthwise. Take a rounding ruler or a small plate or bowl and round the top raw edges.
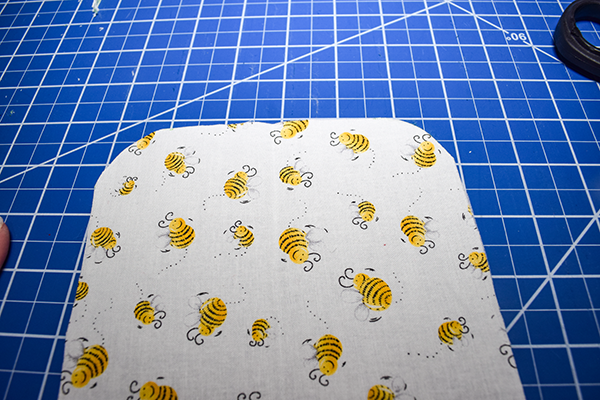
Step 4: Create the Flap
Place the flap pieces right sides together. Stitch the sides and the top using a 1/4″ seam allowance. Turn right sides out and press. Topstitch along the top and sides.
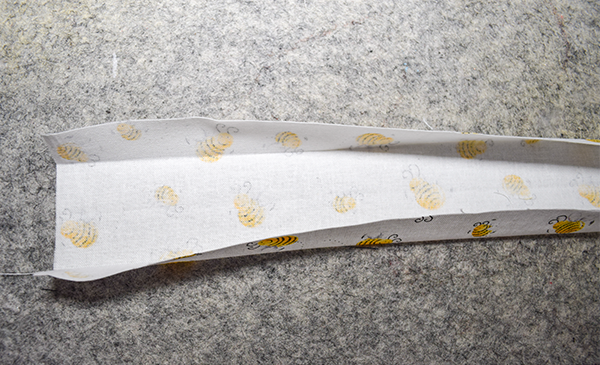
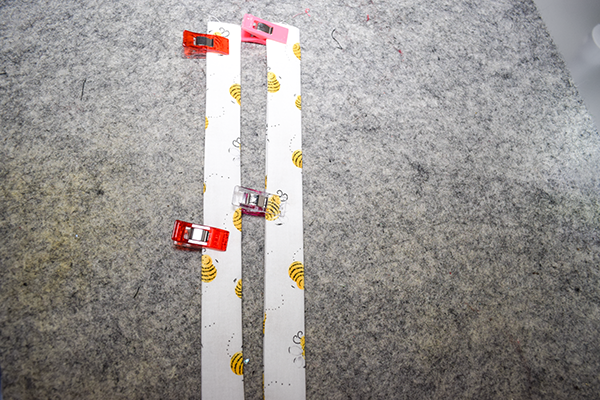
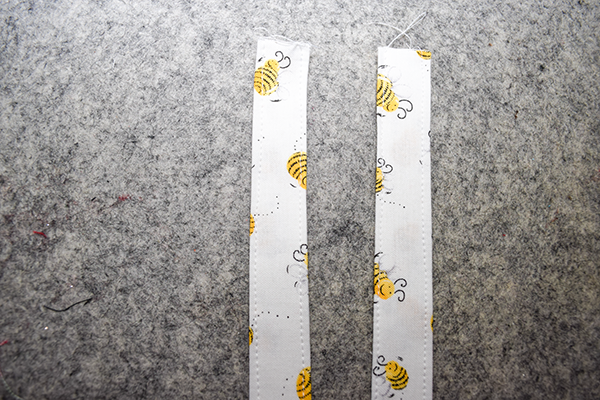
Step 5: Create the Straps
Take the 22″ x 3″ lining pieces and fold the long raw to the center of the wrong side and press. Fold in half lengthwise and press again. Topstitch on both sides of the straps.
Step 6: Add the Flap
Fold the main outer piece rights sides together lengthwise to find the center and mark. Fold the flap piece in half lengthwise to find the center and mark. Place the flap center right sides together with the outer fabric center matching the raw edges. Pin or clip.
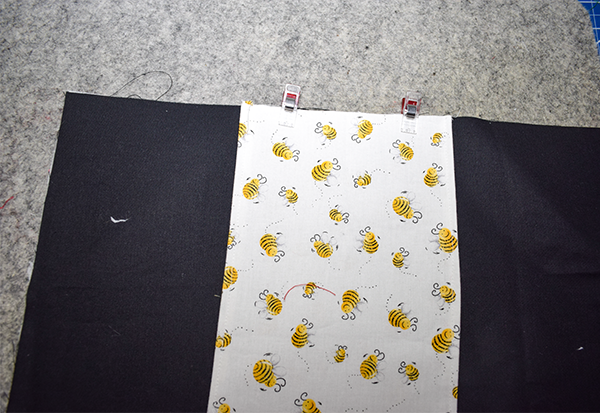
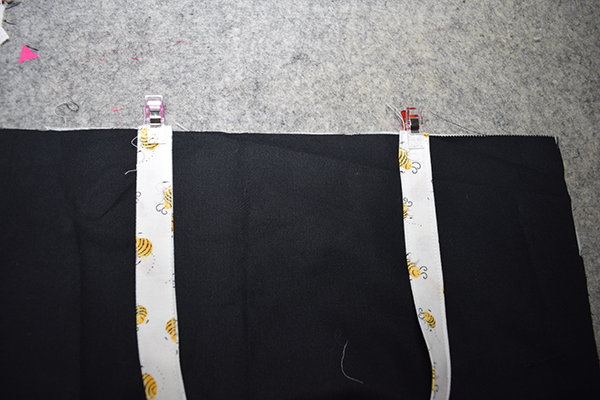
Step 7: Add the Straps
Take one of the strap pieces and place the short edges on either side of the flap. Pin or clip. Add the second strap to the other end of the main fabric piece in the same location as the first strap.

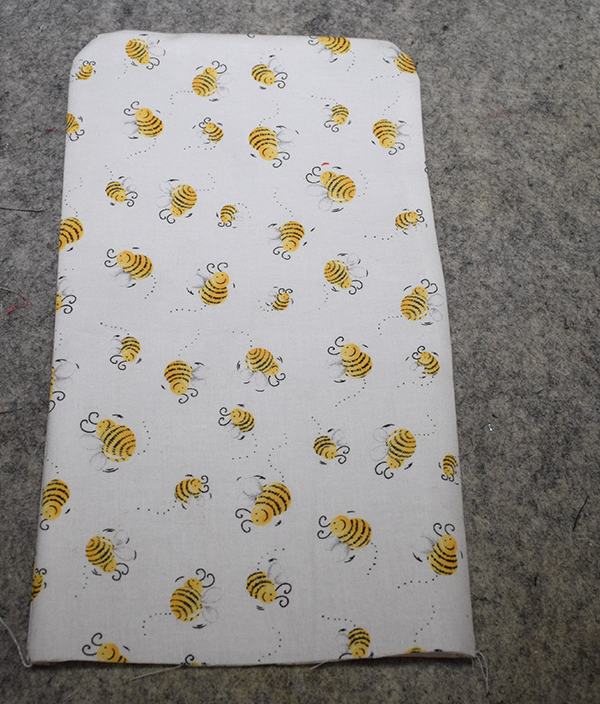
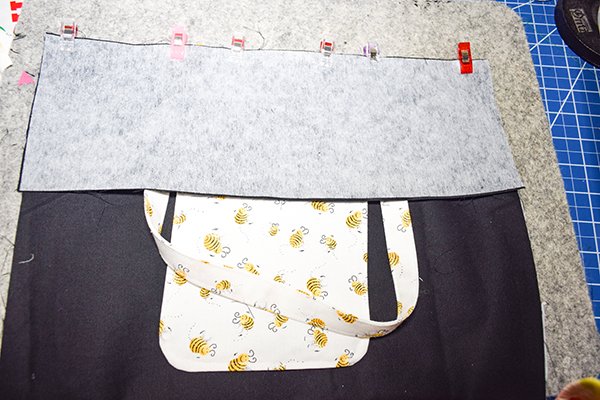
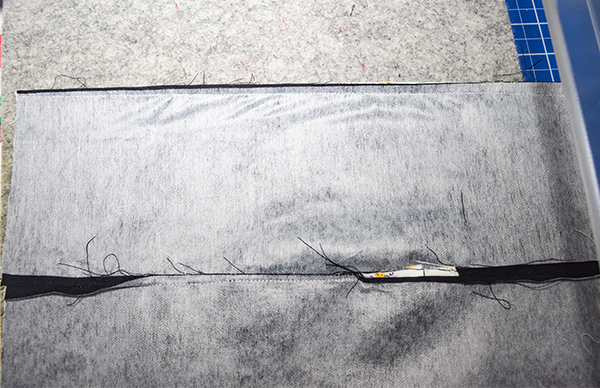
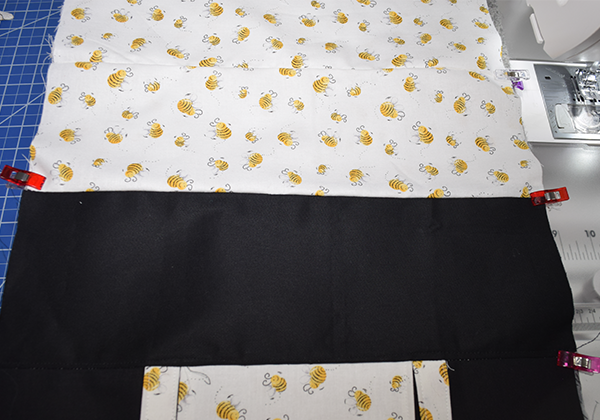
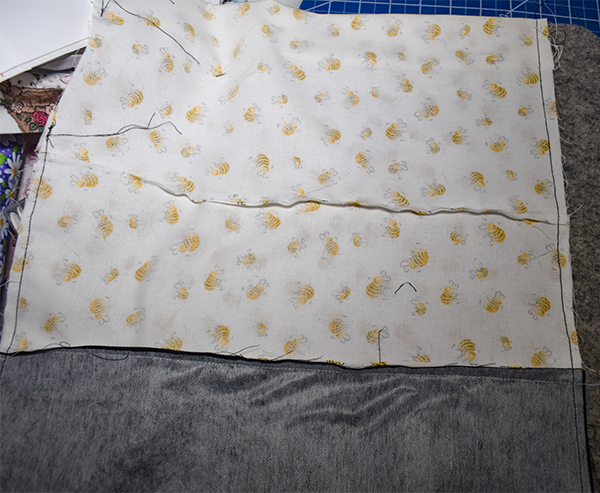
Step 8: Add the remaining outer pieces
Place the 5″ x 14″ pieces of outer fabric right sides together on either end of the main fabric piece covering the straps and flap. Pin or clip. Stitch each end through all layers using a 1/4″ seam allowance. Open up the ends and topstitch along the seams.
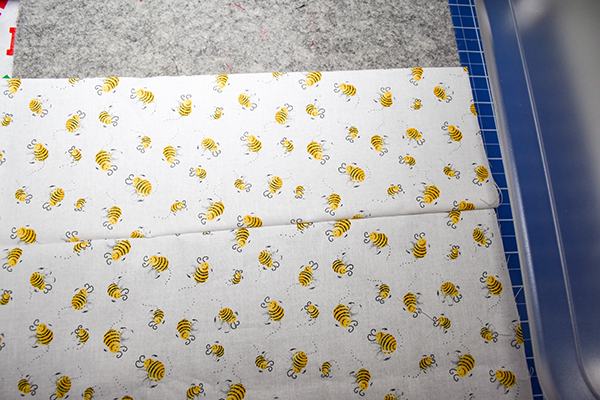
Step 9: Create the Lining
Stitch the main lining piece right sides together placing the 5″ x 14″ pieces of lining fabric on each end. Use a 1/4″ seam allowance.
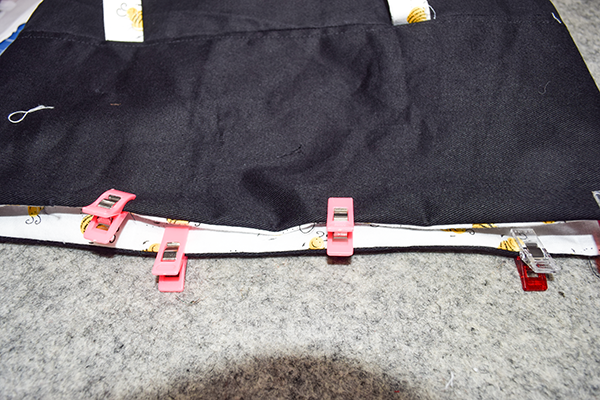
Step 10: Add the Lining
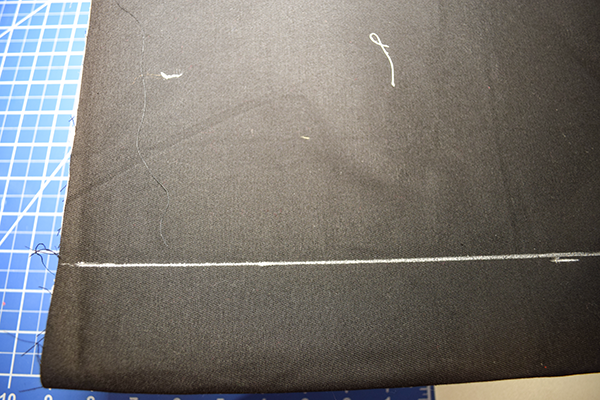
Place the lining fabric right sides together with the outer fabric. Stitch the short ends together using a 1/4″ seam allowance. Turn right sides out. Fold the bag in half matching the short end seams. Measure up 2″ on the outer fabric end and draw a line. Turn the piece over and repeat the process. Clip the fabric where you placed the lines and stitch using a 1/4″ seam allowance on each line. Mark the lining end in the same way. However, for the lining end clip or pin the lines. Once they are clipped or pinned fold the line on the top so that it meets the line on the bottom then straighten the bottom line so that the two folds meet. Press, pin or clip.
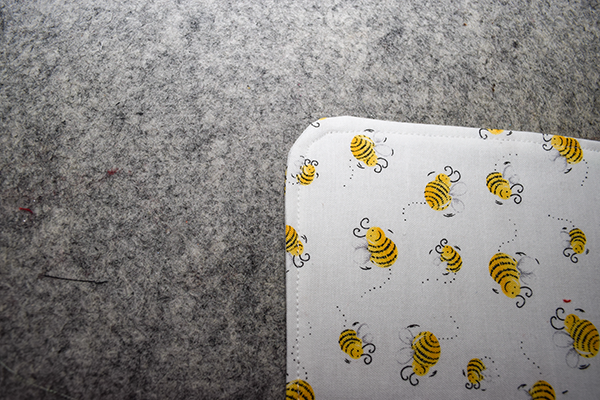
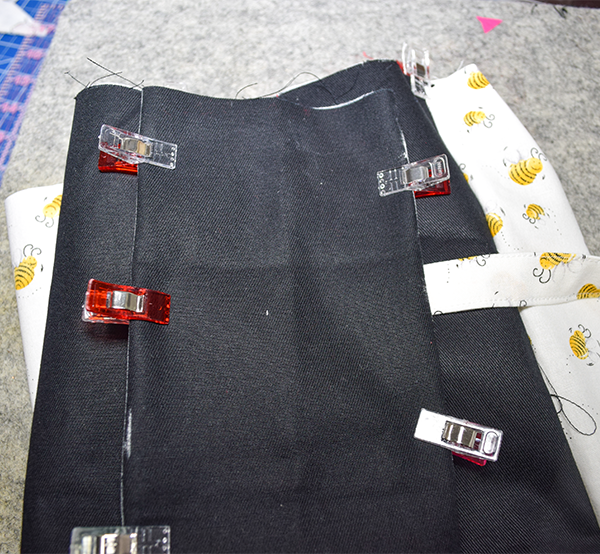
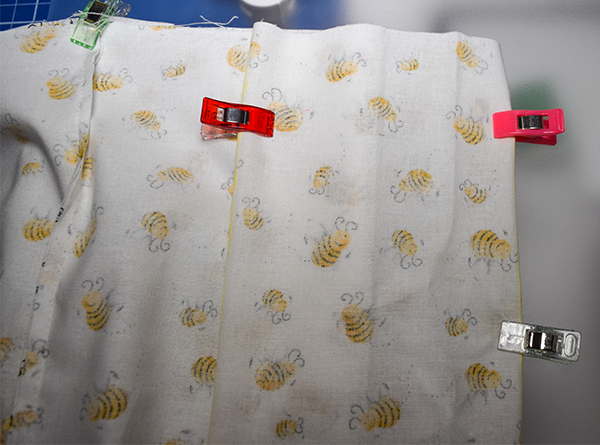
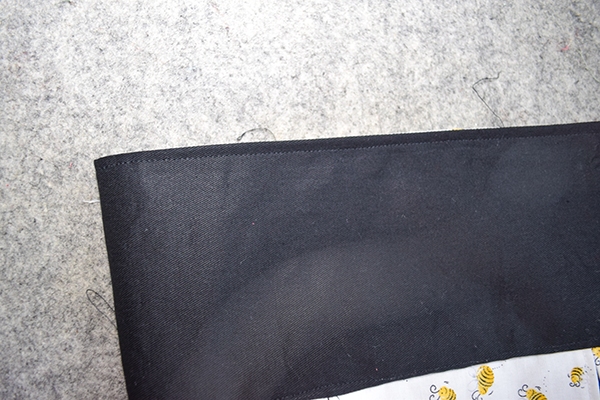
Step 11: Finish the Bag
Turn the bag wrong sides out and match the seams. Fold up the lining bottom on the creases you created when you pressed the lining and pin or clip. Match the two stitched seams on the bottom of the outer fabric. Match the two outer piece seams. Stitch both sides leaving an opening in the lining for turning. Turn right sides out through the opening in the lining. Close the opening using your machine or ladder stitch. Press the bag. Topstitch all the way around the top.
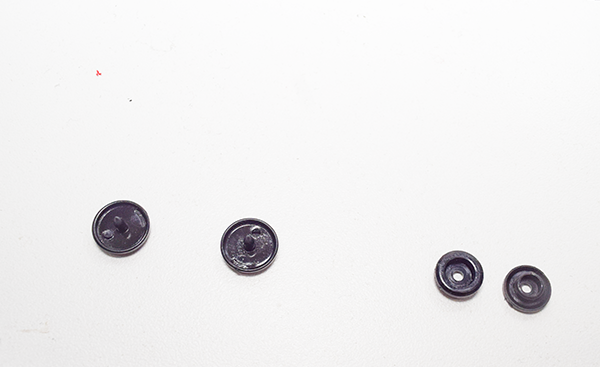
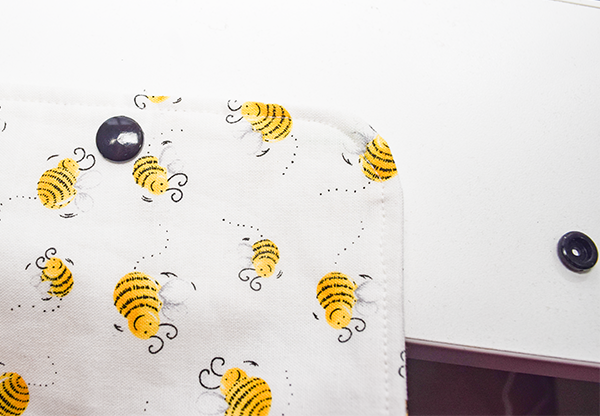
Step 12; Add the Kam Snap
Fold the flap in half lengthwise to find the center. Make a mark. Measure down 1″ and make a hole suing an awl. Insert one half of the Kamsnap in the hole and secure using the Kam Snap pliers. If you do not know how to insert a Kam Snap check out my video here. Fold the flap over and make a corresponding hole in the main part of the bag. Insert the other half of the Kam Snap in the same way. Once you have added the Kam Snaps you have finished your basic handbag for beginners. Enjoy.

I hope you enjoyed this basic bag making project. If you would like more sewing and crafting projects subscribe to our newsletter and receive your free handbag eBook.
If you would like video tutorials of some of Sew Very Crafty's most popular posts subscribe to our free YouTube channel here.