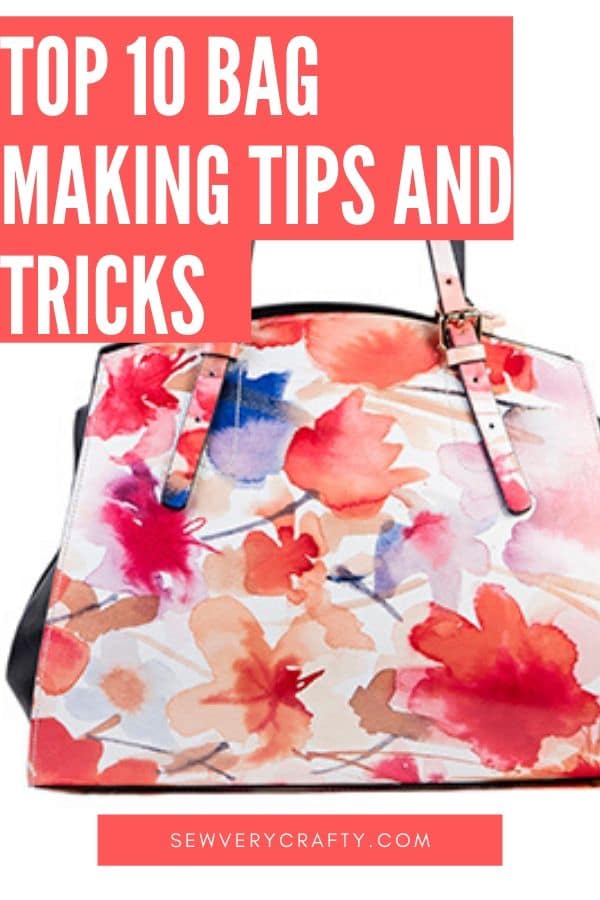
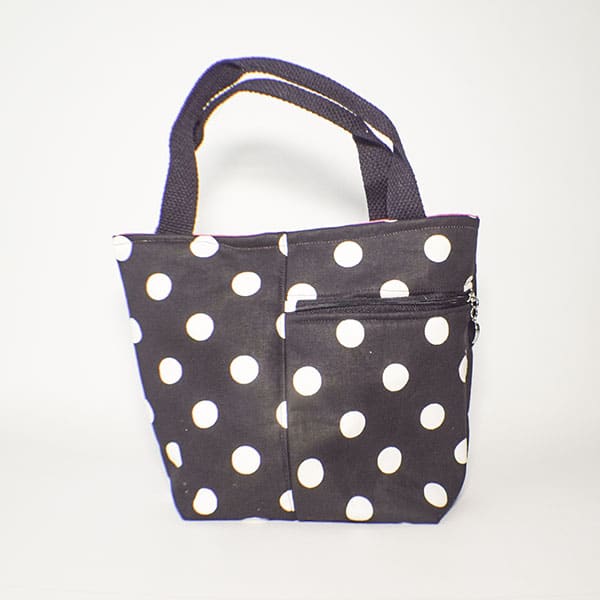
10 Top Bag Making Tips and Tricks
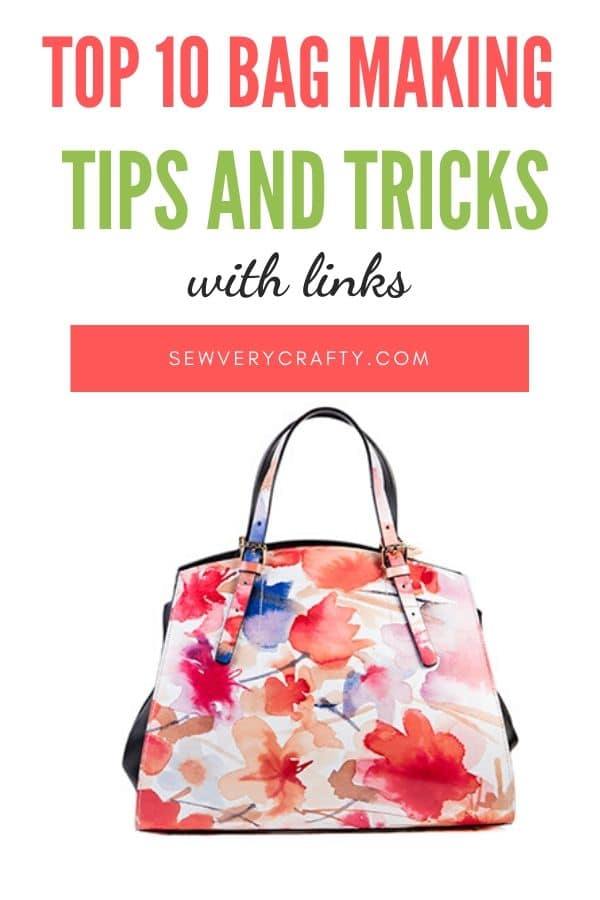
10 Top Bag Making Tips and Tricks. I love making handbags. Of all the things that I sew they have to be my favorite. The beauty of bag making is that there is a project for every level of sewist from beginning to advanced. But whether you are a beginner or an advanced bag maker there are some tips and tricks that will make your bags easier to sew and more professional in results. These 10 tips and tricks will definitely help you on your way to strong professional looking bags every time.
This post contains affiliate links that if you click on them and make a purchase I may receive a small commission at no extra cost to you, As an Amazon Associate I earn from qualifying purchases. I only recommend products that I use myself and believe will help you in your journey.
Tip 1: Choose your Fabrics
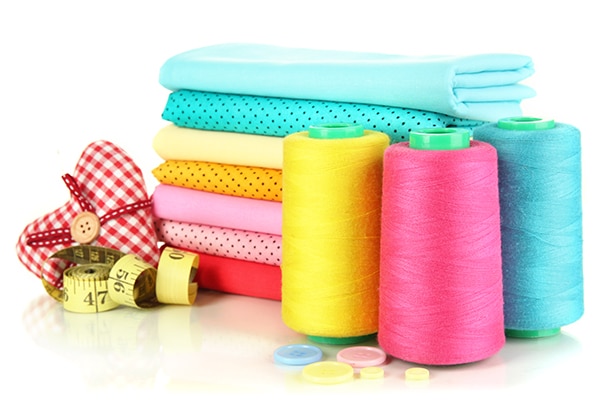
It is important that you choose the best fabric for your project. I like to use decorator weight cotton, quilting cotton, leather and faux leather. All of these fabrics are appropriate for making most handbags. Read the directions before choosing your fabric and keep in mind that whatever fabric you choose should be durable. This is an item that will be used often and could take a lot of abuse if you are anything like me.
Tip 2: interfacing
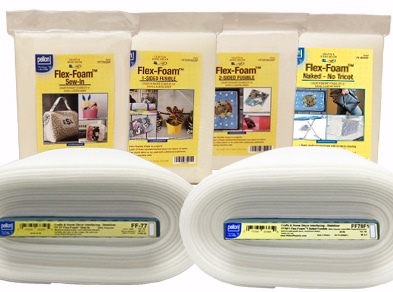
Nearly all bag patterns require the use of interfacing. The weight of your fabric will often determine the weight of your interfacing. You will also gauge the shape of your bag to assist in interfacing choices. For example, if I am using decorator weight fabric I like to use Pellon SF101 shape flex to give the bag just a bit of structure. If I am using a lighter weight fabric I may use a heavier interfacing like Pellon 808 or a fusible fleece. For a more structured bag, fusible foam is perfect because it really gives the bag its shape an allows the bag to stand on its own. So whether you are creating a slouchy tote or a structured bag there is an interfacing that is perfect for your project. You will definitely need to use something. The fabric alone will not be sufficient.
Tip 3: Wonder clips
I like to use wonder clips rather than pins when making my bags. Because of the extra bulk that is created with the interfacing and lining of the bag the clips are not only easier to use they do not wrinkle or warp the fabric when you use them like pins can do. In addition, if you choose to use leather, faux leather or laminated cotton you will need to use clips to avoid leaving permanent holes int he fabric.
Tip 4: Trim Seam ALLOWANCE
Because you are using interfacing along with your fabric there can be bulk in the seams. In order to reduce the bulk and leave a cleaner and more professional look I recommend that you trim all of your interfacing to about 1/8″. It may be appropriate to trim your seam allowances as well. Make sure you read the instructions before trimming the entire seam allowance.
Tip 5: Clip Curves and push Out Corners
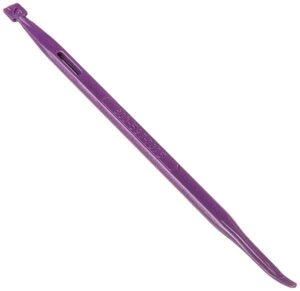
It is very important that you clip all of your curves and corners. Clipping the curves will result in a nice flat curve when you turn the bag right sides out. Clipping the corners is also important to get a nice crisp corner. Once you turn the bag right sides out you will want to make sure that you push the corners and the curves out using a poking tool of some kind. I like That Purple Thang. I can use it on most any project to get crisp curves and corners in my sewing projects.
Tip 6: Iron Iron Iron
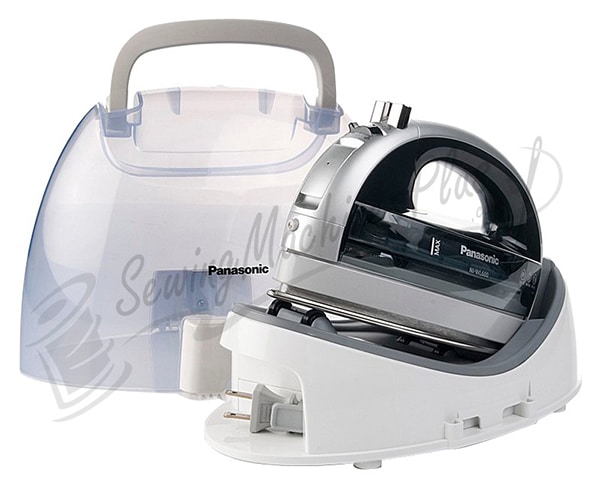
I cannot stress enough how important it is to press everything as you sew. Do not wait until the end. You should be pressing your project at each step to ensure that you get a professional look and a smooth finish. Pressing your seams helps to set them as well. You will find that pressing as you go will make your project go a lot smoother and look a lot better so definitely do not leave out this step. When I iron I use a cordless iron that you can get here.
Tip 7: Use a teflon foot
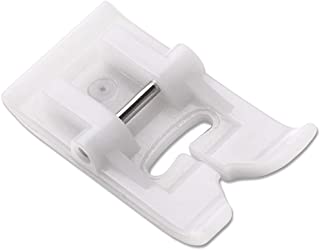
If you are sewing with leather, faux leather, vinyl or laminated cotton use a Teflon foot. This foot will glide easily over your fabrics without bunching, scrunching or stopping. This foot is like any other presser foot but it is coated with Teflon just like your Teflon pans. You will be so happy that you used this foot. it will make your bag making life a lot easier.
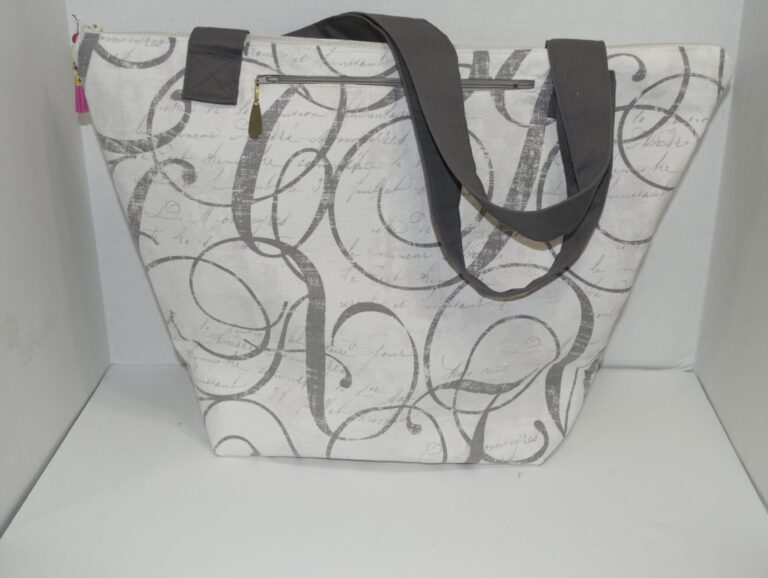
Tip 8: Line Your Bag
Make sure to line your bag. Having a lining not only covers up the ugly raw edges inside the outer bag it adds a little structure. If you are concerned about the fit of your lining you can always cut it about 14″-1/2″ smaller than the outer bag for a tighter fit. It is easy for a lining to appear too large for the bag if you don't reduce the size a bit so this little trick will help to get a cleaner looking lining for your bag.
Tip 9: Choose the Right hardware
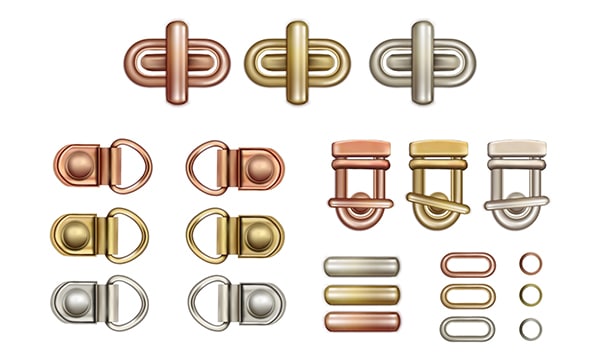
You can buy bag making supplies all over the internet. I have several sources that I go to but Amazon is a good place if you are just starting out and do not need specialty hardware. Hardware can make or break your bag depending on the type of bag you are making. Twist locks, magnetic snaps, swivel clips, D-dings and purse frames are just a few of the different types of hardware that you can purchase to make your bag extra special. Just remember if you are adding a piece of hardware directly to your bag like a magnetic snap or a twist lock that you reinforce with some Pellon Peltex or plastic canvas. The hardware on a bag gets the most use so you want it to be sturdy.
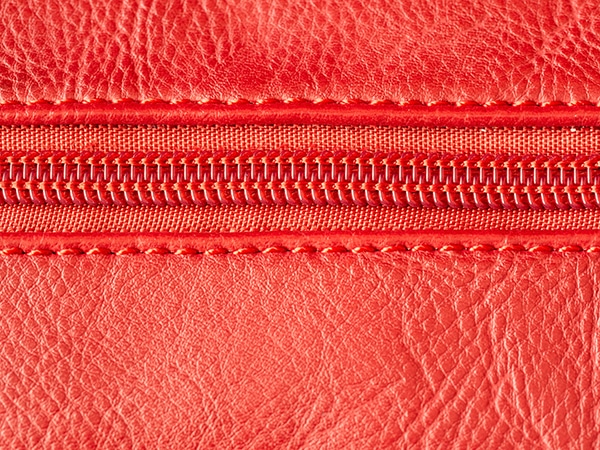
Tip 10: Top Stitching
The final tip in my top 10 bag making tips is to top stitch. You will want to top stitch your zippers, around the top of your bag, and any time there is a change in fabrics such as a multi color outer bag. You may want to top stitch as a decorative element. Regardless, good top stitching makes all the difference in the world in how your bag appears. It can really change your bag from home made to professional grade so make sure you top stitch in all the relevant places.
I hope you enjoyed these top 10 bag making tips. If you would like 30 bag making tutorials from Sew Very Crafty compiled in a single eBook click here to purcHase it for only $19.95.
 ;
;