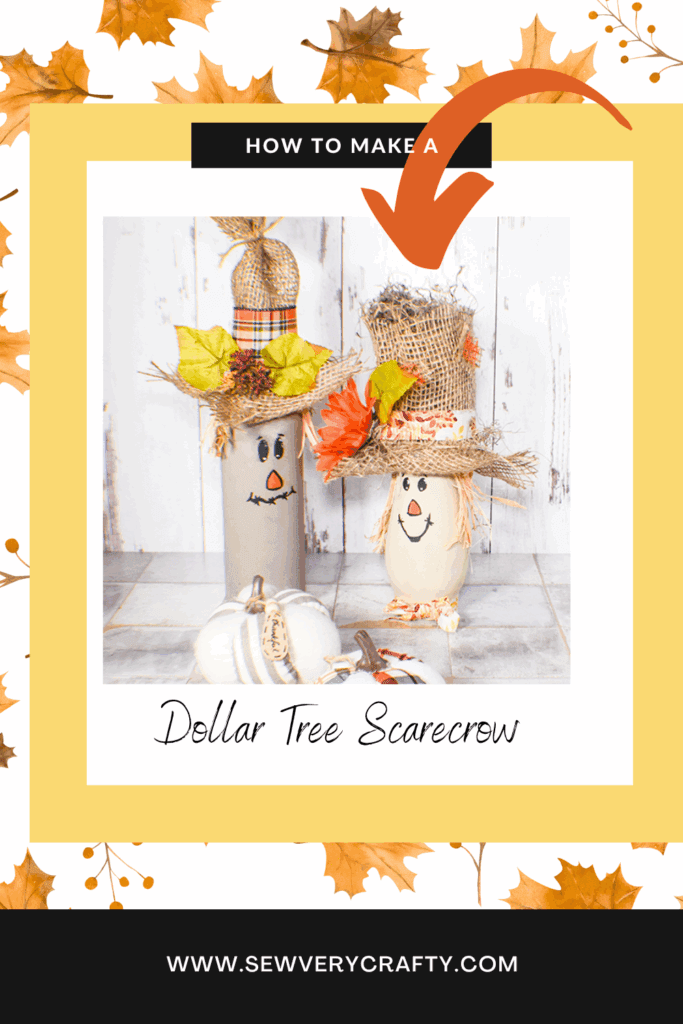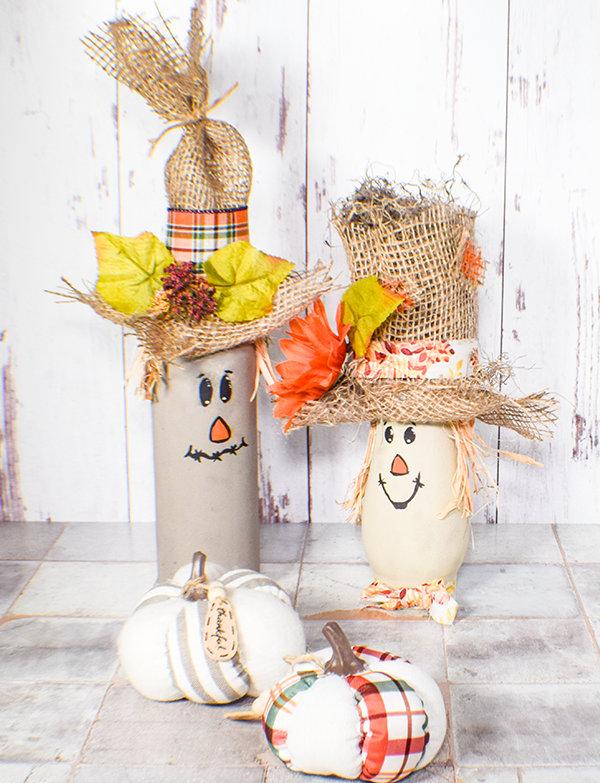
Before 99 cent store went out of business I purchased some glass bottles and jars. I purchased one blank wine bottle. I really did not know what I was going to make with until I was inspired to create these fun scarecrows from the wine bottle and a Dollar Tree Vase. These scarecrows are a simple craft project that you can make from wine bottles. I really enjoyed this project. I hope you do too. If you want more holiday sewing and crafting projects head over to my Holiday project vault for more.
Note: This post contains affiliate links that if you click on them and make a purchase I will receive a small commission at no extra cost to you. As an Amazon Associate I earn from qualifying purchases.
What you Need: How to Make Wine Bottle Scarecrows
- 1 empty wine bottle
- 1 Dollar Tree vase
- Oatmeal chalk paint
- Castle chalk paint
- Black, white and orange acrylic paint
- Espresso Distressed Oxide
- Blending brushes
- Straw
- Burlap
- Autumn fabric
- Dried moss
- Autumn Embellishments
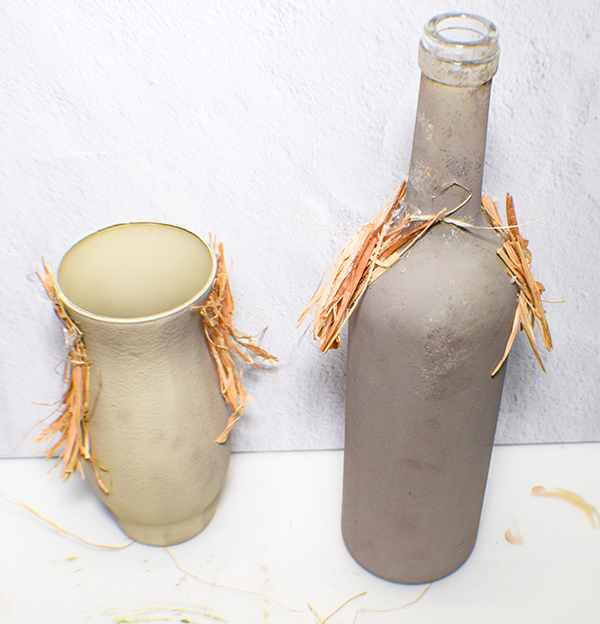
Step 1: Paint the Glass
I used oatmeal and castle chalk paint for my scarecrows. Paint the glass in the color of your choosing. Chalk paint is a good base for this project. I used a foam pouncer for this to get a more even finish. Let the paint dry completely. You can move the process along using a blow dryer. Paint a second coat.
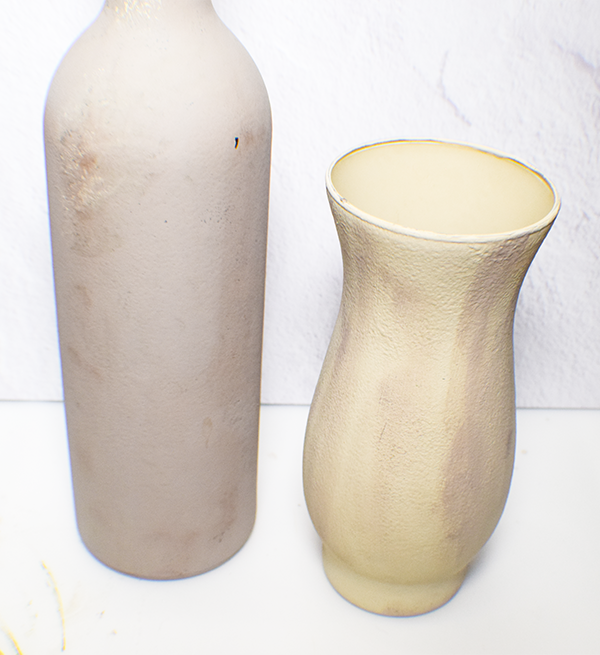
Step 2: Add some Age
Use one of the soft bristle brushes to dip into the distressed oxide. Brush the distressed oxide onto the glass to give the appearance of age. I added some all over the glass and some extra in places to show wear.
Step 3: Add the Straw
Place the straw onto each side of the neck of the bottle so that it hangs down a bit. You can use e6000 with a little hot glue to secure the straw.
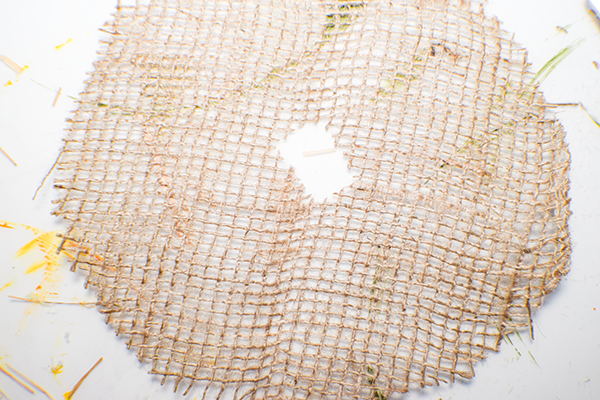
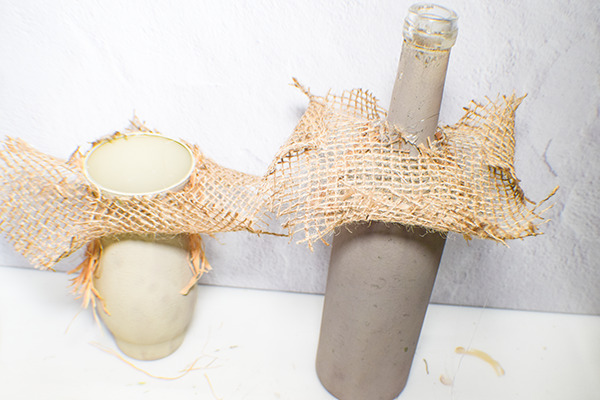
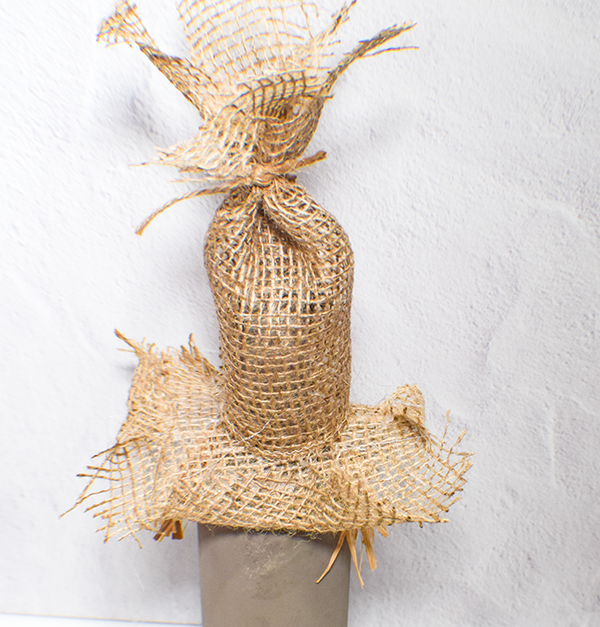
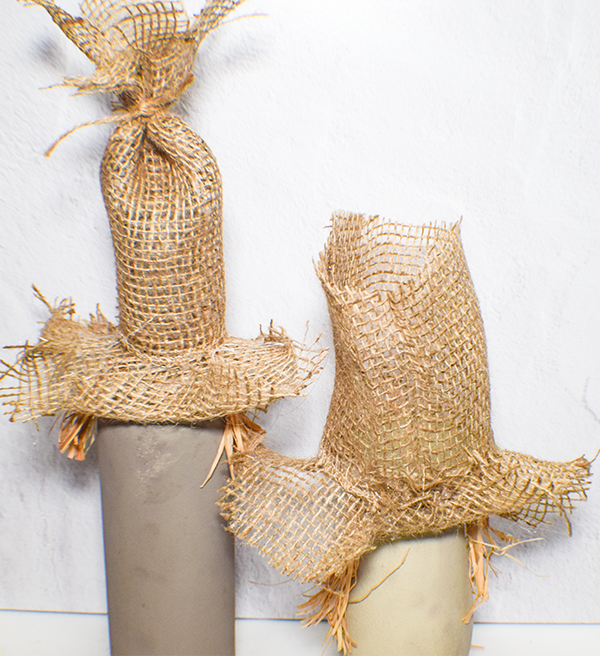
Step 3: Create the Hats
I created the hats in two steps. First, cut a piece of burlap in __” x __” squares. Trim off the corners to make a circle. Measure around the neck of the glass you are using. Cut a hole in the center of the circle. Hot glue the brim to the glass. Slide the circle over the neck of the bottle and over the straw. Take a rectangle of fabric to create the crown of the hat. Wrap the burlap around the neck so that it covers the whole thing with a little left over at the top. Hot glue the burlap together.

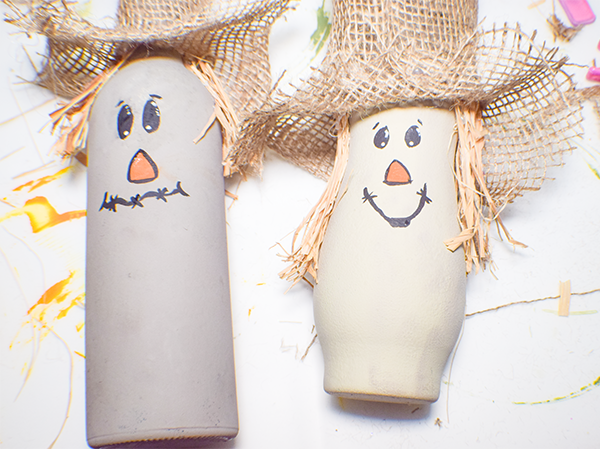
Step 4: Paint the Face
Start by painting the eyes. Draw two ovals relatively close together and paint them using the black acrylic paint. Once the paint is dry, add accents using white paint. Draw the nose. I chose to draw an irregular shaped nose. Paint the nose orange. Outline the nose in black. Place some hash marks as an accent. Draw the mouth. I used a black paint pen to draw a squiggly mouth. Again I adde dose hash marks as an accent.
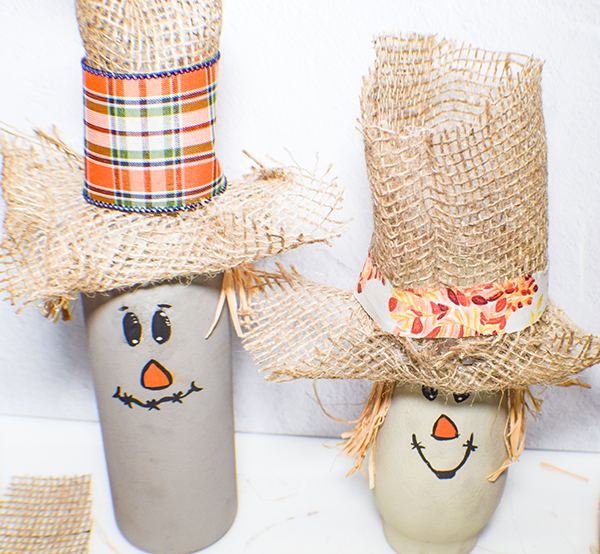
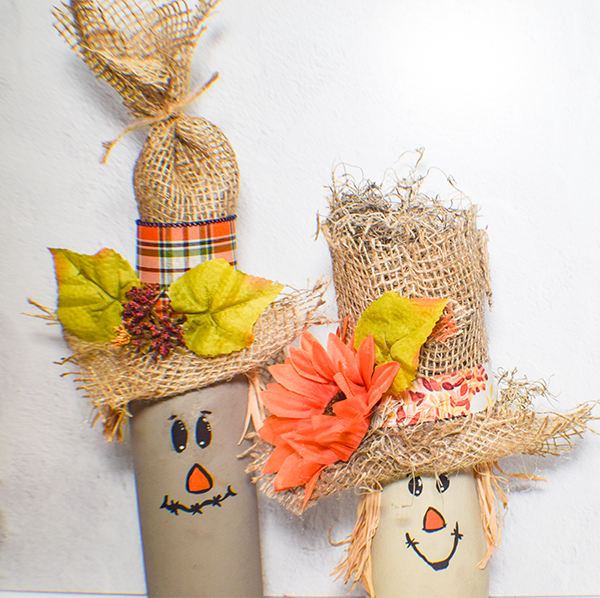
Step 5: Embellish the Hat
Fill the top of the hat with dried moss. Add a piece of autumn fabric around the hat. Glue it to the hat to secure. Add some additional dried moss to the brim using glue. Add some fall florals or leaves. Cut out some squares of burlap and glue those onto the hat to show age. You can paint the squares if you like. Add any other embellishments you like to finish your wine bottle scarecrows.
I hope you enjoyed this project. If you would like more sewing and crafting projects subscribe to our newsletter and receive your free Holiday Dollar Tree Craft ebook.
If you would like video tutorials of some of Sew Very Crafty's most popular posts subscribe to our free YouTube channel here.