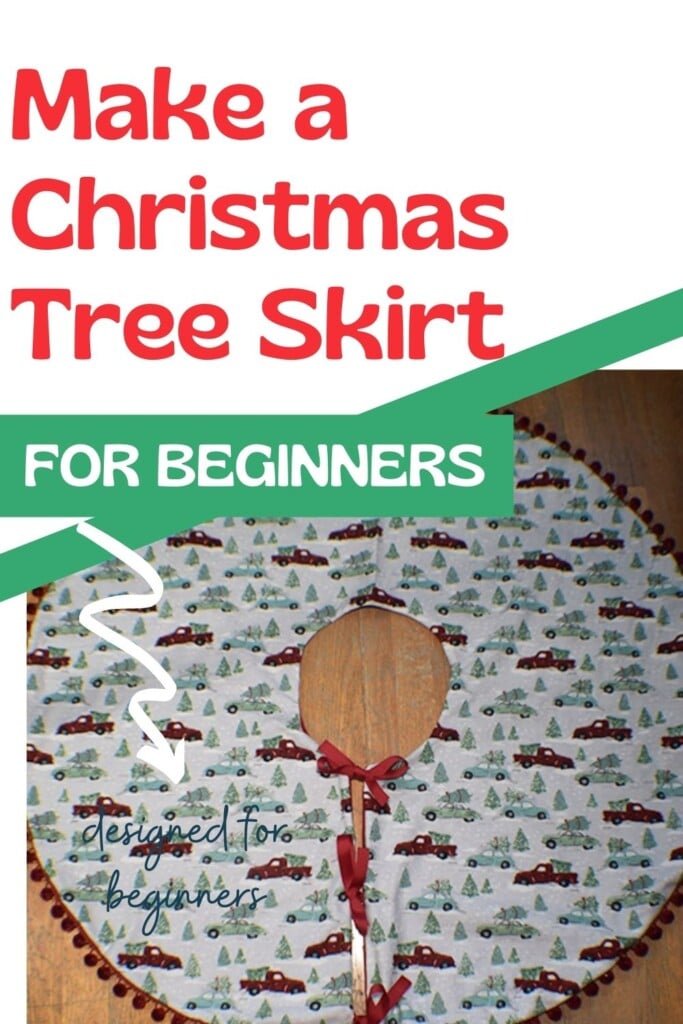
 I love Christmas and I love sewing for Christmas. With this in mind I decided stitch up my own reversible Christmas tree skirt. No pattern is necessary for this project. It is all in how you fold the fabric that makes this project simple and easy. You don't need to make this reversible if you don't want to but I thought it would be a nice touch. I added some trim to make my fabric stand out a bit more along with some ribbon for ties. You really don't need the ties but I thought they were cute.
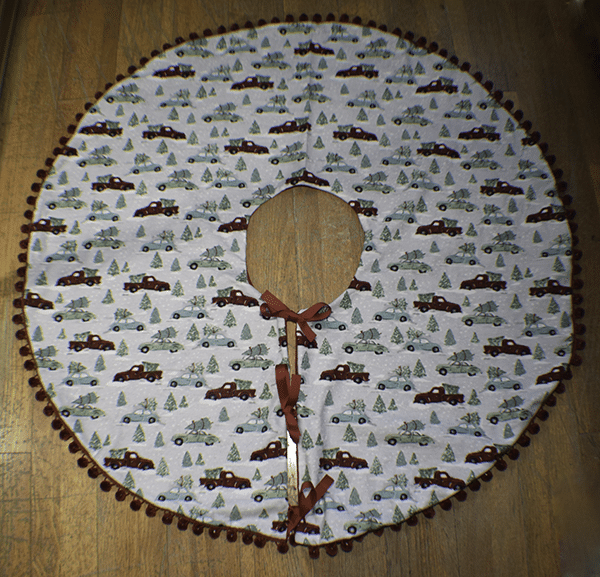
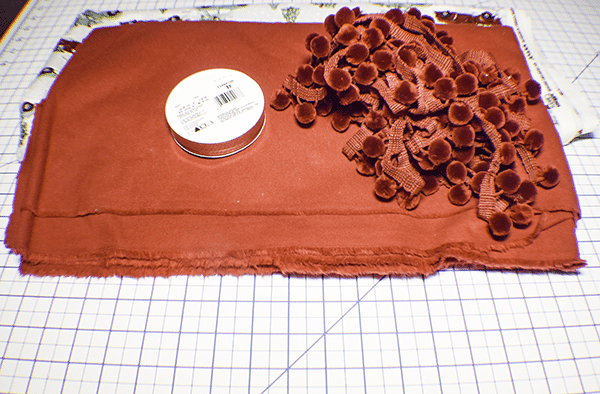
For this project I used flannel for both sides of my Christmas tree skirt. I used a cute print for one side and a solid for the other. Then I added some pom pom trim around the edge to bring out the red in my fabric. I purchased all of my supplies online at JOANN Fabric & Craft Stores![]() but you could head to Fabric.com or onlinefabricstore.net for anything you need for your project. This post contains affiliate links that if you click on them and make a purchase I may receive a small commission at no extra cost to you.
but you could head to Fabric.com or onlinefabricstore.net for anything you need for your project. This post contains affiliate links that if you click on them and make a purchase I may receive a small commission at no extra cost to you.
What you will Need: How to Make a Christmas Tree Skirt
- 2 yards print and solid colored fabric
- 4 yds pom pom trim
- 60″ of 5/8″ Ribbon
Step 1: Fold your Fabric
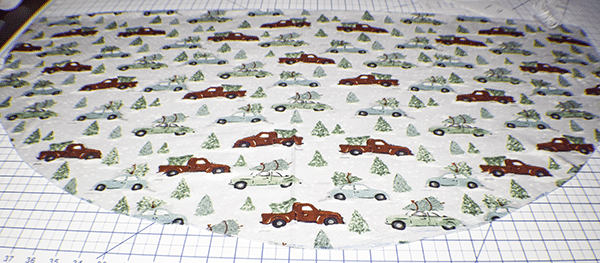
Your fabric will come folded wrong sides together. Unfold it and fold it half the other way. This is what worked best for me because I used 44″ fabric.
Step 2: Measure and Cut your Fabric
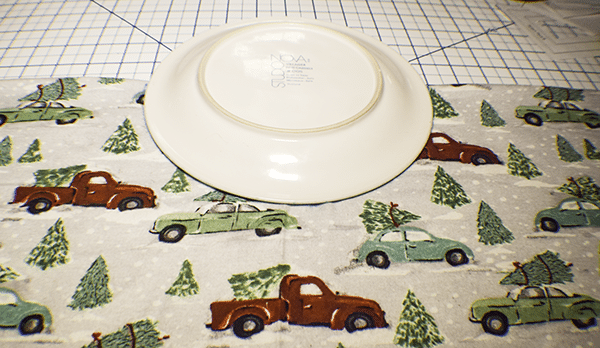
Measure 20″ to each side of the center and make a mark. Measure 20″ down the center and make a mark. Using a 20″ string attached to a pencil and pin join the three marks together to make a curve. Cut the curve. Take a small plate or pot lid and cut a half circle out of the center. Open the circle and cut a straight line from the bottom curve to the top curve. Repeat the process for the lining fabric.


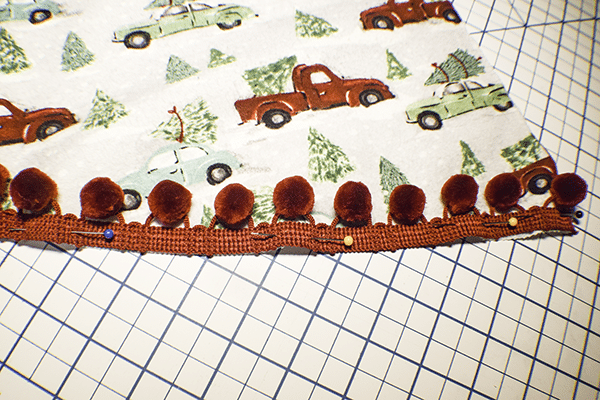
Step 3: Add the Pom Pom Trim
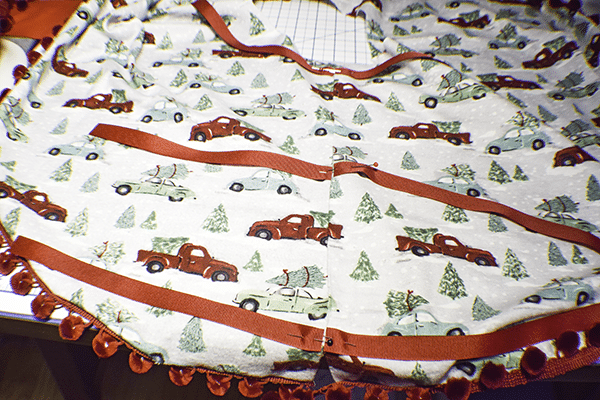
Stitch the pom pom trim to the right side of the main outer fabric facing toward the inside of the skirt.
Step 4: Add the Ribbon
Cut the ribbon into six pieces that measure 10″ long. Stitch the ribbon to both sides of the line that you cut to the right side of the main outer fabric 6″ apart.
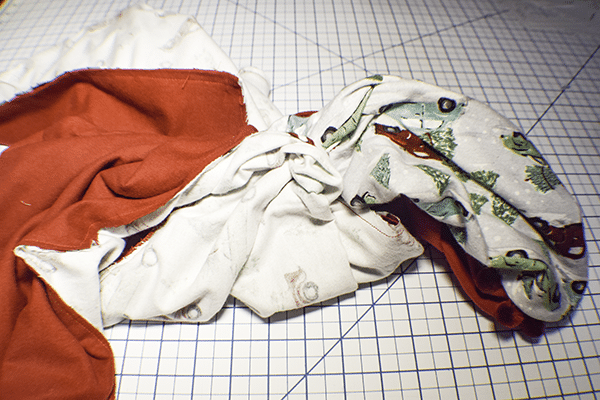
Step 5: Add the Lining
Place the lining piece right sides together with the outer piece. Stitch all around the bottom of the skirt, the line of the skirt, and the upper circle leaving and opening in the upper circle for turning.
Step 6: Turn Right Sides Out
Turn the entire Christmas tree skirt right sides together through the opening you left in the top circle.
Step 7: Close the Opening
Close the opening at the top using ladder stitch. If you are unfamiliar with ladder stitch check out this video.

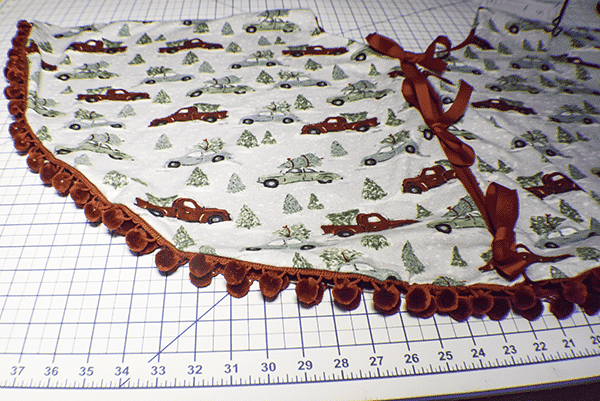
I hope you enjoyed this Christmas Tree Skirt project. If you would like more sewing and crafting projects sign up for our newsletter and receive access to our free Printables Library
If you would like video tutorials of some of Sew Very Crafty's most popular posts subscribe to our free YouTube channel here.