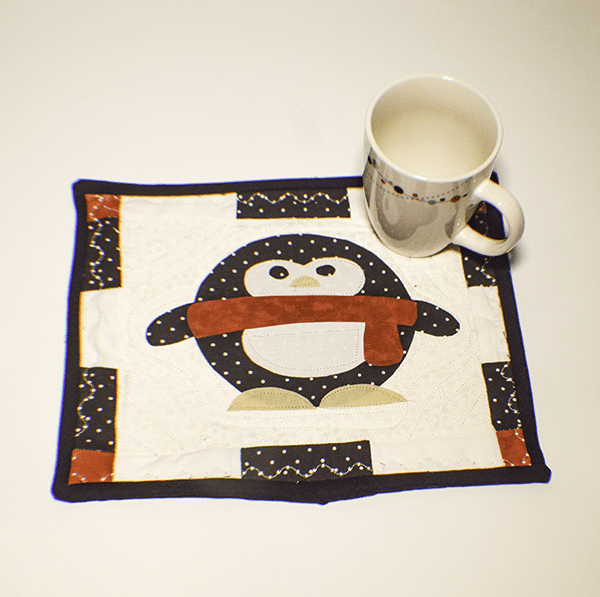
It's winter so I thought I would put together this simple penguin mug rug to brighten up the season. This is a simple quilting and appliqué project that anyone can make. Once again I have used my new toy to design this adorable little mug rug. The EQ8 quilting design software made this project in a breeze. You too can create your own quilts, runners and yes, mug rugs with this design software. I have included the pattern pieces for you to print out and use to create your own penguin appliqué and mug rug. All you have to do is cut it out and follow the step-by-step instructions on how to make it.
I used remnants that I had in my stash that I had purchased at JOANN Fabric & Craft Stores![]() for 50% off but you could head to Fabric.com or onlinefabricstore.net to get exactly what you need for your penguin mug rug. This project contains affiliate links that if you click on them and make a purchase I may receive a small commission at no extra cost to you.
for 50% off but you could head to Fabric.com or onlinefabricstore.net to get exactly what you need for your penguin mug rug. This project contains affiliate links that if you click on them and make a purchase I may receive a small commission at no extra cost to you.
What you will Need: How to Make a Penguin Mug Rug
- Pattern you can get by clicking on this link
- Scraps of red fabric
- Scraps of tan fabric
- 1/4 yd black fabric
- 1/4 yd white fabric
- Scraps of a second white print fabric
- 1/4 yd quilt batting
- 1/4 yd backing fabric
- Heat n Bond for the appliqué
- Standard sewing supplies
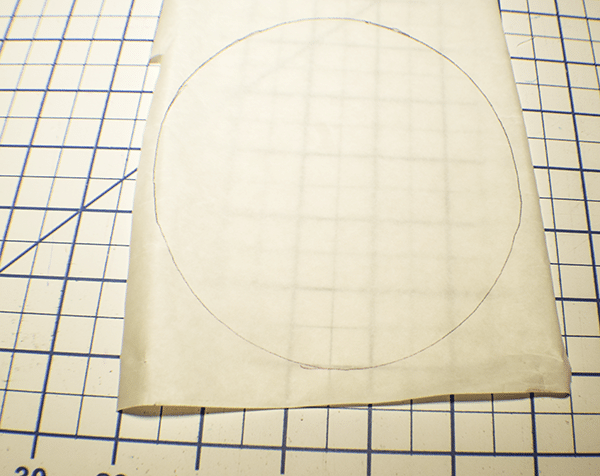
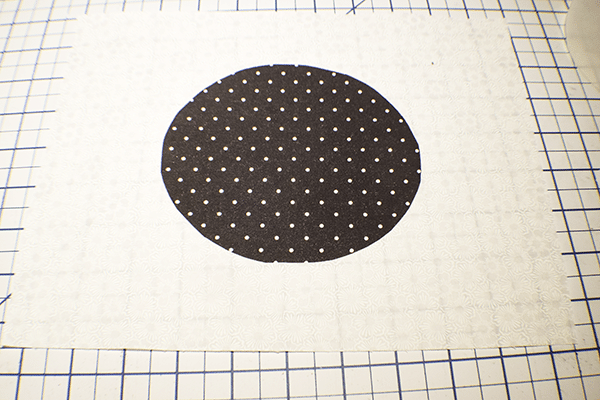
Step 1: Cut your Fabrics
Cut out the white rectangle piece with the seam allowance for the appliqué to sit on. Next, cut out the side and top rectangle pieces and the four corners with the seam allowances using the templates provided. Finally, trace the appliqué pieces onto the Heat n Bond but cut off the seam allowances for the appliqué pieces. Place the Heat n Bond to the wrong side of the fabric pieces you have chosen for the appliqué. Press through the paper to secure. Cut out the Pieces. Remove the paper backing and place the pieces in the center of the mug rug and press to secure.

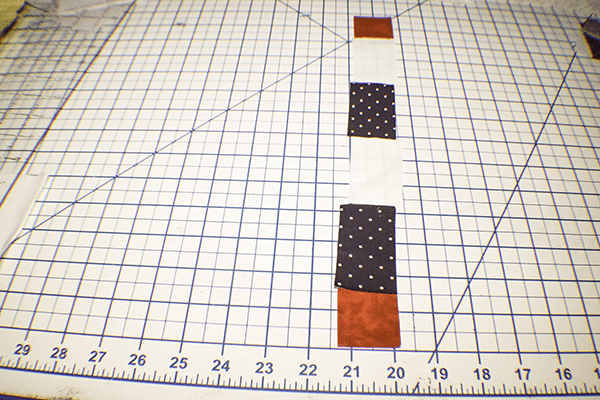
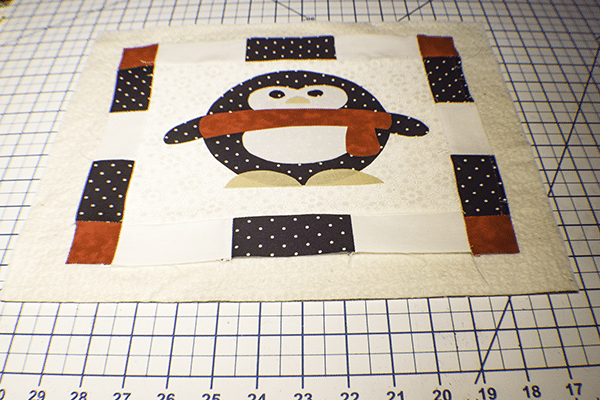
Step 2: Create the Border Pieces
Take the border pieces and create the side borders by joining each piece using a 1/4″ seam allowance. Join the three center top and bottom pieces together also using a 1/4″ seam allowance. Note: The photo shows four pieces and two corners but there should just be three pieces and two corners.
Step 3: Add the Border
Add the top and bottom borders first using a 1/4″ seam allowance. Then add the side borders also using a 1/4″ seam allowance.
Step 4: Layer the Mug Rug
Lay the backing wrong side up on your workspace. Place the batting on top of the backing fabric then place the top of the mug rug on top of the batting. Separate each layer with basting spray to secure for quilting.
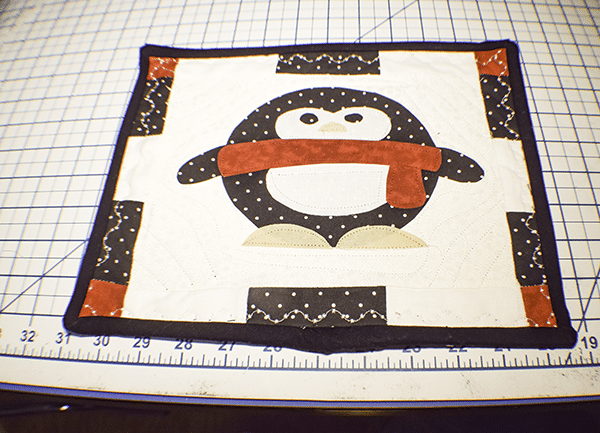
Step 5: Quilt the Penguin Mug Rug
Stitch over the entire mug rug anyway you choose. I chose to echo the shape of my penguin and to do some looped lines along the border.
Step 6: Bind the Mug Rug
I have found the best way to bind the mug rug is the same as a quilt. I am going to provide a video that will walk you through the process with ease.

Now that you have bound your mug rug you have finished your project.
I hope you enjoyed this penguin mug rug. If you would like more sewing and crafting projects sign up for our news letter and receive access to our free Printables Library.
If you would like video tutorials of some of Sew Very Crafty's most popular posts subscribe to our free YouTube channel here.