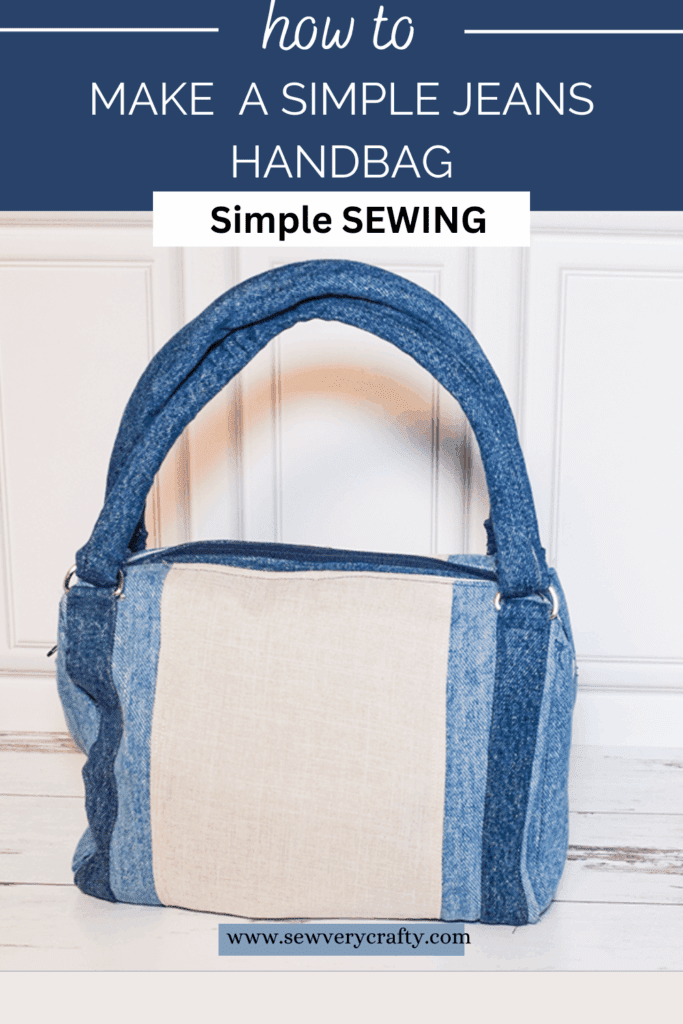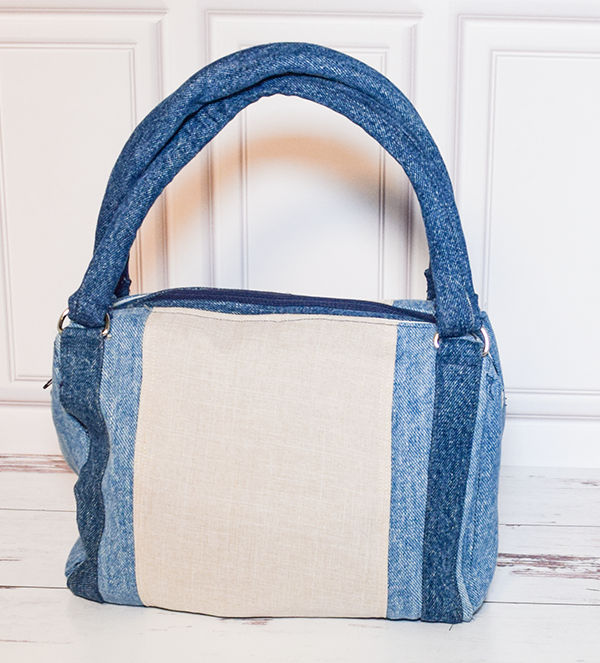
Here is another jeans up cycling project. Not only is this a simple sewing project it makes a great gift because of just how easy it is to create. Plus, you can use an old pair of jeans to create a beautiful everyday handbag. When choosing jeans for this project use thin ones. I used my husband's old jeans and there were a bit too thick. Otherwise use some jeans fabric. Honestly, I just love this project and the ease of making it. I saw this project on YouTube and had to create it for you. Even though this bag has a zipper it is super easy to install. So Take your basic sewing skills and a pair of jeans and create this up-cycled jeans handbag. If you would like more handbag projects head over to our handbag page for many more.
Note: This post contains affiliate links that if you click on them and make a purchase I will receive a small commission at no extra cost to you. As an Amazon Associate I earn from qualifying purchases.
What you will Need: How to Make an Upcycled Jeans Handbag
- Pattern you can get by clicking on this link
- 1 par of light colored jeans
- 1 pair of dark colored jeans
- 1/2 yd pellon 808 interfacing
- 1/4 yd Pellon SF 101 interfacing
- 1 yd of lining fabric
- 1/4 yd accent fabric
- 1 continuous zipper
- 4 1″ D-rings
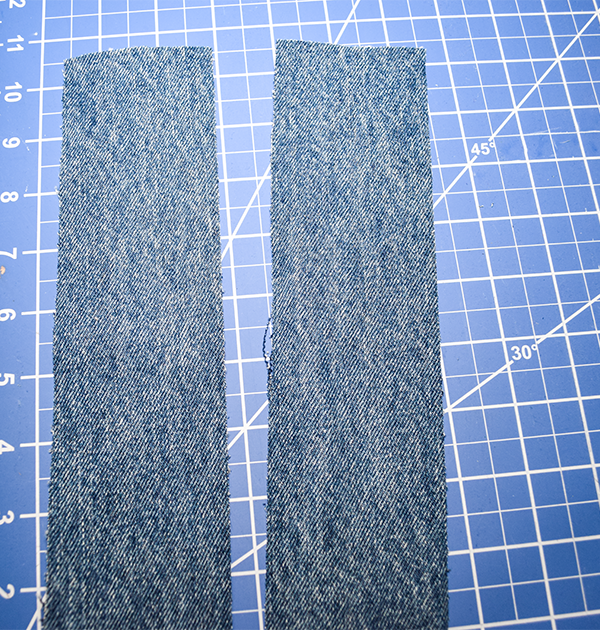
Step 1: Cut the Fabrics
From the light blue Jeans, 808 interfacing and lining cut a rectangle that measures 24 1/2″ x 10 1/2″.
From darker jeans fabric, SF 101 and lining cut two pieces that measure 1 1/8″ x 16 1/2. Cut four 10 3/8″ x 1 1/2″ pieces of dark fabric. Cut two handle pieces that measure 17″ x 2 1/2″
Cut two pieces of 3/8″ filler cord that measure 34″ for the inside of the handles
Using the pattern piece cut two pieces from the 808 interfacing and two from the light colored jeans lining fabric with an extra 1/4″ seam allowance.
Cut a 24 1/2″ x 6 3/8″ piece from the accent fabric.
Cut two pieces of SF 101 measuring 17 1/3 x 3 1/2″
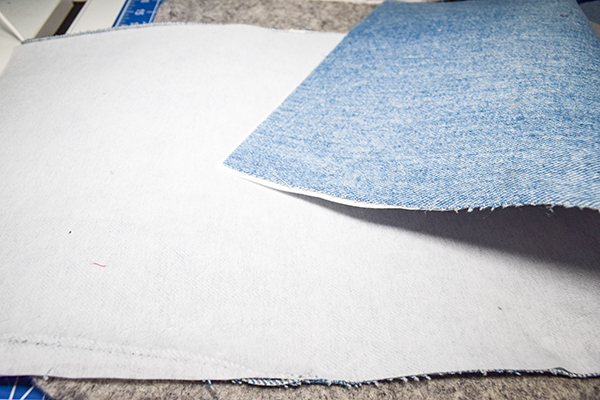
Step 2: Fuse the Interfacing
Following the manufacturers instructions fuse the 808 interfacing to the reverse of the jeans rectangles and pattern pieces. Then, fuse the SF 101 to the darker jeans pieces.
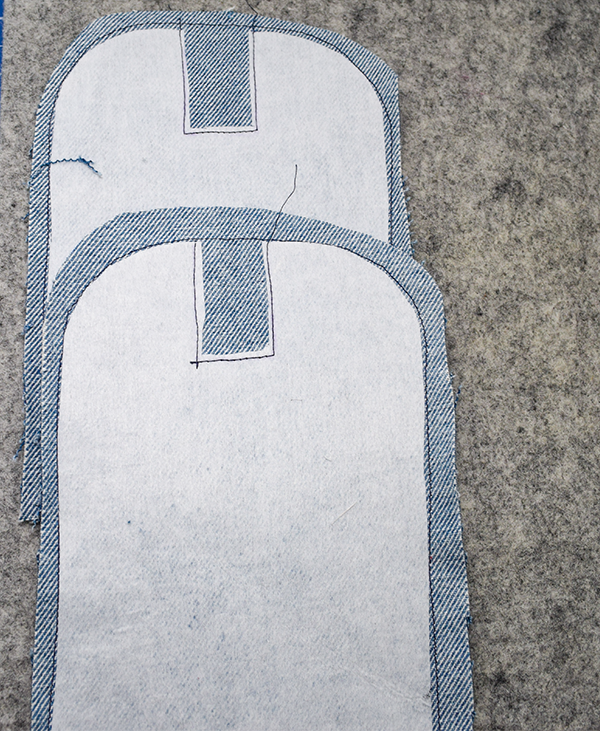
Step 3: Stitch Around the Pattern Pieces
Using a 1/4″ seam allowance stitch all the way around the pieces.
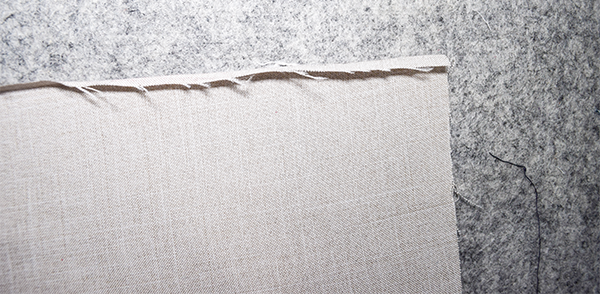
Step 4: Press the seams of the Accent Piece
Fold the long raw edges of the accent piece 1/4″. Press the fold using a hot iron.
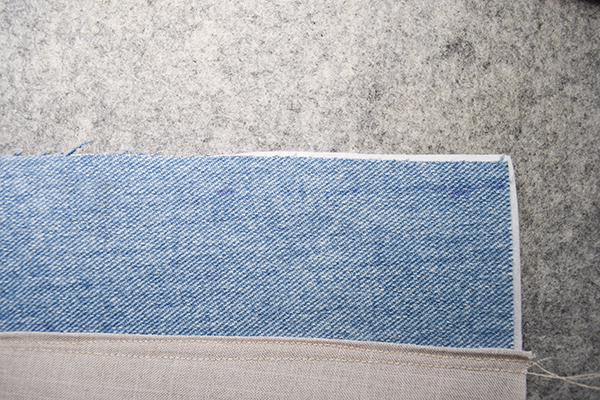
Step 5: Stitch the Accent Fabric
Place the accent fabric in the center of the jeans fabric lengthwise. Stitch two lines through both layers using a 1/4″ seam allowance or a twin needle. If you do not know how to use a twin needle check out this tutorial.
StEp 6: Draw Lines
On one end of the jeans/accent fabric piece measure in 1/2″ from each side and draw 10 1/2″ lines using an erasible pen. Repeat for the other end.
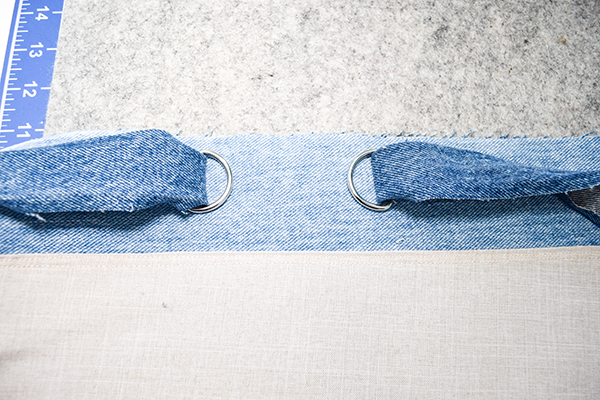
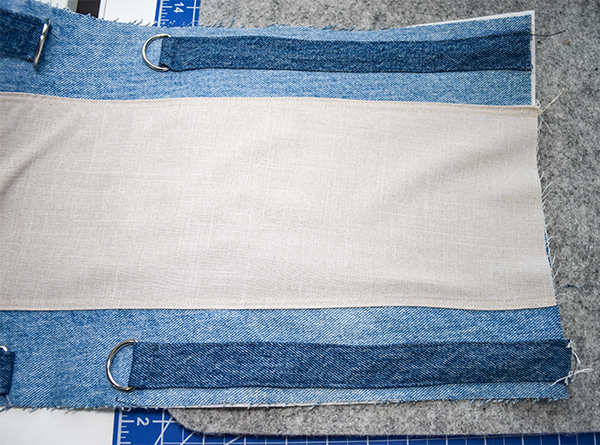
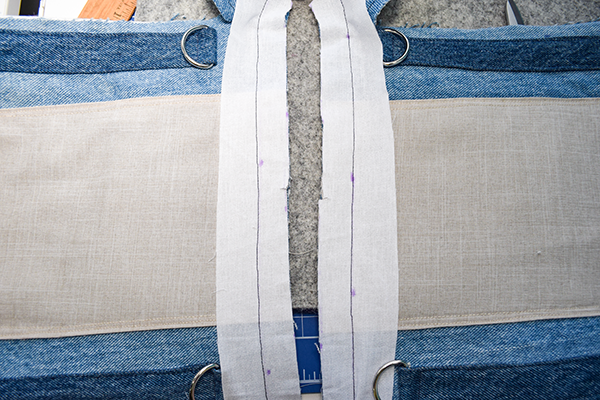
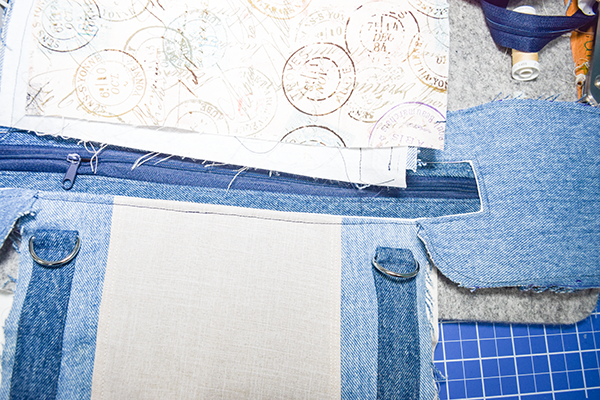
Step 7: Add the Dark colored Jeans
Fold the long raw edges in by 1/4″ and press. Place the dark jeans at the top of the lines you just drew so that they are in the opposite direction. Stitch across the webbing using a 1/4″ seam allowance and fold over on the seam. Add the D-rings. Topstitch the long sides and underneath the D-rings. Repeat for the other end.

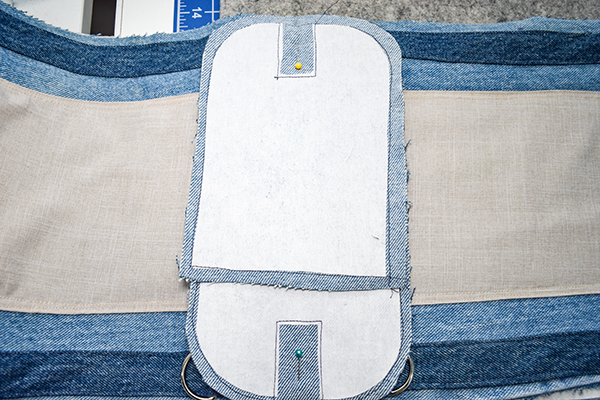
Step 8: Add the pattern pieces
Fold the body piece in half to find the center and mark. Draw a line using a heat erasable pen. Fold the pattern pieces in half lengthwise to find the center of the curved end and mark. With right sides together place the pattern pieces to the body pieces on each side matching the center marks. Stitch the pieces together 1″ on either side of the center using a 1/4″ seam allowance.
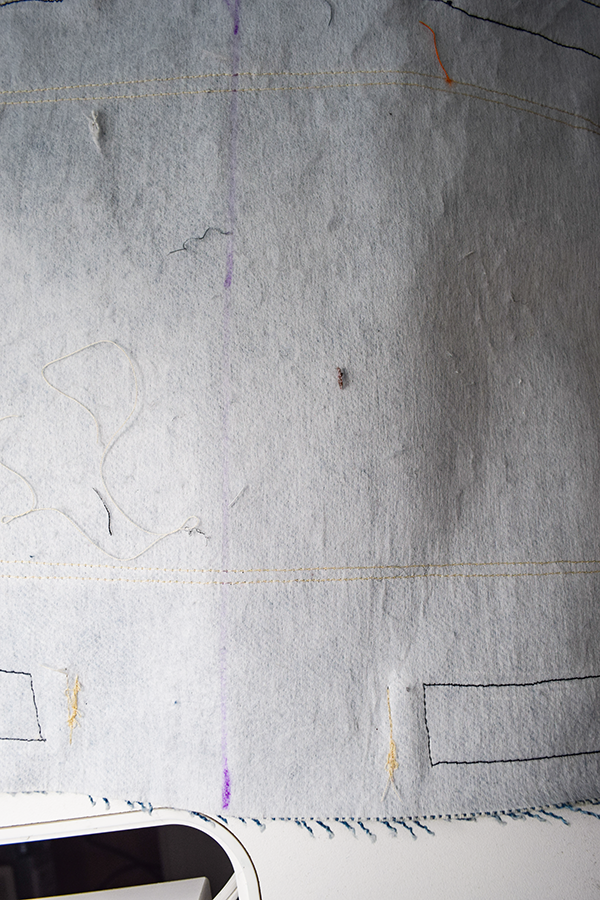
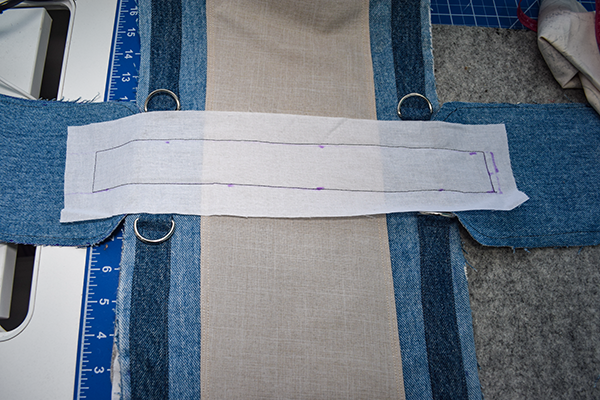
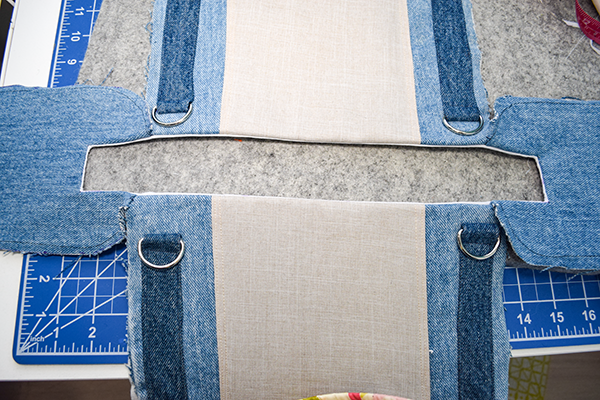
Step 9: Add the interfacing
Take the SF 101 piece of interfacing you cut and turn it glue side up. Draw a 1 1/8″ line on both long sides. Measure up 7/8″ on each short end and draw a line. Place the interfacing glue side up onto the right side of the body piece across the center. Stitch along the lines you drew. Cut a straight line down the center of the interfacing stopping 1/2″ from each end and cut a triangle. Cut on either side of the cut line 1/8″ to create a wider opening. Turn the entire piece to the wrong side to create an opening for the zipper. Press. clip each end on both sides to just before the stitching.
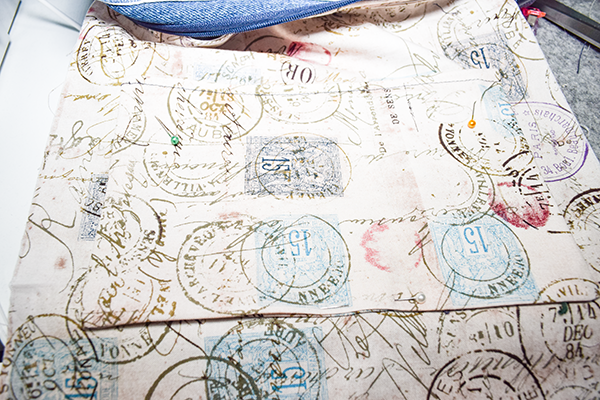
Step 10: Create the Lining
Create the lining the same way you did the outer body. Add the pattern pieces and the SF 101 in the same way. Cut the zipper open as well.
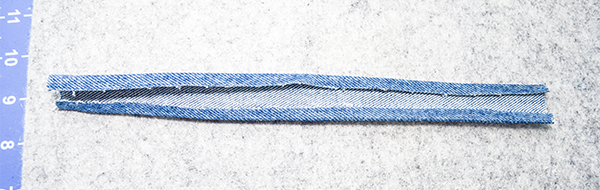
Step 11: Add the Zipper detail
On one side of the zipper, sandwich the zipper between a darker jeans piece and a matching lining piece. Place the zipper wrong side down onto the right side of the lining. Place the darker jeans piece right sides down on the right side of the zipper creating the sandwich. Stitch through all layers. Repeat for the other side of the zipper. Press and topstitch.

Step 12: Add the Zipper
Place the entire zipper piece to the wrong side of the body piece so that it shows through the opening you created.
Step 13: Add the Lining
Place the lining wrong sides together with the outer bag with the zipper in the center of the opening. Stitch the zipper to the outer bag and the lining bag through all layers. Cut off any excess zipper.

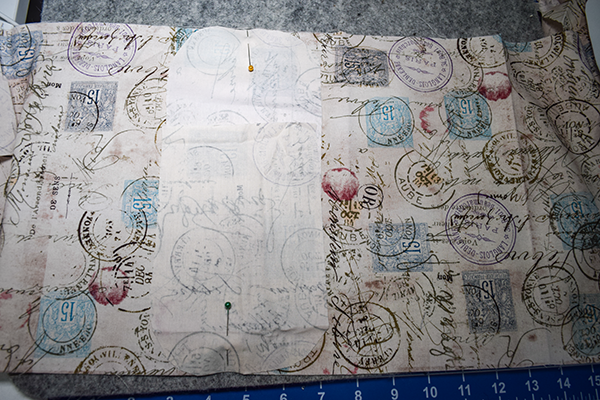
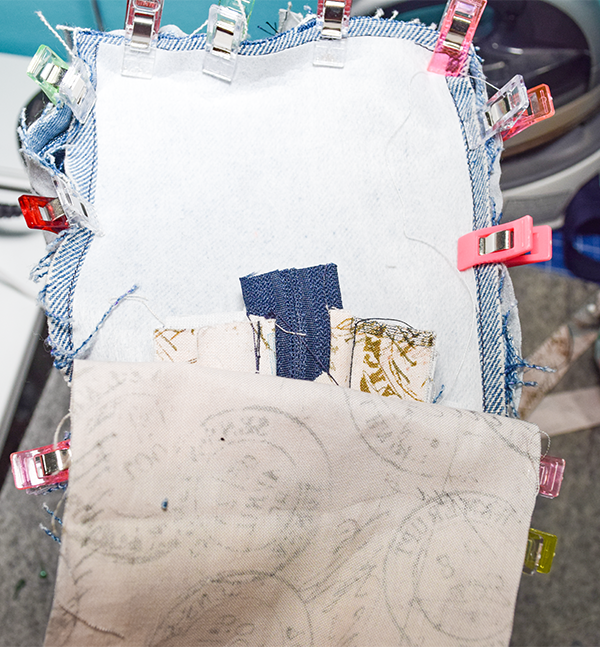
Step 14: Add the Slip pocket
Fold the lining piece that measures 12″ x 8″ in half widthwise right sides together. Stitch along the sides and bottom leaving an opening on the bottom for turning. Turn right sides out and press. Topstitch along the folded edge. Add the pocket to one side of the lining in the center. Stitch around the sides and bottom making sure to close the opening along the way.
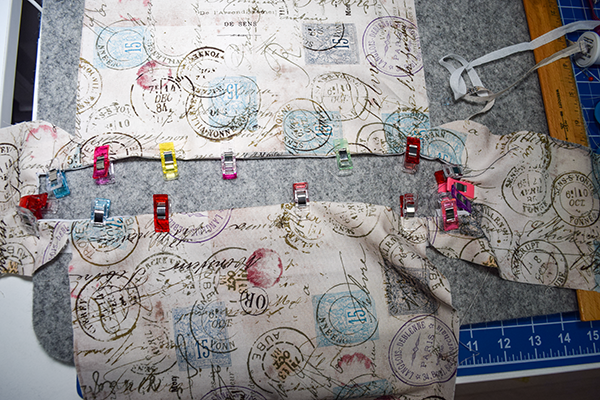
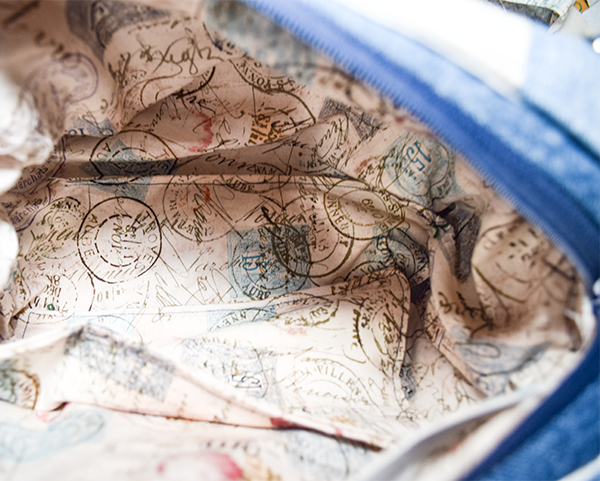
Step 15: Stitch the Bag
Fold the outer bag right sides together. Stitch the short raw edges together. Place the remaining pieces of the pattern pieces right sides together with the outer body bag and stitch. Clip the corners. Repeat for the other side. Make sure to open the zipper. Place the lining pieces right sides together and stitch the short ends together but leaving an opening for turning. Stitch the pattern pieces in the same way you did for the outer bag. Turn right sides out through the opening in the lining and the zipper. Stitch the opening closed.
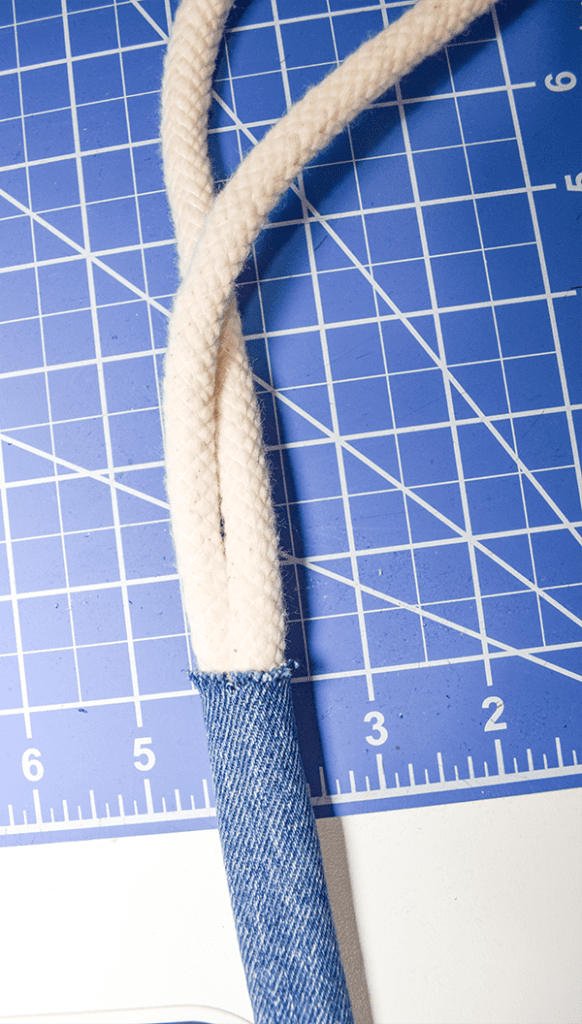
Step 16: Create the Handles
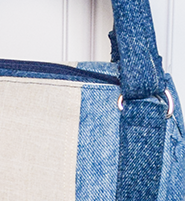
Take the dark colored handle pieces and fold them in half lengthwise right sides together. Stitch using a 1/4″ seam allowance. Turn right sides out using a bodkin. Fold the filler cord in half. Also using a bodkin, insert the filler cord into the tube you created. Insert the ends through the D-Rings, fold under the raw edges and clip. Fold the hands ends around the D-Rings and stitch. Once you have stitched the handles you have finished this super simple up-cycled jeans handbag.
If you would like more sewing and crafting projects subscribe to our free newsletter and receive your free handbag eBook.
If you would like video tutorials of some of Sew Very Crafty's most popular posts subscribe to our free YouTube channel here.
Join our Sew Very Crafty Fans Facebook group
If you want to ask questions and share your projects join our Facebook group here. The community will help to achieve your sewing and crafting dreams.