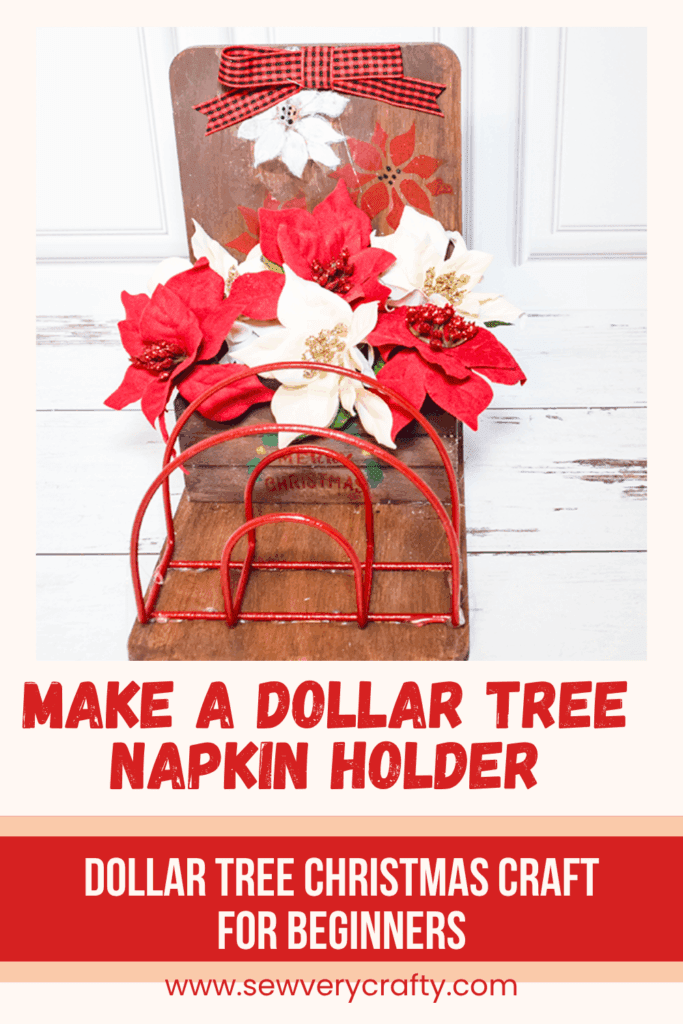
Here is another fun Dollar Tree Christmas craft. This Dollar Tree Christmas napkin holder is super simple to make and results in a very nice home decor piece. You can get most everything at Dollar Tree inexpensively so head over to Dollar Tree and get exactly what you need. I did purchase a stencil from Amazon and I had the paints on hand but the wood and napkin holder all came from Dollar Tree. If you would like more holiday sewing and crafting projects head over to our holiday project vault. For more Dollar Tree crafts check out my Dollar Tree page.
Note: This post contains affiliate links that if you click on them and make a purchase I will receive a small commission at no extra cost to you. As an Amazon Associate I earn from qualifying purchases.
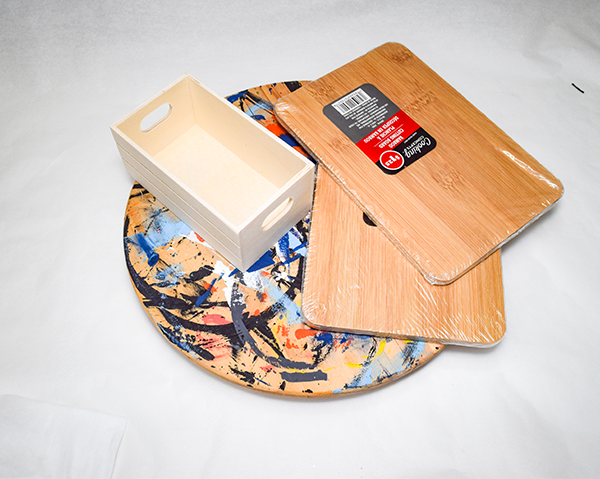
What you will Need: How to Make a Dollar Tree Christmas Flower Display
- 2 Dollar Tree bamboo cutting boards
- 1 Dollar Tree wood crate
- Christmas stencil
- Wood stain
- Chalk Paint or chalk paste
- Red spray paint
- Dollar Tree Christmas florals
- Dollar Tree Napkin Holder
- Floral Foam
- Hot glue
- Wood Glue
- Sand Paper
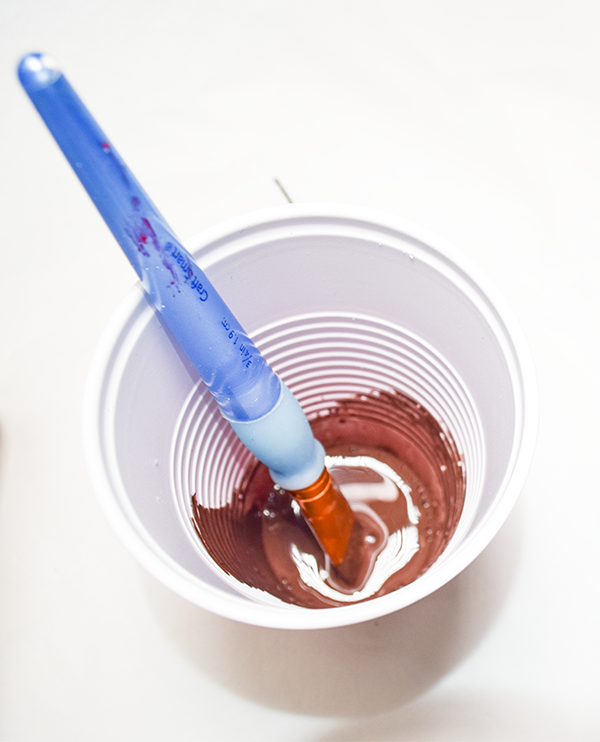
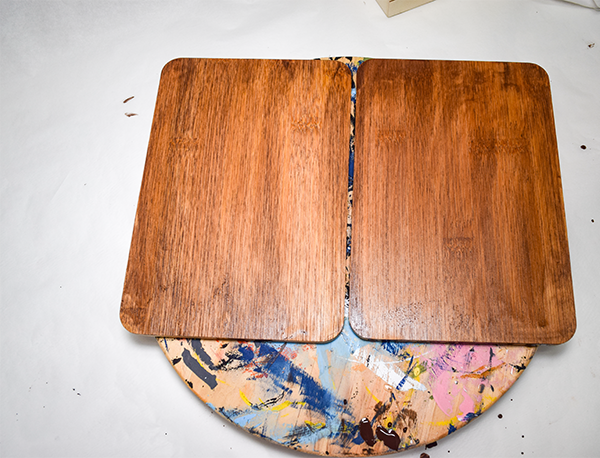
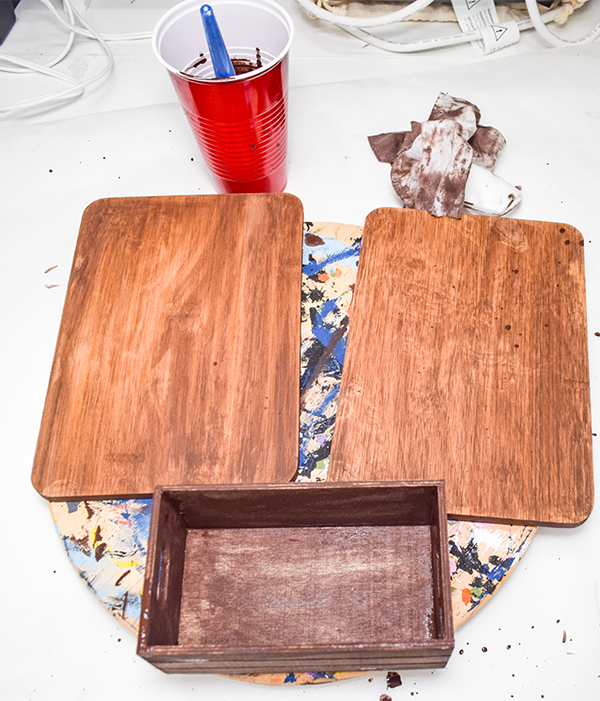
Step 1: Stain the Wood Pieces
Start by sanding the wood pieces. The purpose of sanding is to make sure the stain and paint stick properly. Make sure all of the dust is removed before staining. Using wood stain or watered down brown paint. Use a sponge or paint brush to cover all of the wood pieces. Let dry completely.
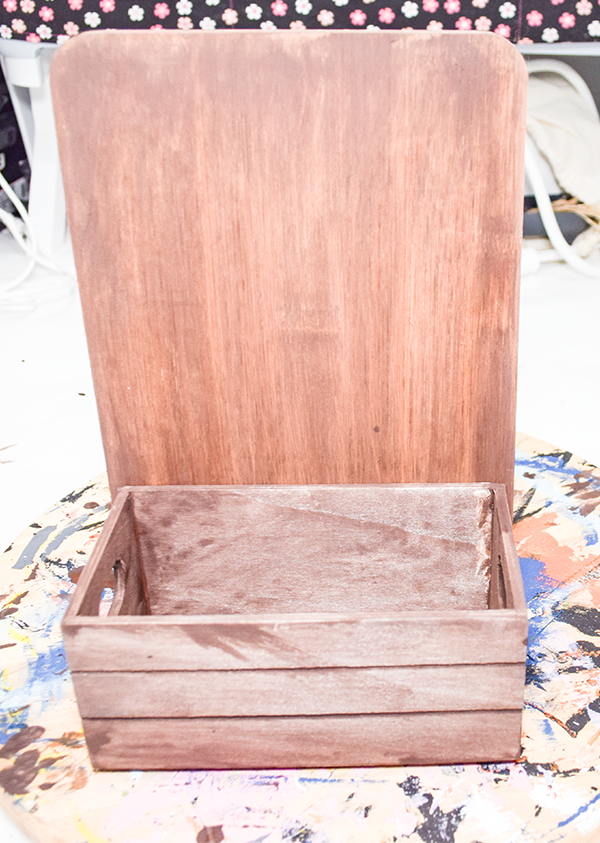
Step 2: Add the Dollar Tree Crate
Using a combination of hot glue and wood glue attach the crate to the bottom of one of the bamboo cutting boards.
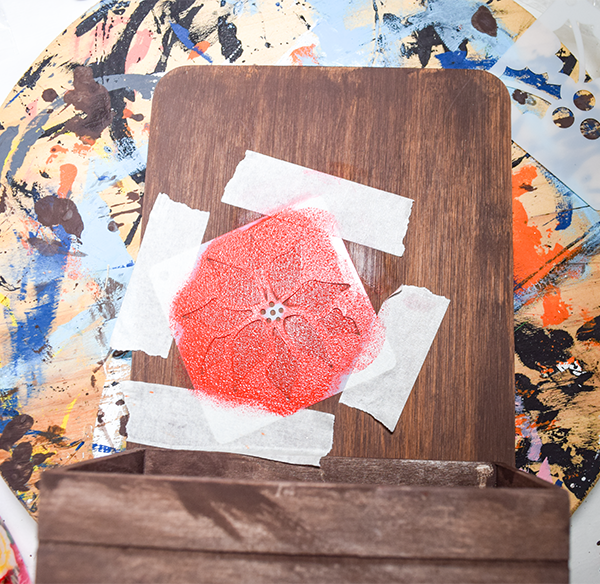
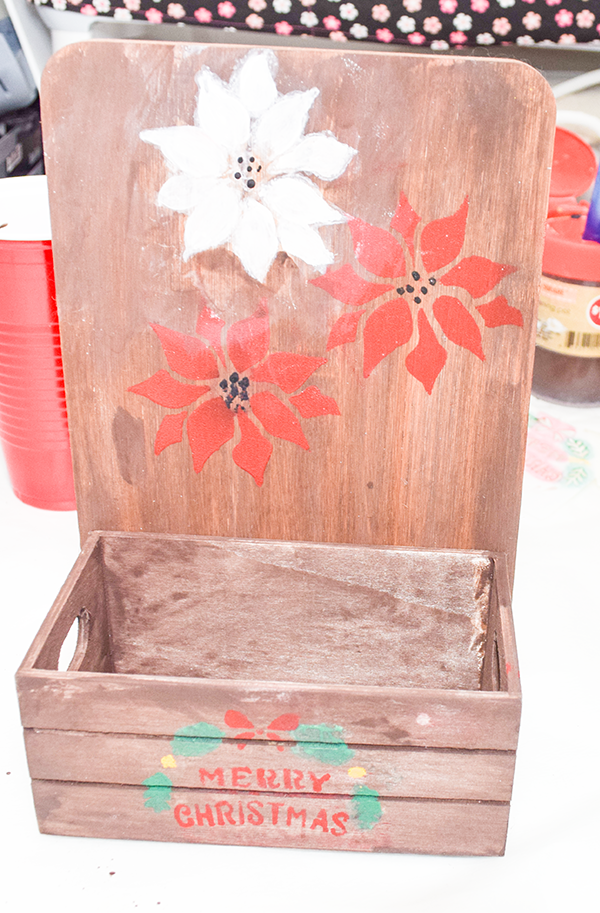
Step 3: Stencil the Christmas Flowers
From the stencil package that I purchased I added a combination of poinsettias, leaves and words. For this I used green and red chalk paint. Use either stencil spray or tape to attach the stencils to the front of the cutting board. You can use any design you like. Dab the paint onto the stencil using a stencil brush to prevent bleeding. You can also use chalk paste for this. I placed the stencil on the back cutting board and the crate. Let dry completely.

Step 4: Add the cutting board and crate to second board
Place the bottom of the crate attached to the first cutting board to the second cutting board using hot glue and wood glue. You could also add small screws.

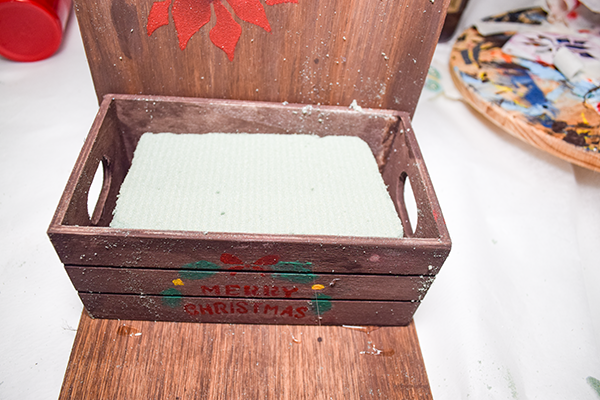
Stop 5: Add the Floral foam
Place a piece of floral foam into the crate. Secure the floral foam with a little hot glue.
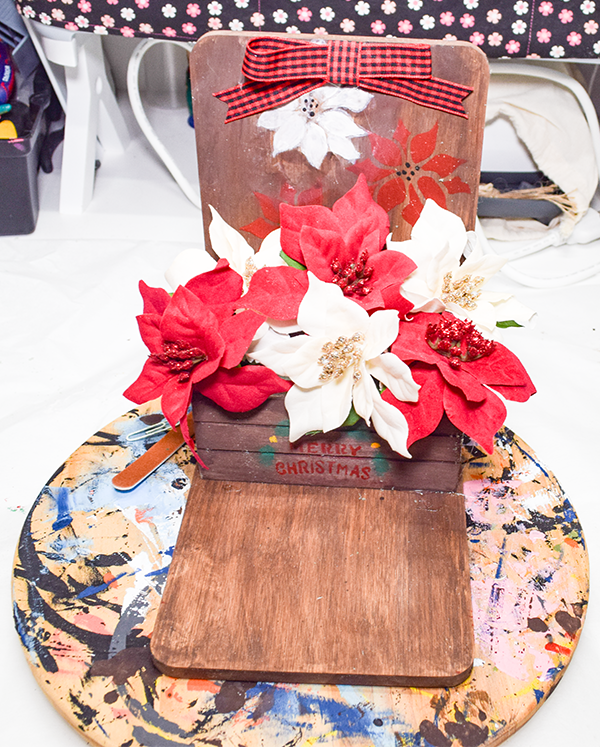
Step 6: Add the Florals
Dollar Tree has a variety of Christmas florals. Add them to the floral foam. Make sure to use flowers and greenery.
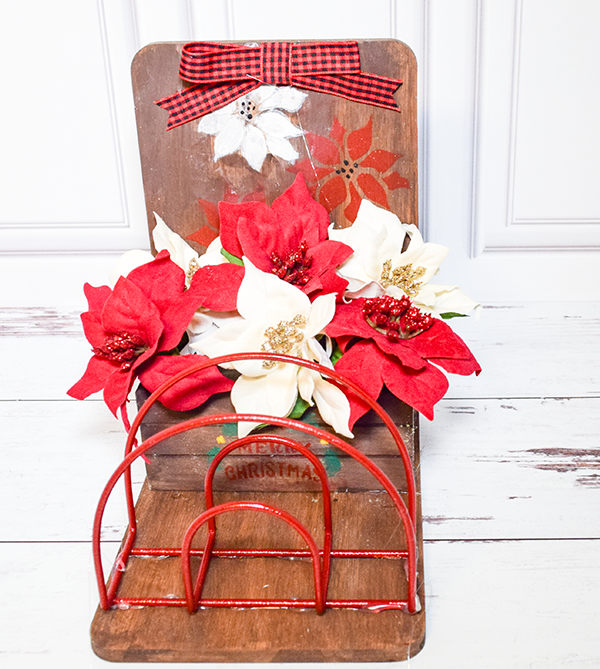
Step 7: Spray Paint the Napkin Holder
Go outside or to a well ventilated area and spray the napkin holder red. I used several light coats allowing the paint to dry between coats for a nice finish. I like to order from Michaels online and pick it up in store so that I can get what I want right away.
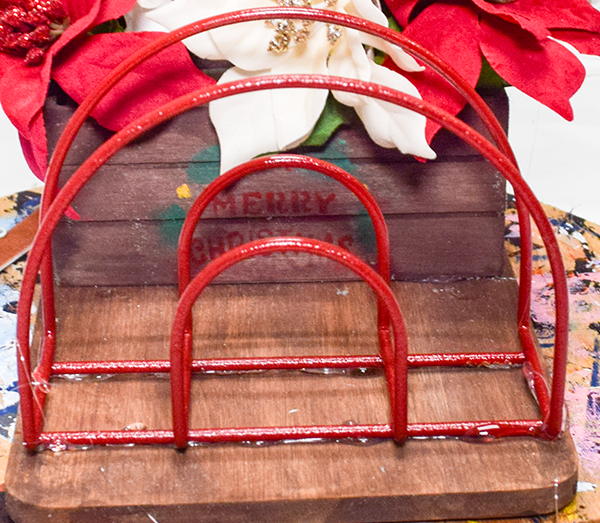
Step 8: Glue the Napkin Holder
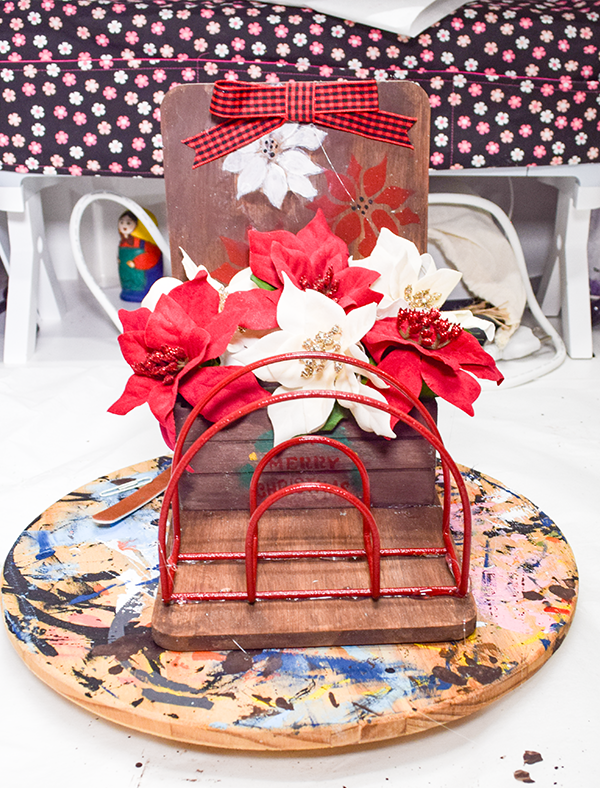
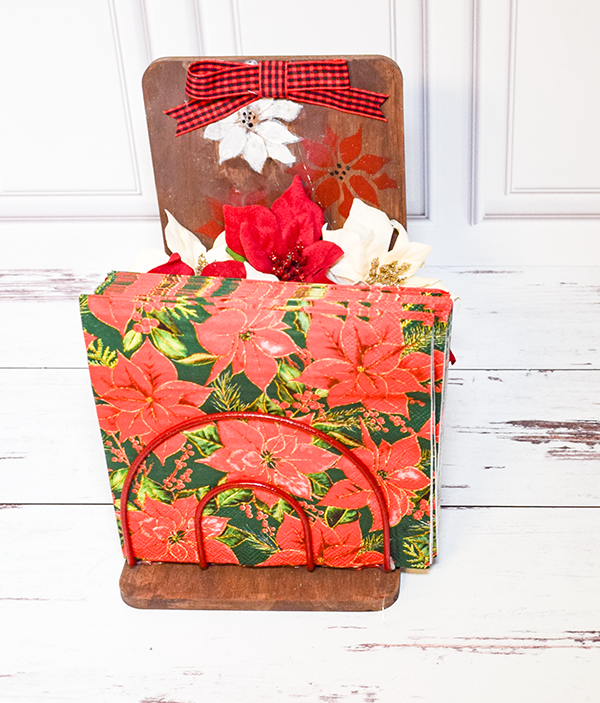
Using hot glue and e6000 attach the napkin holder to the front of the crate on the the second cutting board. Once you have added the florals you have finished the Dollar Tree Christmas Napkin Holder.
I hope you enjoyed this Dollar Tree craft. If you would like more sewing and crafting projects subscribe to our free Newsletter and receive your free Dollar Tree Holiday eBook.
If you would like video tutorials of some of sew very crafty's most popular posts subscribe to our free YouTube channel here.
Join our Sew Very Crafty Fans Facebook group
If you want to ask questions and share your projects join our Facebook group here. The community will help to achieve your sewing and crafting dreams.