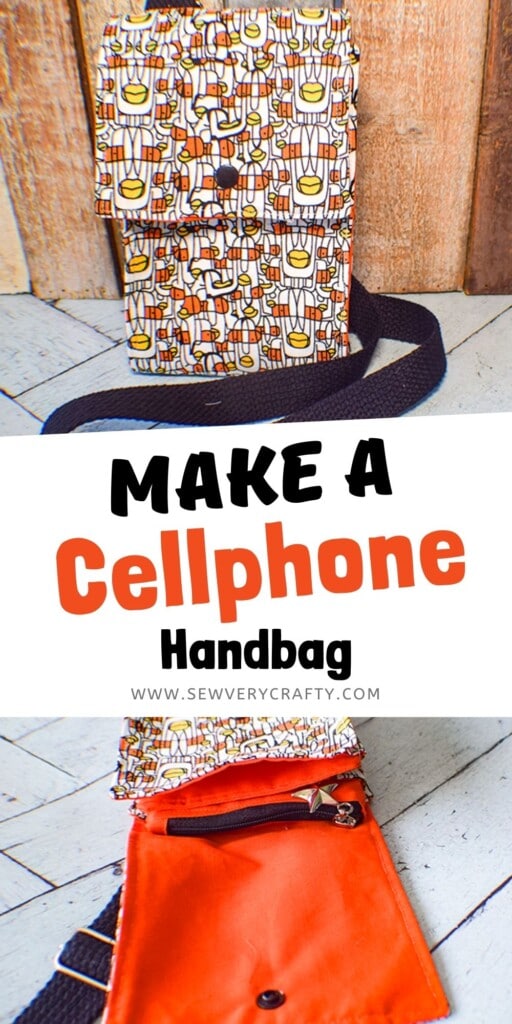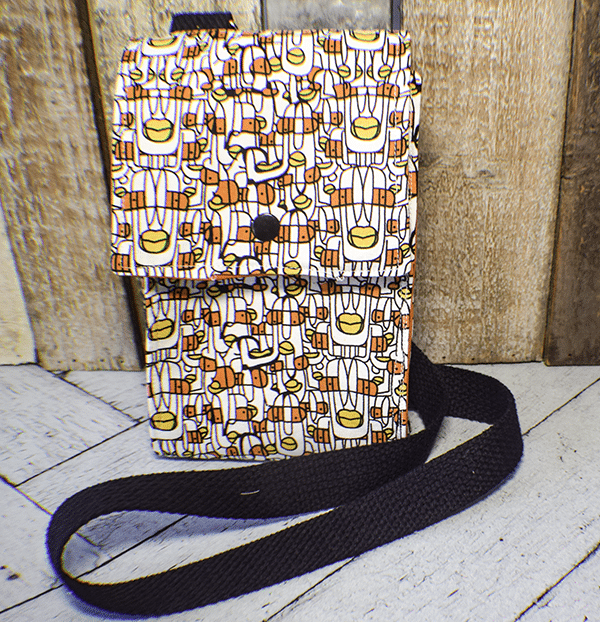
I love little purses that I can take on the go. This cellphone handbag is terrific on the go purse that you can put a few necessities when you are heading out for a night on the town or day out. This is a super simple bag making project that anyone with basic sewing skills can make. It is not a beginner project but a strong beginner to intermediate sewist can easily make this bag with no problem. It is the perfect size for your phone, some money and identification. This particular bag is a great way to improve your bag making skills so lets get started.
I chose a fun fabric to use for the exterior of my bag and some basic Kona cotton for the lining. I purchased both at JOANN Fabric & Craft Stores![]() but you could head to fabric.com or onlinefabricstore.net to get exactly what you want for your cellphone handbag. This post contains affiliate links that if you click on them and make a purchase I may receive a small commission at no extra cost to you. As an Amazon Associate I earn from qualifying purchases.
but you could head to fabric.com or onlinefabricstore.net to get exactly what you want for your cellphone handbag. This post contains affiliate links that if you click on them and make a purchase I may receive a small commission at no extra cost to you. As an Amazon Associate I earn from qualifying purchases.
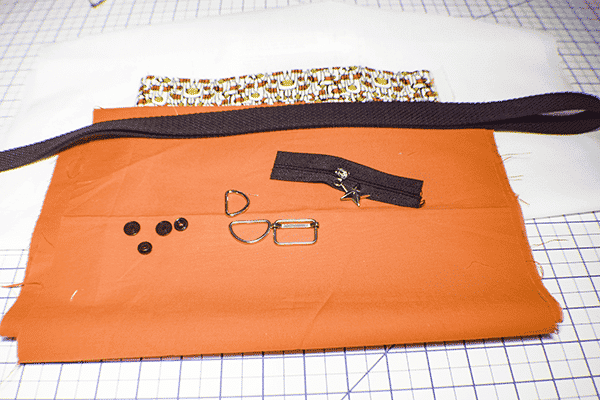
What you will need: How to Make a Cellphone Handbag
- 1 yd outer and lining fabric
- 1 yd Pellon SF101 Interfacing
- 2 – 1″D-Rings
- 1″ triglide
- 4 1/3″ zipper
- 2 yds” of 1″ webbing
- 1 Kam Snap
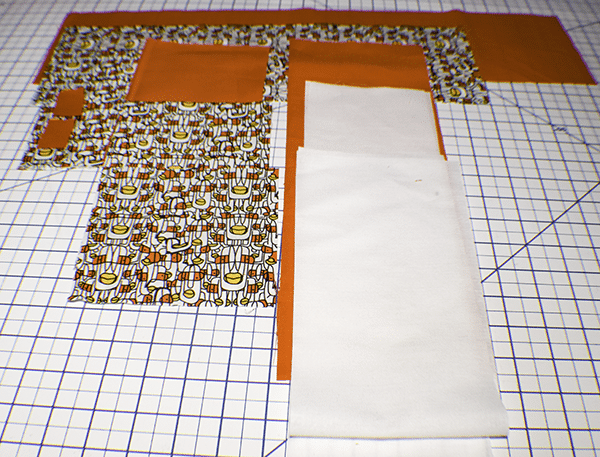
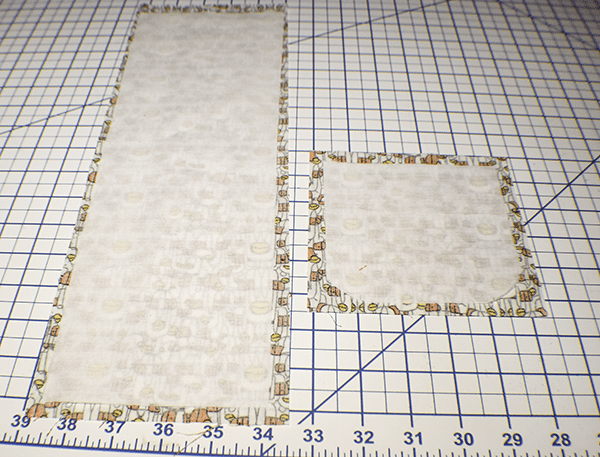
Step 1: Cut your Fabrics
From the outer fabric cut one piece that measures 16 1/2″ x 5 1/2″. Cut an outer piece that measures 5 1/2″ x 5 1/2″. Cut one lining piece that measures 21 1/4″ x 5 1/2″. From the lining cut two pieces that measure 15 3/8″ x 5 1/8″. Cut two additional outer pieces that measure 7 7/8″ x 5 1/8″. For the zipper tabs cut two lining pieces that measure 1″ x 1 1/2″. Next, cut two outer and two lining pieces that measure 4 3/4″ x 7 1/8″. Cut two pieces of webbing that measure 2″ each. Cut a piece of Pellon SF 101 that measures 20 1/2 x 4 3/4″. Next, cut two additional pieces of SF 101 that measure 4 1/3″ x 14 1/2″
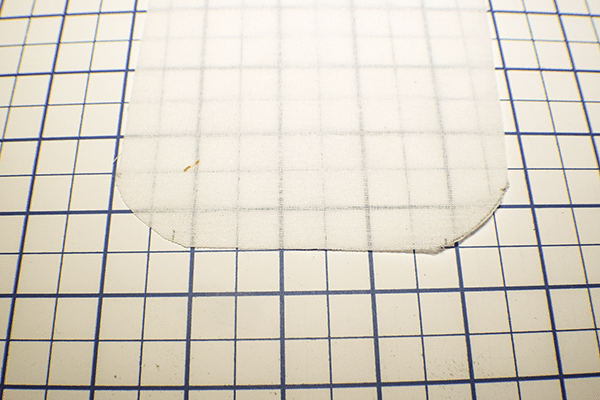
Step 2: Prepare the Interfacing
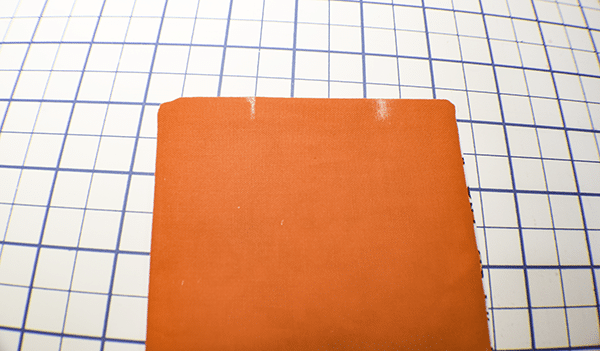
Take the 20 1/2″ x 4 3/4″ piece of interfacing and round the bottom corners. Measure up from the rounded end 4 3/4″ and draw a line. Cut across the line so that you now have two pieces.
Step 3: Fuse the Interfacing
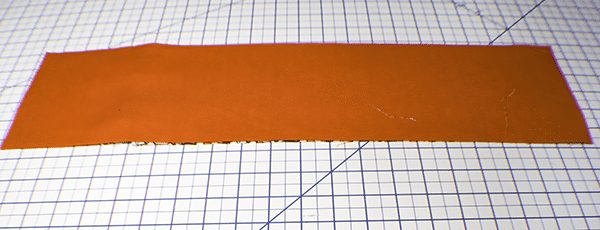
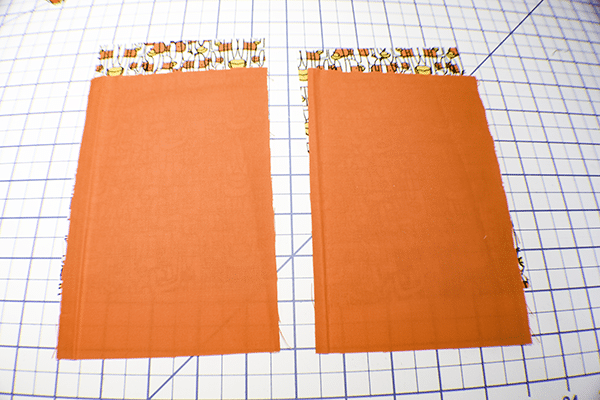
Take the interfacing and place it on the corresponding outer fabric pieces that measure 16 1/2″ x 5 1/2″ and 5 1/2″ x 5 1/2″. Fuse the interfacing to the outer pieces following the manufacturer's instructions. Take the 4 1/3″ x 14 1/2″ pieces of interfacing and fuse them to the lining pieces that measure 15 3/8″ x 5 1/8″.

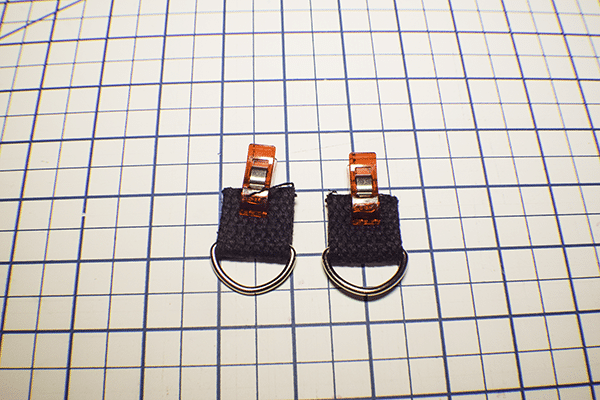
Step 4: Add the Webbing Tabs
Take the 2″ pieces of webbing and wrap them around the D-Rings. Take the longer of the two outer pieces you have been working with and measure 1 1/2″ from each edge and place the webbing tabs stitch them to the end of the long piece.
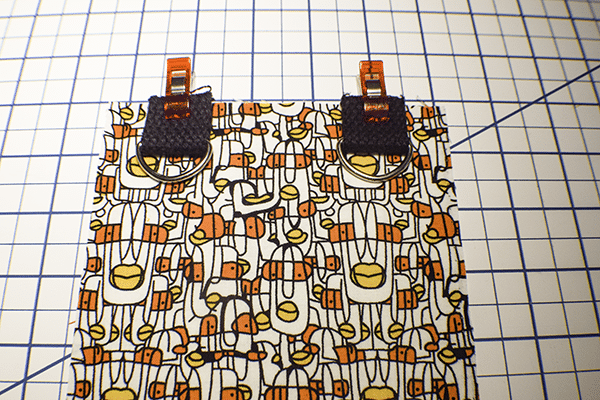
Step 5: Add the Flap
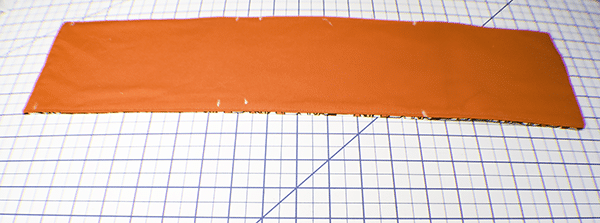
Take the shorter of the two pieces that you have been working with and place it right sides together with the longer piece on the ends with the tabs so that it is sandwiching the tabs. Stitch the two pieces together using a 3/8″ seam allowance. Top stitch along the short endow the long piece.
Step 6: Add the Lining
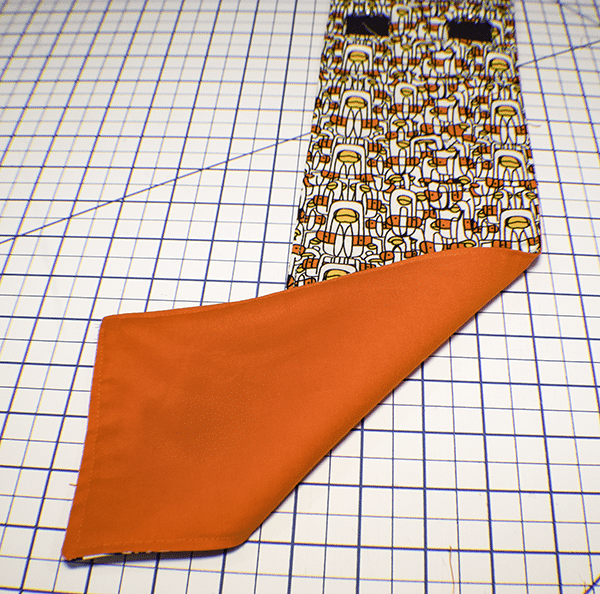
Take the long lining piece and place it right sides together with the outer piece you just created and stitch the two together using a 3/8″ seam allowance. Make sure that you leave an opening at the bottom of the long piece for turning. Trim the seams and turn the piece right sides out. Topstitch all the way around the piece.
Step 7: Add the Zipper Tabs
Take the 1″ x 1 1/2″ pieces of lining fabric and create the zipper tabs. Do this by folding the skirt ends to the center and pressing. Fold in half again and place on each end of the zipper and stitch.

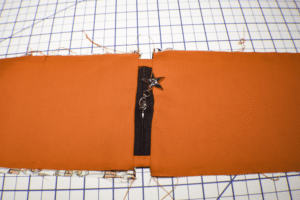
Step 8: Add the Zipper
Find the center of the zipper and mark. Find the center of the short ends of the two lining pieces. Place the zipper right sides together on the center of one of the short ends. Take one of the outer pieces that measures 7 7/8″ x 5 1/8″ and lay it right sides together on top of the zipper creating a zipper sandwich. Stitch the zipper through all layers. Open the zipper so that it is right sides out. Place the center of the other side of the zipper right sides onto the center of the remaining lining piece. Sandwich the zipper with the remaining outer piece and stitch. Open the zipper so that it is in the center of the pieces. Topstitch on both sides of the zipper.
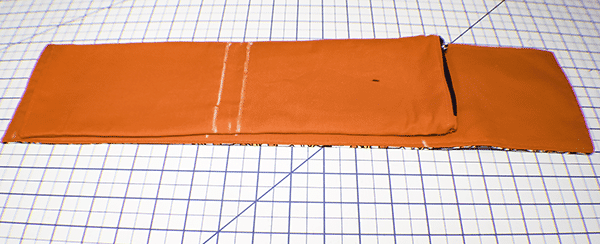
Step 9: Stitch the Zipper Pocket
Open the zipper pocket so that the lining pieces are right sides together and the outer pieces are right sides together and the zipper is in the middle and open. Stitch from the short ends of the outer pieces all the way around the lining until you get to the other short end of the outer piece. Do not stitch the bottom. Turn right sides out through the opening in the bottom and the zipper. Stuff the outer pieces inside the lining pieces. Topstitch along the bottom of the lining piece. Press. Fold the whole piece in half.

Step 10: Mark the Zipper Pocket
Fold the zipper pocket in half to find the center. On the lining side measure 3/8″ on either side of the center mark on both sides. Draw lines to connect the marks.
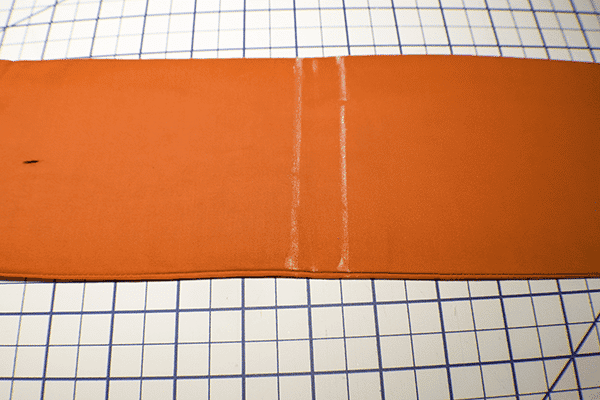
Step 11: Mark the Outer Bag
On the lining side of the outer bag measure up 3/8″ from the bottom on each side and make a mark. From that mark measure up 6 7/8″ and then 7/8″ make additional marks on both sides. Measure up from the first 6 7/8″ mark and add another 6 7/8″ mark.
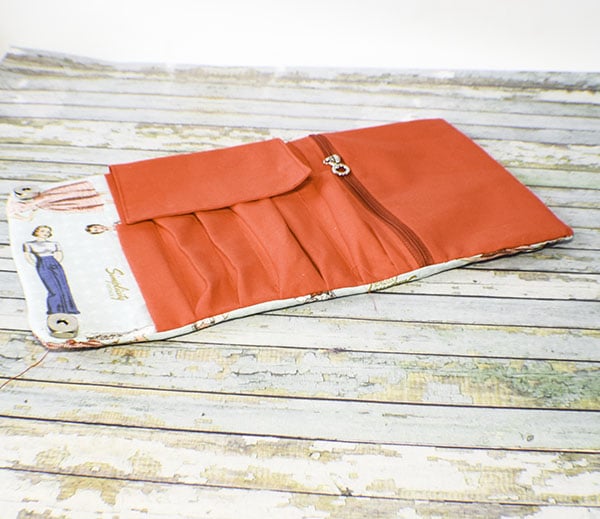
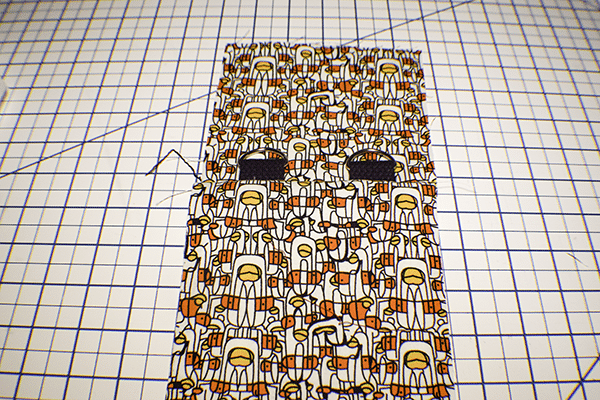
Step 12: Add the Zipper Pocket
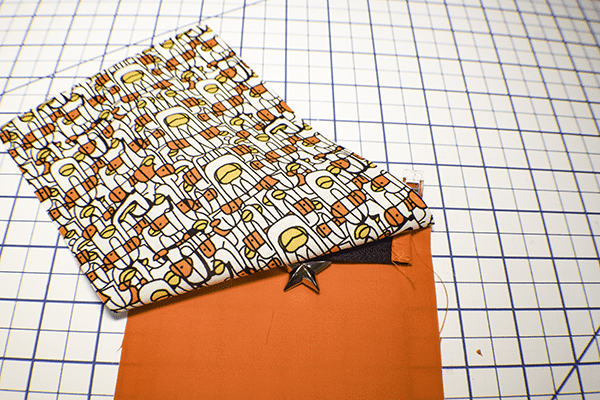
Take the zipper pocket and place it so that the lining side is facing up and the two drawn lines are aligned with the matching marks on the outer bag. Stitch along the two drawn lines through all layers.
Step 13: Create the Sides of the Cellphone Bag
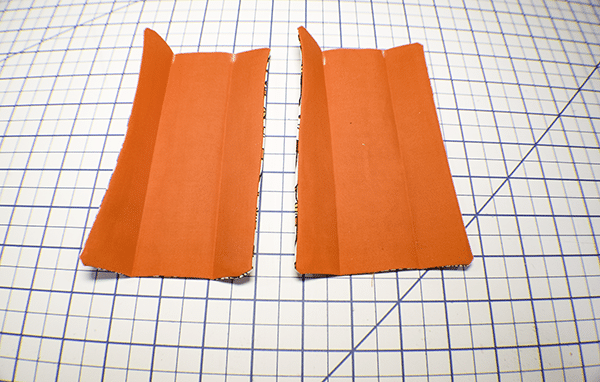
Take the 4 3/4″ x 7 1/8″ outer and lining pieces and place the lining right sides together with the corresponding outer piece. Stitch then together using a 3/8″ seam allowance leaving an opening on one side for turning. Do this for both pairs. Turn the pieces right sides out and press. Measure in on each short side 1 1/8″ and make a mark. Fold the pieces along those marks and press.
Step 14: Add the Sides to the Cellphone handbag
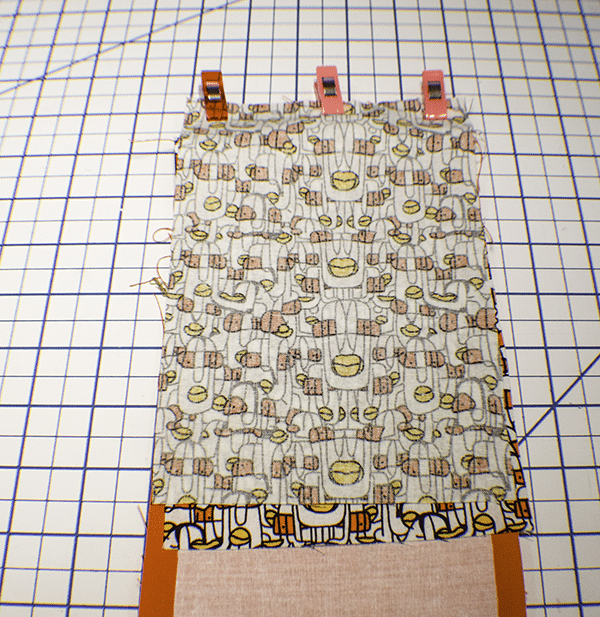
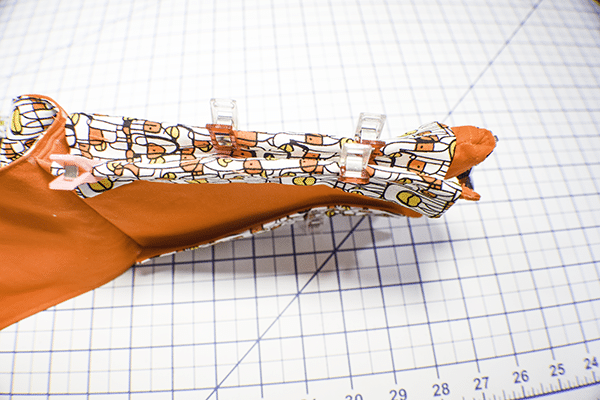
Wrap the sides that you created around the center pocket pieces and clip. Add the outer bag to the center pocket pieces and clip. Stitch along all of the clipped edges using a 1/4″ seam allowance.

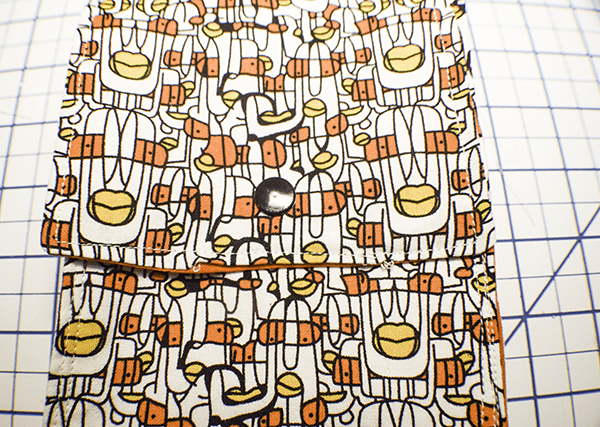
Step 15: Add the Kam Snap
Add the Kam Snap. If you are unfamiliar with how to add Kam Snaps. Check out my video.

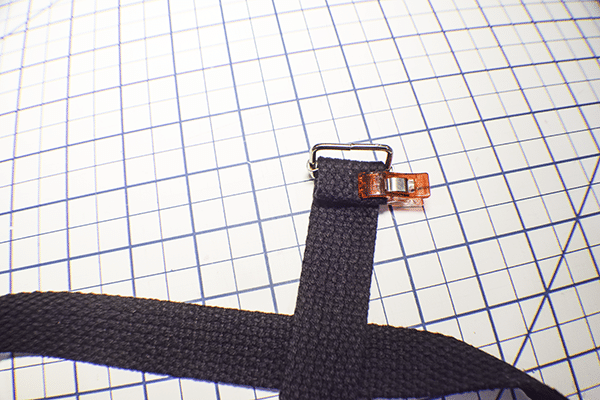
Step 13: Add the Strap
Place the triglide at the end of the strap as shown and stitch. Feed the other end of the strap through one of the D-Rings and back through the triglide. Once it is fed through the triglide feed it through the the other D-ring and stitch. You have now finished your cellphone handbag.
I hope you enjoyed this cellphone handbag project. If you would like more sewing and crafting projects sign up for our newsletter and receive your free eBook of 15 handbag patterns and tutorials taken from the blog.
If you would like video tutorials of some of Sew Very Crafty's most popular posts subscribe to our free YouTube channel here