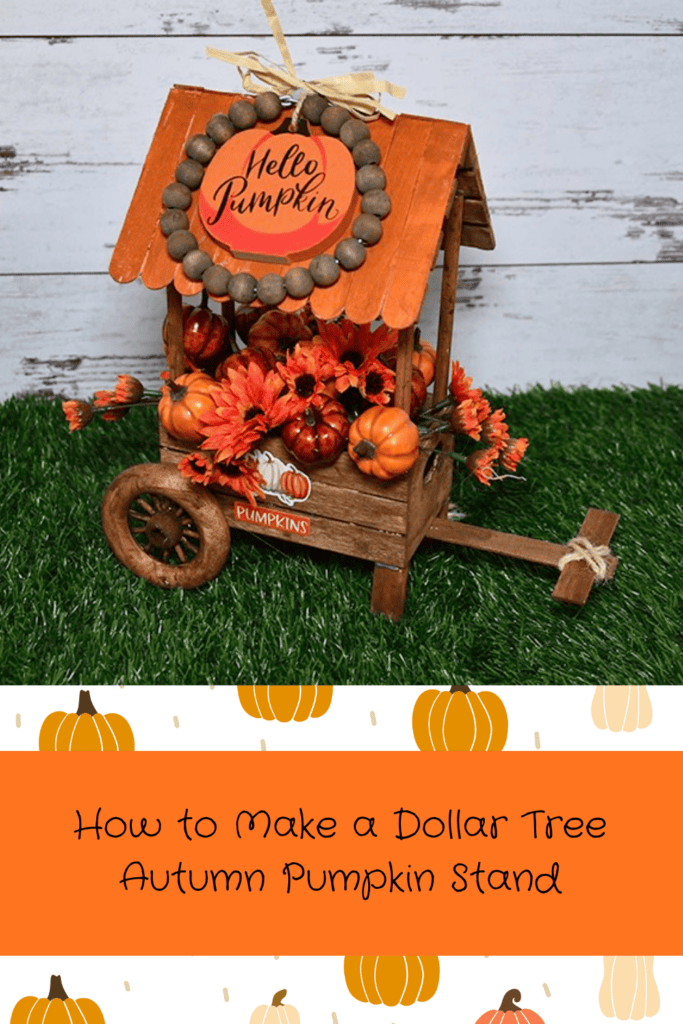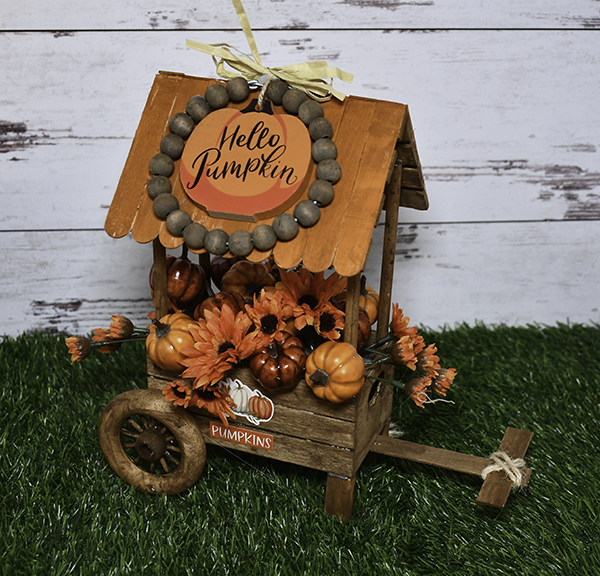
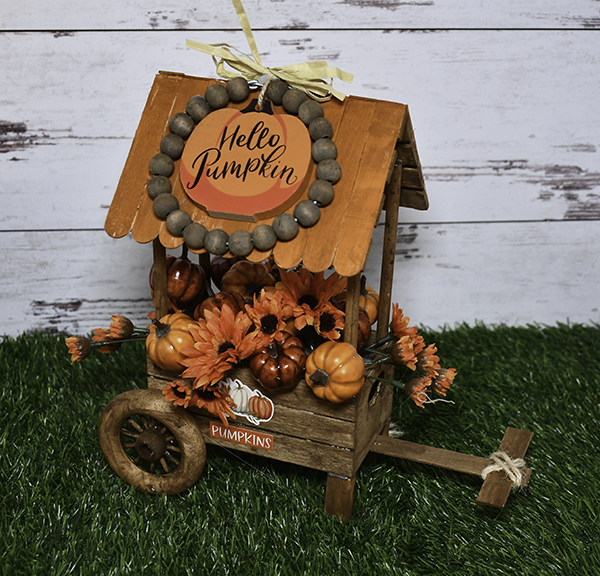
I had these wooden wheels for ages and was wondering what to do with them. Because It is coming up to autumn I decided to create this Dollar Tree autumn pumpkin stand. I love, love, love how this came out. A few standard Dollar Tree craft supplies from my stash were used for this project. I just started and improvised from there and what you see is what came out. I hope you like this project. It is super simple and comes together quickly. If you would like for Dollar Tree Holiday crafts head over to my Dollar Tree page for many more.
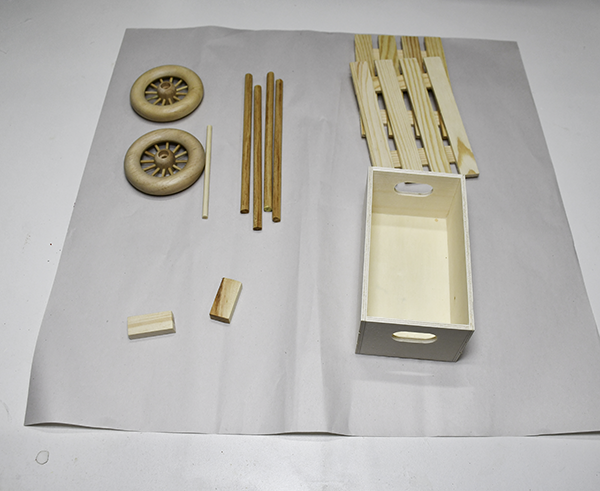
What you will Need: How to Make a Dollar Tree Autumn Pumpkin Stand
Step 1: Stain the Wood Pieces
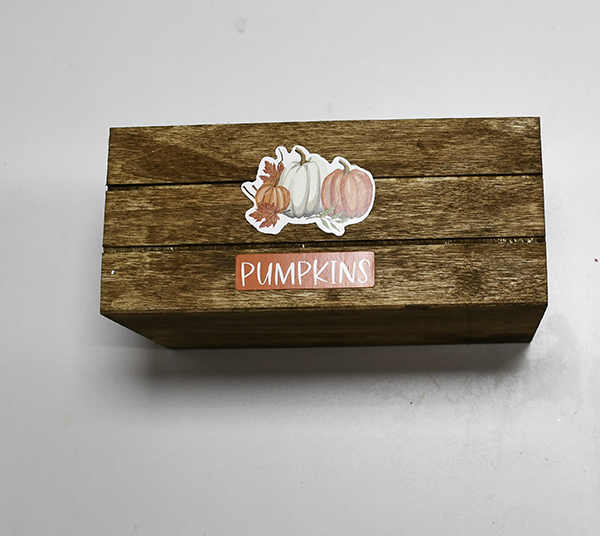
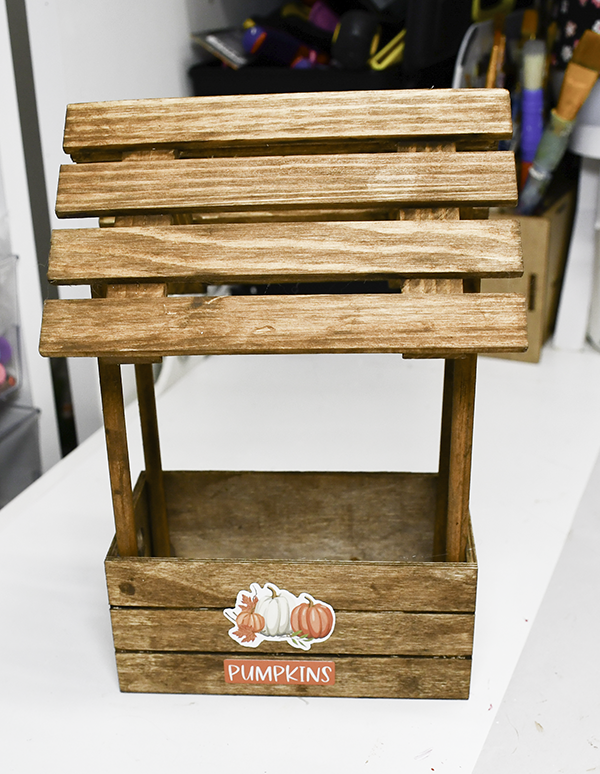
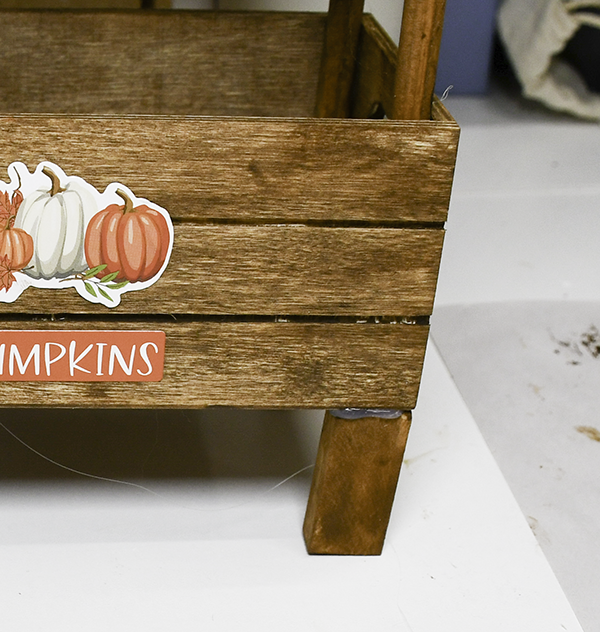
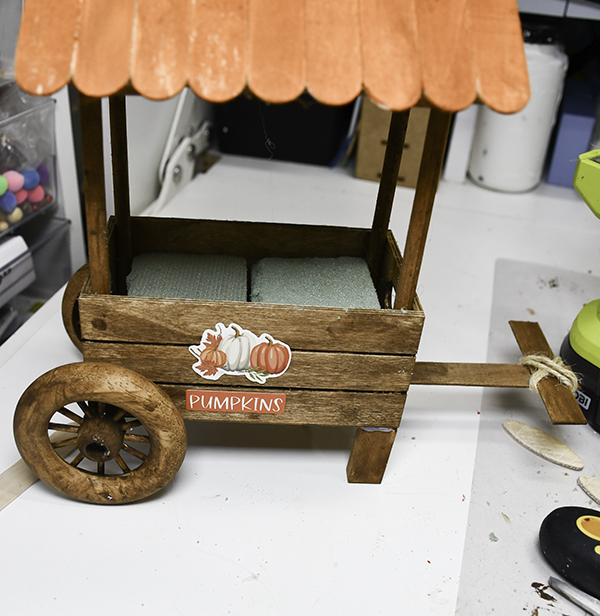
Using the antiquing wax cover all of the wood pieces using a baby wipe. By using the baby wipe you can create the look of stain. I had some autumn stickers that I got from 12 x 12 Cardstock shop but you can get them everywhere or if you have a Cricut you can create your own. Attach the sticker to the front of the crate.
Step 2: Add the Four Wood Dowels
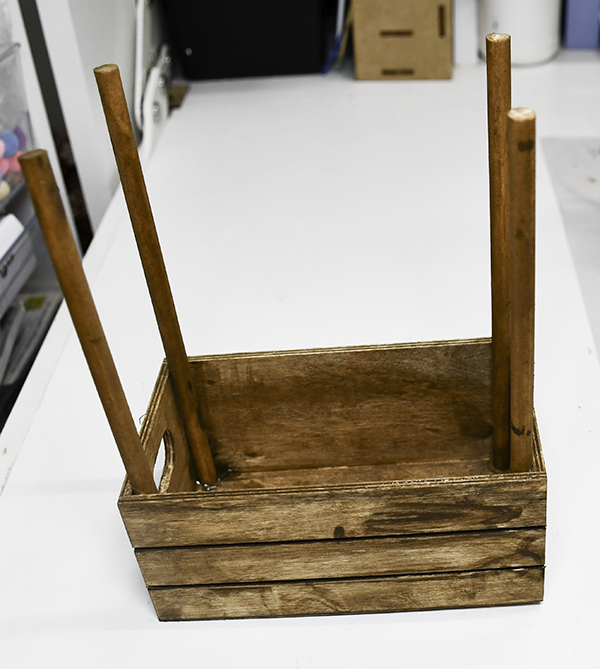
I had some medium sized dowels. I cut them all about 7" long. Hot glue the dowels to each corner of the wood crate. I added hot glue to the four bottom and corners . Add the dowels in each of the four corners.
Step 3: Join the Two Pallets
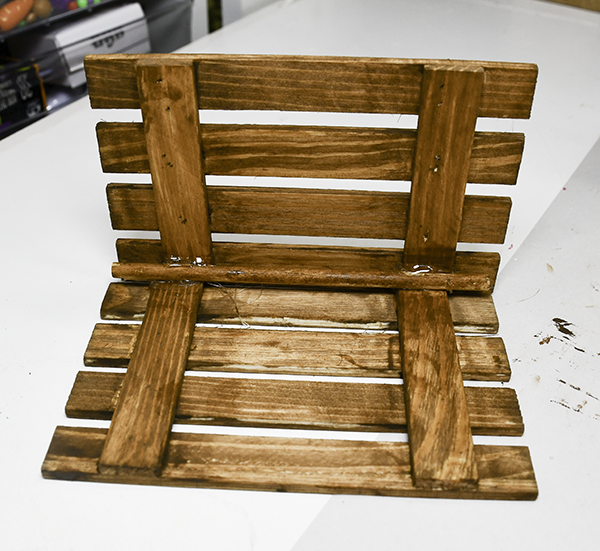
I took the two pallets and and glued them together where the vertical pieces hold the horizontal pieces together. Then I added a small dowel in the corner it created using hot glue to keep the structure of what will be the roof of my pumpkin stand.
Step 4: Add the Roof
Hot glue the pallets to the four dowels to create the roof of the stand.
Step 5: Add the Craft Sticks
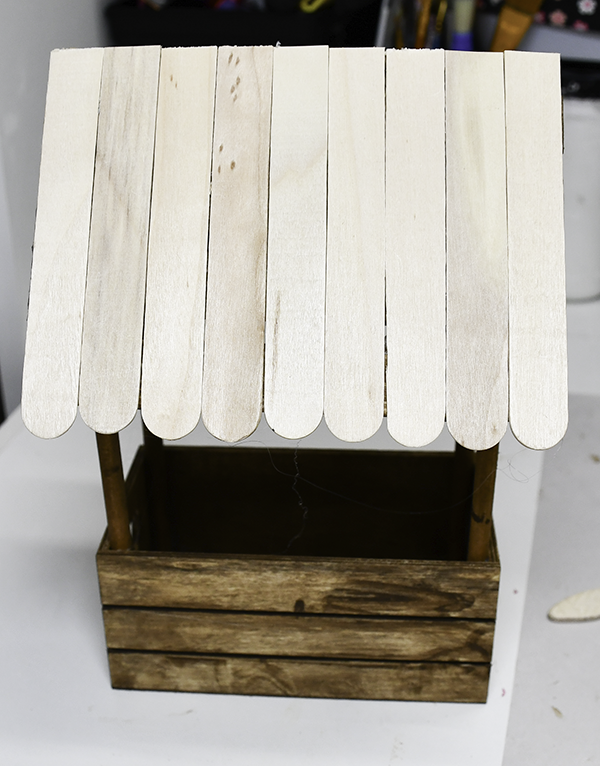
First cut the craft sticks to length. Start by cutting the sticks that will go one side of the pallet allowing the curved edge to hang over slightly. Hot glue all the craft sticks to one side of the roof. Cut the craft sticks that will go on the other side of the roof. One side will be a bit longer than the other. Cut the craft sticks so that they meet in the center of the roof. Hot glue the sticks to the roof.
Step 6: Paint the Roof
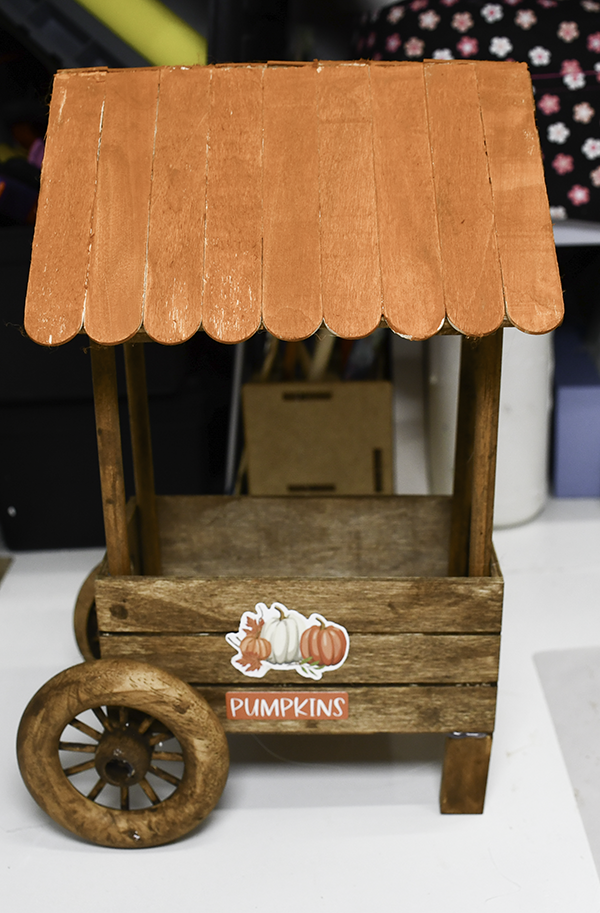
Once again, using a baby wipe paint the roof any color you life. I decided on a dark orange acrylic paint for mine.
Step 7: Create the Wheels
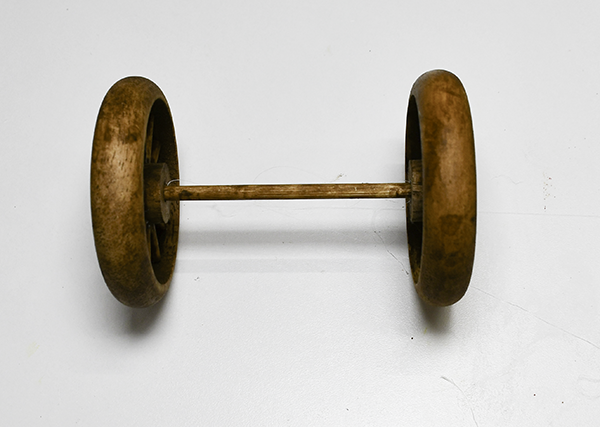
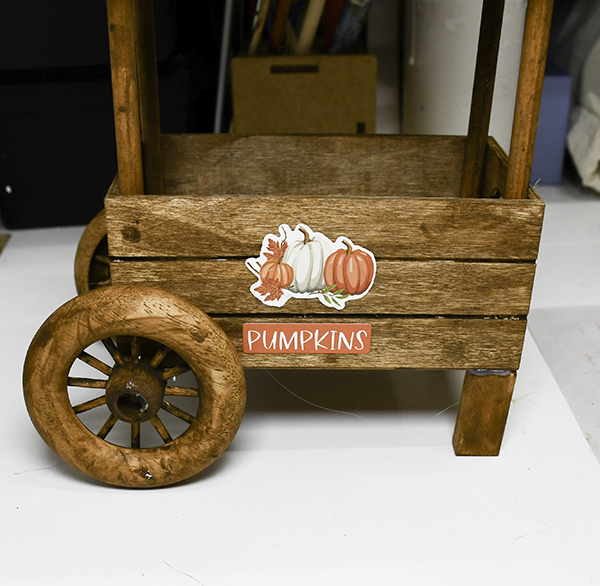
Cut the wood dowel a little longer than the crate is wide. Add some hot glue to the center of one wheel and insert one end of the dowel. Wait a bit for the glue to set before adding the second wheel to the other end of the dowel in the same way.
Step 8: Add the Tumbling Tower Blocks
Cut two tumbling tower blocks using some miter shears. They are vary easy too cut. Cut them slightly shorter than the wheels you are going to use. Attach them using hot glue.
Step 9: Add the Wheels
Using hot glue and wood glue attach the other end of the crate to the axel of the wheels.
Step 10: Add the Handle
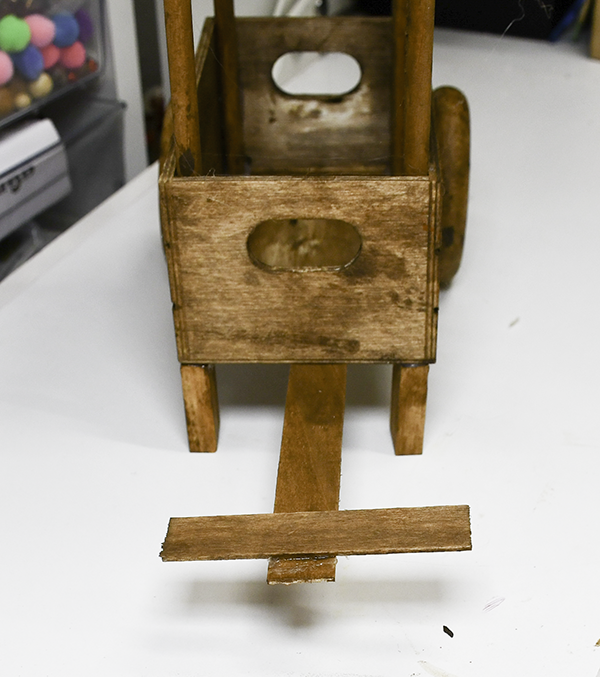
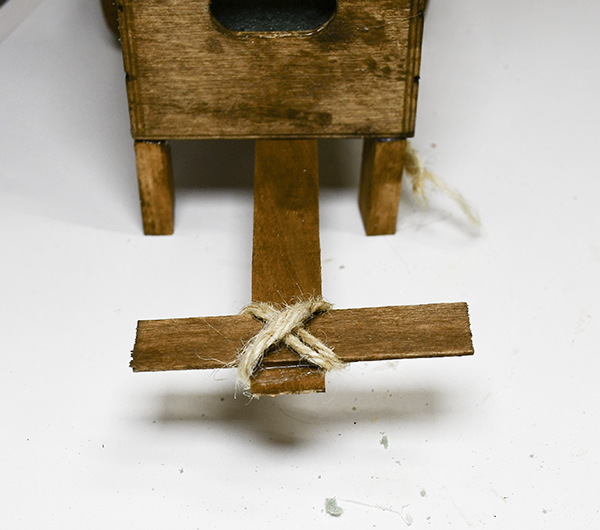
Cut the end of one craft stick and hot glue the rounded end to the underside of the crate where the tumbling tower blocks were placed. Attach the smaller of the two across the first craft stick creating a handle. Wrap the joint of the two craft sticks with some twine and attach it on the underside using hot glue.
Step 11: Insert the Floral Foam
Cut down some floral foam to fit inside the crate. Add the floral foam to the crate and attach it with hot glue.
Step 12: Add the Pumpkins and Flowers
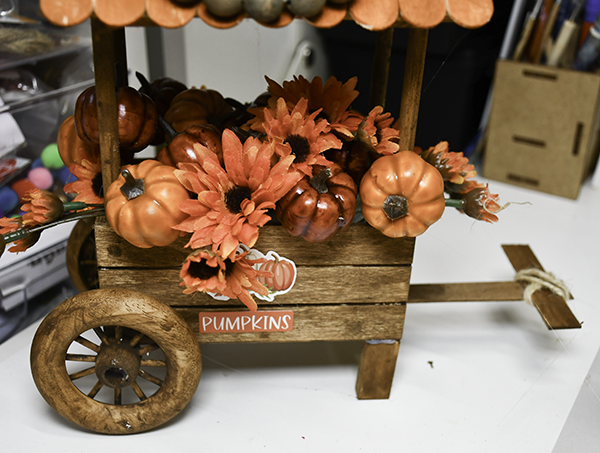
Insert two colors of pumpkins and the autumn flowers into the floral foam so that it is completely covered.
Step 13: Add the Stickers and Wreath
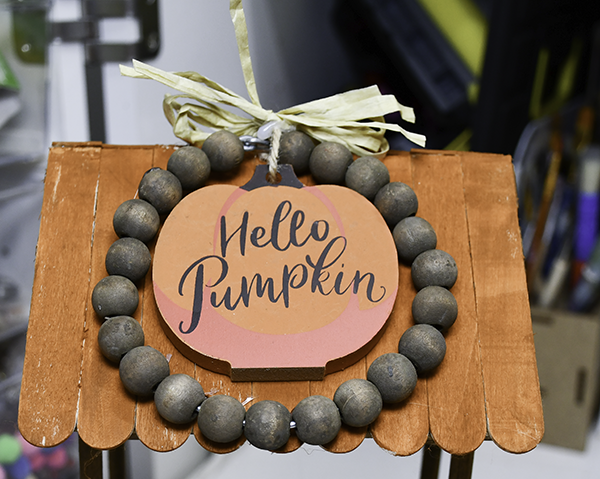
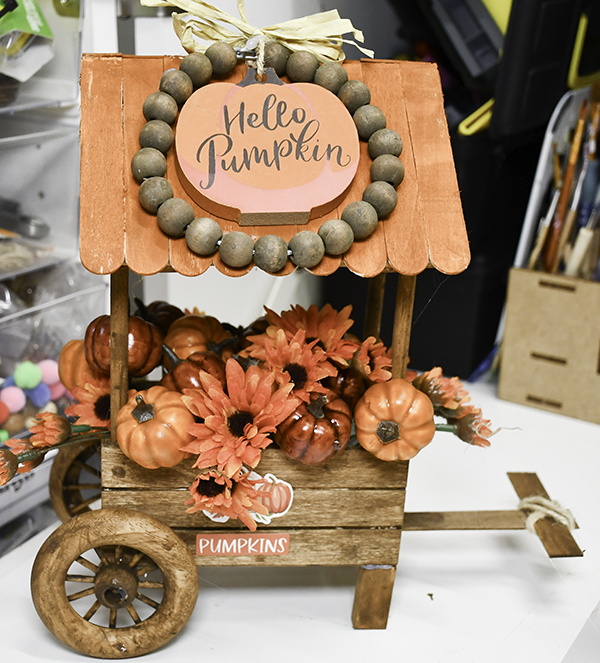
Using hot glue, attach the pumpkin mini wreath to the roof of the pumpkin stand. Once the wreath has been added you have finished your Dollar Tree autumn pumpkin stand,
I hope you enjoyed this simple Dollar Tree Craft. For more sewing and crafting projects subscribe to our free newsletter and receive your free Dollar Tree Holiday eBook.
Join our Sew Very Crafty Fans Facebook group
If you want to ask questions and share your projects join our Facebook group here. The community will help to achieve your sewing and crafting dreams.

Subscribe to our Free YouTube Channel!