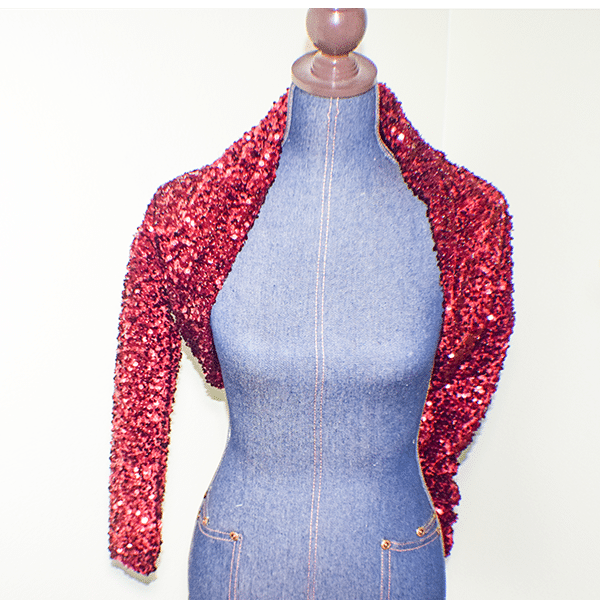
The holiday season is upon us. I thought it was a perfect time to create something sparkly and thought about this lined sequin shrug. You can draft your own pattern so that it fits perfect every time. In this tutorial you will learn how to draft the pattern and how to sew using sequins. I don't sew many garments on the site but this one is so easy I just had to share it. If you would like to learn to create an easy Kimono check out this post.
This post contains affiliate links that if you click on them and make a purchase I will receive a small commission at no extra cost to you. As an Amazon Associate I earn from qualifying purchases.
What you will Need: How to Make a Lined Sequin Shrug
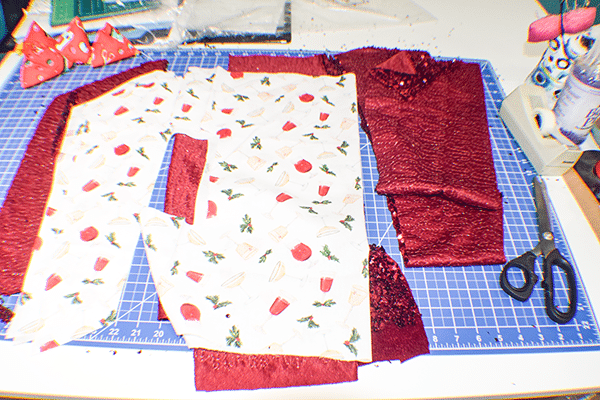
- 2 yd of stretch sequin fabric
- 1 1/2 yd lining fabric
- Pattern drafting paper to draft the pattern
- Sewing machine
- Standard sewing supplies
Step 1: Take your Measurements and Draft the Body
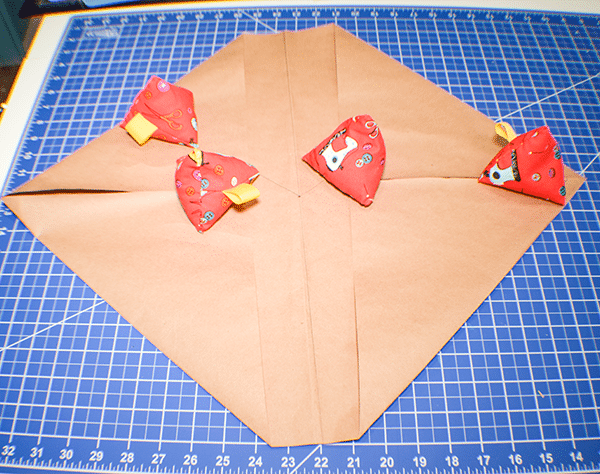
In order to get the perfect size for you it is important that you take the correct measurements. Start by measuring for the main body of the shrug. Determine the length you want the shrug to be. Measure from the center of your neckline to the length that is most comfortable for you. Add 3/8″ seam allowance to that number. Measure for the width of the shrug by measuring across the back of your shoulders just short of the arms. Again add a 3/8″ seam allowance.
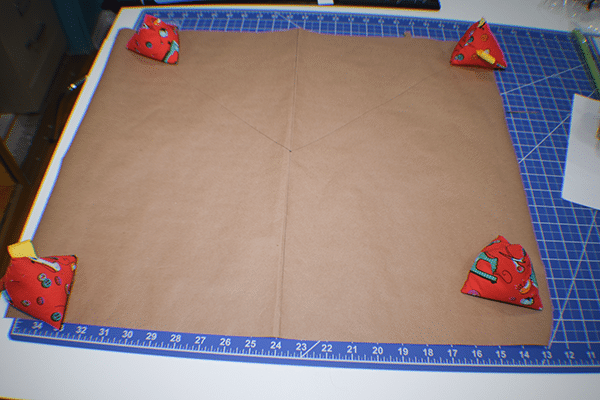
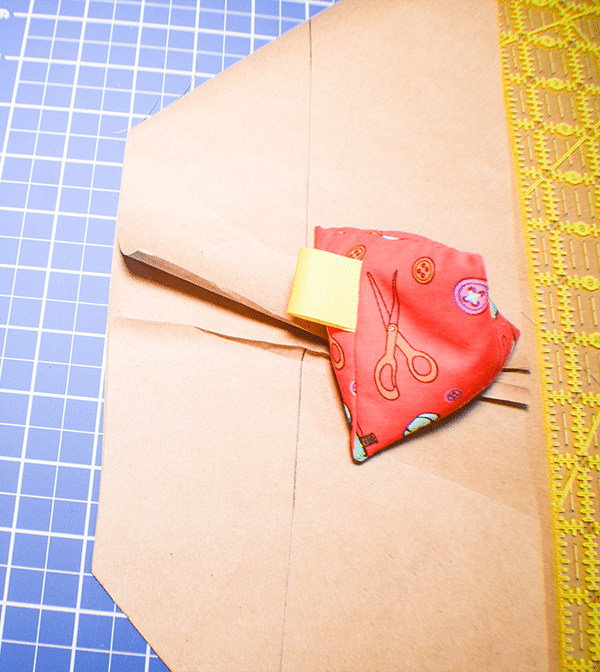
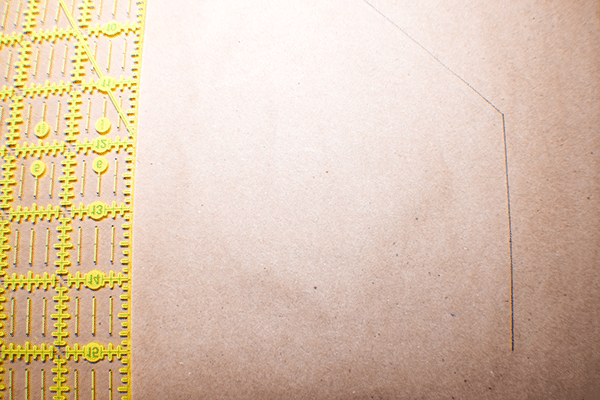
Once you have determined the length and width of the shrug place those measurements on your pattern paper. Draw a T to indicate the length and width. Divide the length in half and make a mark. Draw a line from the center dot diagonally to just past the ends of the width line using a 45 degree angle. Use the end point of the diagonal lines as the end of the rectangle that you will use for the body of the shrug. Draw the rectangle and add a 3/8″ seam allowance.
Note: If you would like to make the pattern weights used in this video check out my post.
Step 2: Cut out the Rectangle
Cut out the rectangle.
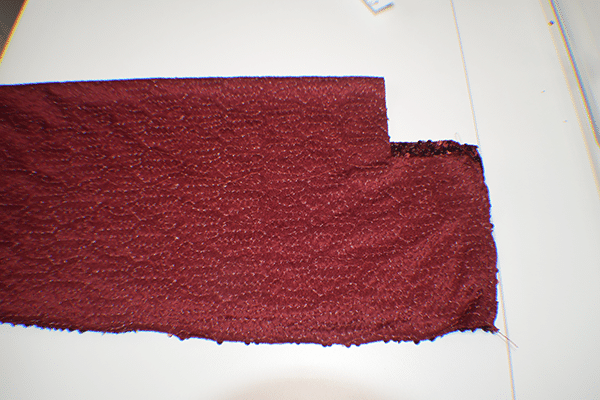
Step 3: Create the Sleeves
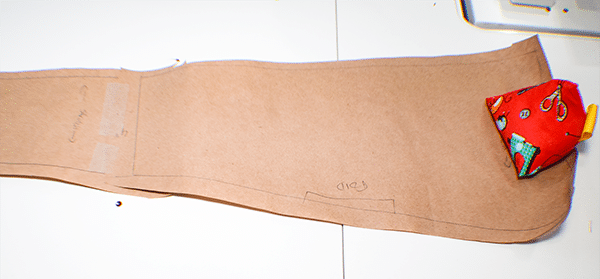
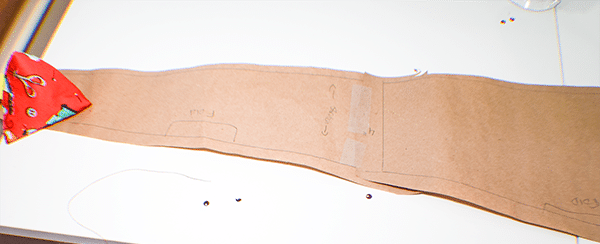
Take the rectangle you just cut and fold the short ends down so that they create a point on each end. Measure your upper arm about half way between the shoulder and the elbow leaving a bit of slack and adding seam allowance. Take that measurement and divide it by two and draw a line away from the point toward the center of the shrug using that measurement. Cut that line.
Measure the length of the sleeve. Start the measurement at the mid point between the shoulder and elbow and measure down to the wrist slightly bending the arm for more comfort. Measure your wrist and add 2″ to that measurement for comfort. Add a piece of paper to each side of the original piece. Draw a line using a 45 degree angle down from the top of the original sleeve opening. Add a second line perpendicular to the first that measures 1/2 of the wrist measurement. Draw another line from the bottom of the sleeve opening to the wrist to create the sleeve. Mark the fold line and the direction of the stretch.
Step 4: Create the Collar
Take another piece of paper and draw the top part of the collar by drawing a line perpendicular to the bottom that is 7″ long and 1/2 of the length of the original rectangle wide. Draw a line at a 45 degree angle from the top of the 7″ line tapering down to 4″. Don't forget to add 3/8″ seam allowance. Place a fold description of the diagonal line you just drew as this will be cut on the fold.
For the bottom part of the collar repeat the same steps as the top of the collar starting with a 4″ perpendicular line and another line the same width as a the top part of the collar. Draw a diagonal line from the top perpendicular down tapering it to 2″ at the bottom. Place the fold markings on the diagonal line. Remember to add a 3/8″ seam allowance to all of your measurements.
Step 5 Cut the Fabric
Cut each piece using the pattern pieces. You will have the main body, Two collar pieces and two sleeves.
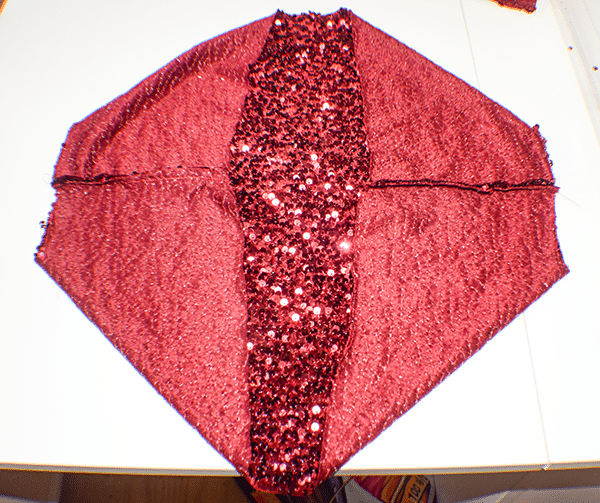
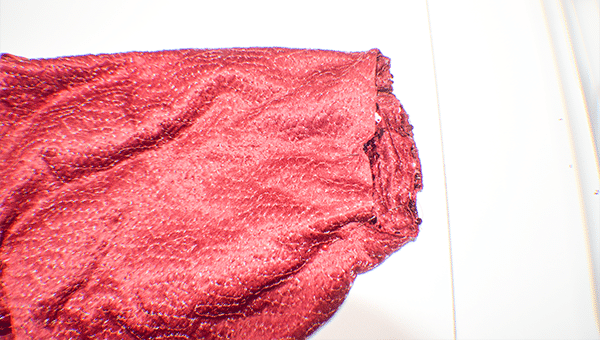
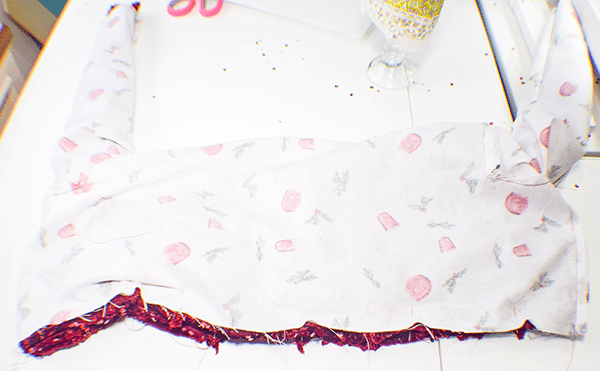
Step 6: Stitch the Main Body Fabric
Fold the short sides of the shrug to make a point on each end. Stitch the sides that form the point right sides together using a 3/8″ seam allowance. Remember you are using a stretchy fabric so you will need to use a stretch stitch like a zig zag stitch. If you are not using sequined fabric you can also use a serger.
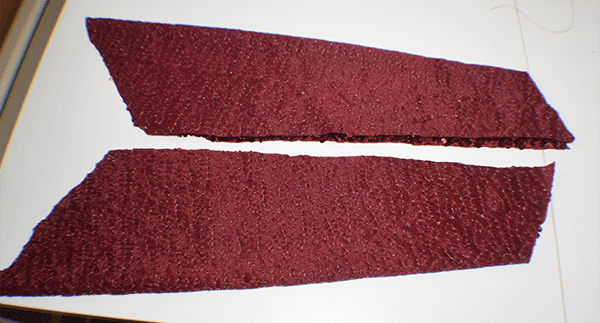
Step 7: Stitch the Sleeves
Fold the sleeves right sides together and stitch along the long edges using a 3/8″ seam allowance again using a stretch stitch or serger. Turn right sides out.
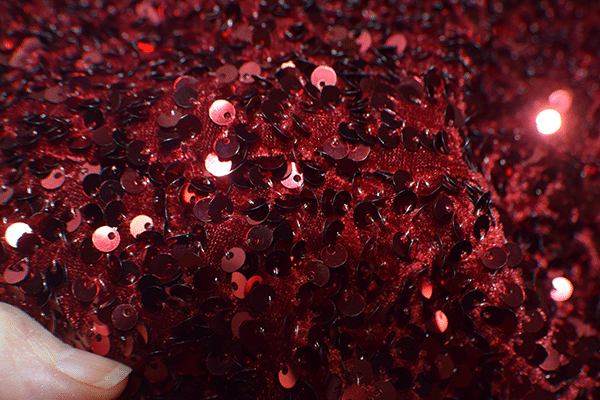
Tip: When stitching sequined fabric use a 16/100 ball point needle. Do not stretch the fabric as you sew.
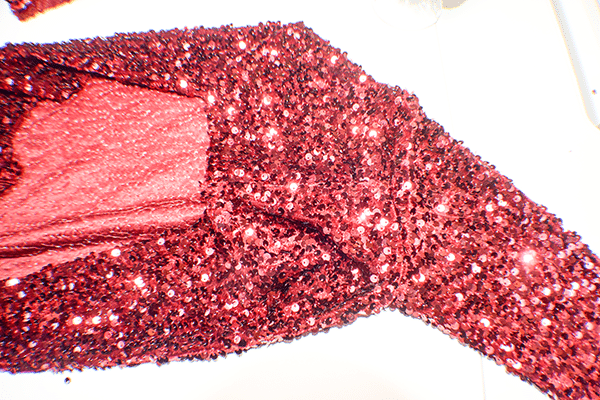
Step 8: Add the Sleeves
Place the sleeve right sides together with the main body attaching the top of the sleeve to the top point and the bottom of the sleeve with the bottom point. Pin. Stitch as before. Repeat for the other sleeve.
Step 9: Adjust if Necessary
Try on the shrug. Make sure it fits as you would like. If you want to make it smaller simply cut the back of the shrug and create a center back seam to get it to fit well.
Step 10: Stitch the Collar
Remember if you adjusted the size of the shrug you will have to do the same for the collar. Cut both the top and bottom to create the right size. Place the two collar pieces right sides together and stitch as before along the two short ends as before. Fold the collar piece in half lengthwise matching the center front and back.

Step 11: Add the Collar
Find the center of the wide part of the collar and the center back of the shrug. Pin the wide center of the collar to the center back of the shrug. Repeat for the center front and the thinner front of the collar. Pine all the way around and stitch as before.
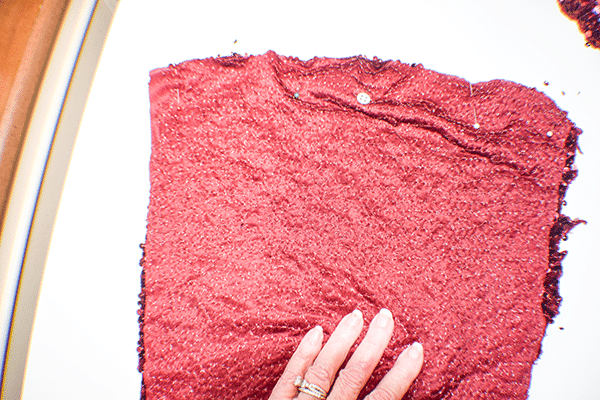
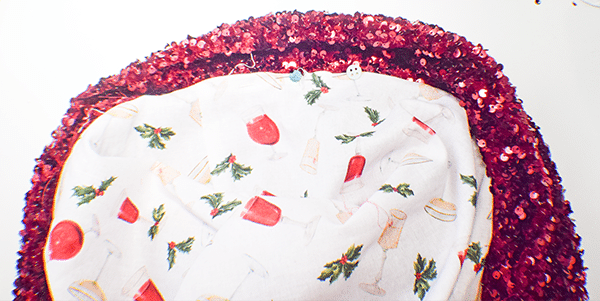
Step 12: Create the Lining
Create the lining exactly the same way as the basic shrug but without the collar. I actually used cotton fabric for my lining so a zig zag stitch is not necessary.
Step 13: Add the lining
Place the outer shrug and the lining shrug right sides together. Stitch around all of the raw edges with the collar between the layers. Leave an opening for turning. Turn right sides out. Press lightly on the lining side not on the sequined side. Use a press cloth as you go.
Step 14: Close the Opening
Using ladder stitch, close the opening you left to turn the shrug right sides out.

Step 15: Hem the Sleeves
Hem the sleeves.

I hope you enjoyed this simple sequined shrug. If you would like more sewing and crafting projects subscribe to our free newsletter and receive access to our free eBook of 15 handbag patterns and tutorials taken from the blog.
If you would like video tutorials of some of Sew Very Crafty's most popular posts subscribe to our free YouTube channel here.